
Easter is right around the corner, so you know what that means! It's time for celebration, hunting for eggs, pastel everything, spending time with family and loved ones, and chowing down on some seriously sweet Easter treats, all in the name of Christ.
I've always loved any type of holiday activity — especially ones that revolve around food. My family goes big for every holiday, too. Even though my siblings, sisters-in-law, and I are all 30 and over, we still gather at my parents' house for every holiday to celebrate with a huge spread of appetizers, main courses, wine, and, of course, desserts.
While I love making appetizers (you should see the killer cheese boards I create), I'm pretty much solely responsible for all things dessert now. I usually make an array of cookies, a multilayered cake, or some other dessert for everyone, but this year, I decided to take on the role of Willy Wonka and come up with a few sweet confectionary treats for the big day.
I grabbed my handy-dandy candy maker from Dash, gathered my ingredients, and got started.
The Product
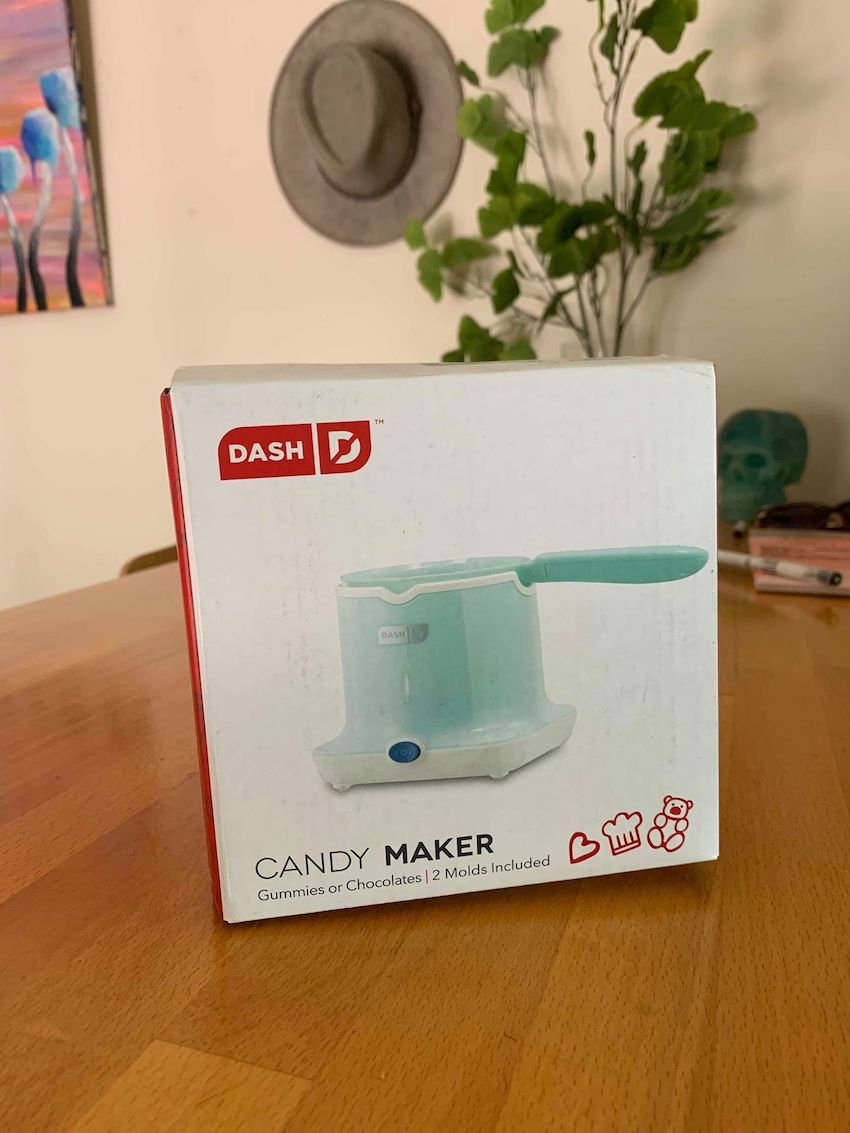
How adorable is this little candy maker? Dash has a ton of cool kitchen gadgets ranging from sous vide machines (the wannabe Iron Chef in me is gleefully screaming right now) to fondue pots to dehydrators — literally, there is a kitchen gadget for everyone!
I figured this candy maker would be perfect for experimenting with making my own sweet treats around the next upcoming candy-centric holiday, which happened to be Easter. Also, it matches with the pastel accents in my kitchen, so that was a plus. If you know me, you know I love a good pastel aesthetic.
The candy maker also comes with a detachable handle, two molds (one heart mold, one bear mold), and a recipe booklet. I ended up also using an additional mold I already had.
The Ingredients
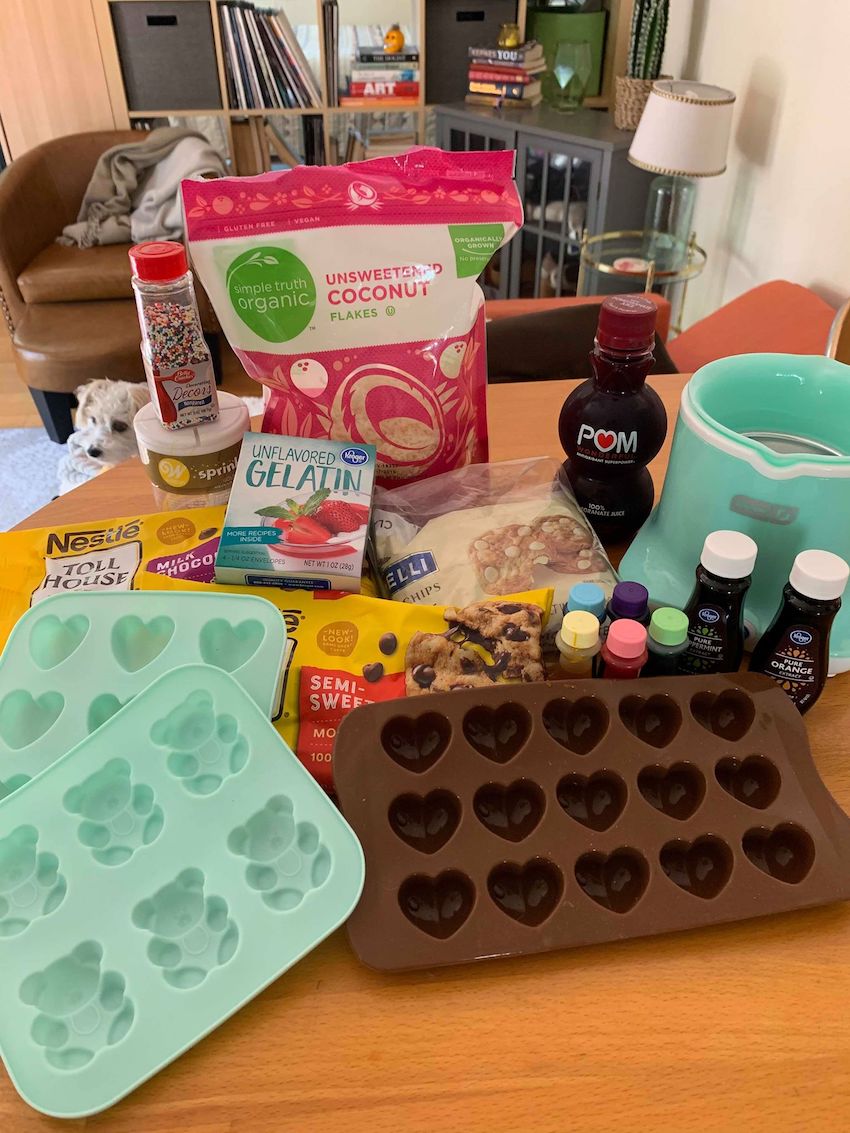
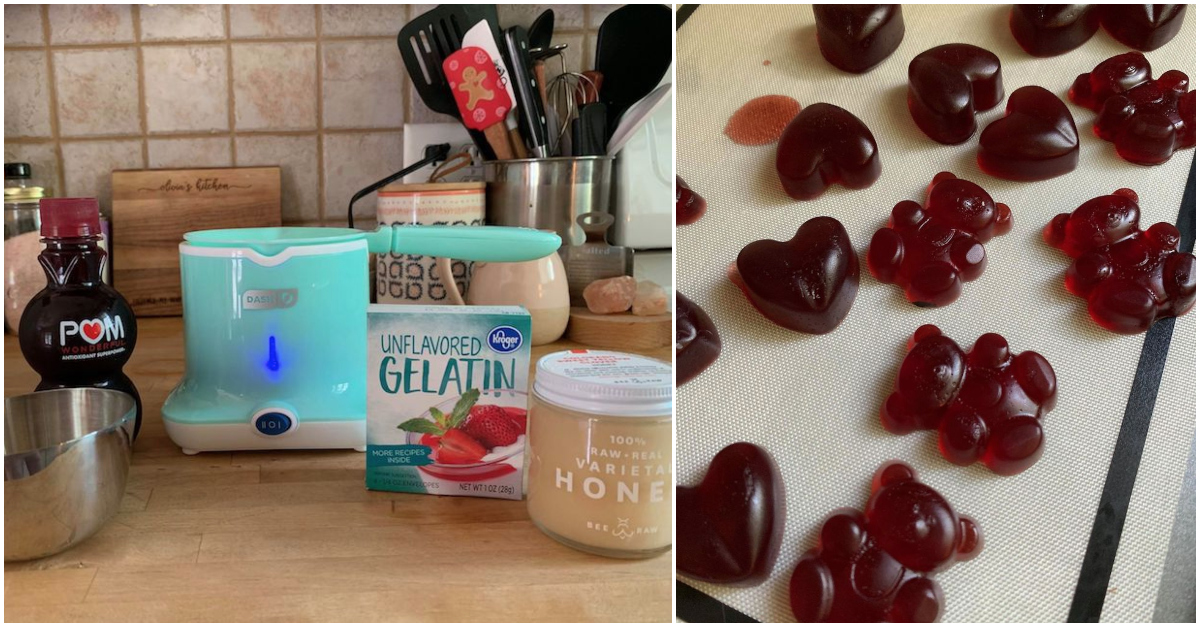
I'm a baker, so I had an arsenal of ingredients to choose from. The only two things I needed to go out and buy were unflavored gelatin packets and fruit juice, which cost about $5 total. The rest I already had on hand. For the gummies, I used:
- 2 to 3 tbsps. unflavored gelatin powder
- ¾ to 1 cup pomegranate juice
- 1 tsp. organic raw honey
I wasn’t sure what flavors I wanted to do for the chocolates, so I grabbed a bunch of different items I had already:
- Semisweet, milk, and white chocolate chips
- Orange and peppermint extracts
- Sprinkles
- Food coloring (pastel colors)
- Unsweetened coconut
Not pictured:
- Unsweetened cocoa powder
- Coconut oil
- Paper towel
Note: You can get creative with the types of ingredients you use for both the gummies and the chocolate! Any clear fruit juice should work for the gummies, and you can probably even make your own wine- or booze-infused gummies if you want to!
Gummies Step 1: Prep Ingredients and Candy Maker
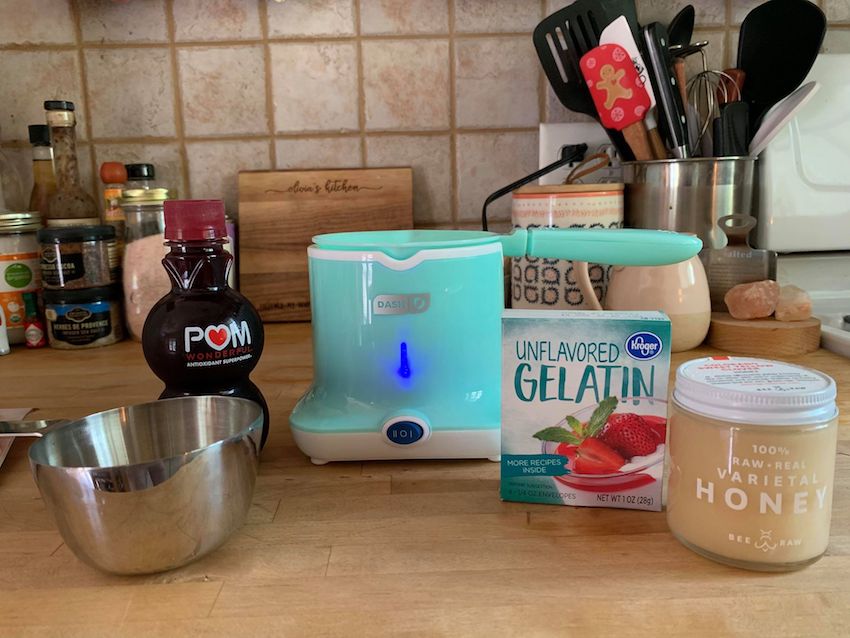
First, I plugged in and turned on the candy maker. See that little blue light? Once it shuts off, the candy maker is properly heated, and you can begin to add your ingredients.
I measured out a little more than ¾ cup of pomegranate juice and about a teaspoon of honey, and then I grabbed three packets of gelatin. One packet of gelatin is equivalent to about 1 tablespoon.
Gummies Step 2: Grease Molds
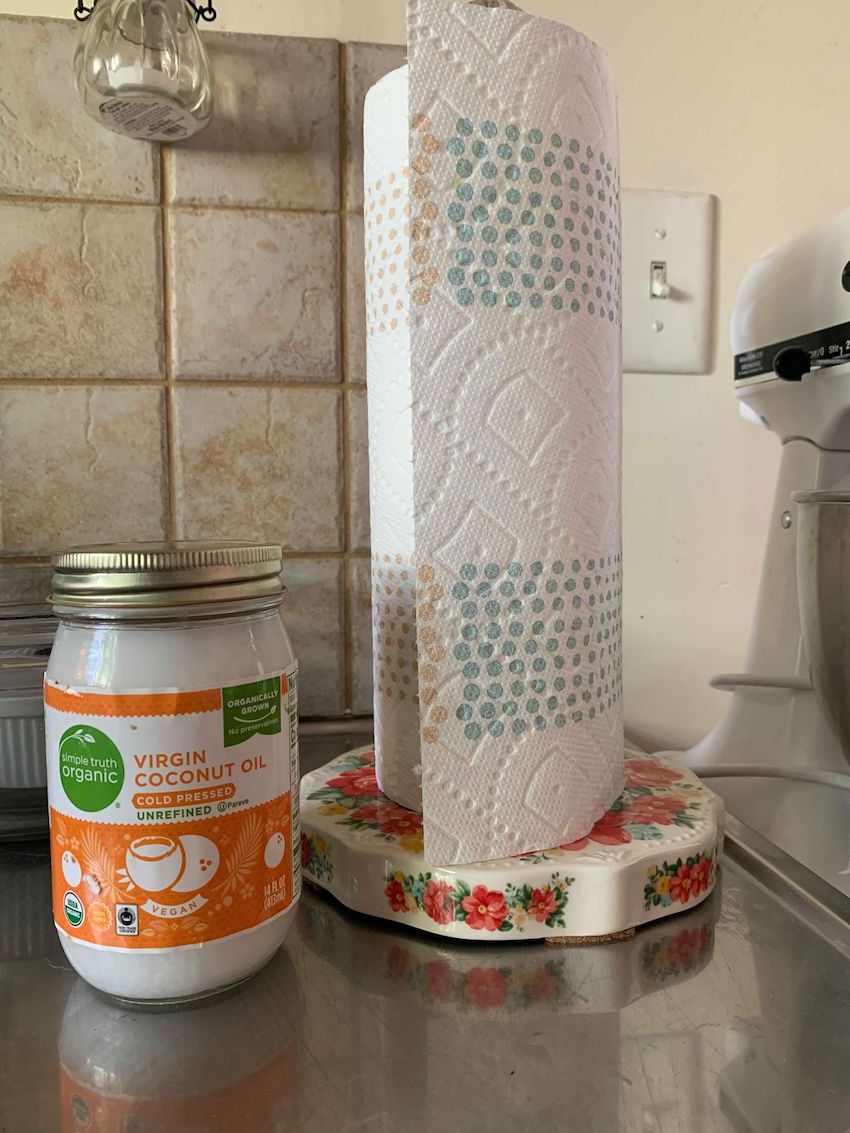
After I measured my ingredients, I grabbed a jar of coconut oil and a paper towel. I rubbed the oil on the paper towel, then lightly coated the silicone molds with it to ensure that the gummies wouldn't stick when I popped them out of the molds.
I've never made gummies before, so I did a little research for this part and decided, "When in doubt, coconut oil it out." That's how the saying goes, right?
Gummies Step 3: Mix and Heat Ingredients
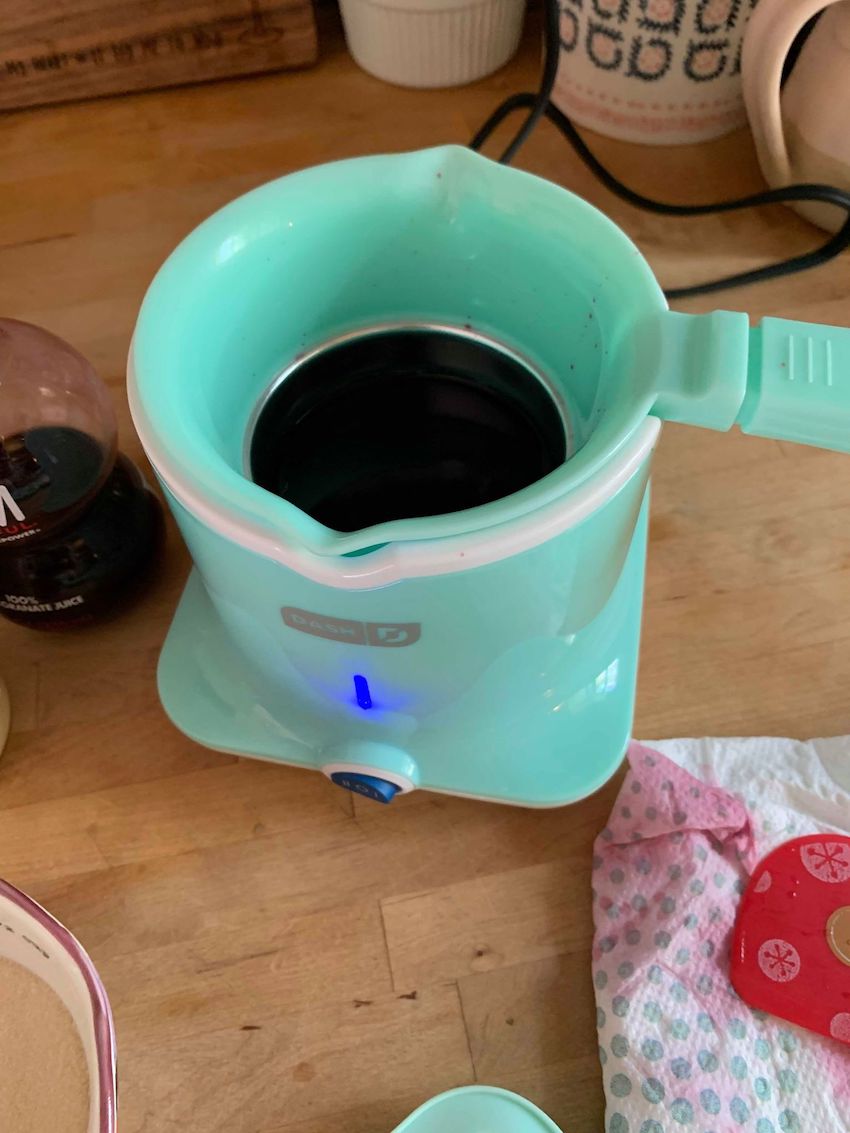
Once the machine was ready to go, I slowly poured the pomegranate juice into the boiler. I added the honey and stirred until the mixture was hot. Then I slowly added the gelatin powder while continuously whisking to make sure the gelatin completely dissolved.
I noticed that some of it started to clump (I definitely added too much powder, so keep an eye on this), so I took the boiler off the heat and strained the mixture through a metal strainer.
Womp Womp Womp
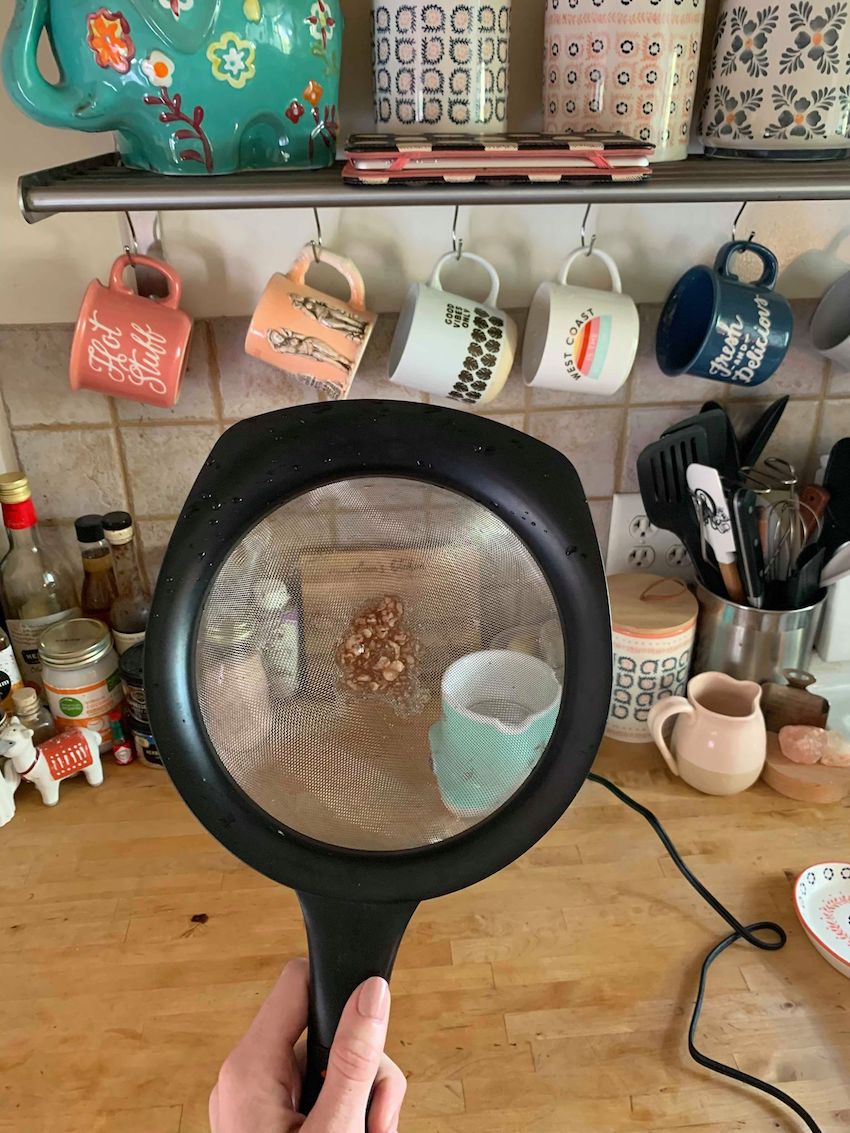
Then I ruined my strainer.
Gummies Step 4: Pour Into Molds
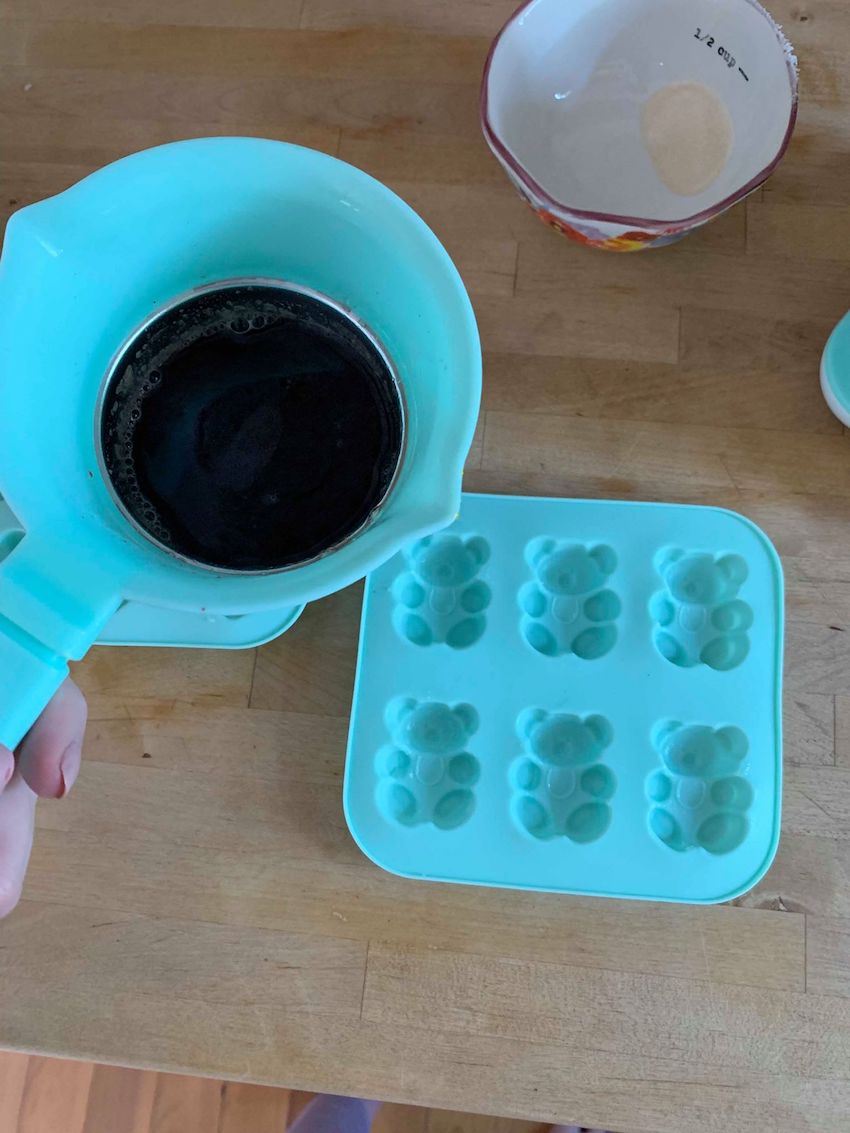
I poured the strained mixture back into the boiler, stirred it a bit more, then let it cool for about two minutes before pouring into the molds.
Gummies Step 5: Place Molds on Cookie Sheet
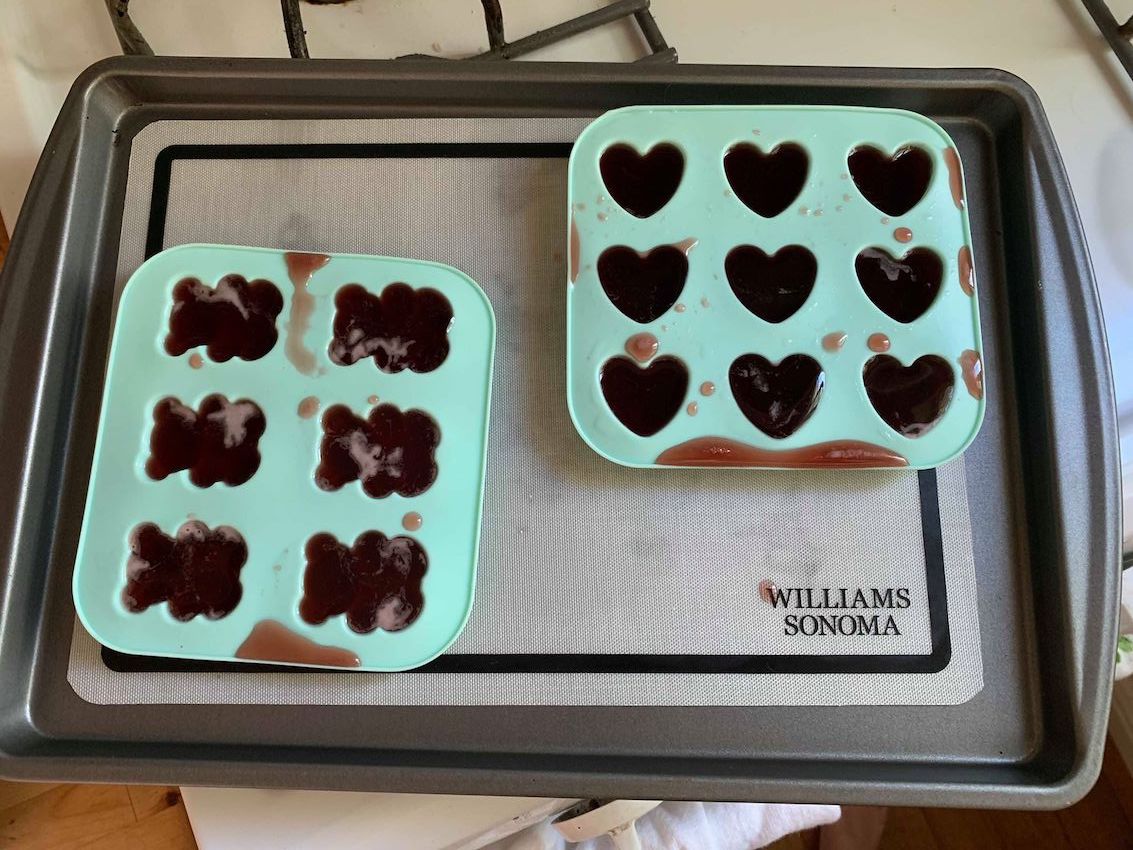
Pro tip: Place molds on a cookie sheet lined with parchment paper or a silicone baking mat before pouring the gelatin mixture into the molds. I most definitely did not do this, and trust me, it'll save you a lot of cleaning up.
Gummies Step 6: Chill
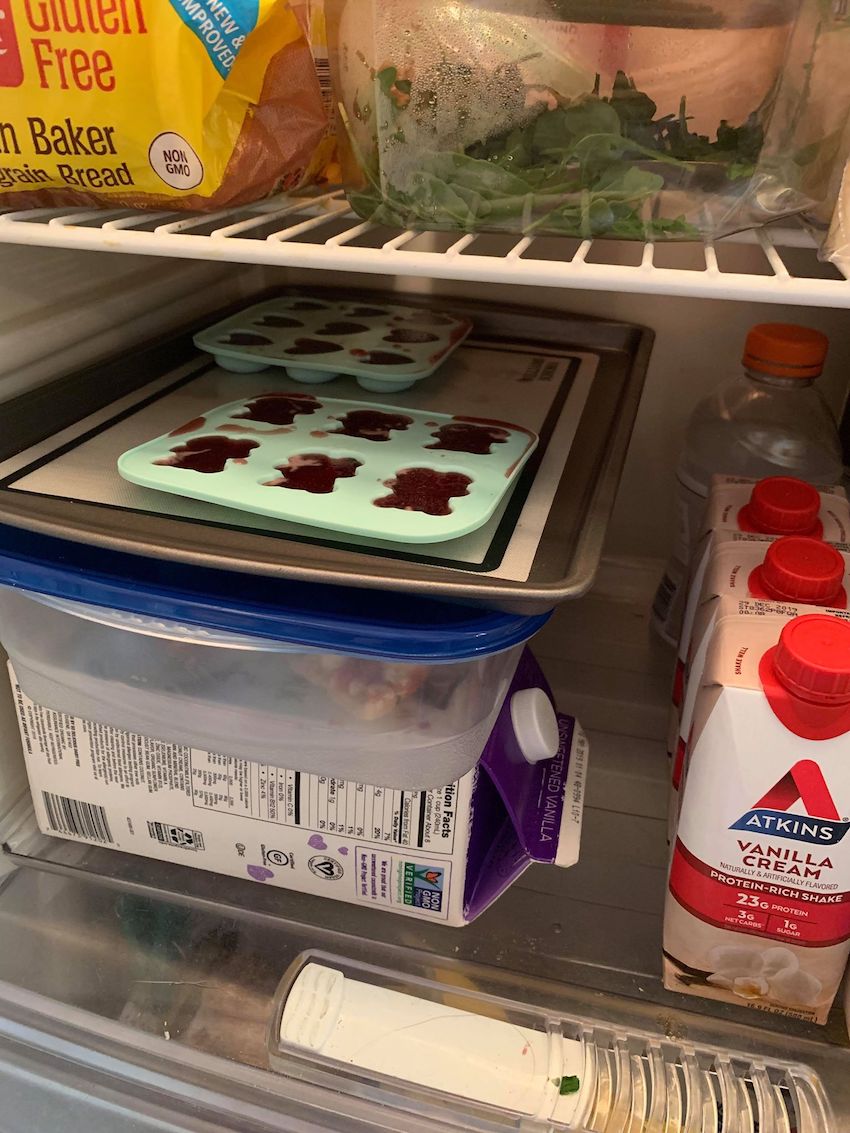
Place the cookie sheets on a flat surface in your fridge for up to three hours to set.
The Finished Product
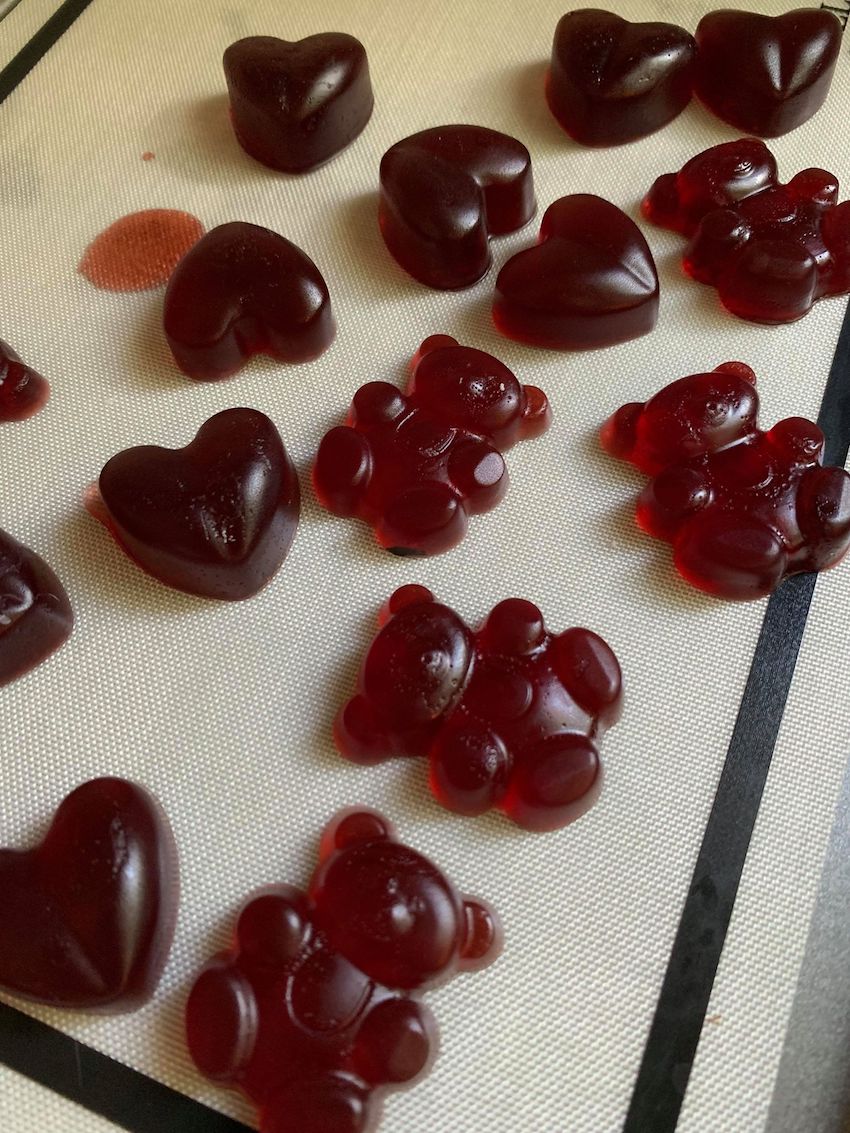
Ta-da! I let these set in the fridge for about two hours, then easily popped them out of the silicone molds. May I present to you: Pomegranate Honey Gummies. It has a nice ring to it, no?
I got about 15 large gummies out of the amount of liquid and ingredients I used. If you're looking to make a huge batch of these, the process will be a little time-consuming, so be sure to plan your day appropriately.
Chocolates Step 1: Gather Ingredients
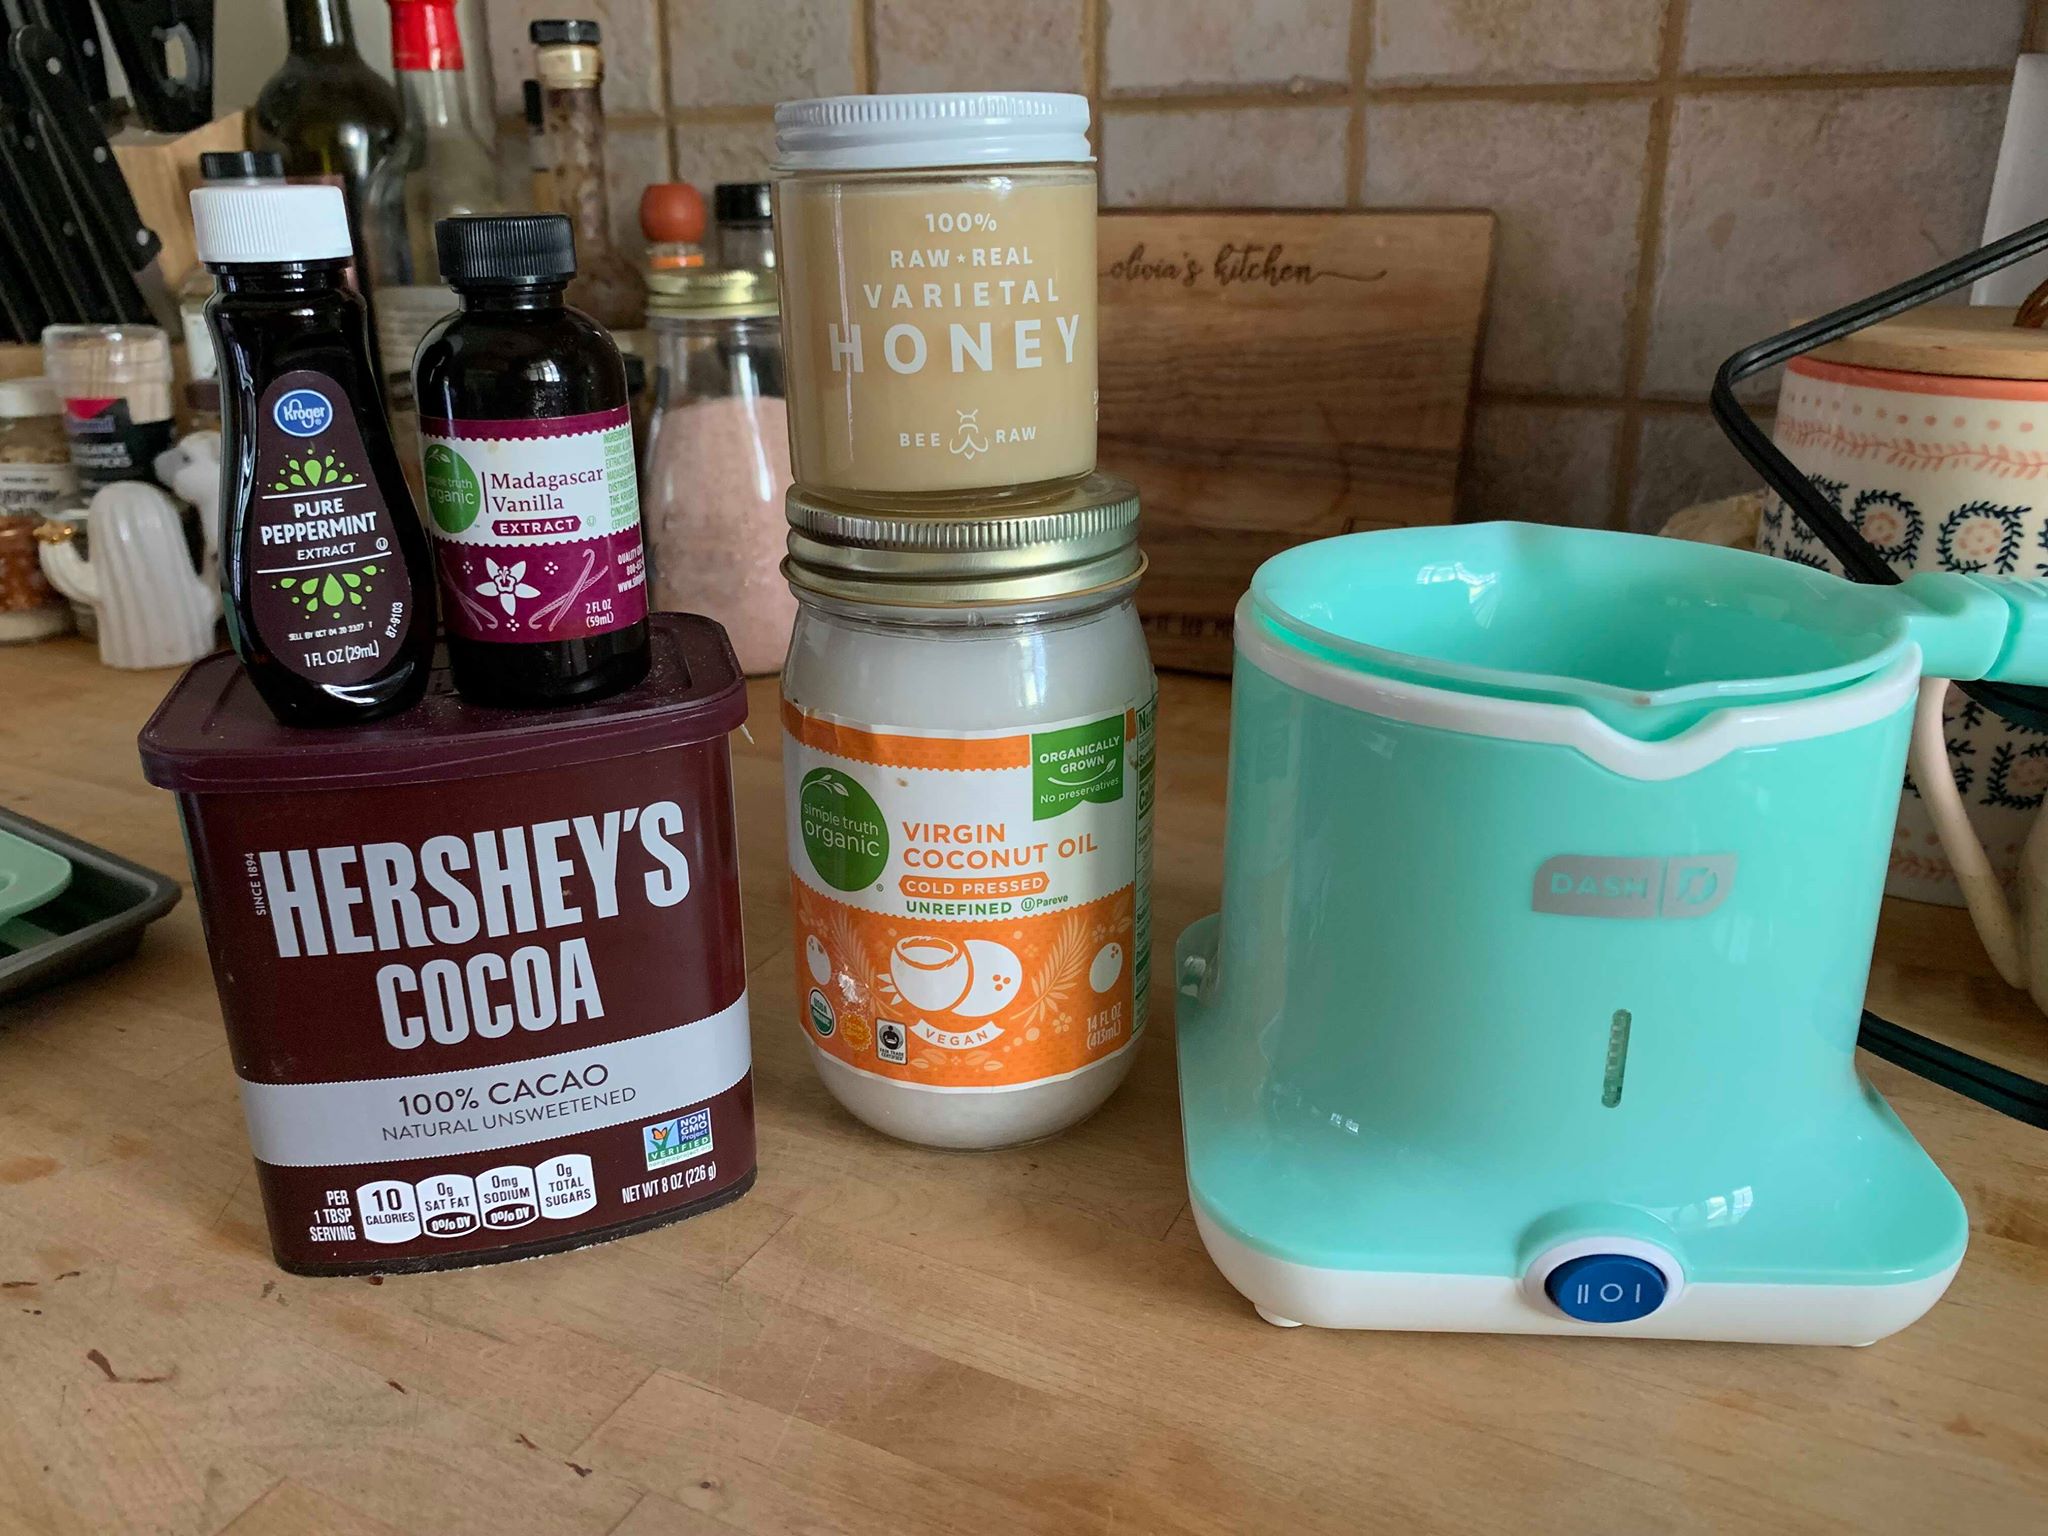
The more I thought about what kinds of flavors I wanted to use in my chocolates, the more I strayed away from the ingredients I started with. Instead of relying on chocolate chips as my chocolate base, I used the following ingredients:
- ¼ cup unsweetened cocoa powder
- ½ cup coconut oil
- 2 tbsps. honey
- Some vanilla extract
Chocolates Step 2: Melt, Mix, Pour Into Molds
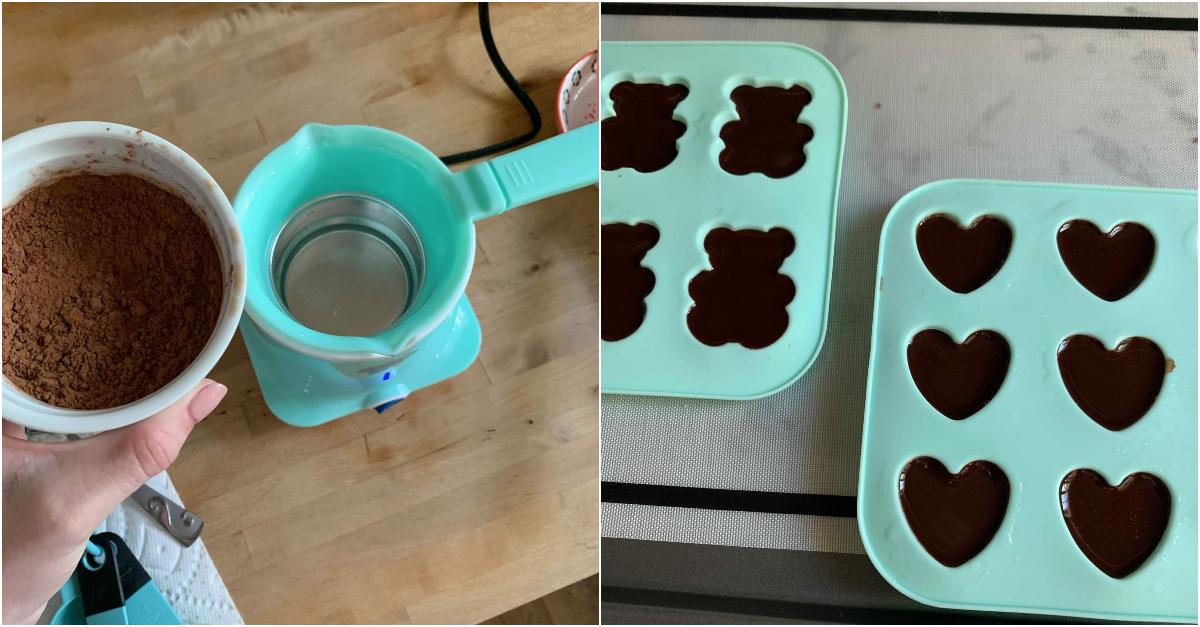
First, I added half the coconut oil to the preheated boiler, let it melt, then added the other half and stirred until the coconut oil was liquid. Then I slowly combined all the other ingredients until they were well mixed. I poured the chocolate into the molds, which I had prepped first by lightly rubbing with coconut oil and putting on a cookie sheet, then placed the molds in the freezer for an hour to set.
Chocolates Step 3: Decorate With Drizzles
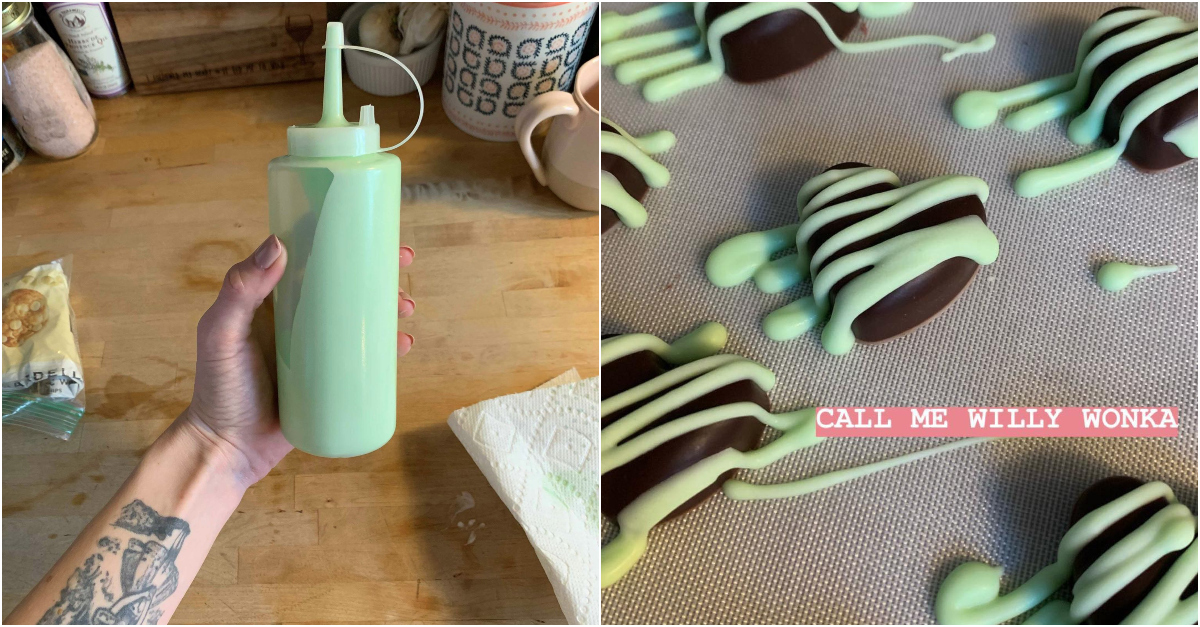
To give my chocolates some added pizzazz, I melted 1 cup of white chocolate chips in the microwave with a tablespoon of coconut oil in increments of 15 seconds, stirring every time. Once the chocolate was melted, I added peppermint extract and 4 drops of pastel green food coloring and mixed until I got the shade I wanted. Then I drizzled the chocolate-mint mixture over some of the chocolates.
Chocolates Step 4: Infuse With Orange Essence
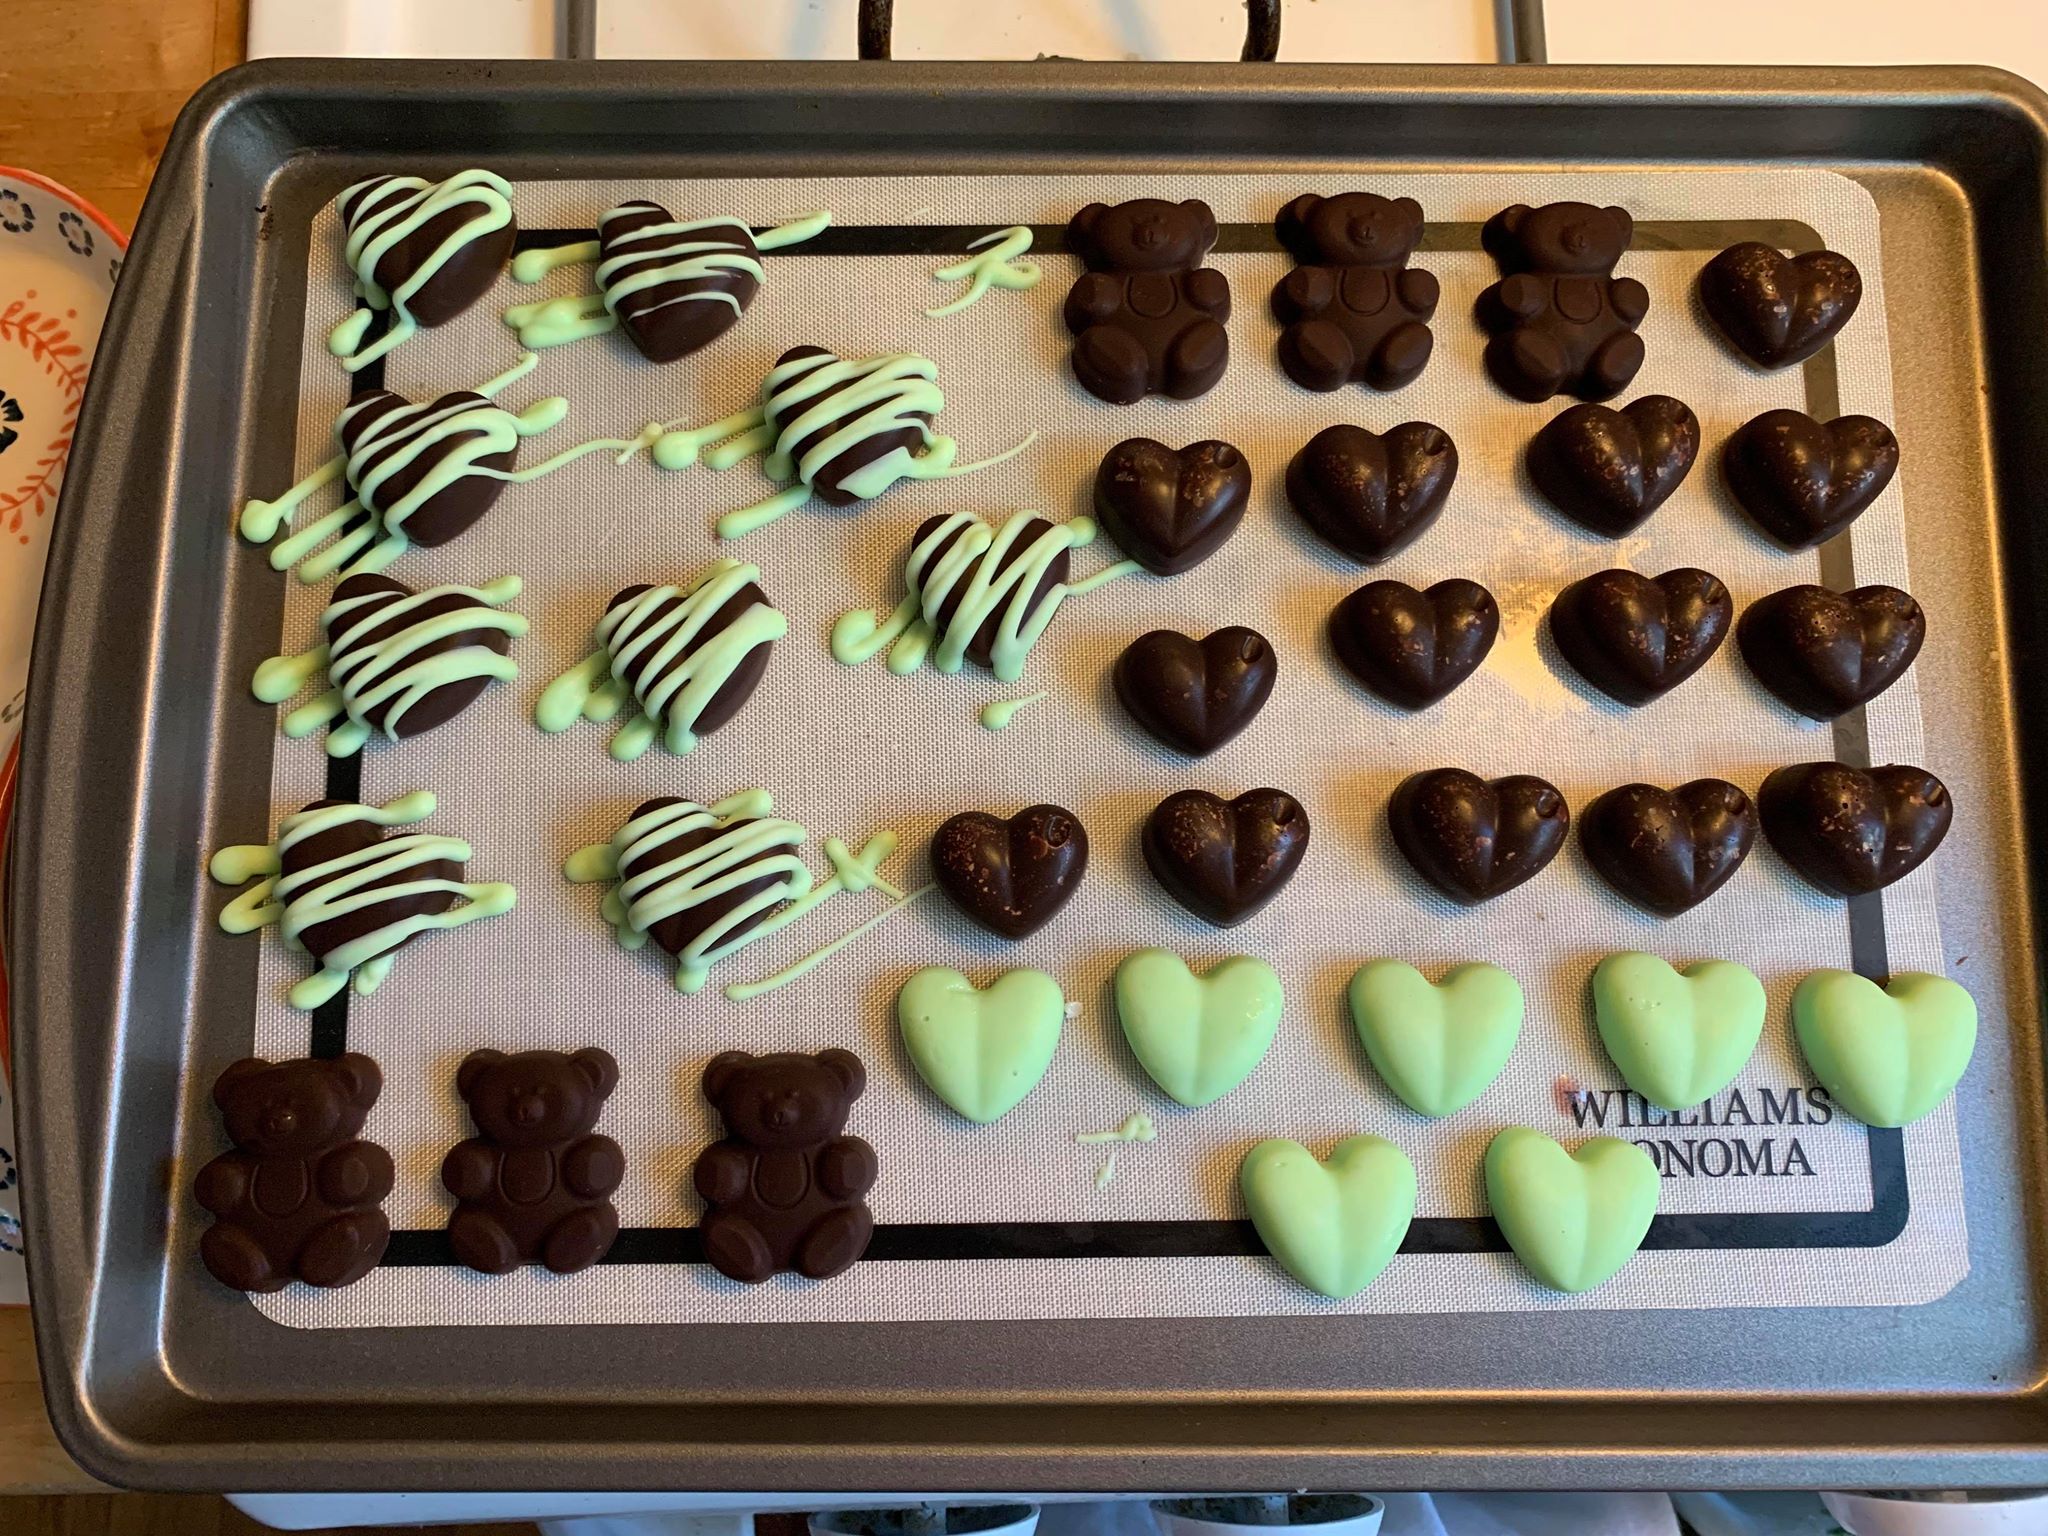
For my second batch of chocolate candies (the smaller chocolate hearts on the right), I used the same ratio of unsweetened cocoa powder and coconut oil, 2 tablespoons of honey, and ½ teaspoon of orange extract. I also sprinkled espresso sea salt on the molds before pouring the chocolate in. I allowed it to set for an hour in the freezer, and voilà! Homemade chocolates perfect for Easter Sunday.


