Finding the perfect dresser is hard work. I would know — I’m on the hunt right now!
I used to have a beautiful dresser for years — light mahogany; lovely, curved details; a big vanity mirror perched atop of it like a glorious crown. I loved this elegant piece of furniture so much that I even named her: Claire — a simple, refined name exuding in class.
But, alas, I ended up giving old Claire away. I was moving and caught in the whirlwind excitement of starting a new life in a new city… I left Claire behind.
But I could never find the perfect, shabby-chic, vintage-inspired dresser I pined for, so I settled for an Ikea number, and boy, has that been a disaster. I thought, “how hard could it be to put together a dresser from Ikea? It’s basically Legos for adults, right?”
Wrong.
I put panels on upside down, hammered screws into the wrong holes, and, by the time I hired a handyman to Frankenstein together the dresser I was slowly destroying, it was already too late. He salvaged what he could of my Ikea disaster, but warned me that this new dresser would probably only hold up for a few years.
Three years later, it’s literally falling apart, and I find myself desperately seeking another Claire.
I wish I had just done what Imgur user yamahaozone did with her old dresser. With just a few new knobs, a mason jar full of milk paint (a homemade cocktail of lemon, skim milk, and acrylic paint), and a whole lot of love, she transformed a Claire into a Clara — a name that’s familiar but new and exuding with fabulous 1920s flair.
Just watching the simple transformation makes me seethe with jealousy. It’s just SO easy…
The original dresser.
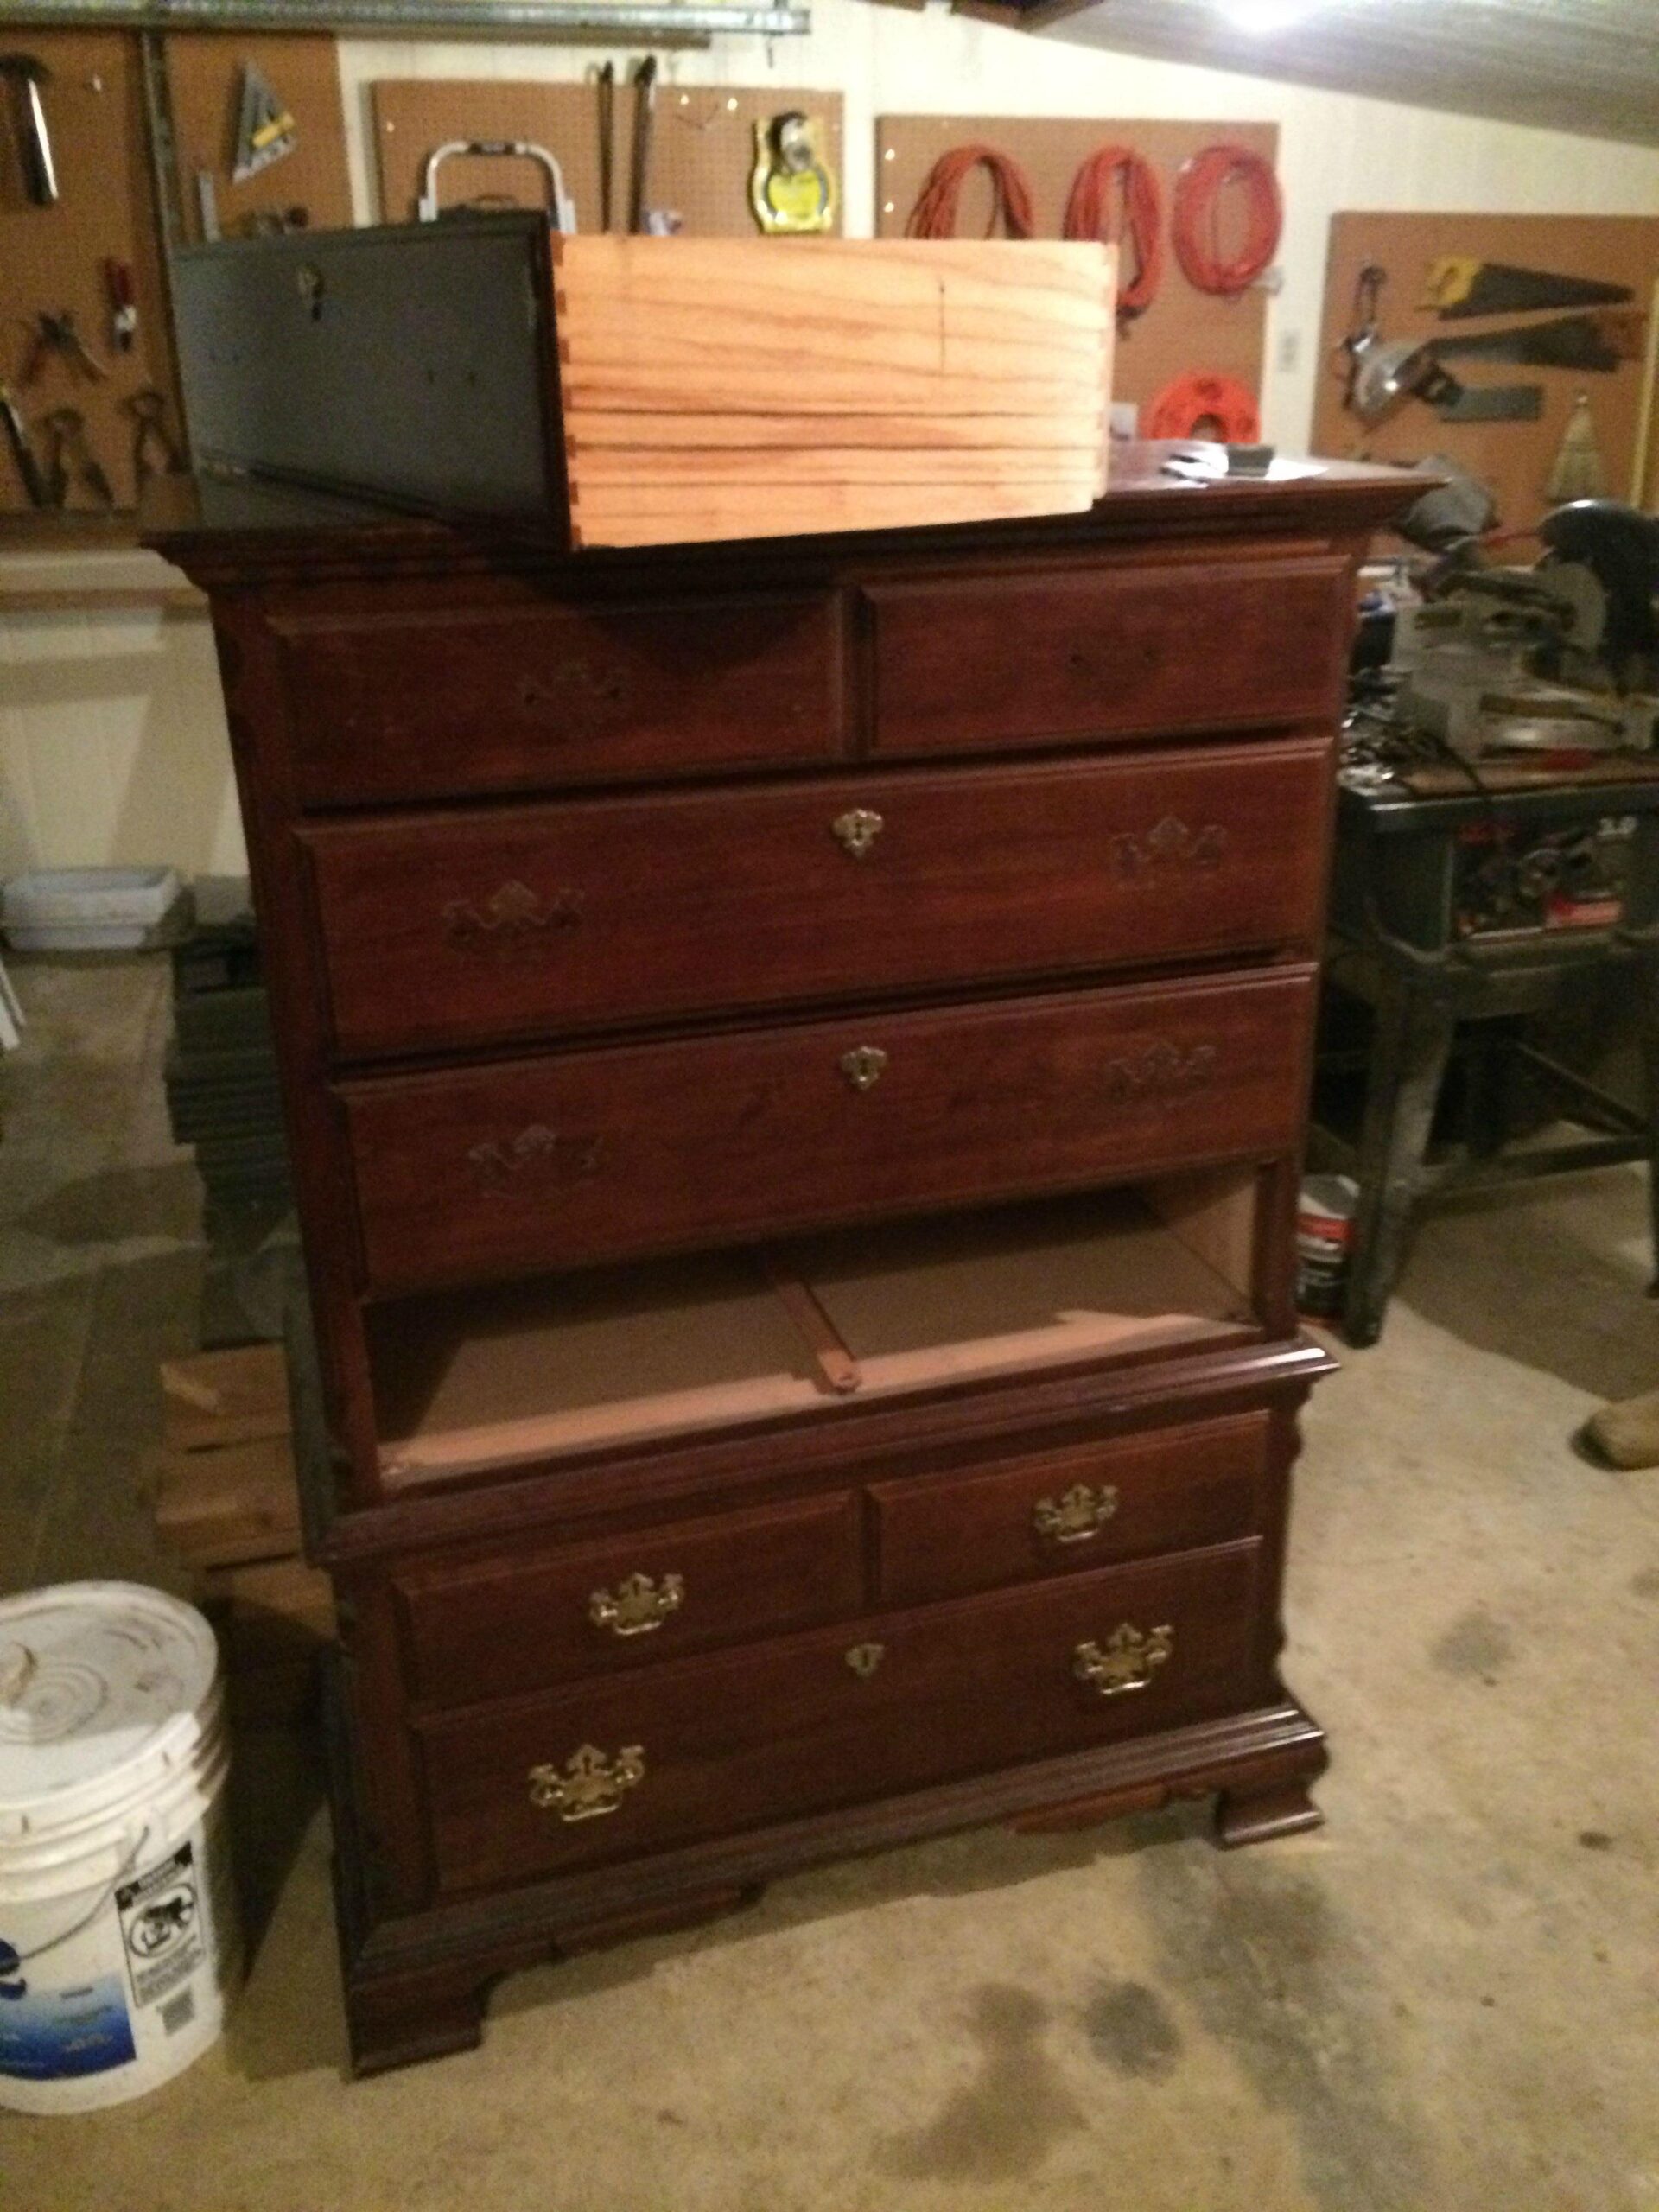
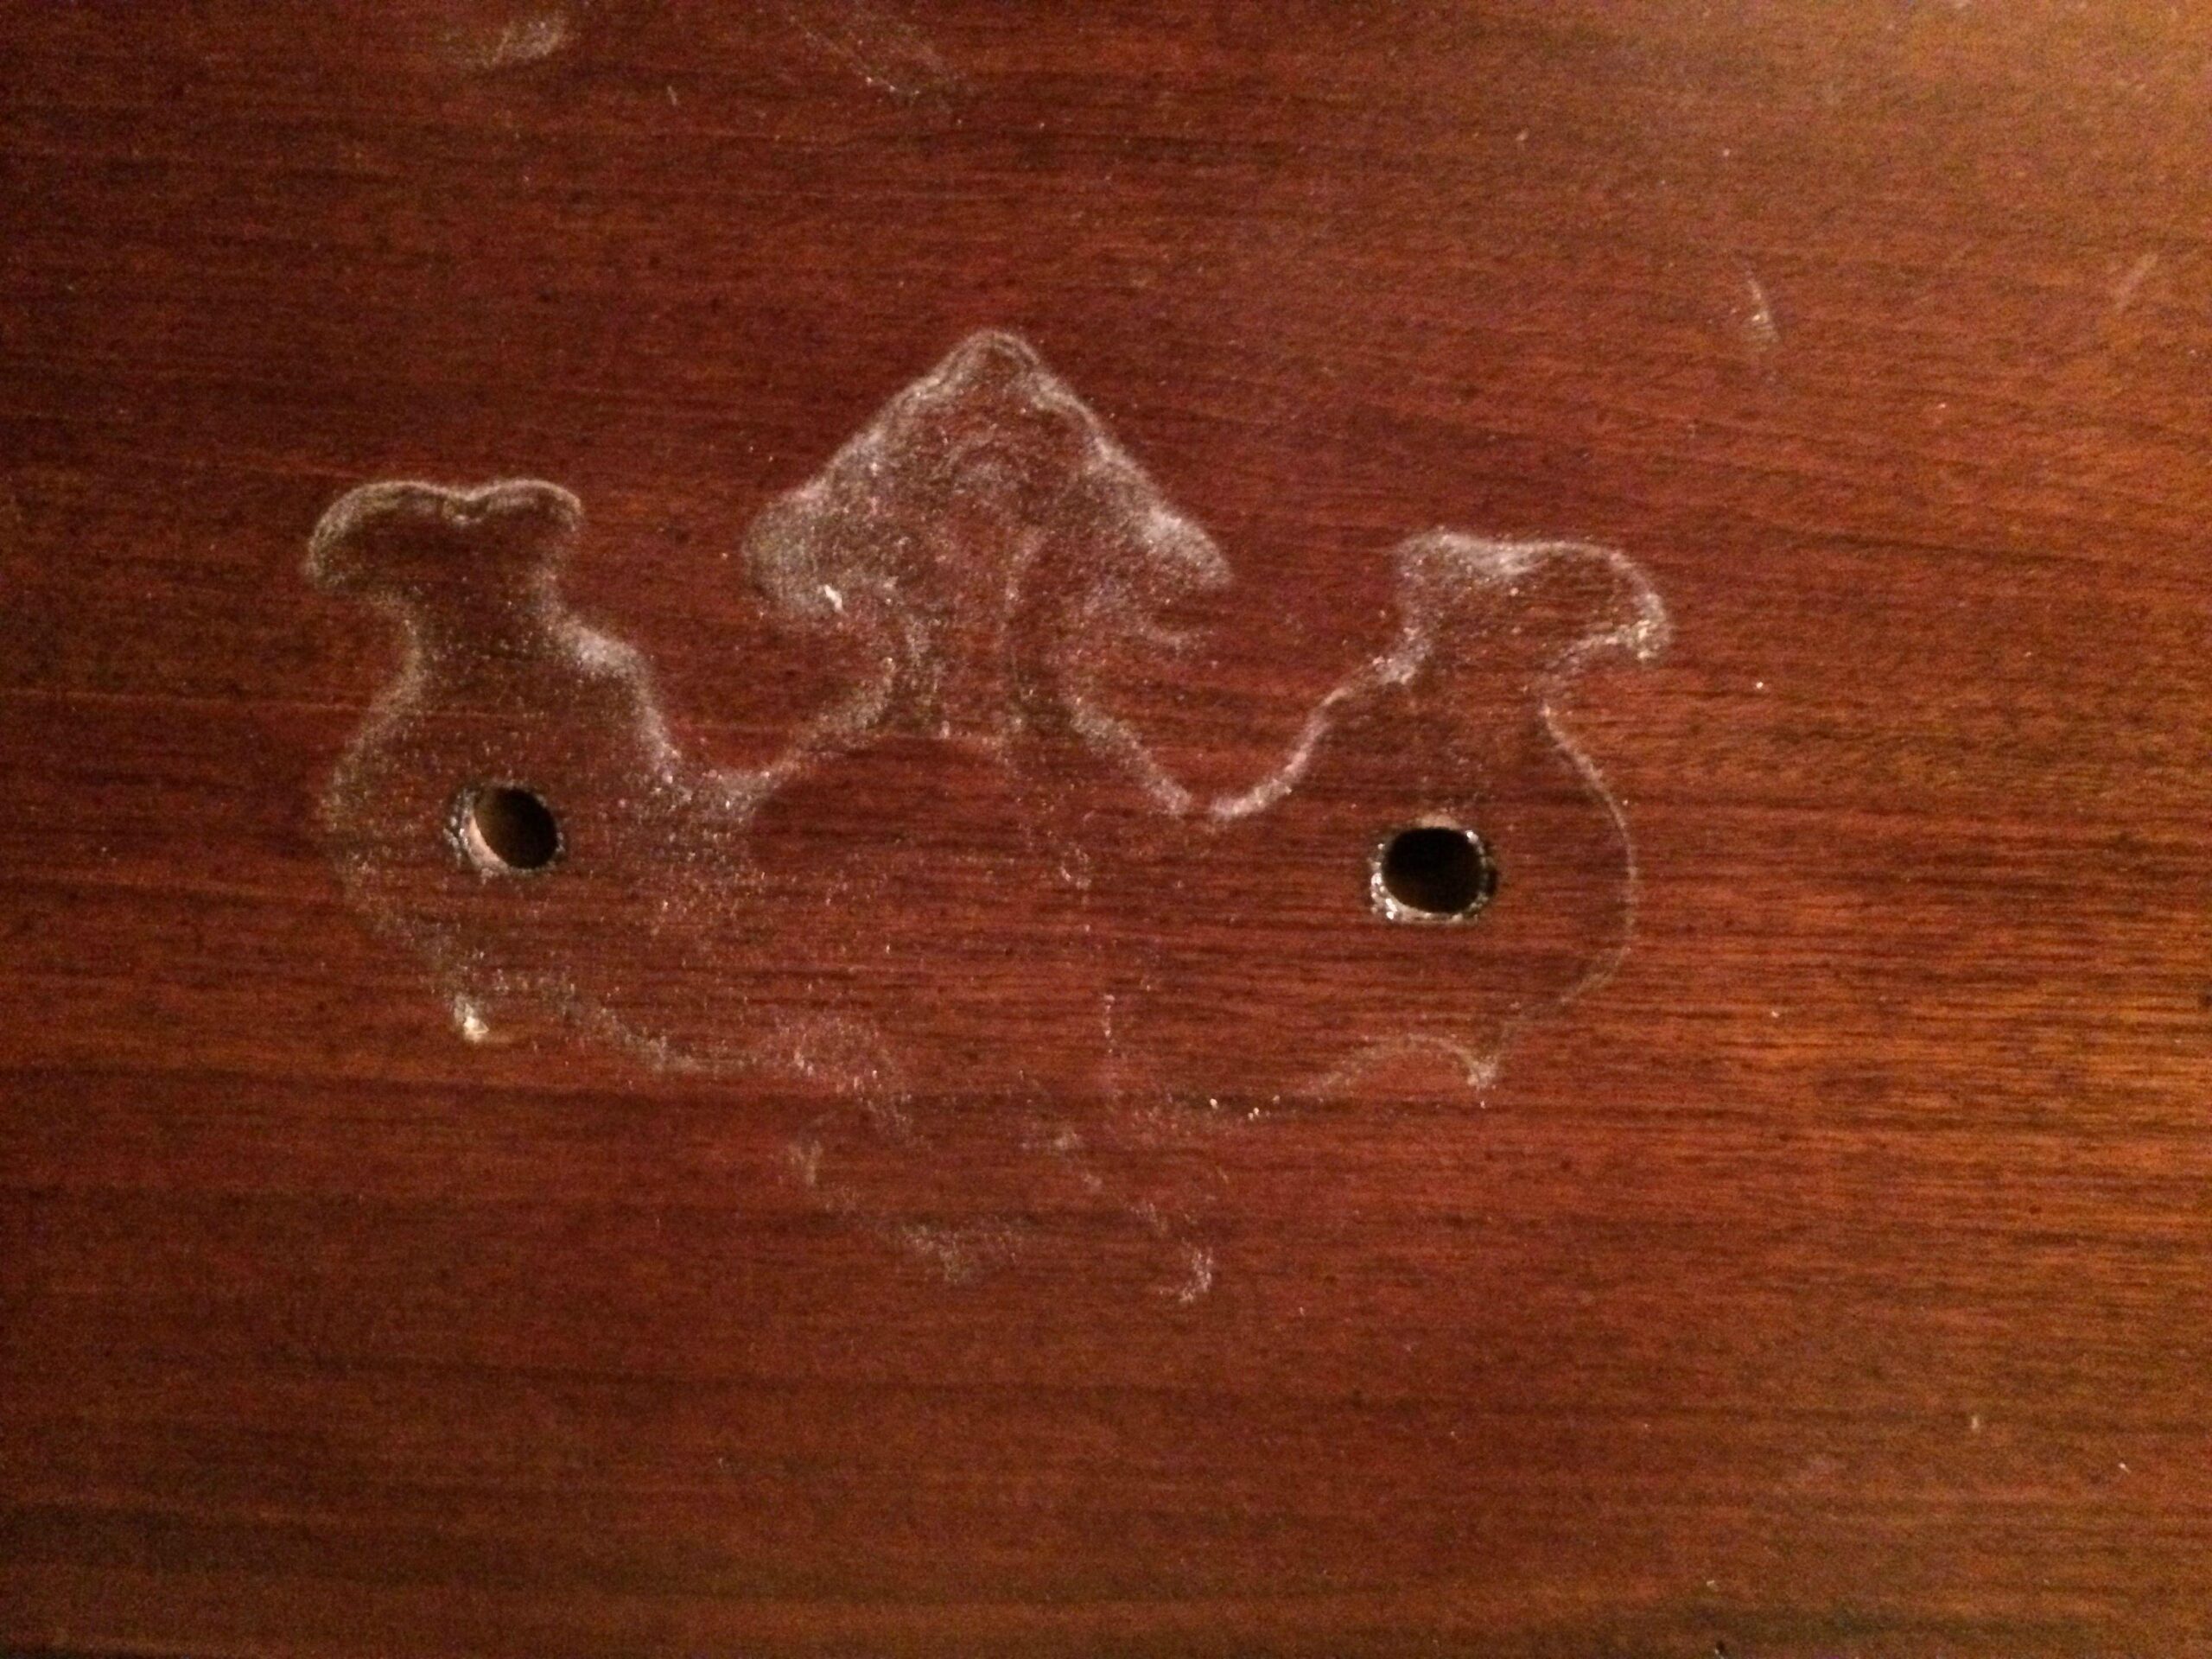
The old knobs were removed.
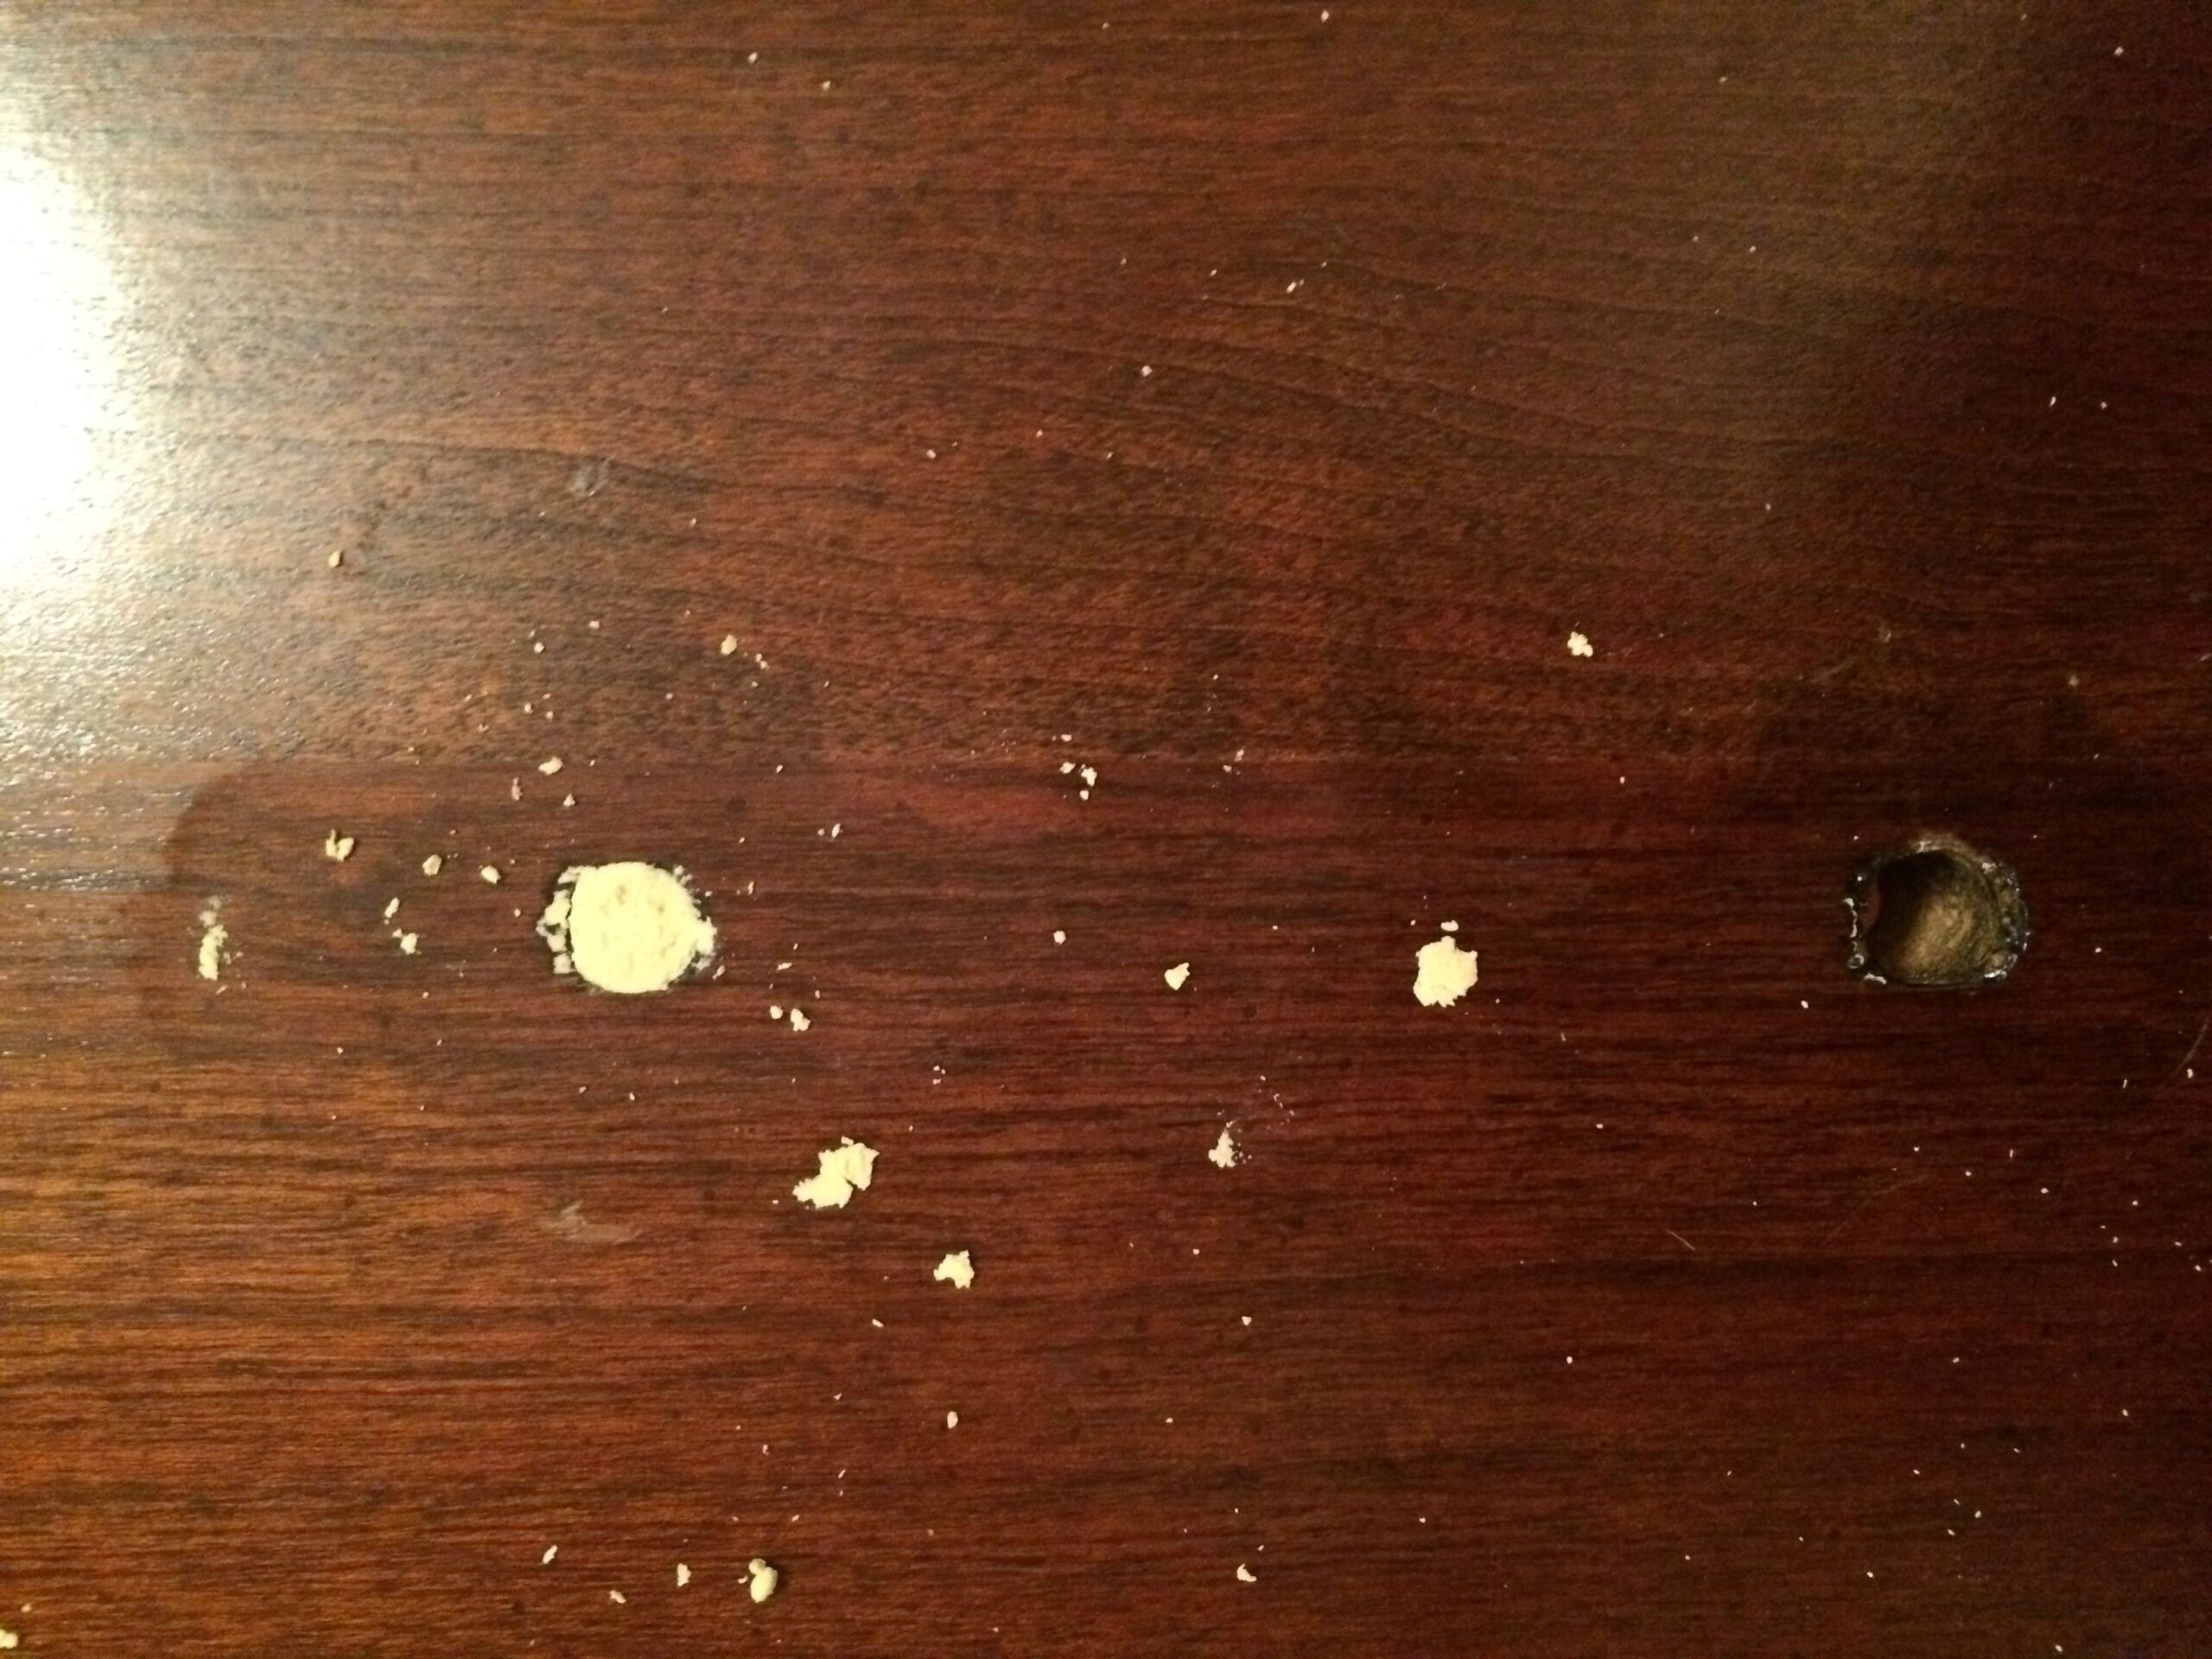
The leftover holes from the hardware removal were packed with wood filler.
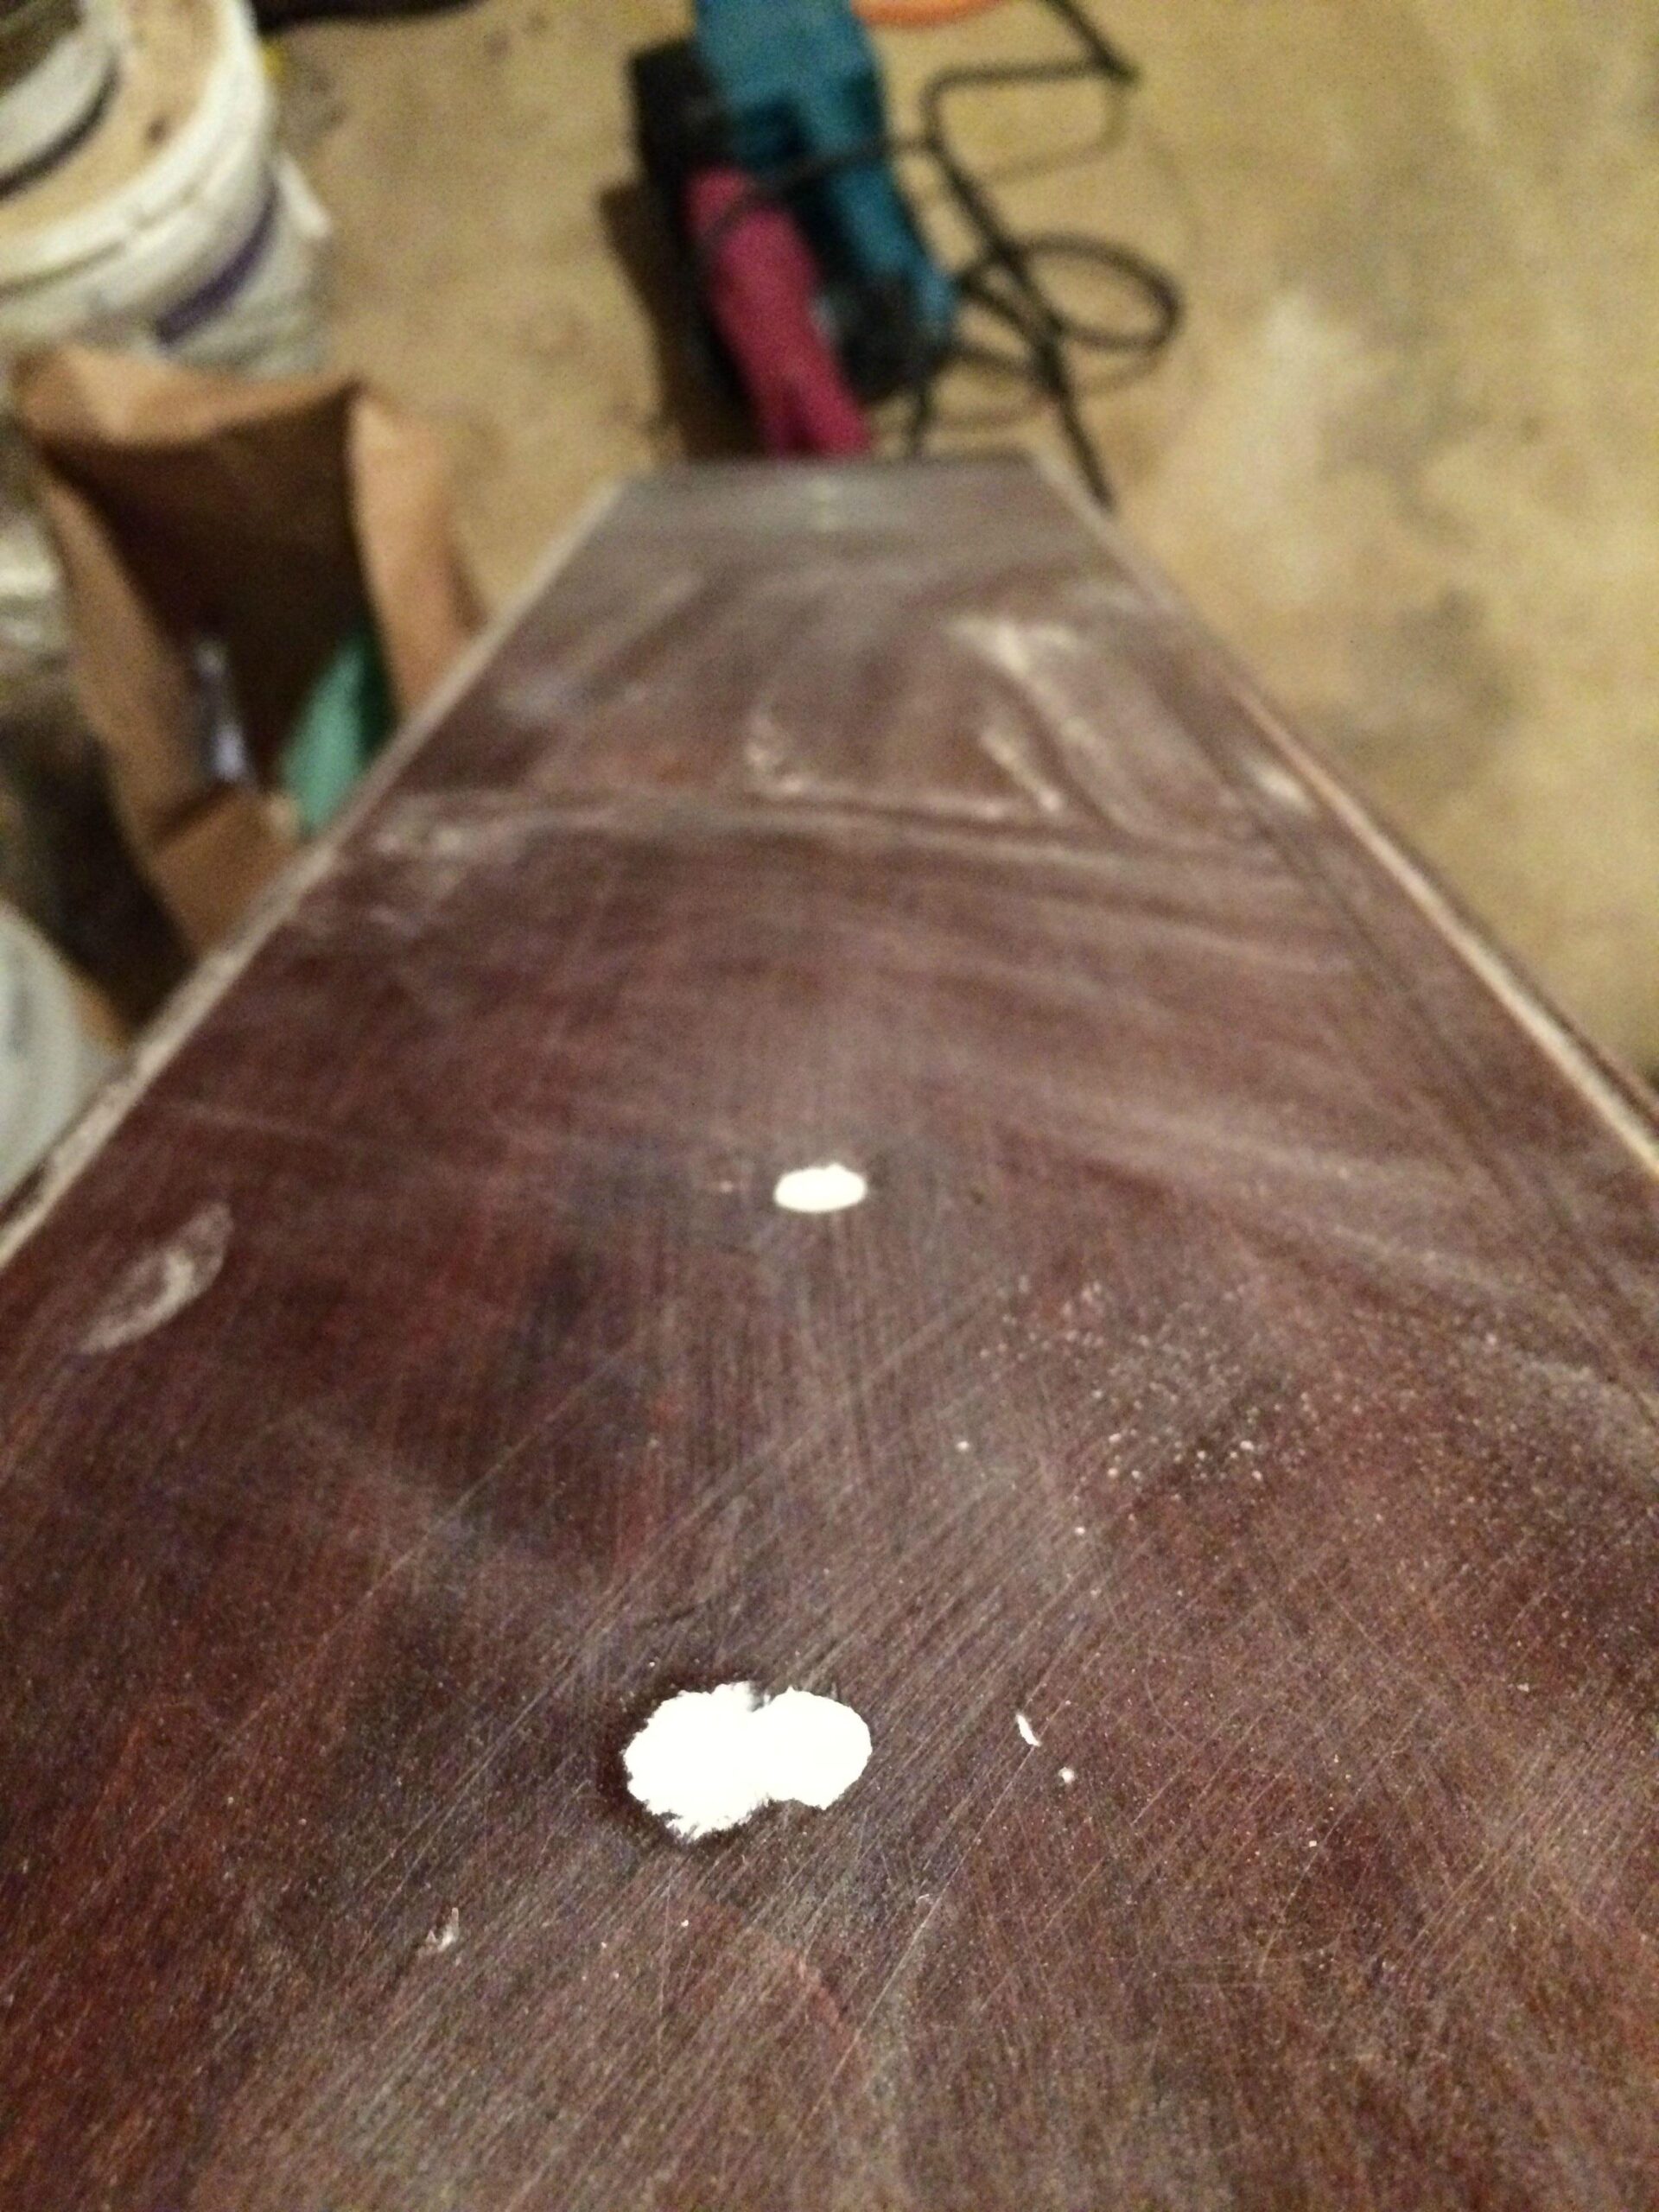
The entire dresser was then sanded down so that the paint would stick.
Then she got a little magic from a mason jar — milk paint!
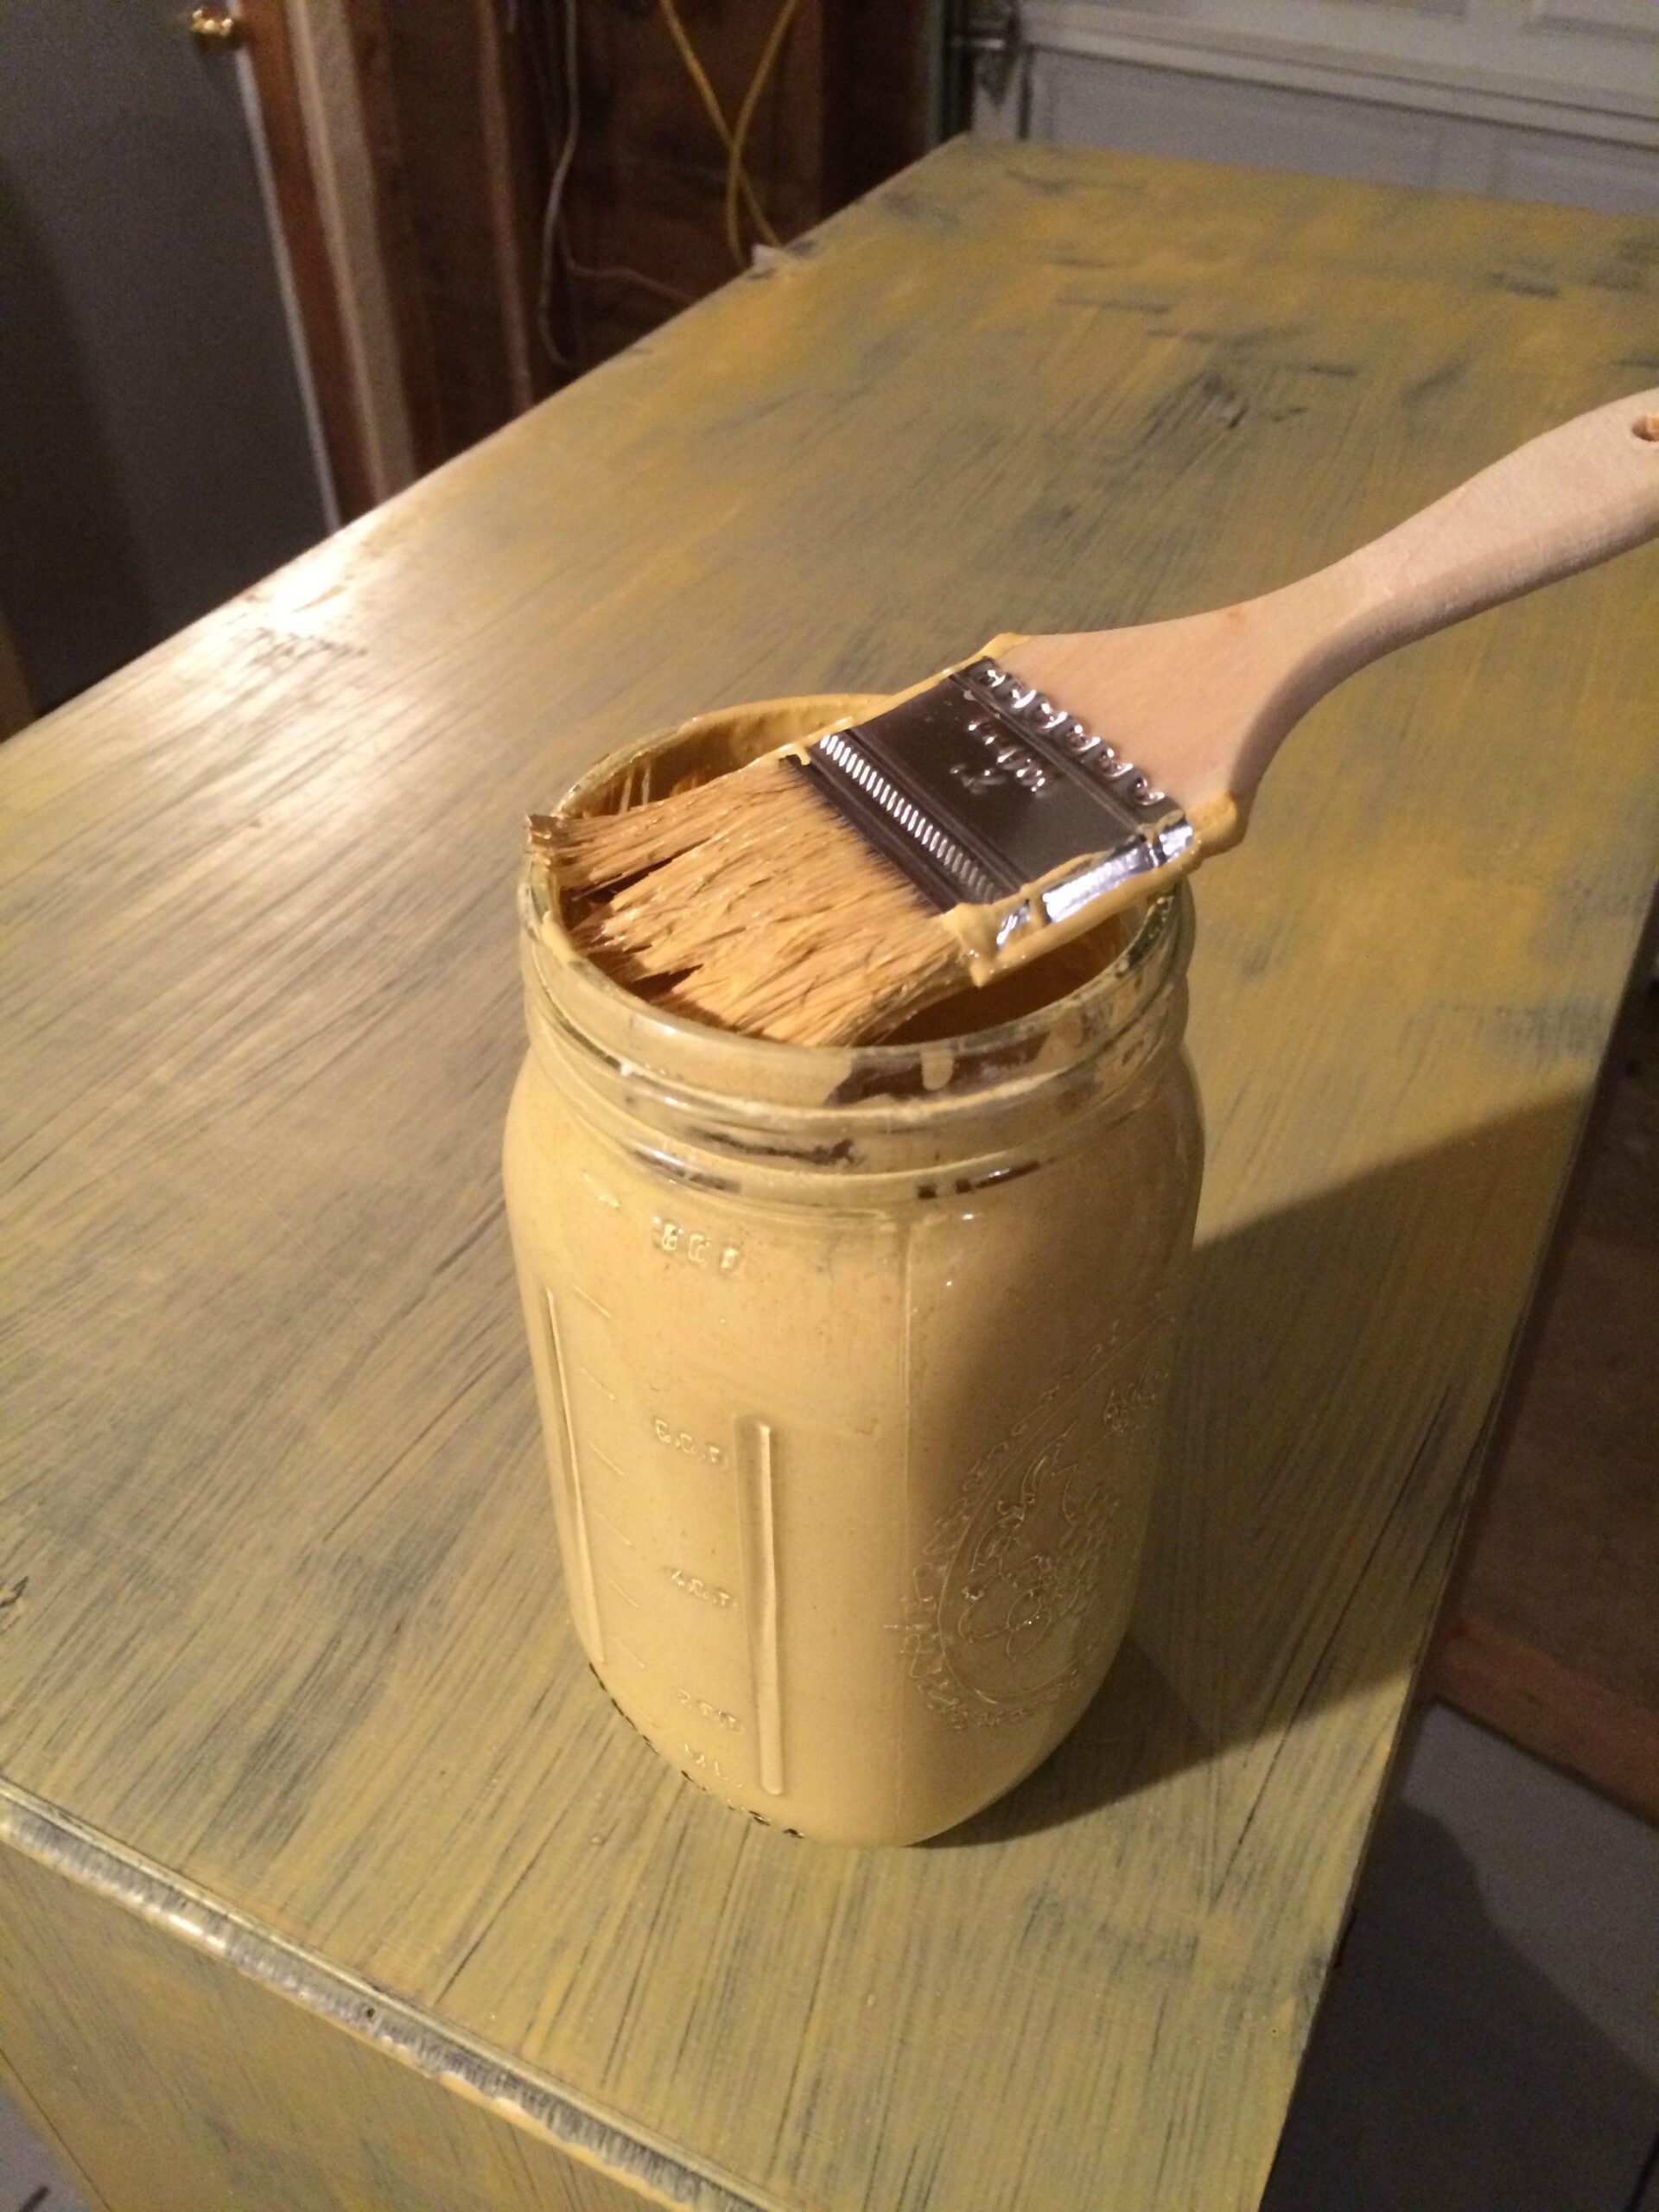
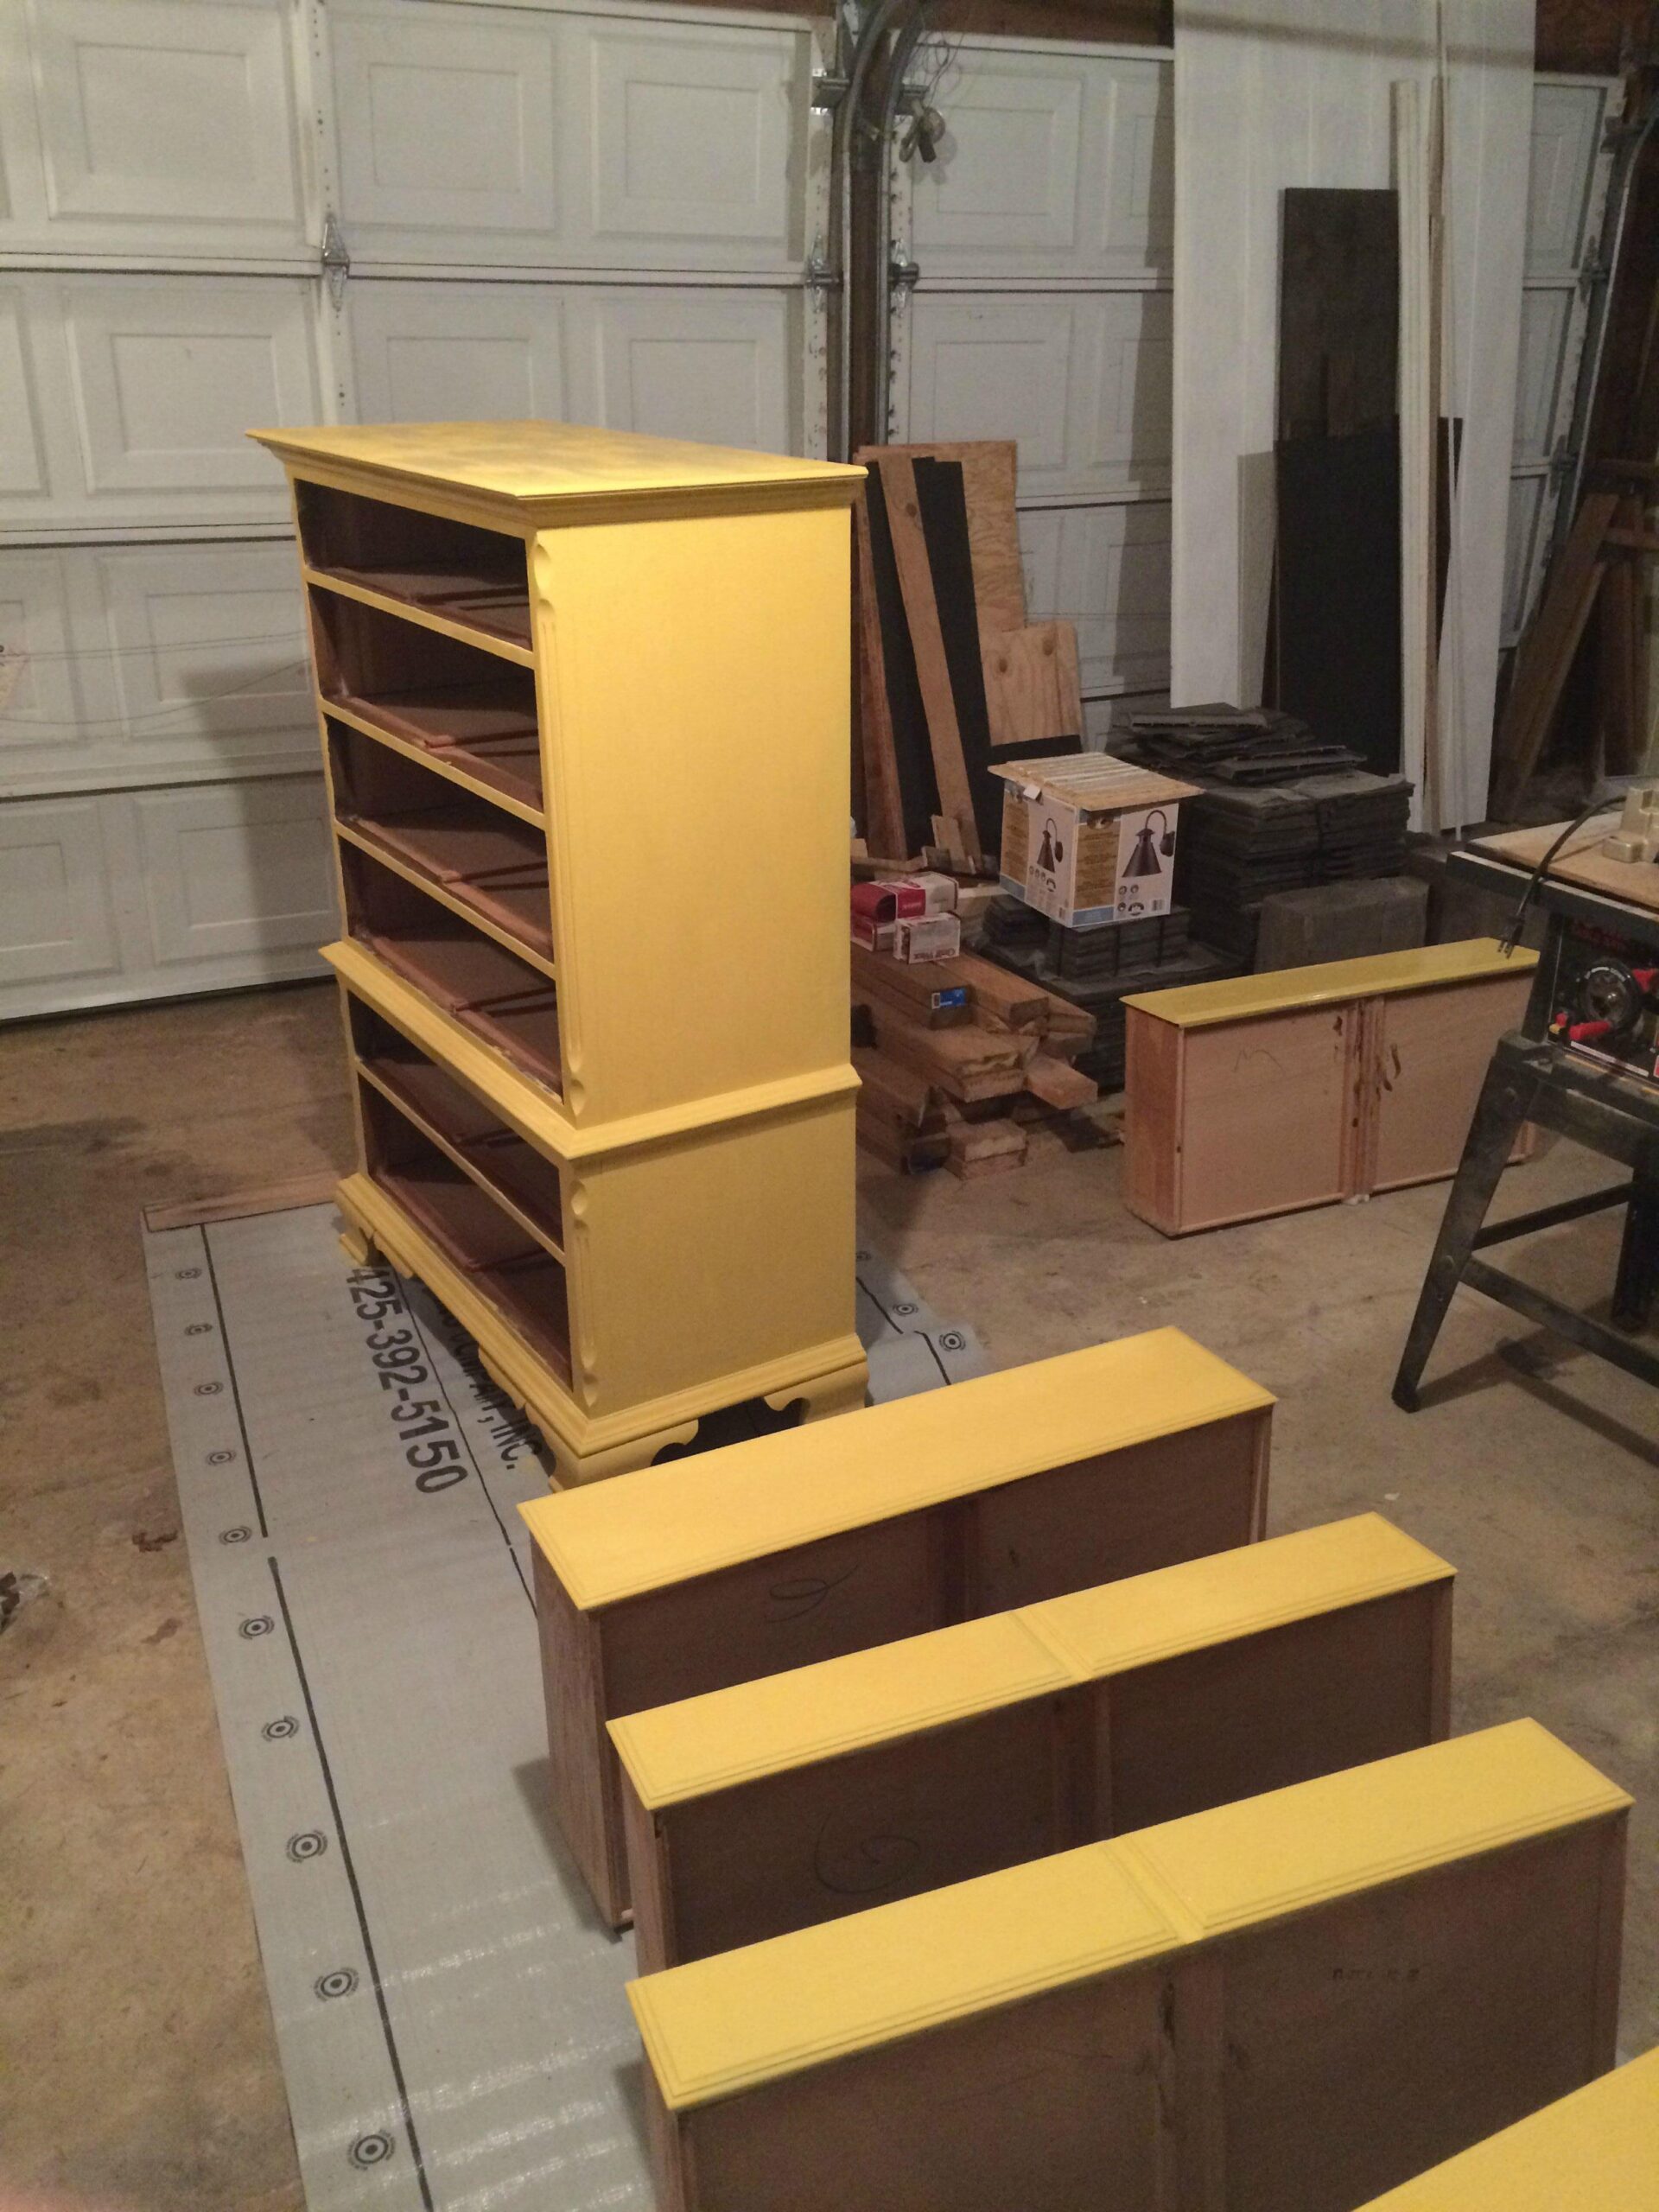
The first coat of milk paint was then applied.
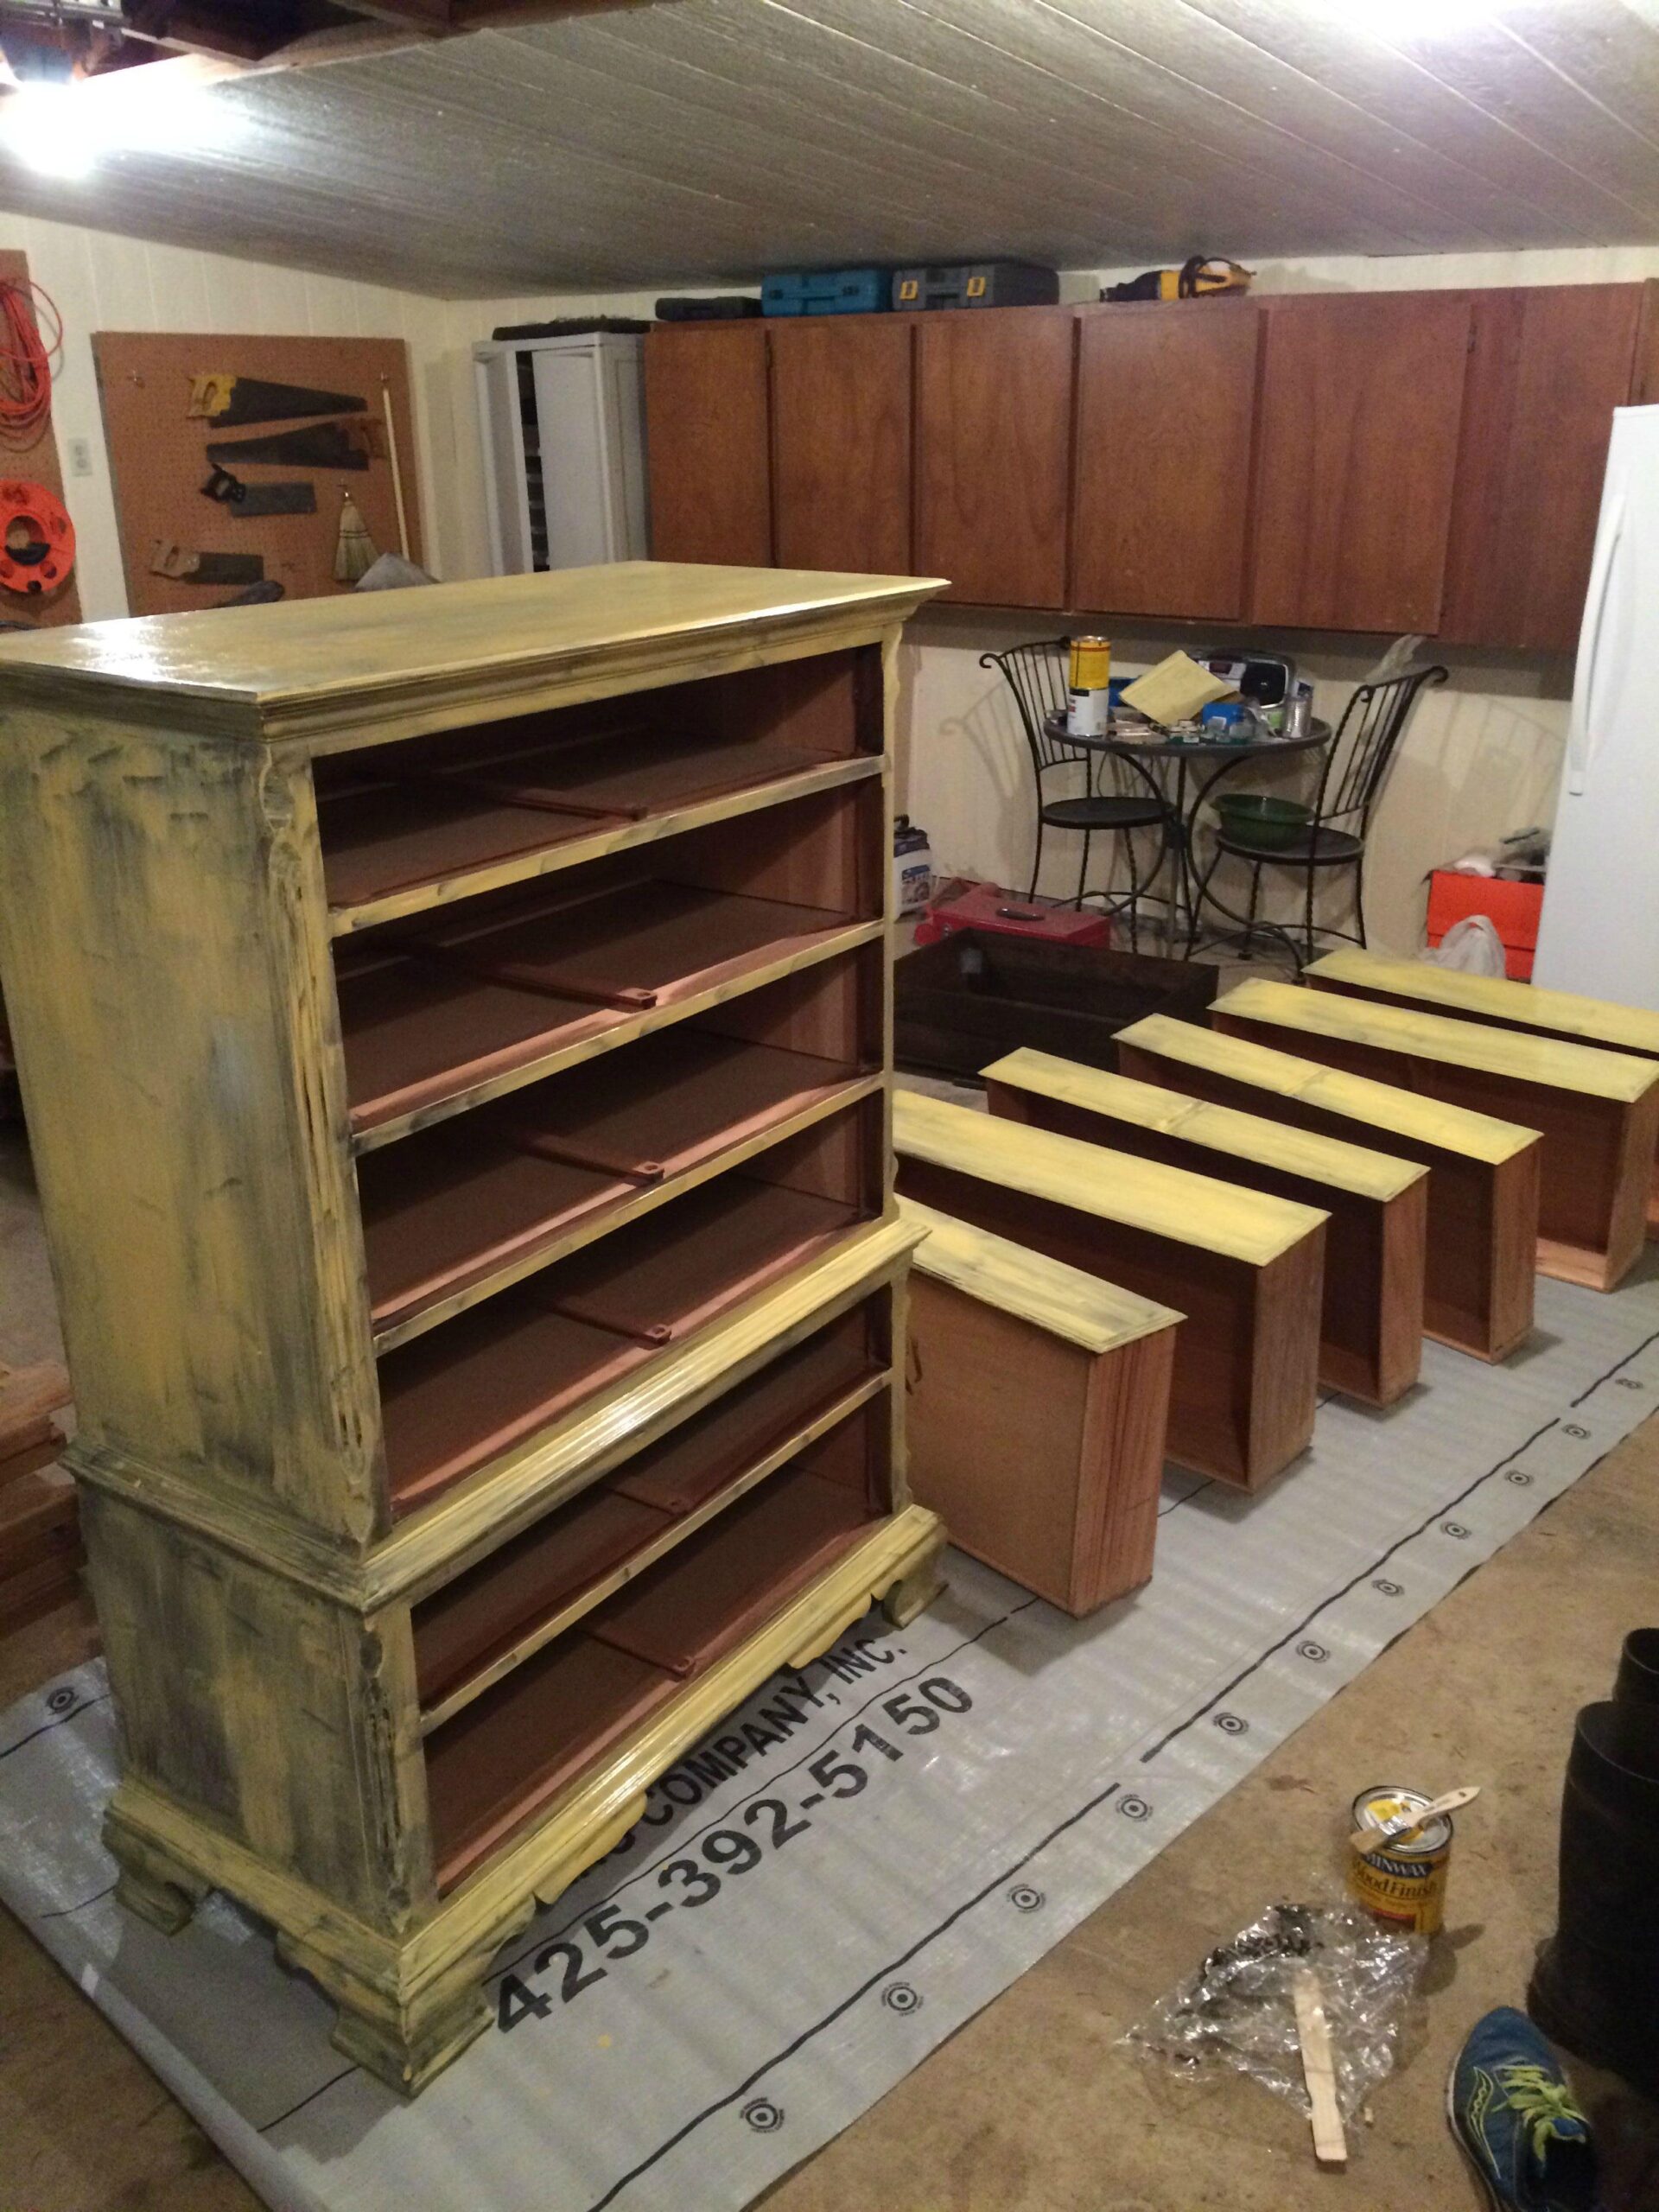
Then a second coat was smoothed on. You can see a real difference between the first and second layer.
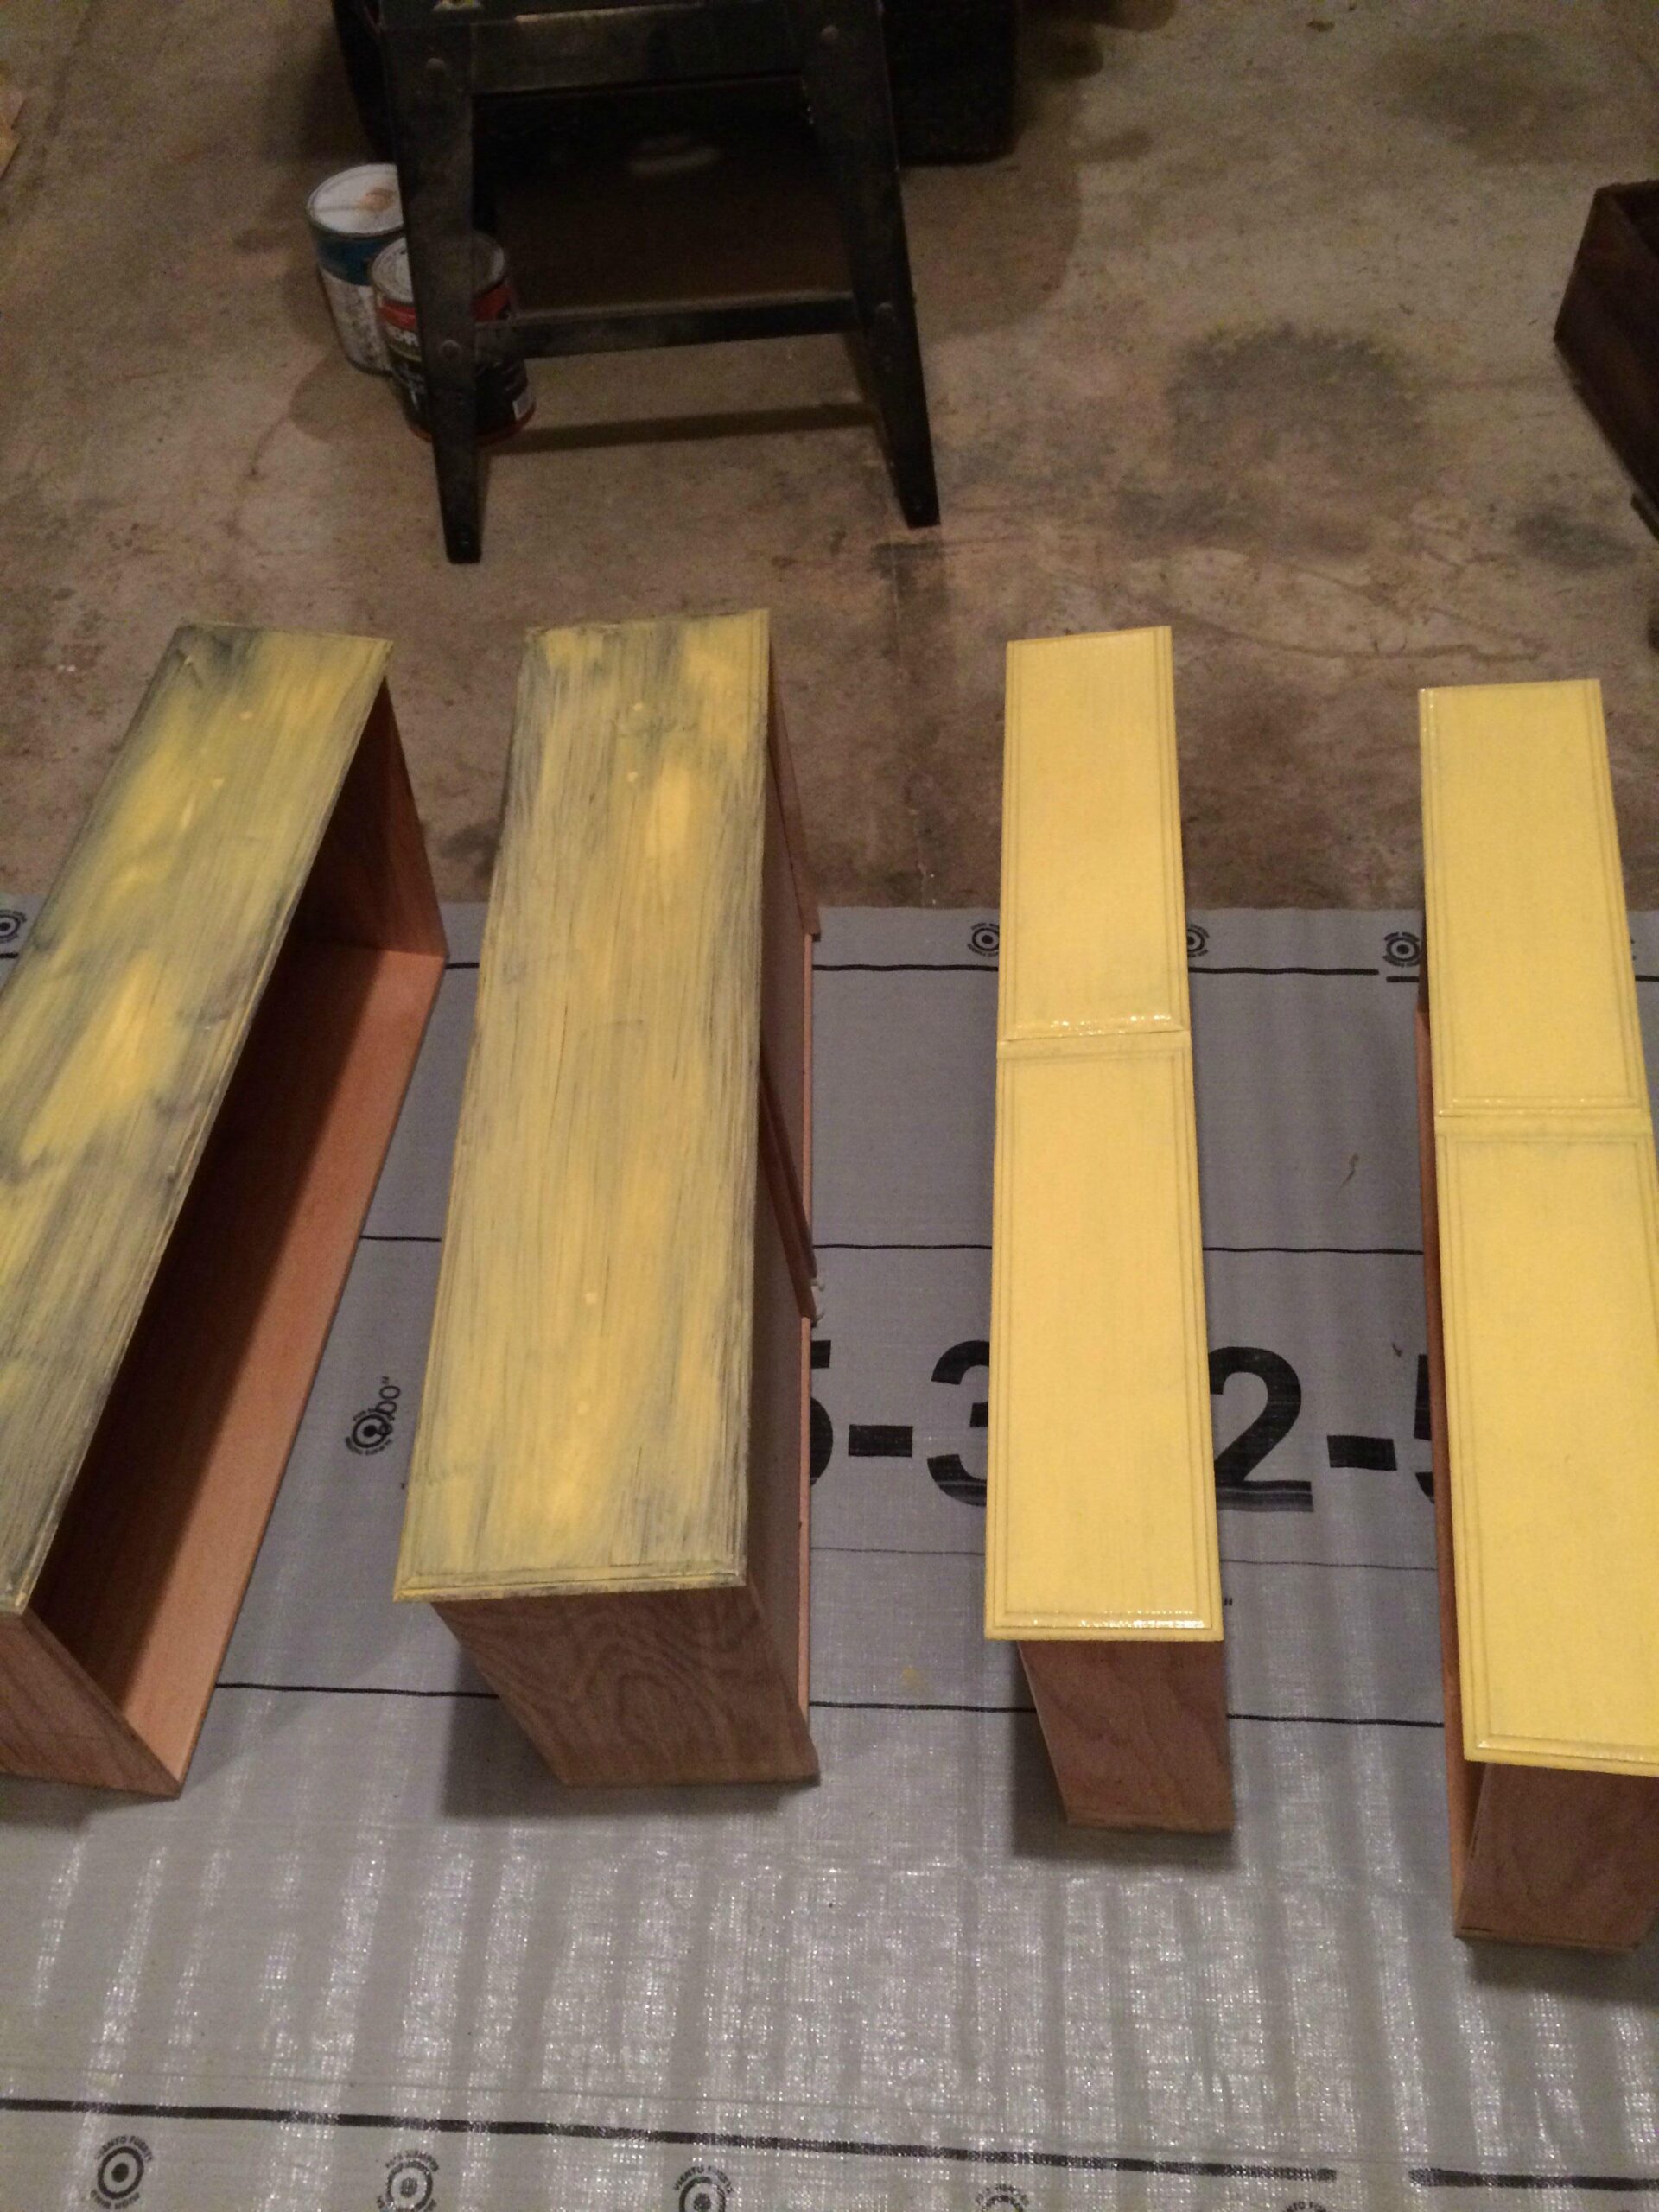
A third coat was then applied, you know, for luck.
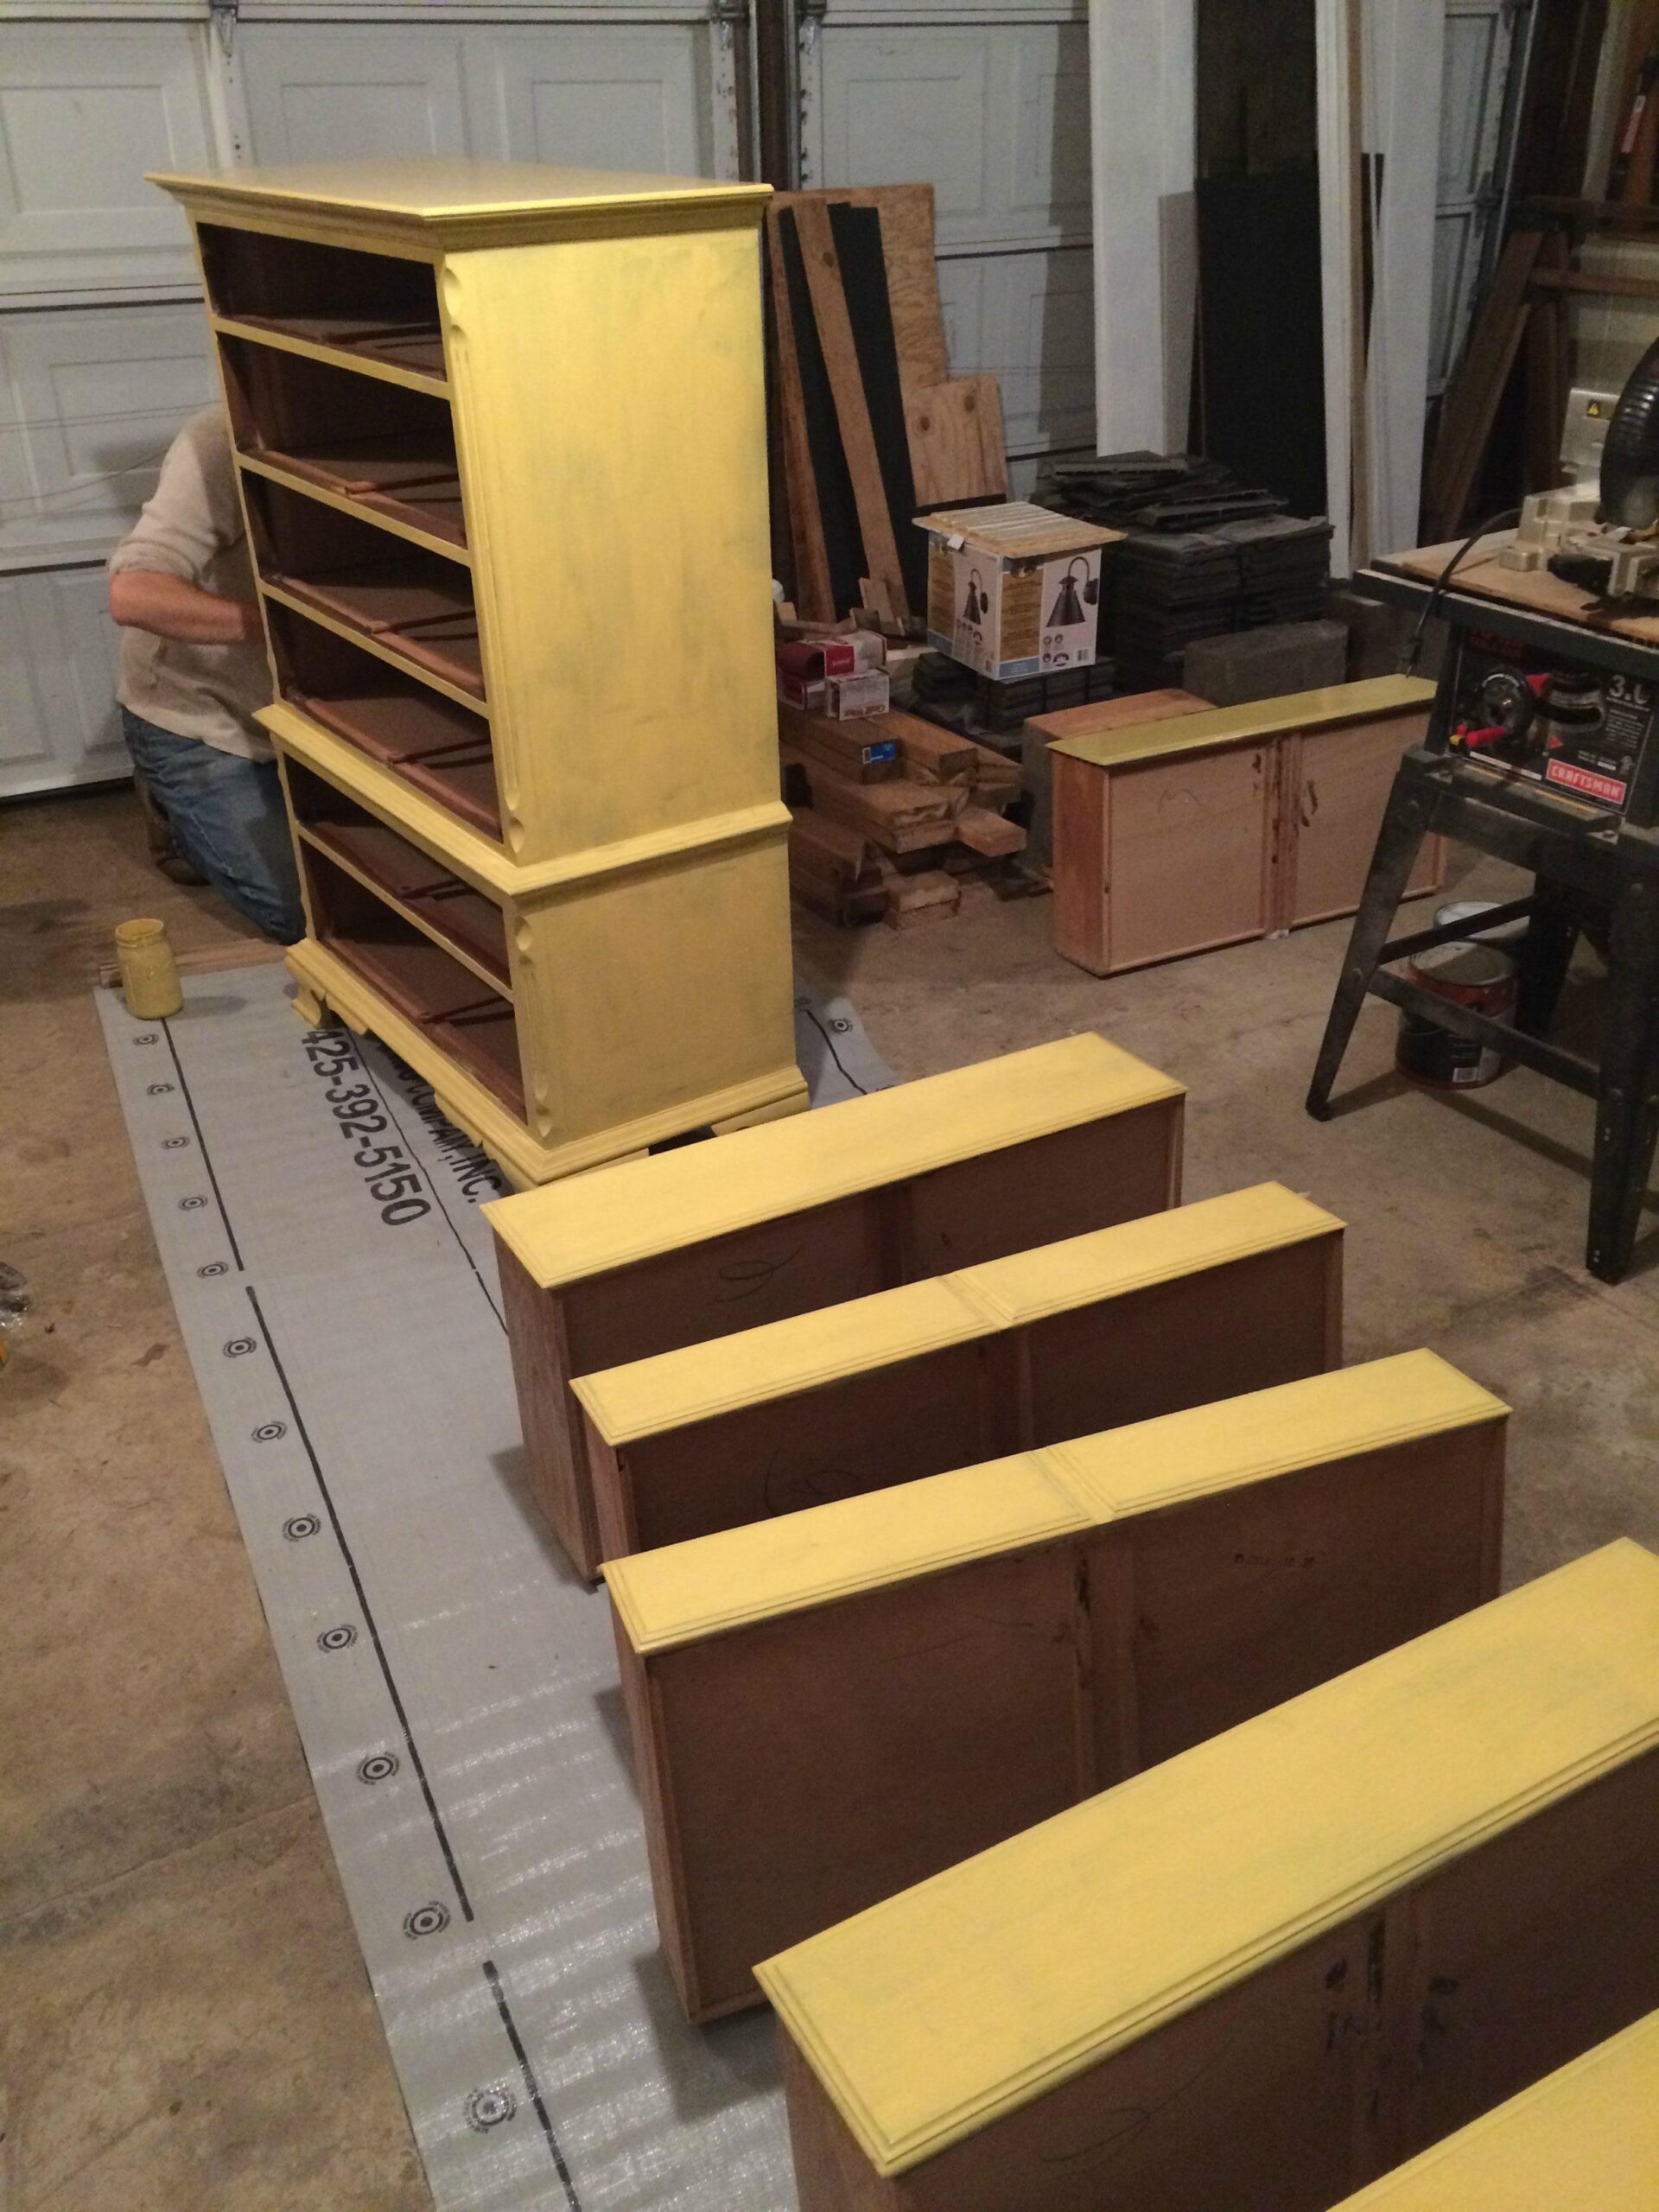
Then a fourth.
She then used a paint scraper to create a shabby-chic look.
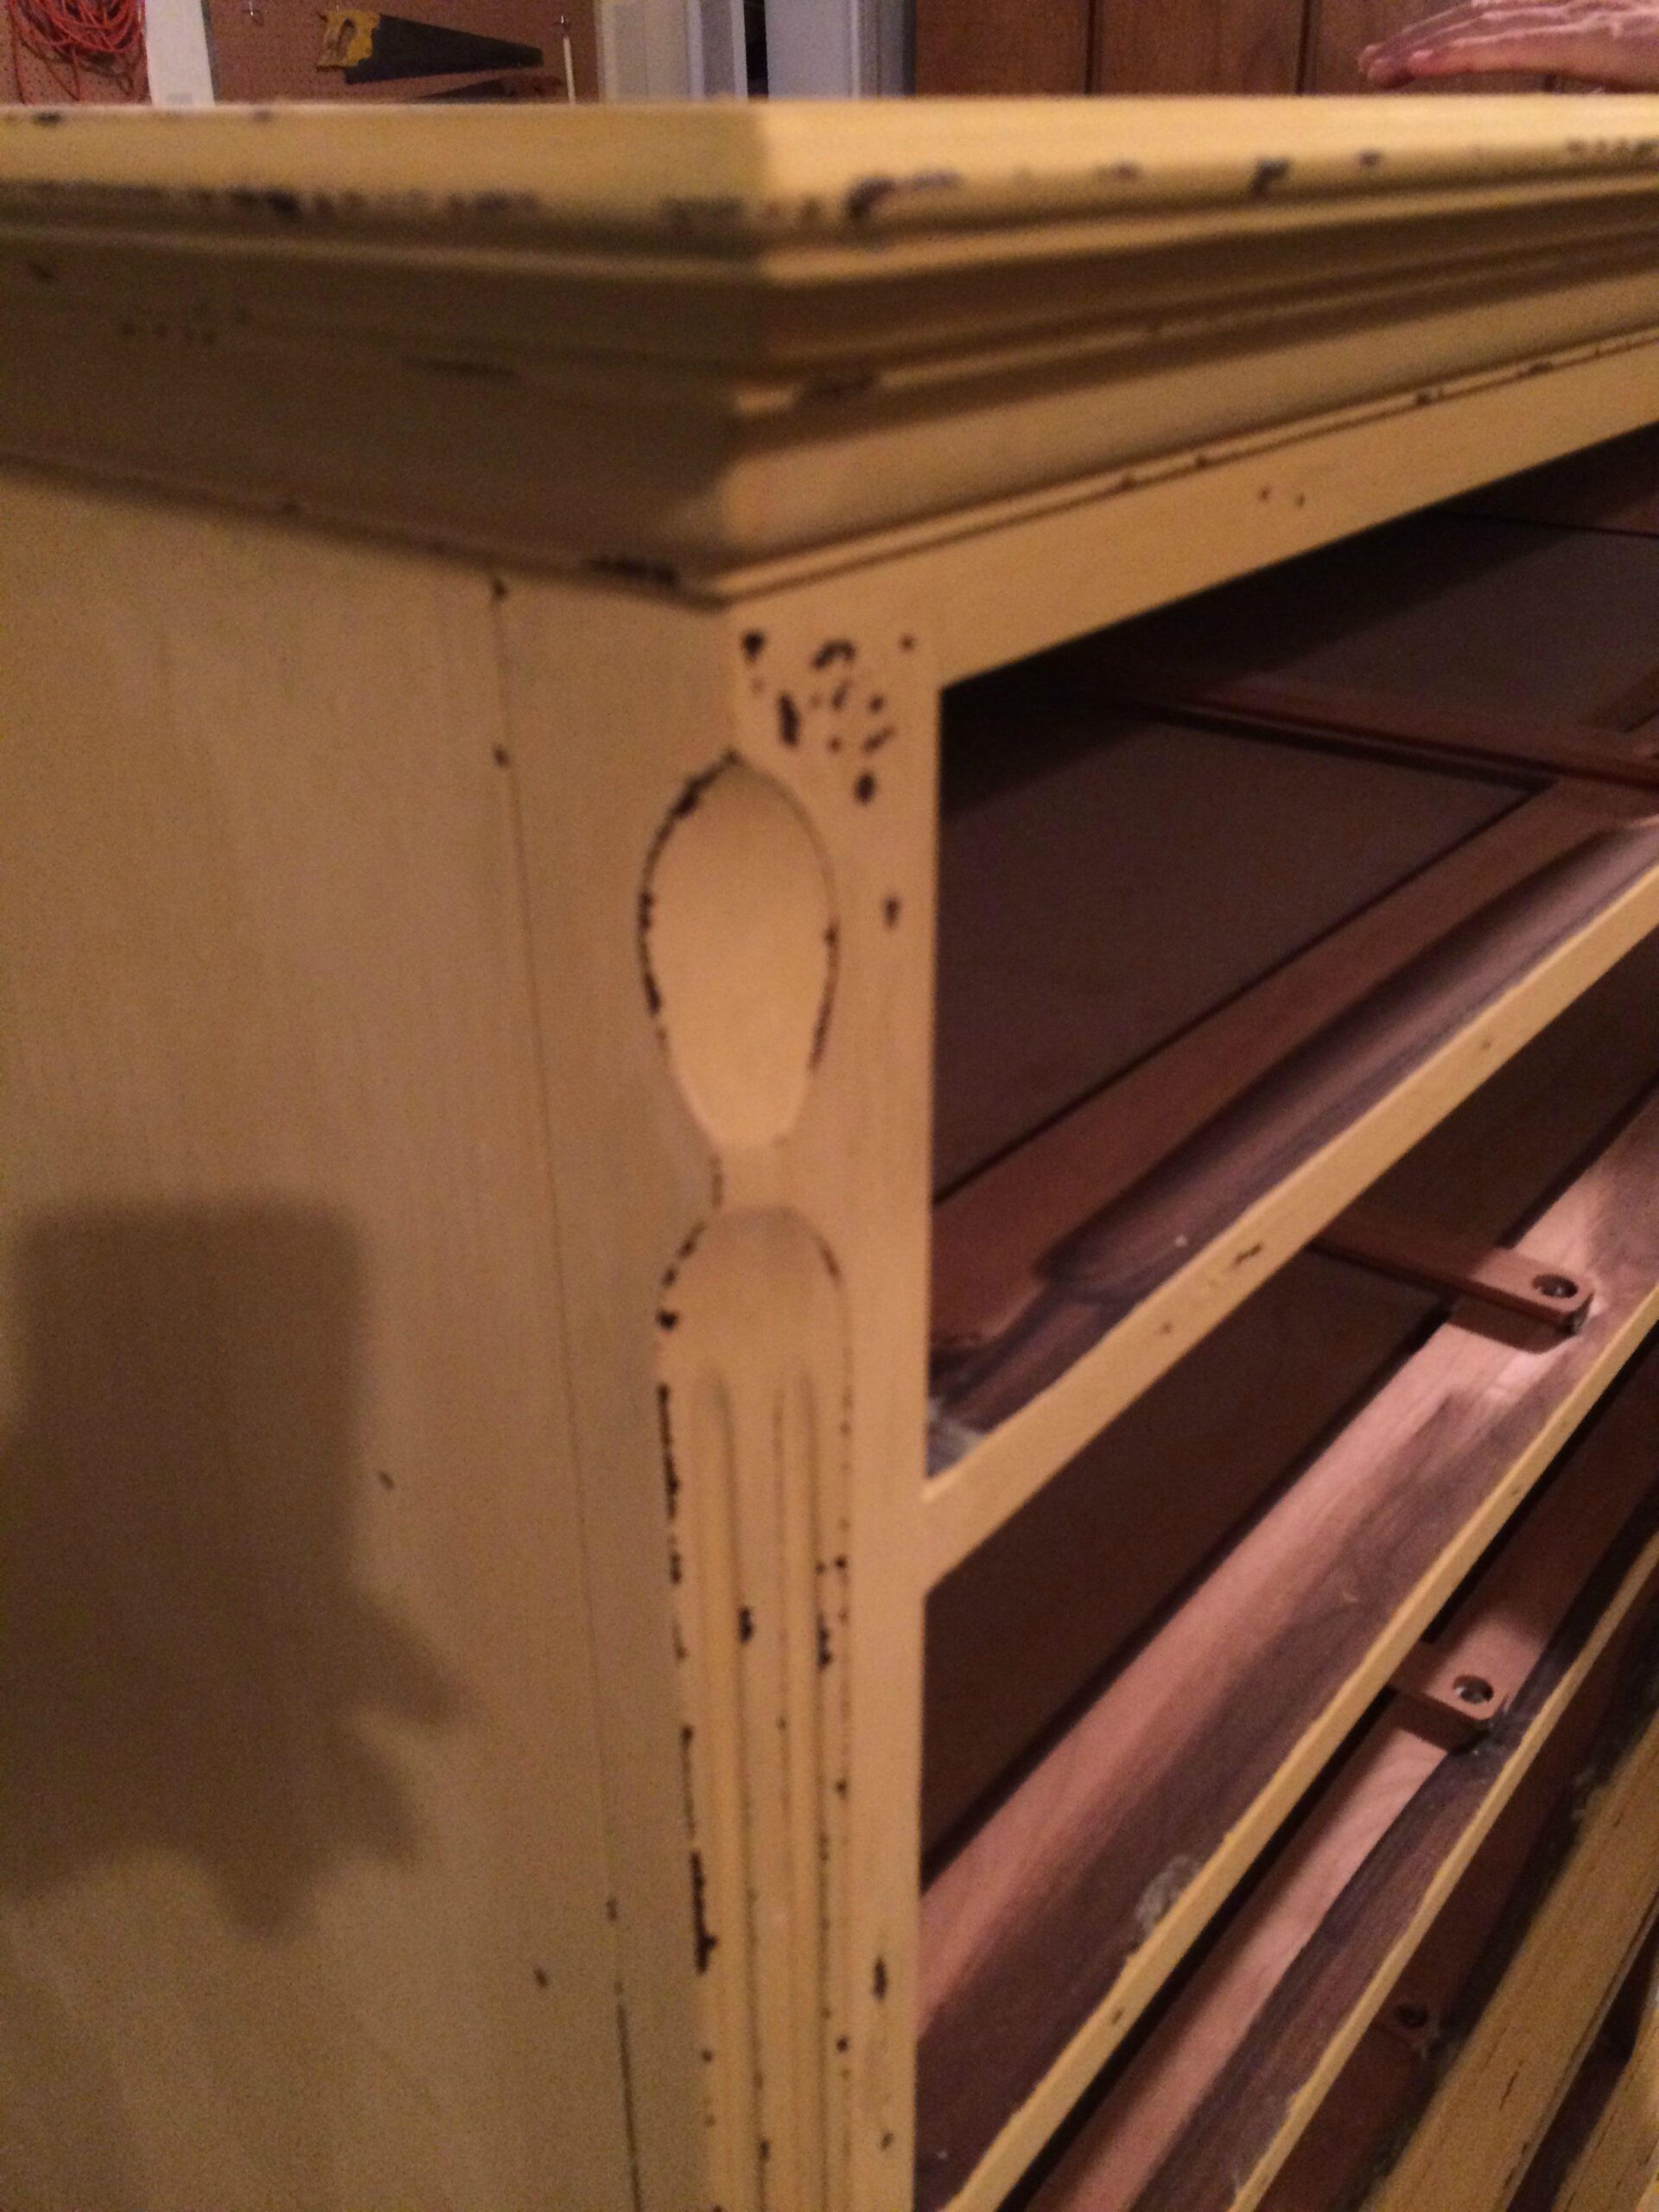
It’s looking pretty spiffy…
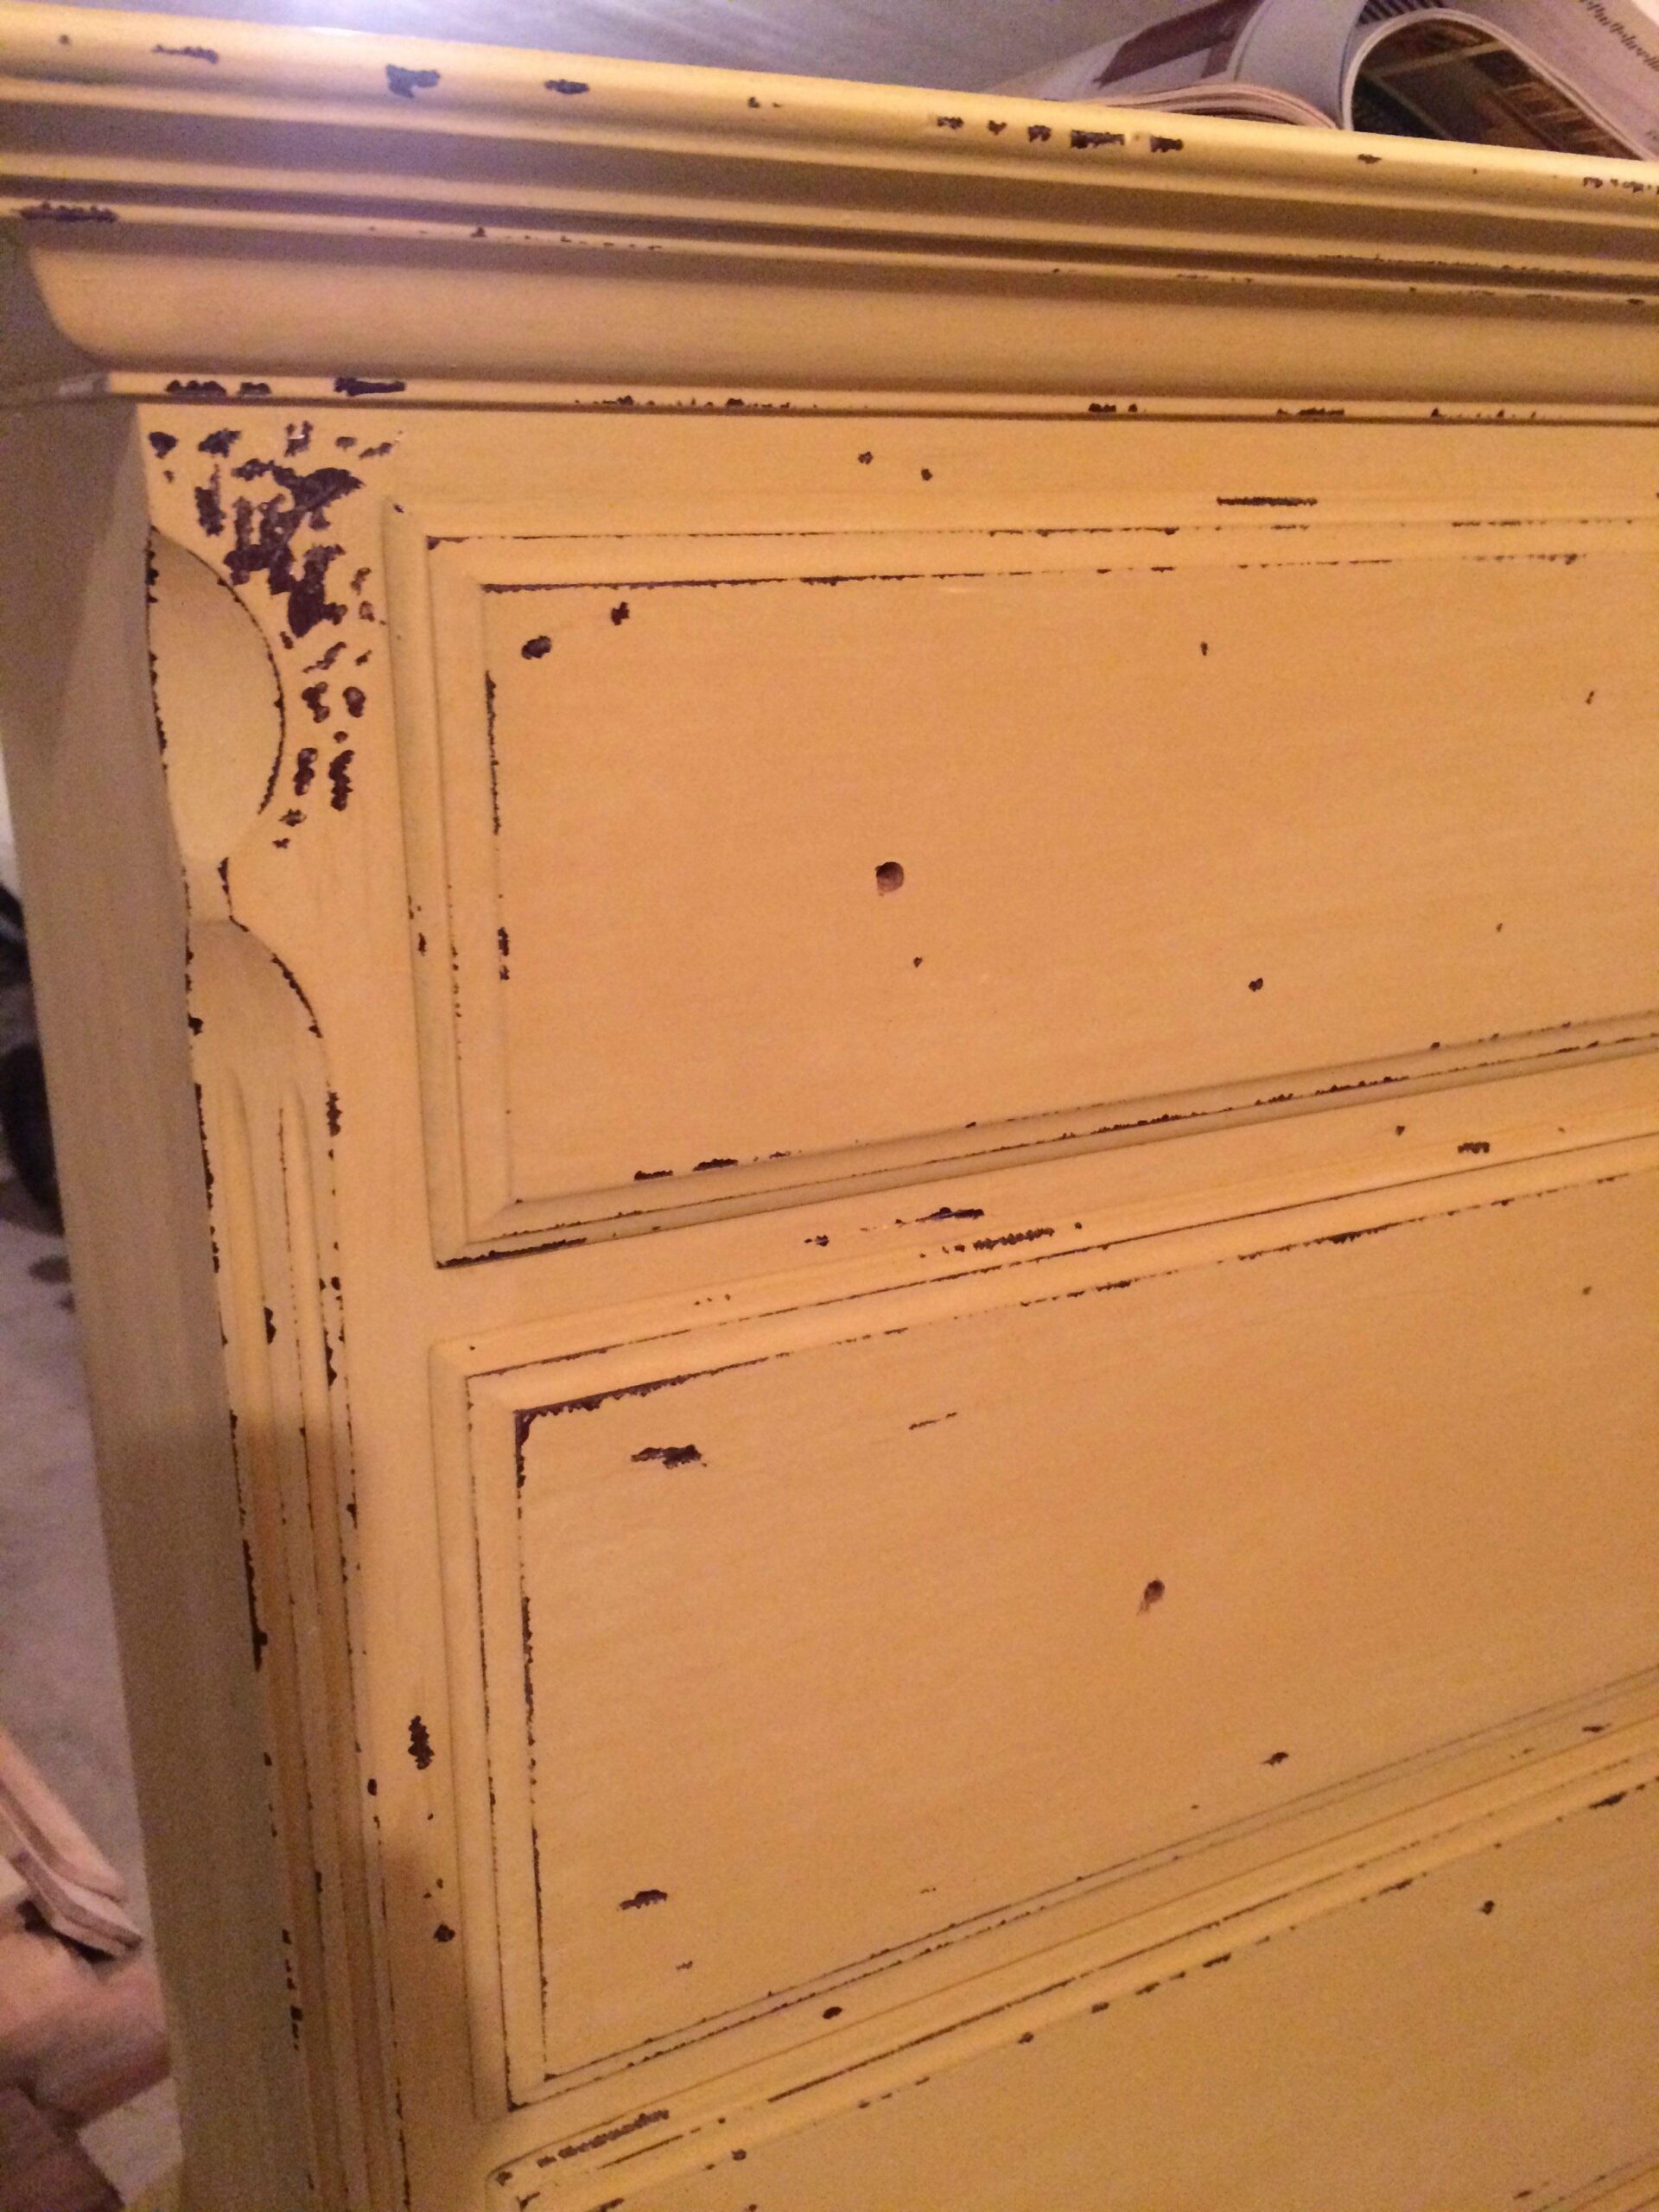
Take a look at the vintage visage!
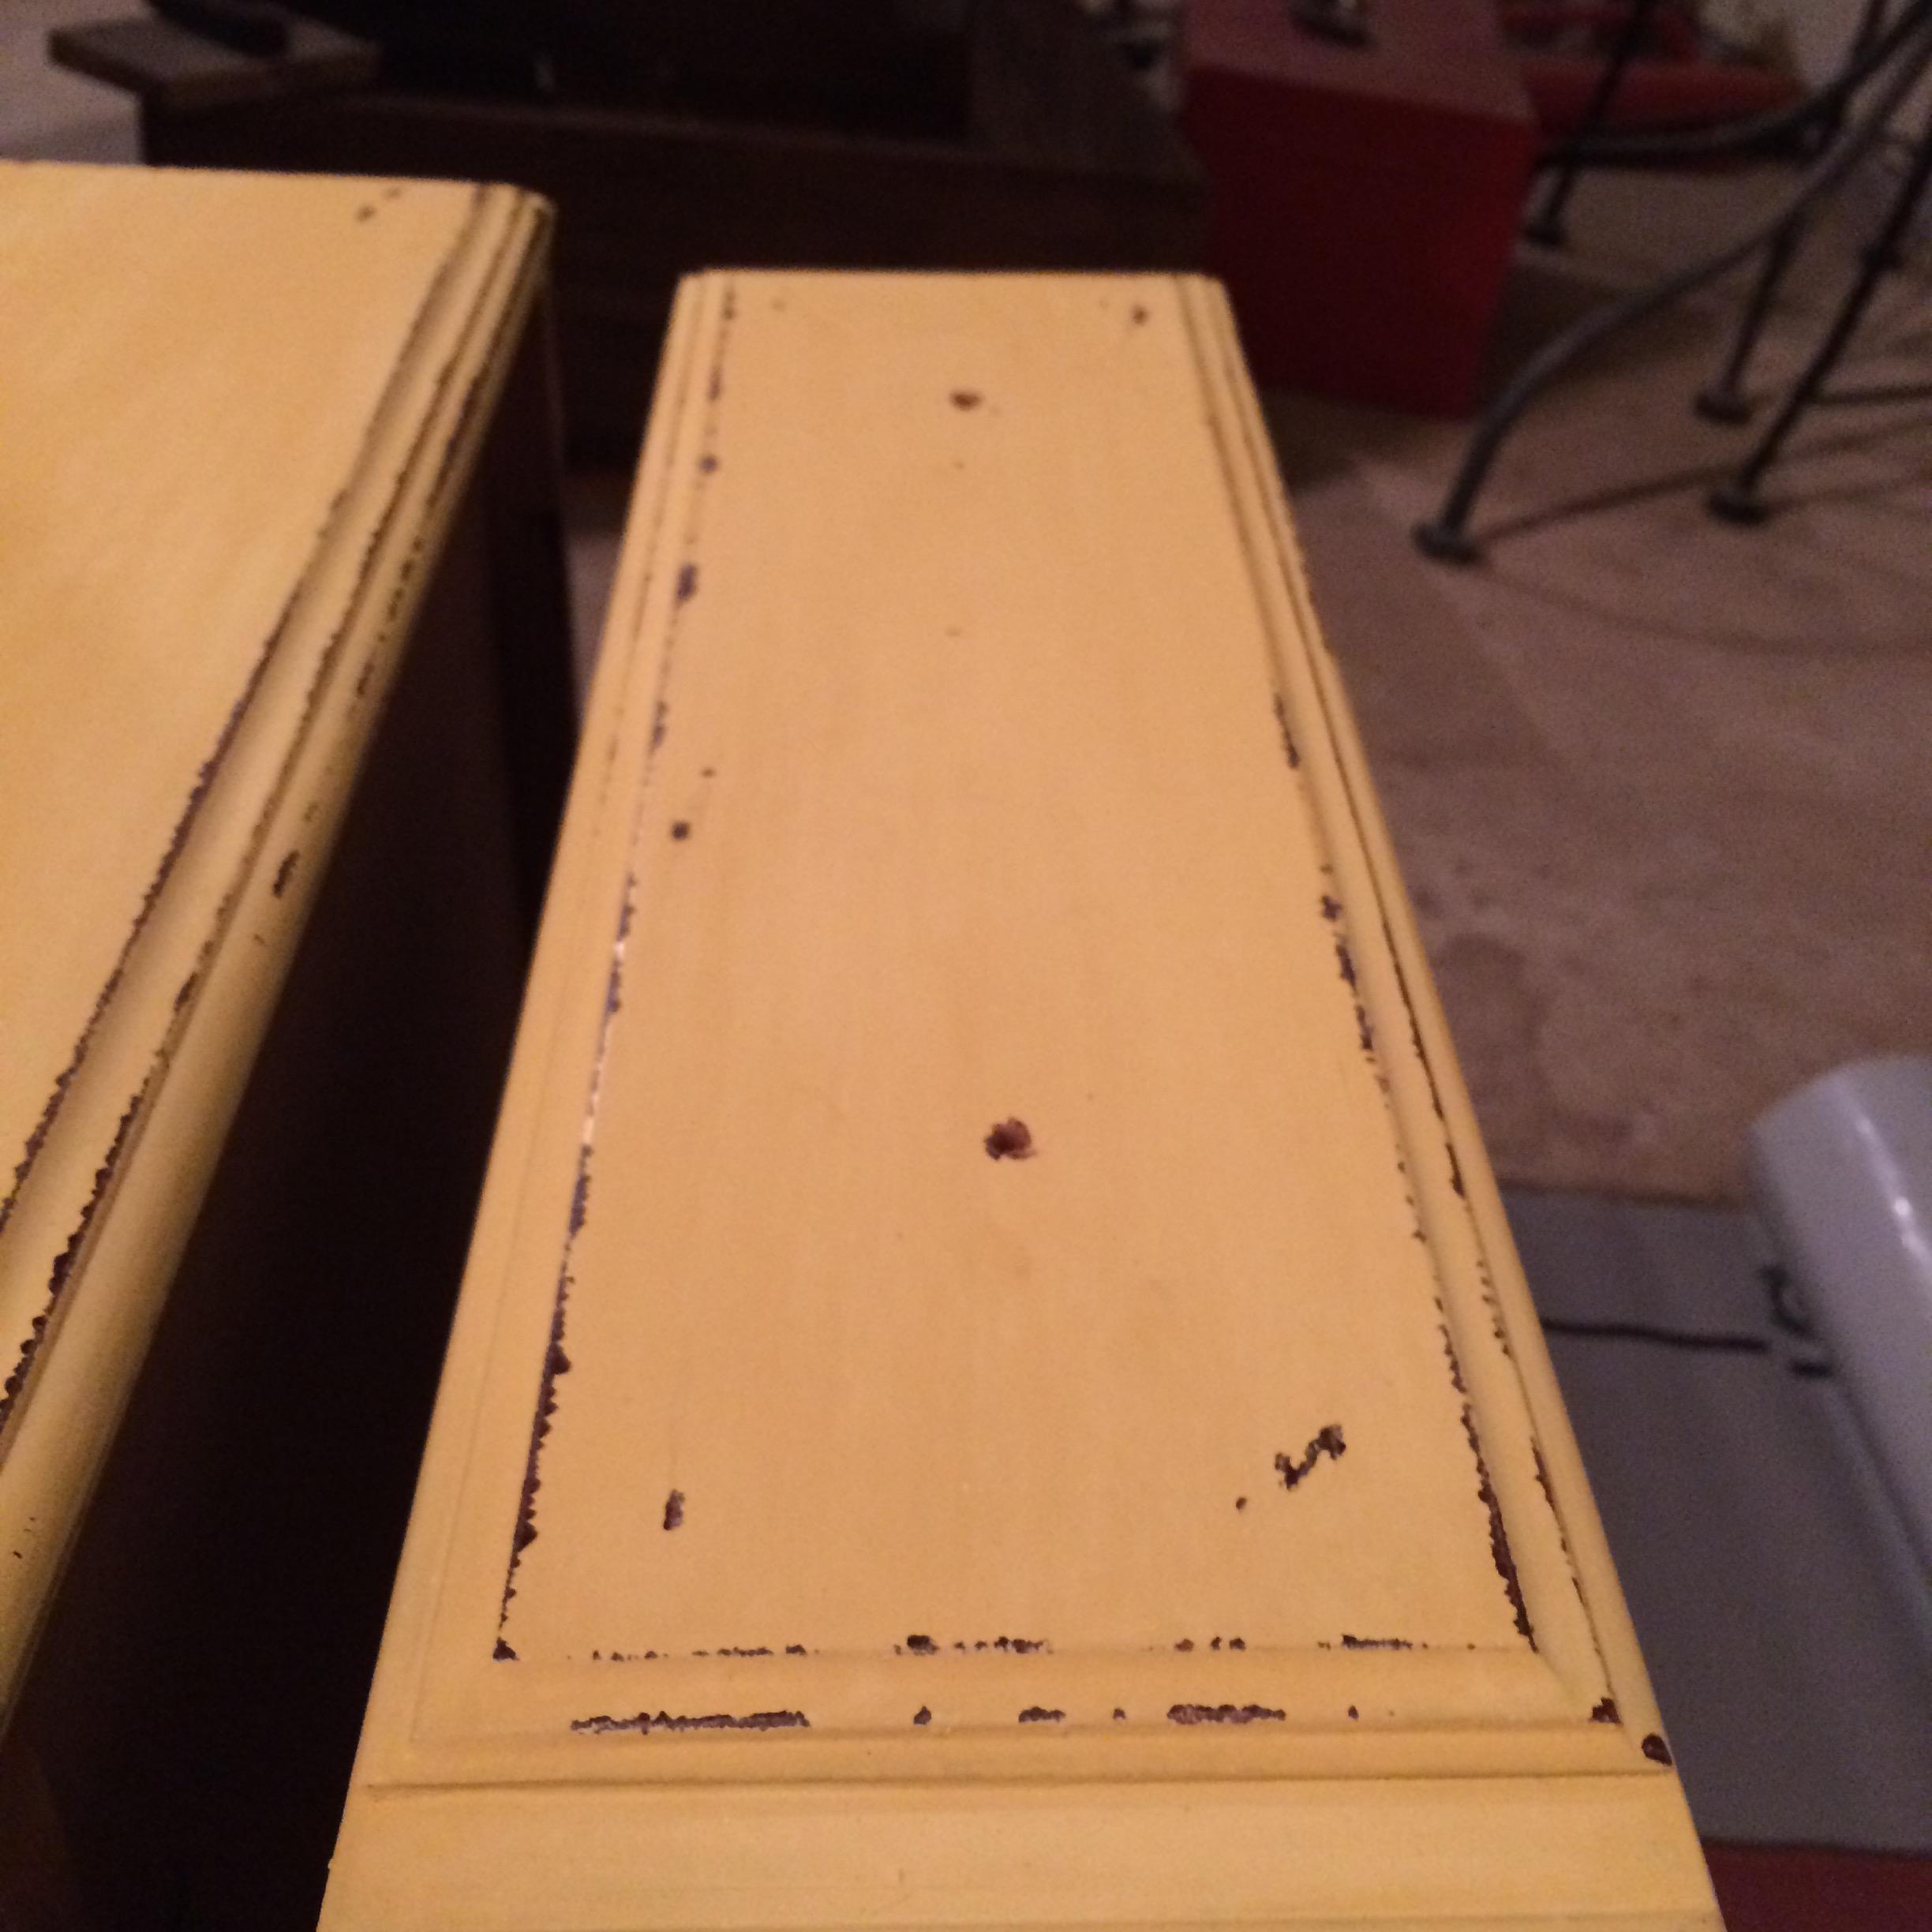
After she was done painting and scraping to perfection, she rubbed on a little wax.
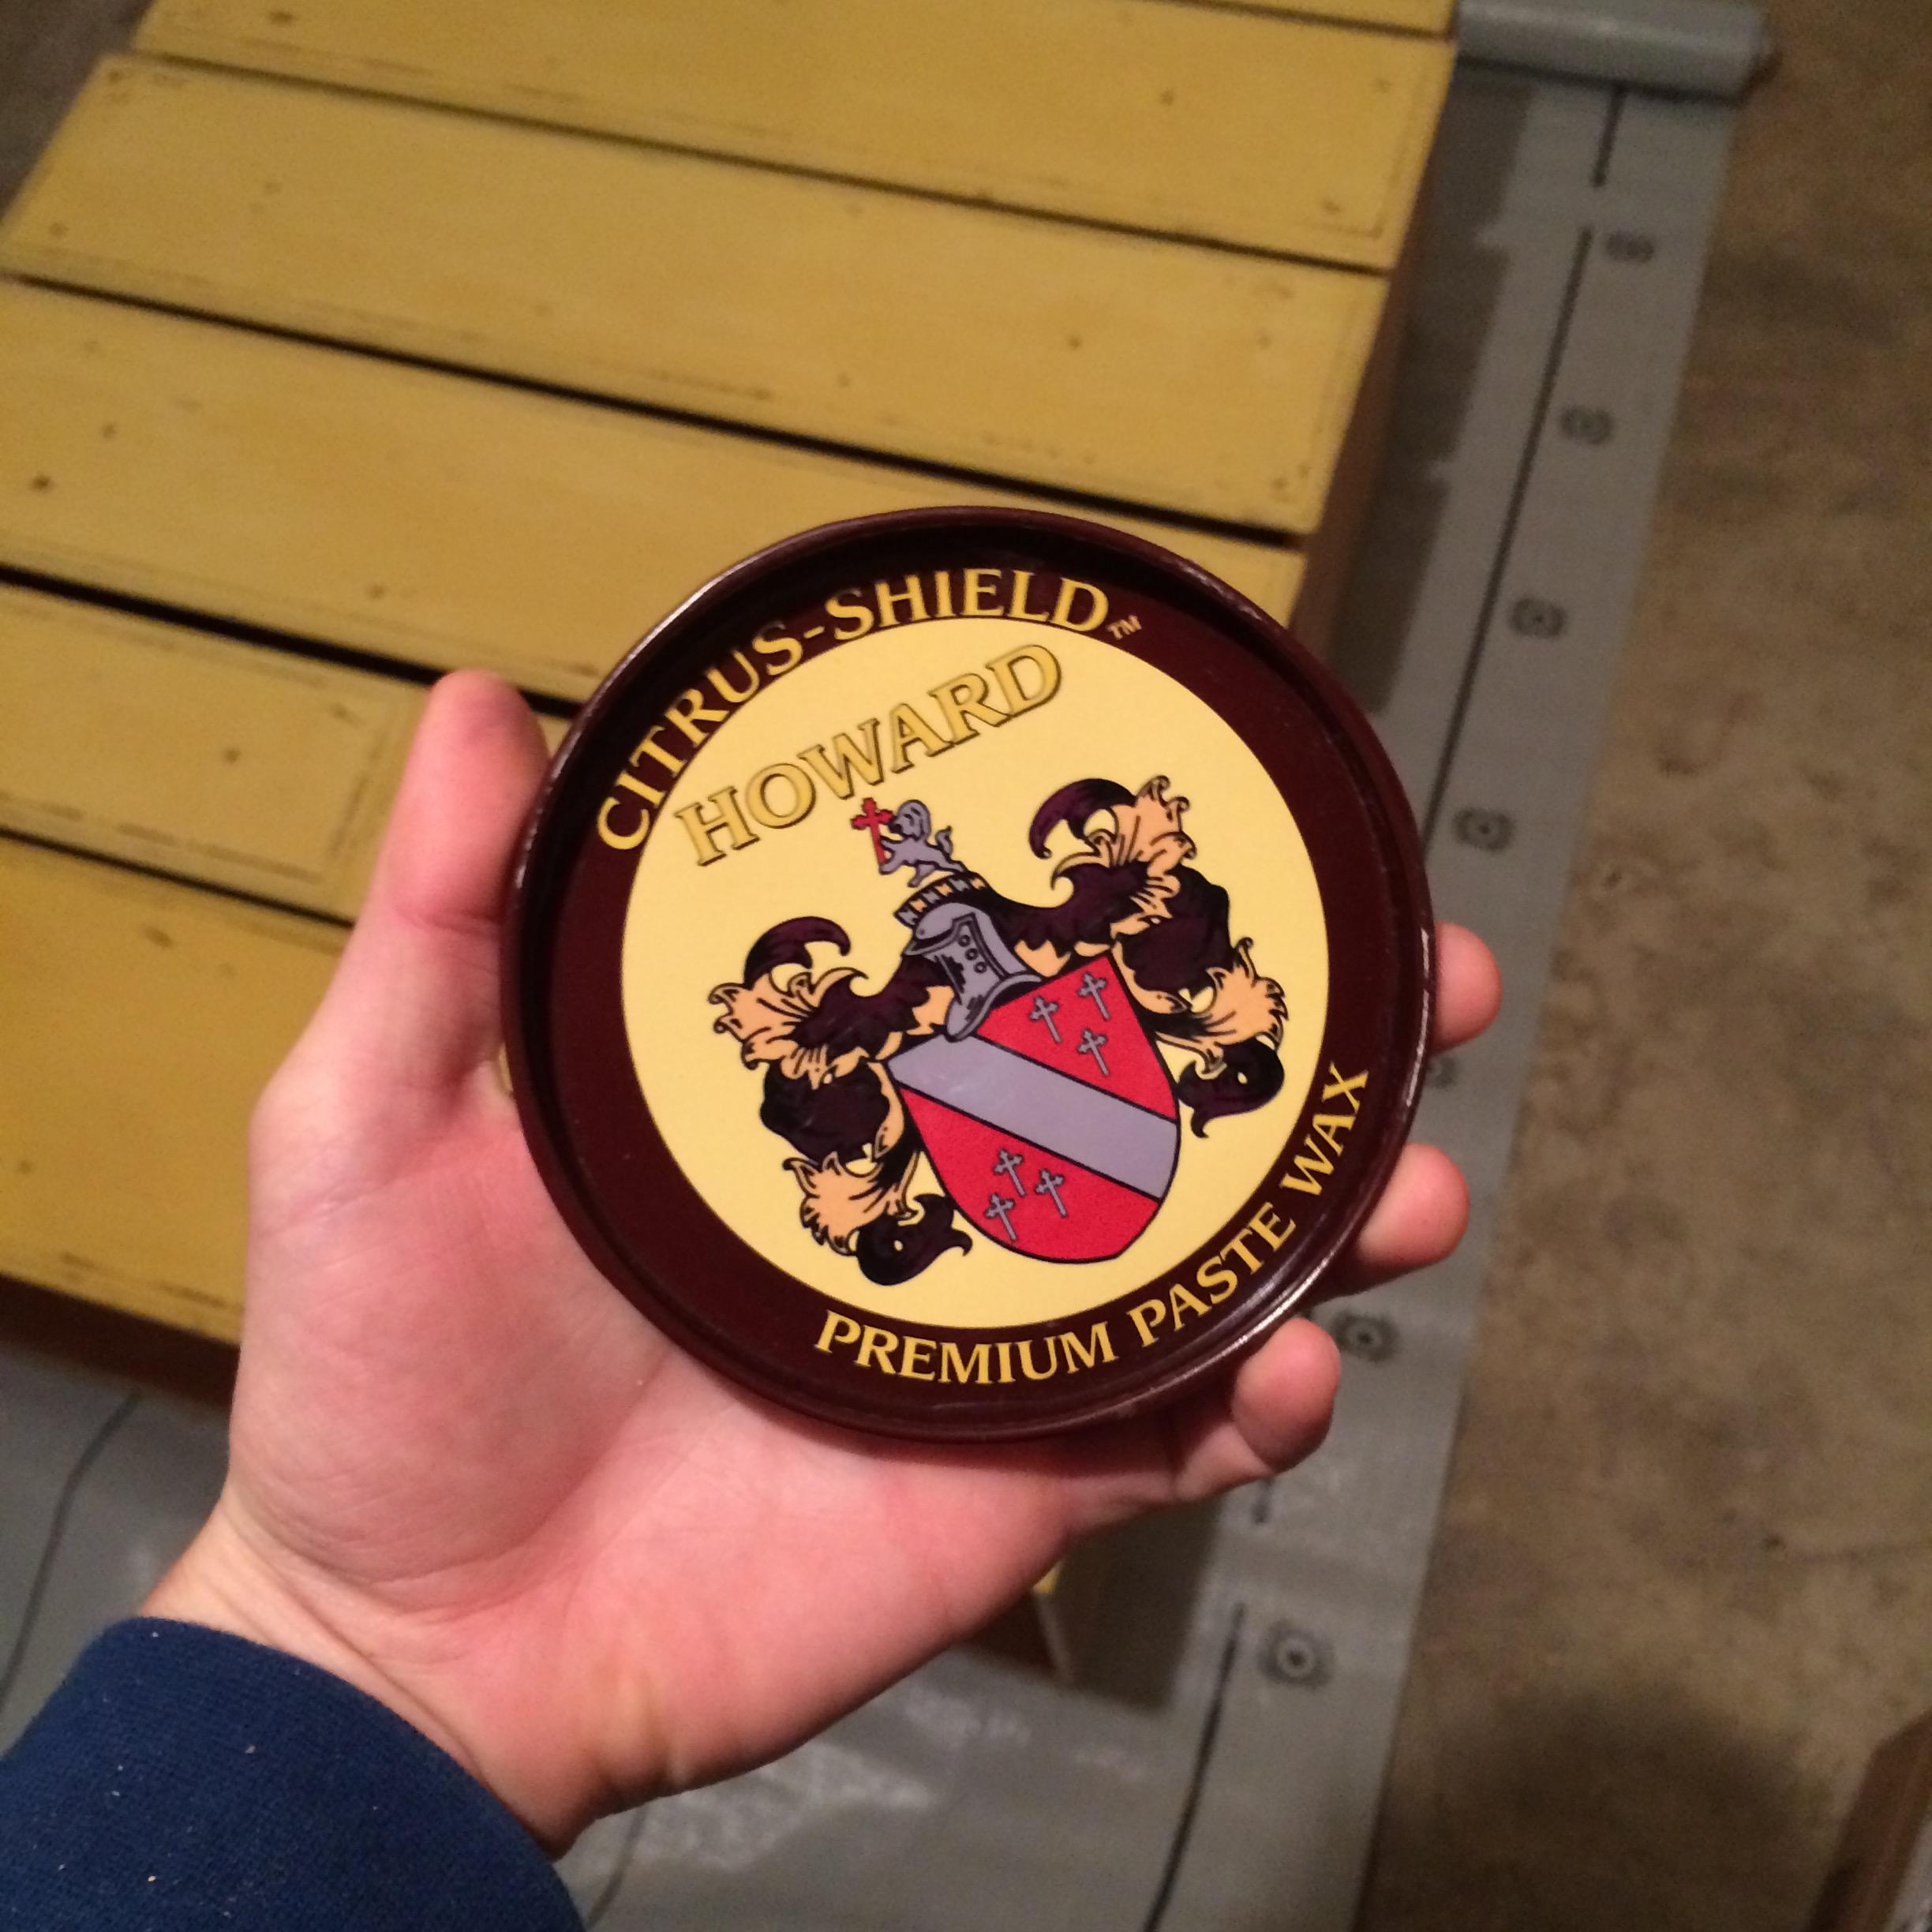
Looking slick!
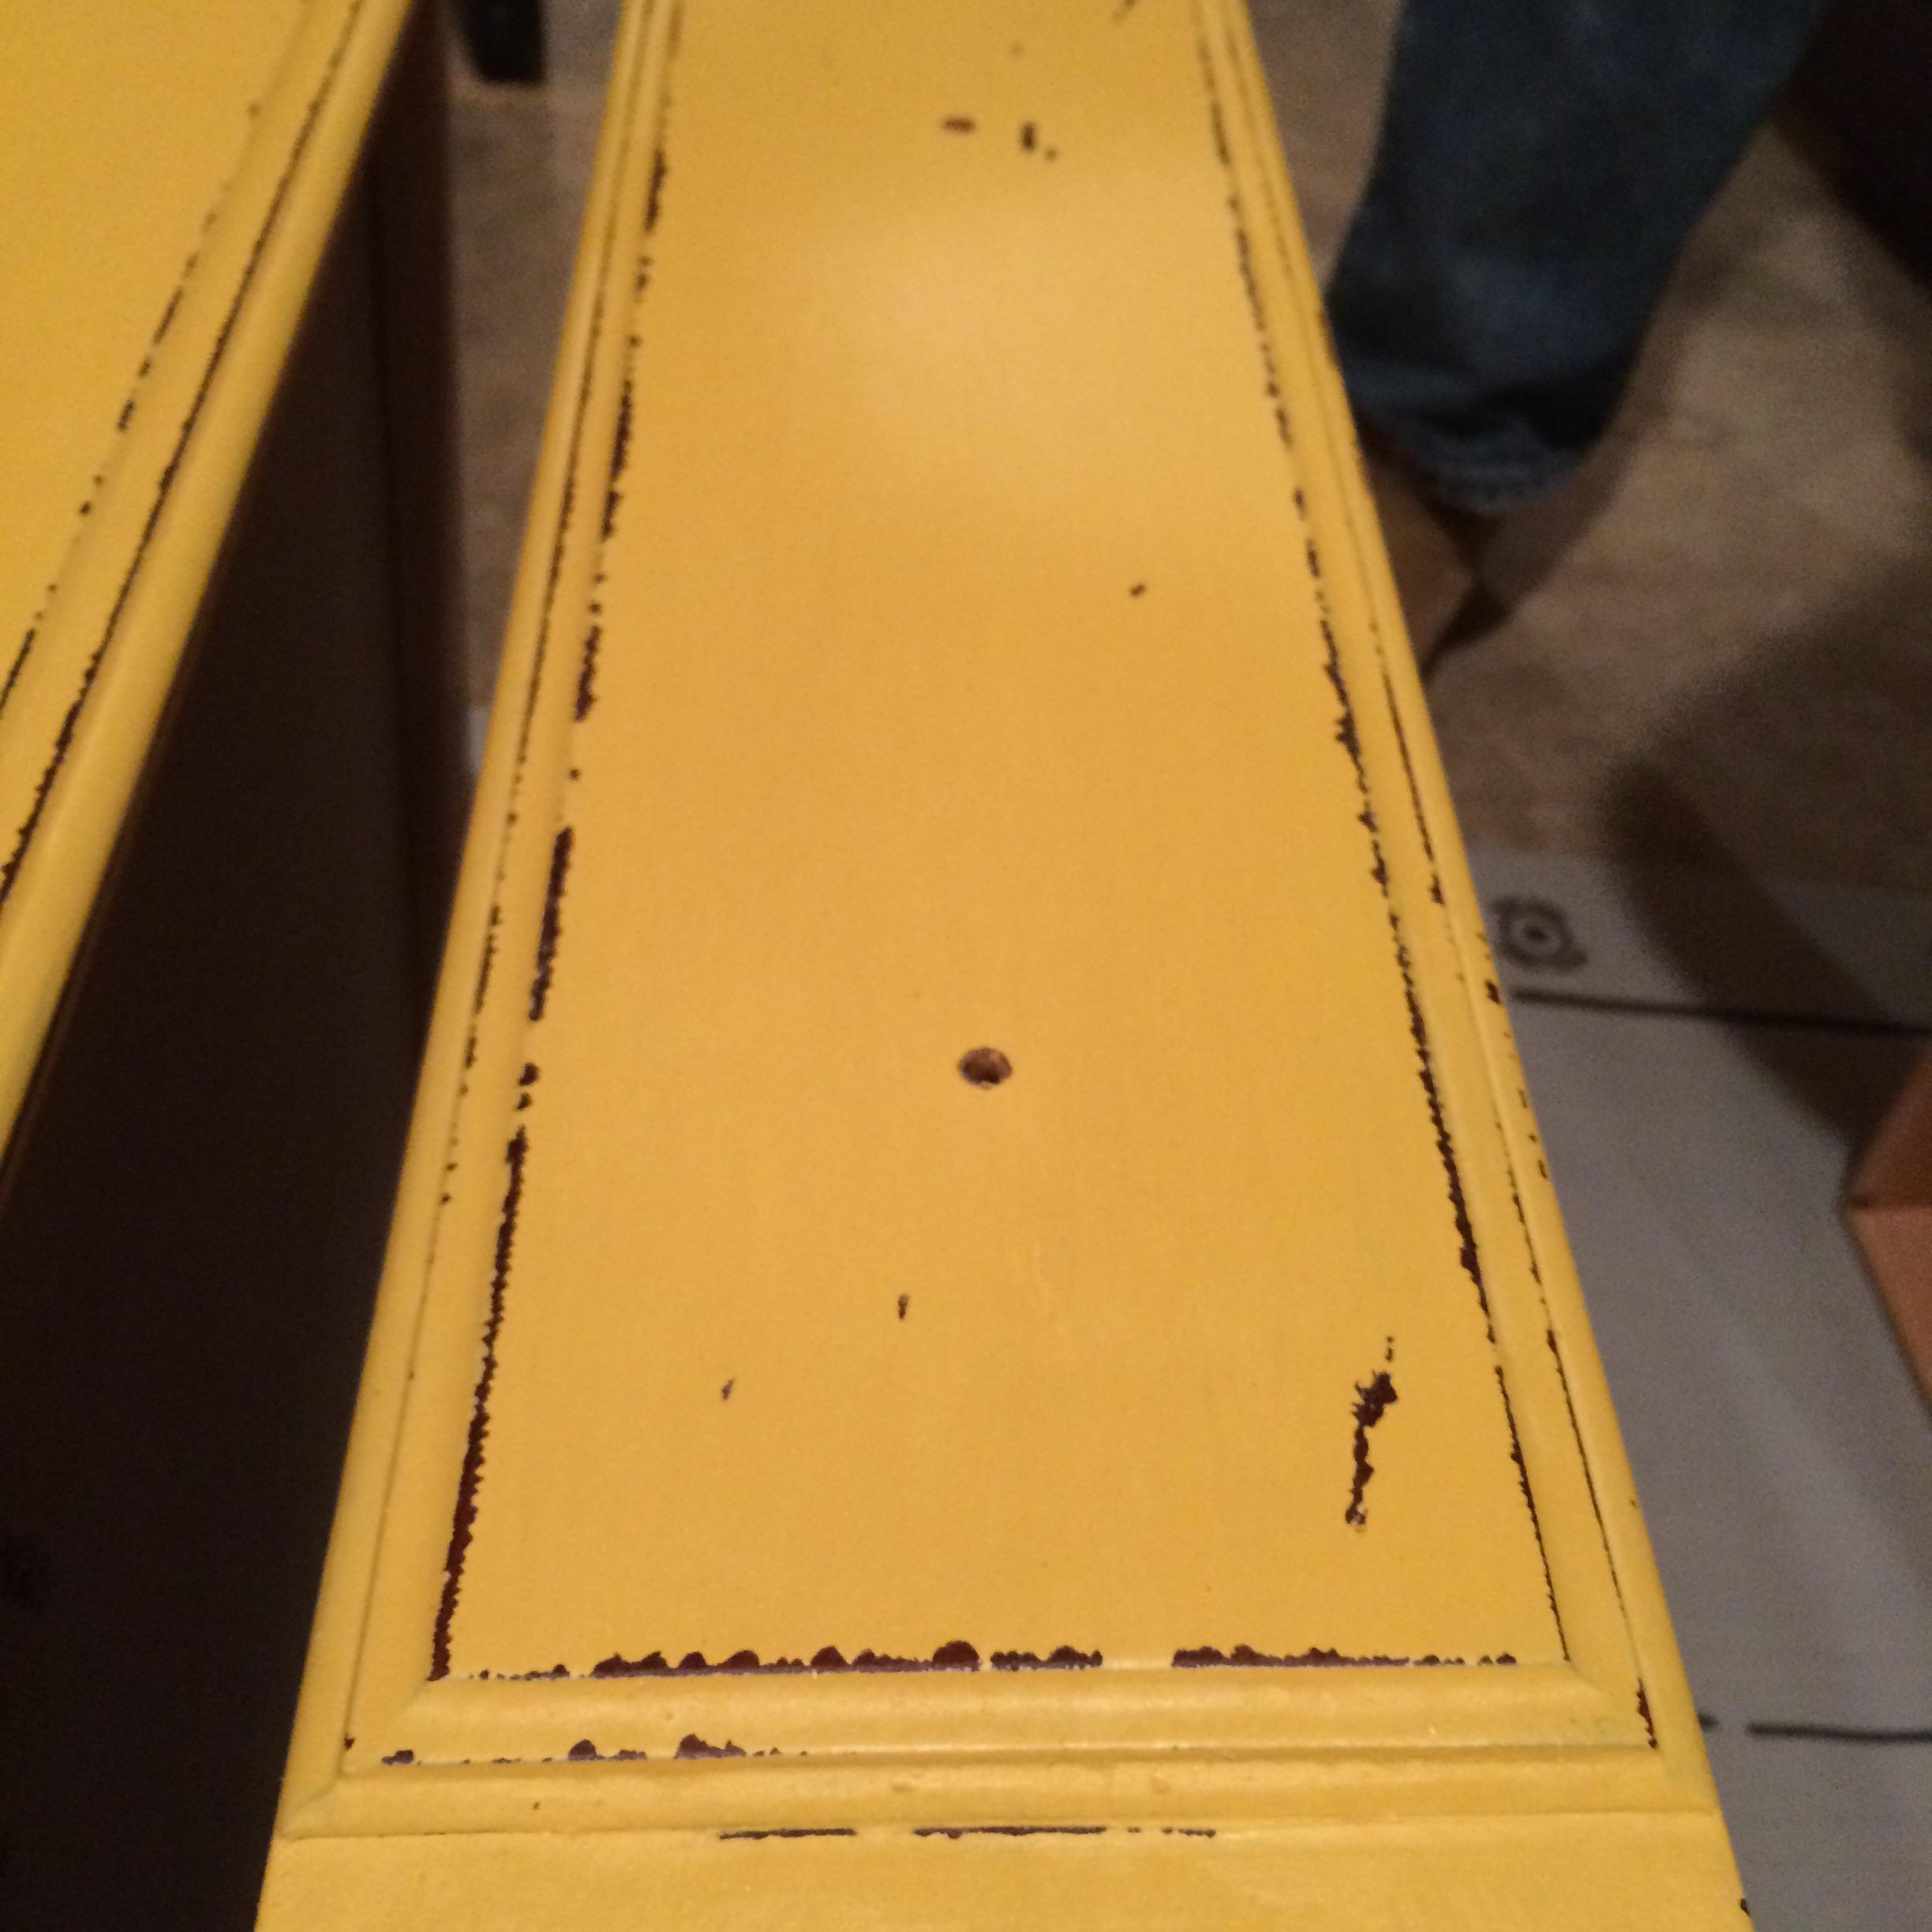
She’s alive…ALIVE…almost.
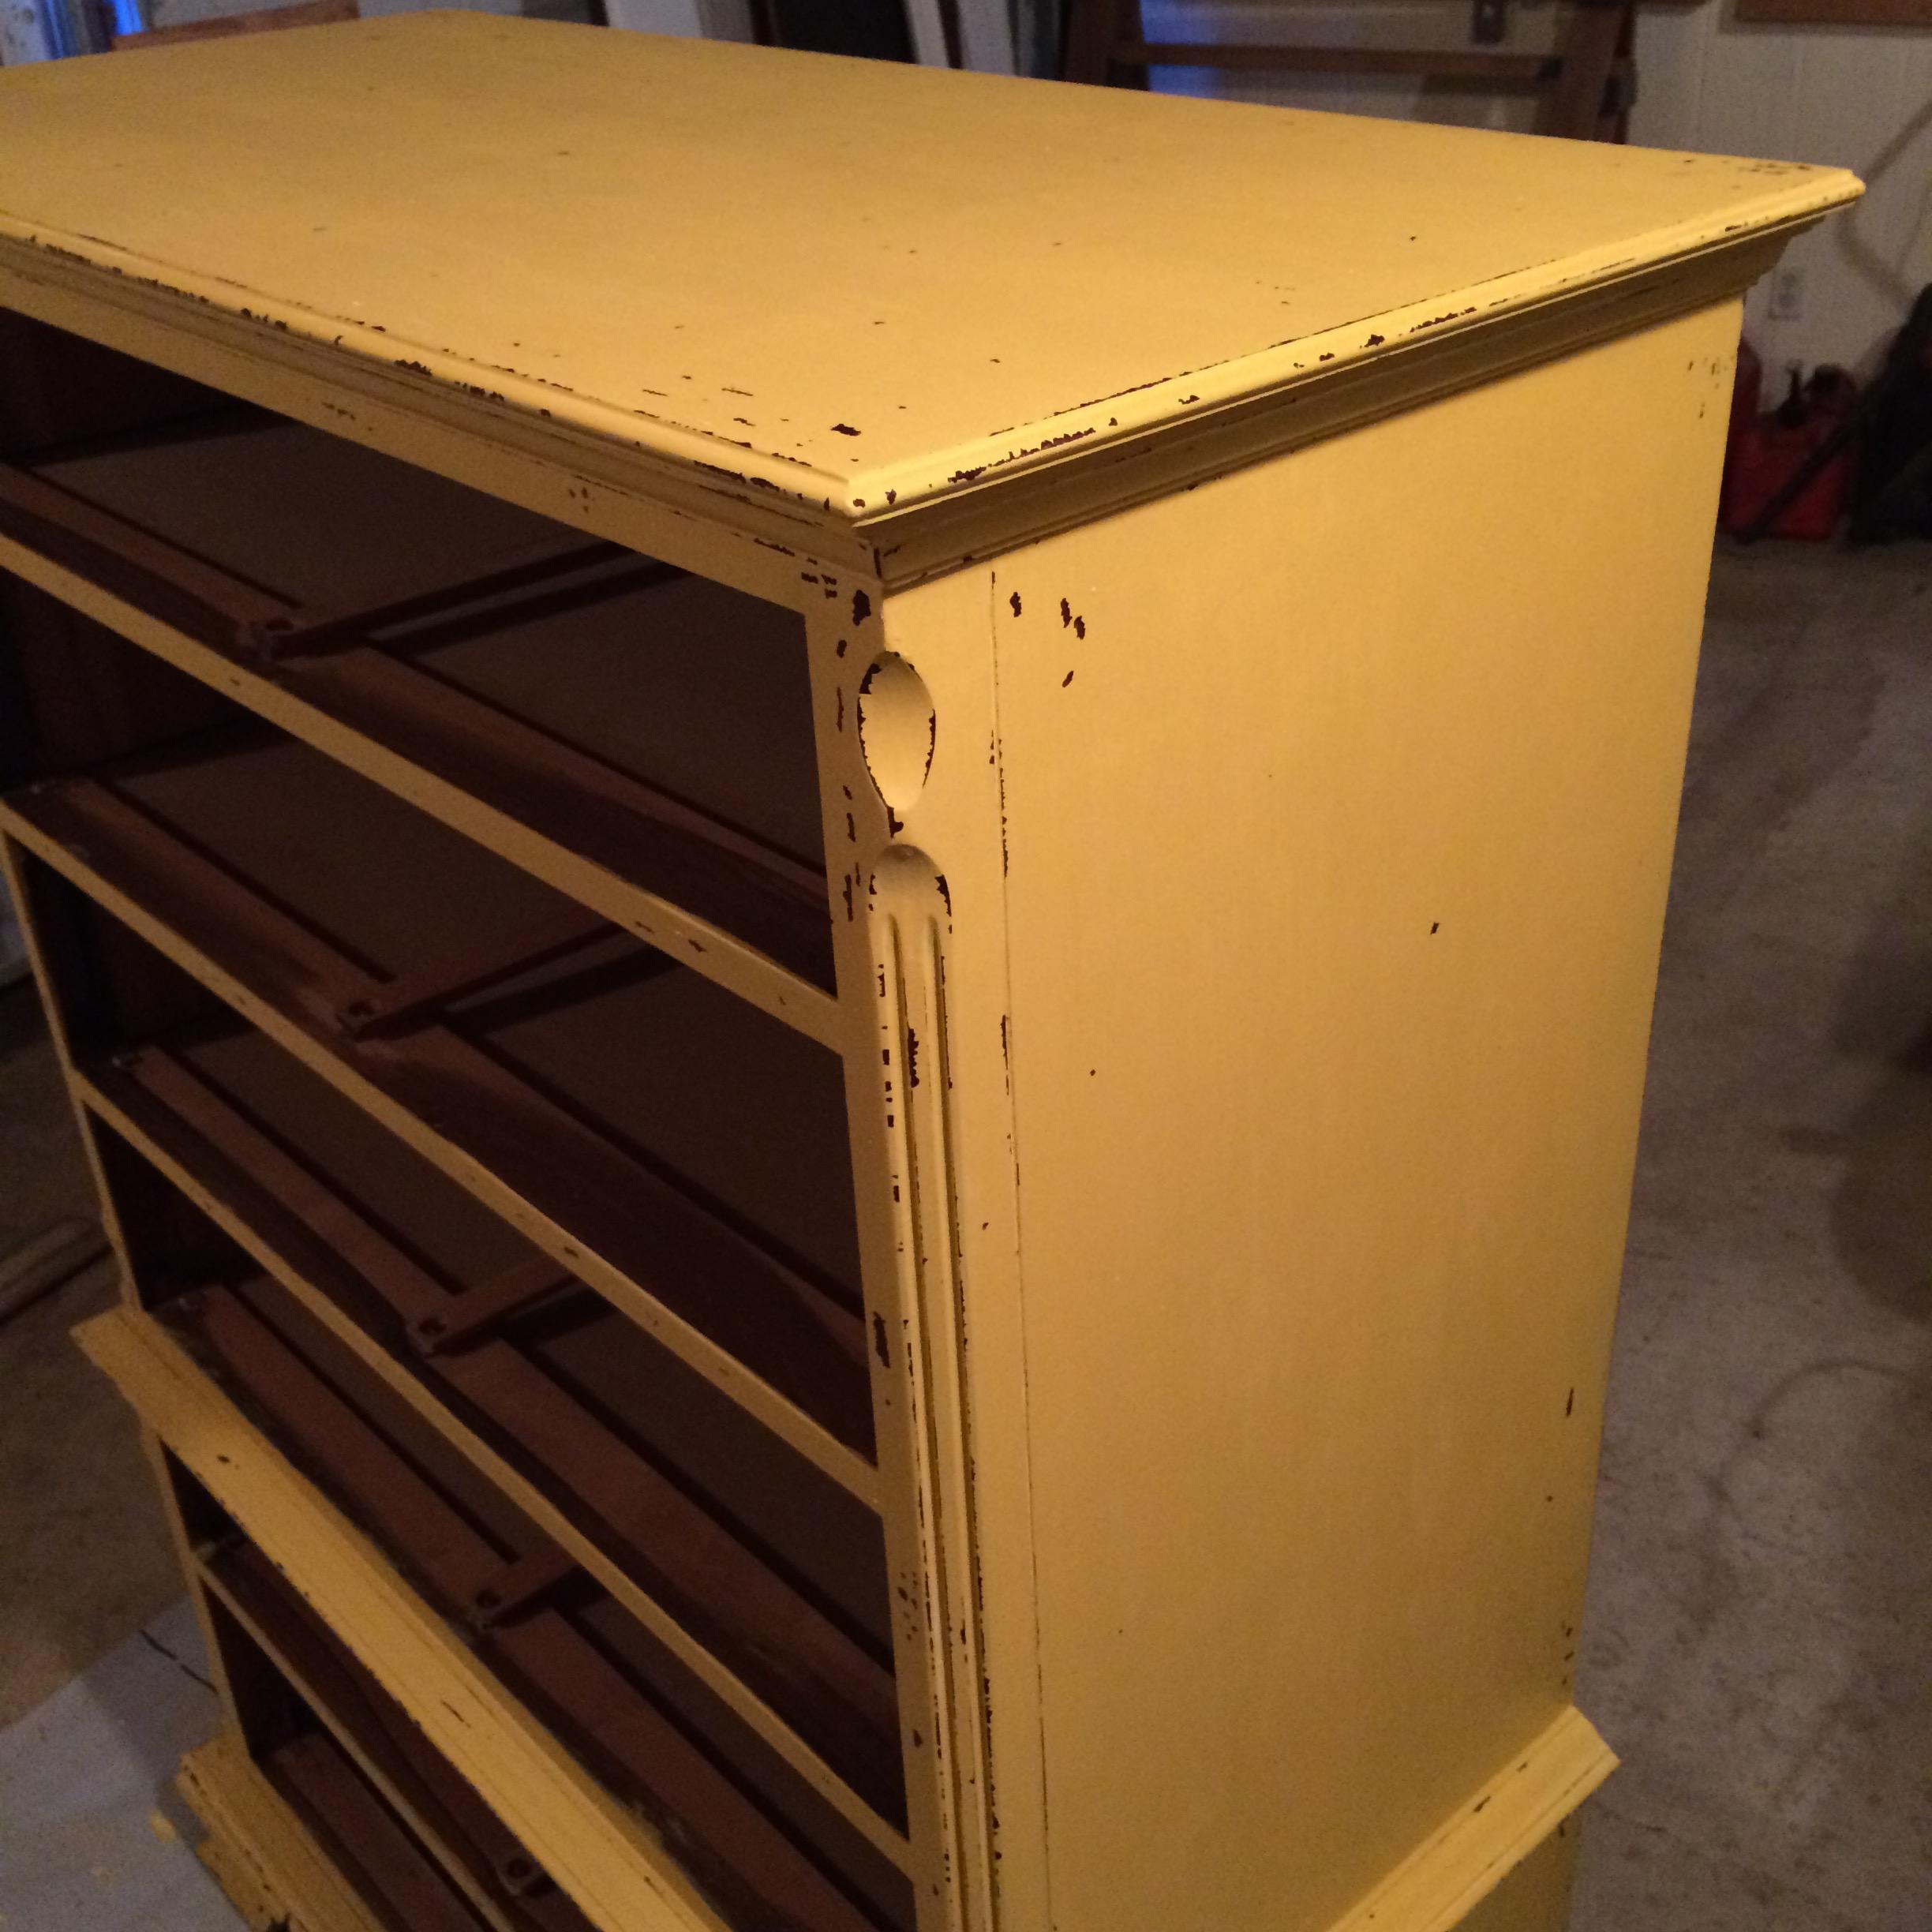
The new knobs need to be screwed on.
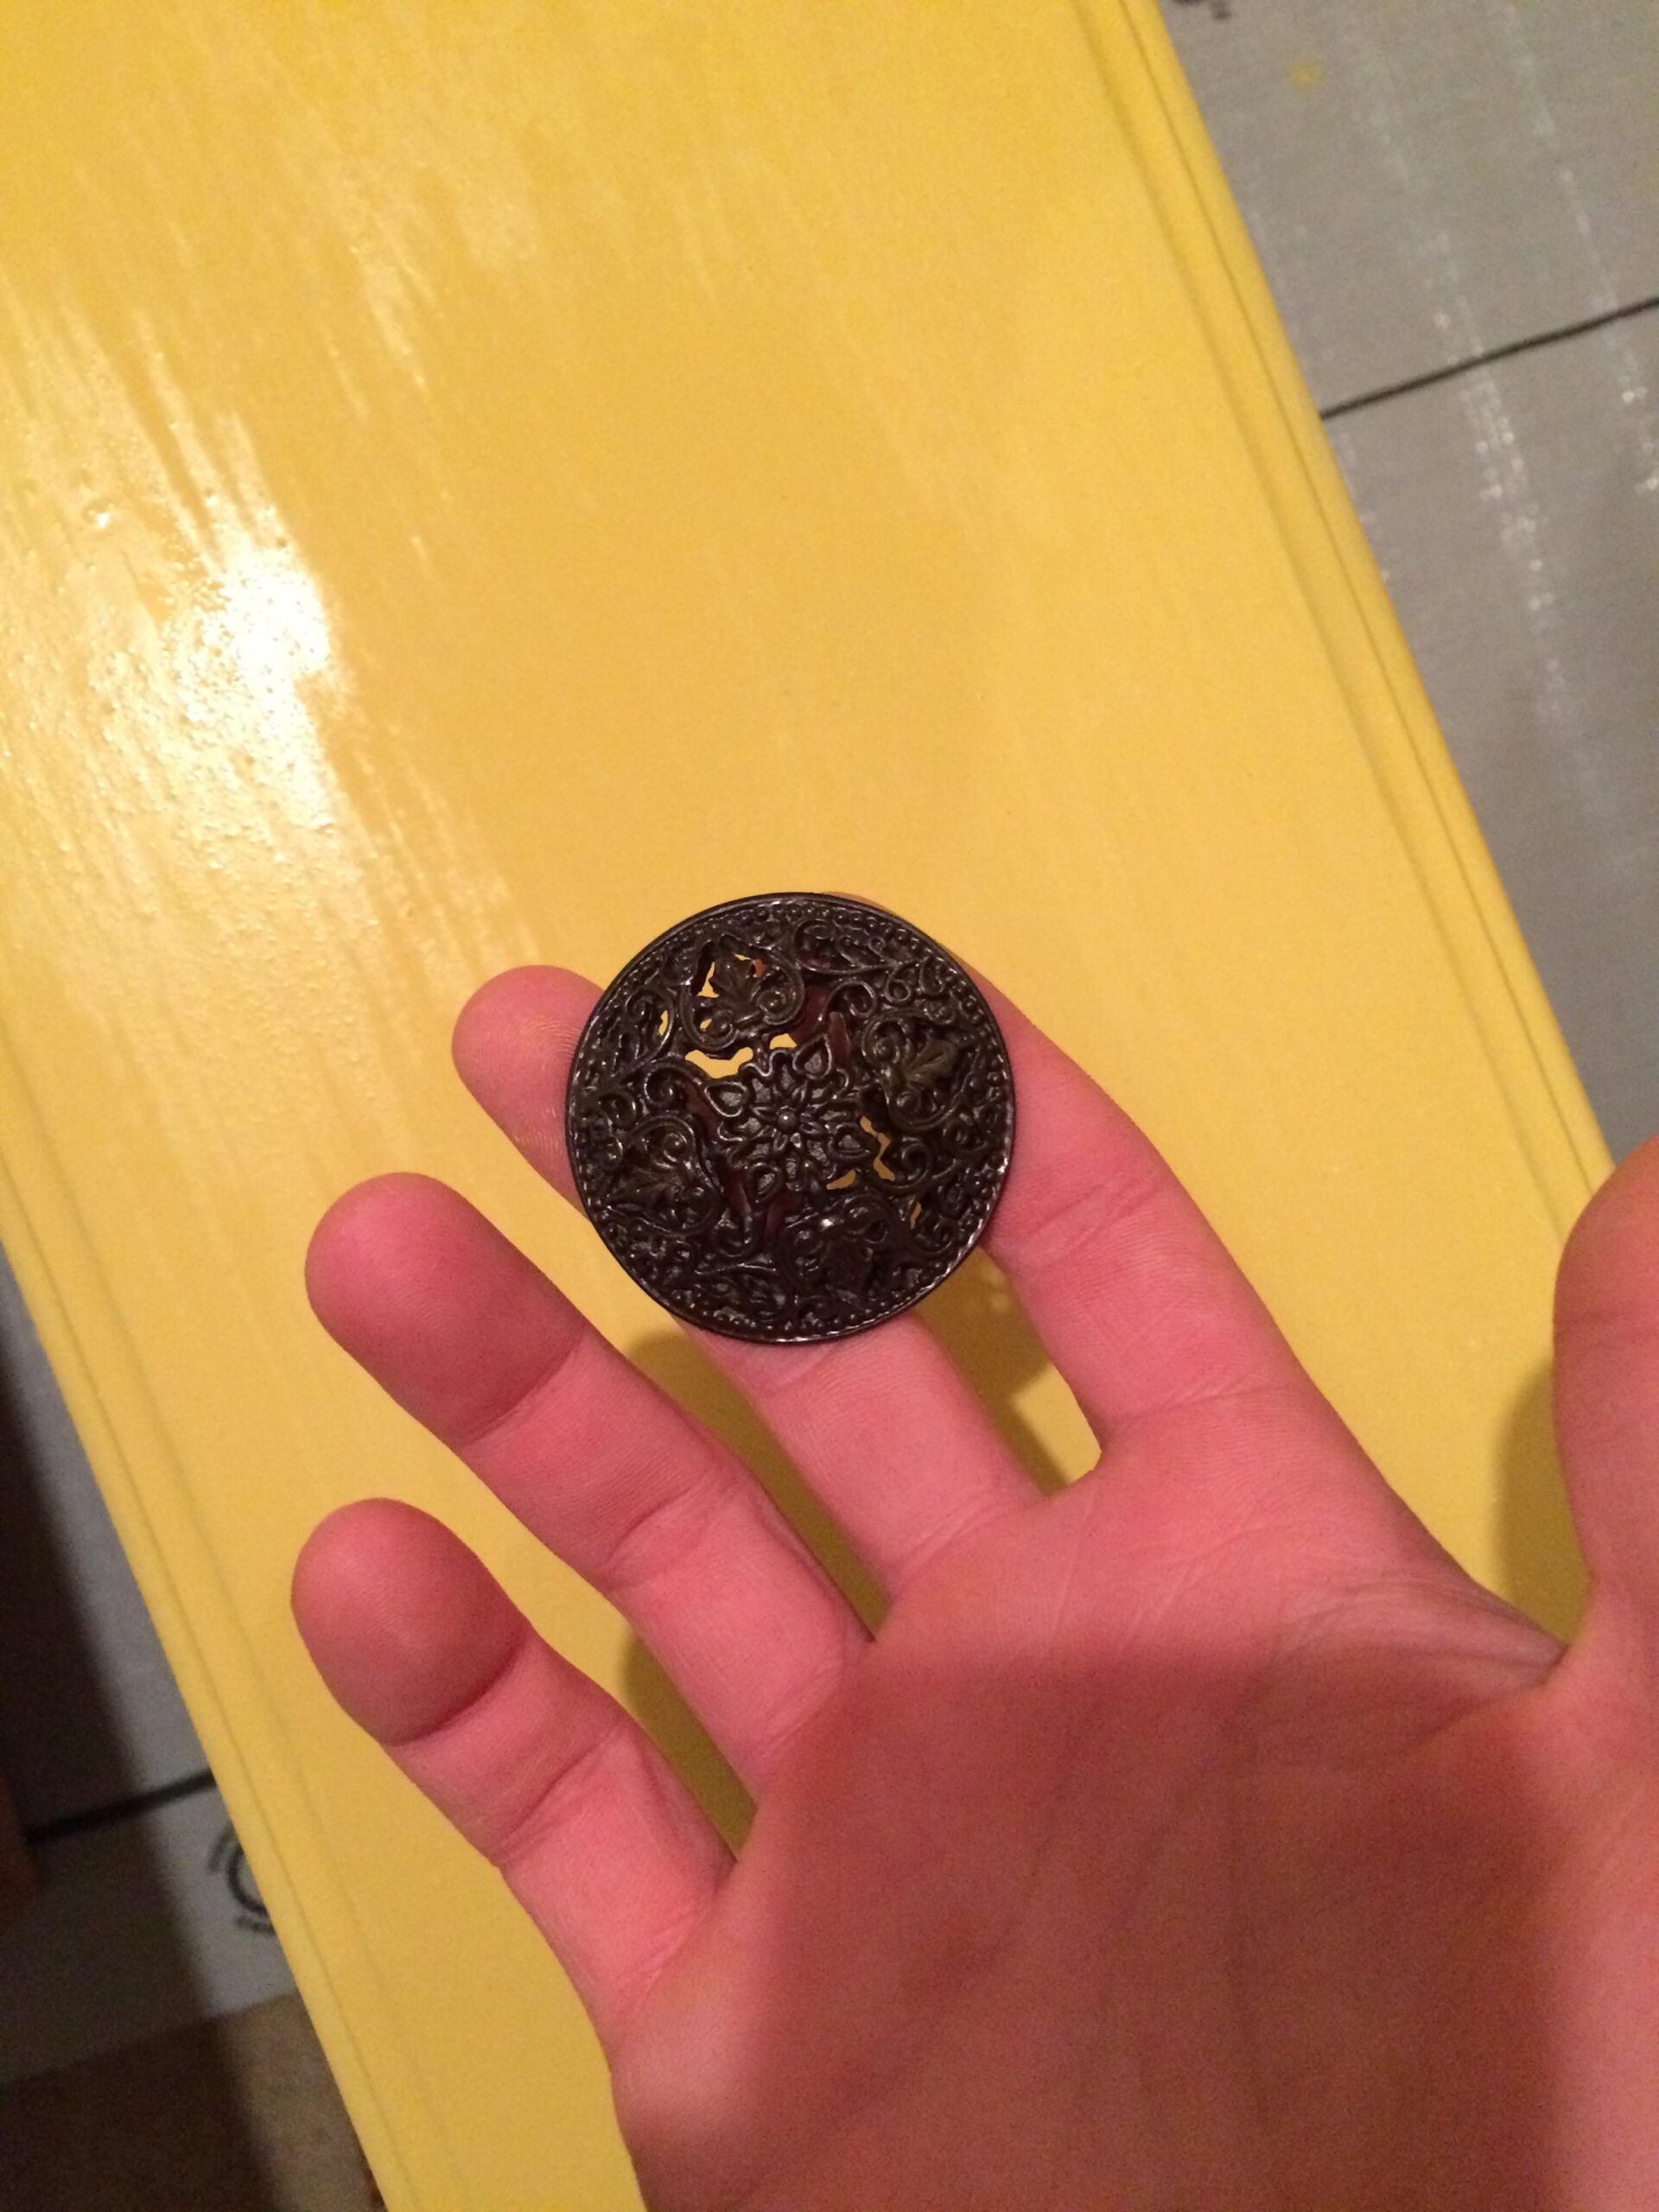
And her masterpiece is complete! I’m so jealous. I want this. Oh, Claire. How I miss thee...
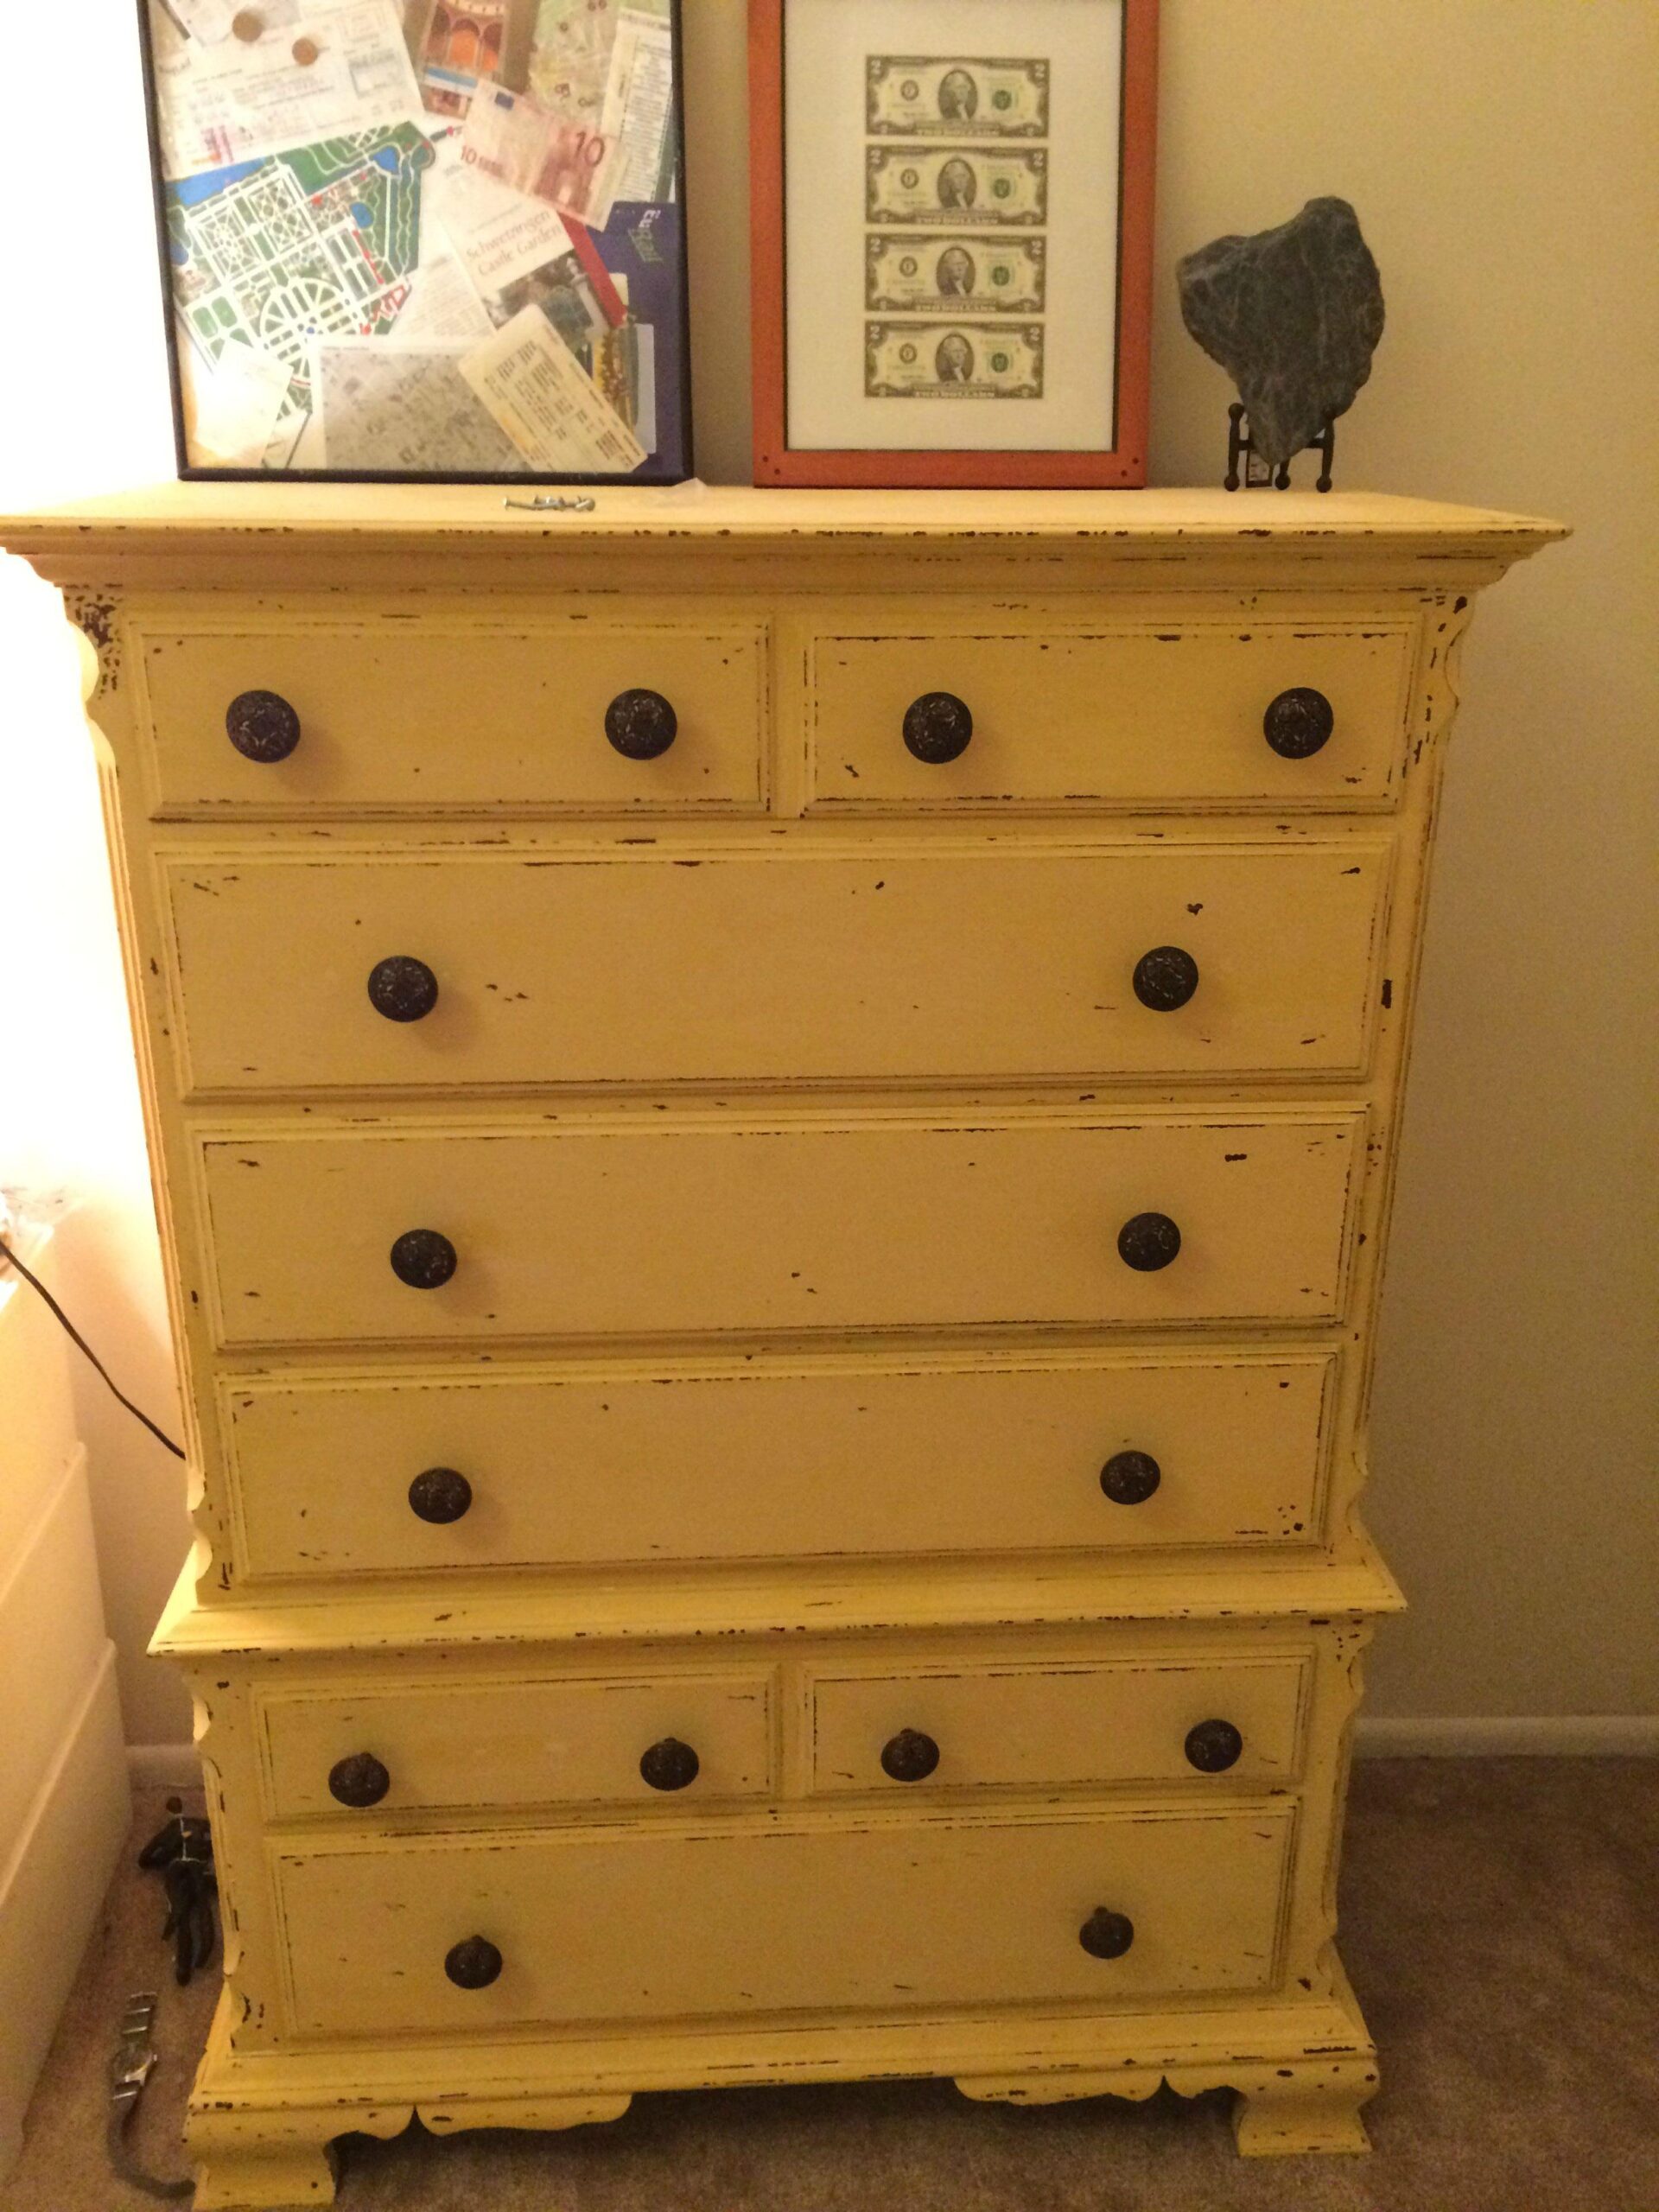
Please SHARE this amazing transformation with all your friends and family, because this simple project teaches a really valuable lesson: sometimes something new doesn’t always lead to something better. Sometimes what you actually need is right in front of your eyes — it just needs a tiny bit of love.


