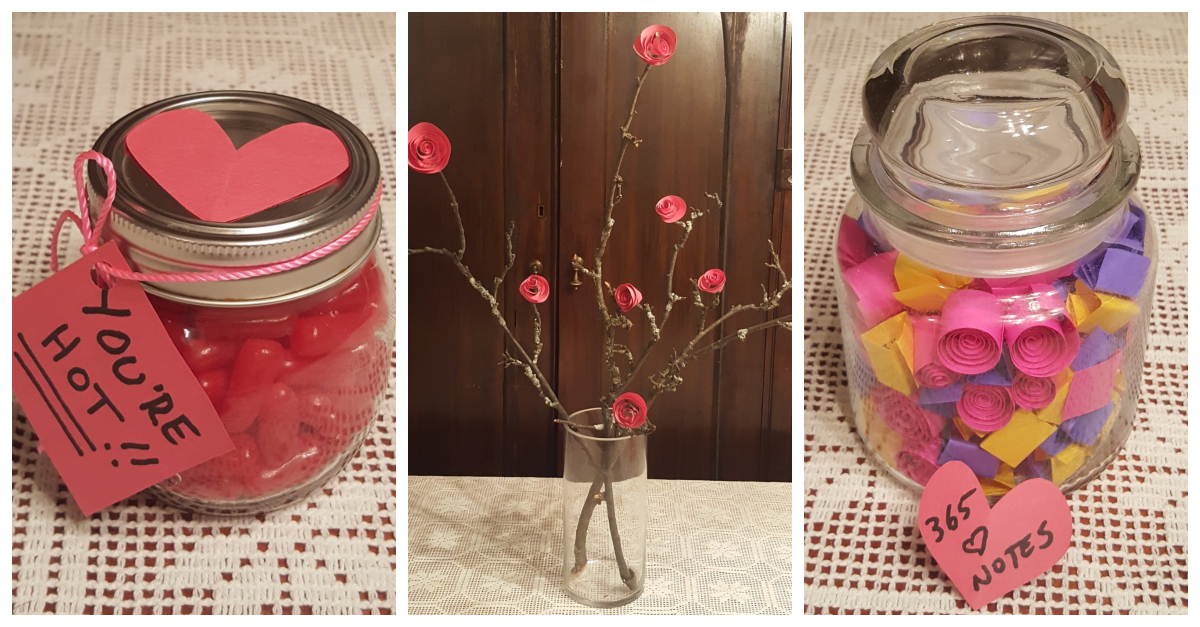
Are you still looking for the perfect DIY Valentine’s Day gifts for that special someone in your life? Granted, you could always head to the mall and pick up a store-bought present or order a trinket online, but taking the time and putting in the effort to craft something with your own two hands can add an extra level of significance to your gesture.
That’s why this year I decided to make three different DIY Valentine’s Day gifts that would suit various sorts of people while also being simple to make, fun to tackle, and easily affordable.
First, if there’s someone sizzling in your life and you want to take the heat up a notch this year, then check out the “You’re a Hot Tamale” candy jar. I found this idea over on The Frugal Girls and felt like it would be a sweet treat for my fiery fellow.
Second, I loved the idea of a 365-day note jar from Society19. This is so perfect to keep the loving vibe going throughout the year. If you get the number of messages correct, then this gift will take you right up to next Valentine’s Day.
Finally, if you care for someone who loves to get flowers on special occasions, but you’d rather opt for a DIY version that will last a little longer as opposed to the short-lived real thing, then you might want to try out the paper rose bouquet from Homesthetics.
With those three options, I felt like I had my bases covered. Candy, flowers, and heartfelt messages? My gifts included these Valentine’s Day classics, yet each had an adorable twist that would (hopefully) make them memorable for whoever was on the receiving end.
From there, it was time to head out to pick up the items I would need for my DIY Valentine’s Day gifts.
Gathering Everything I Needed
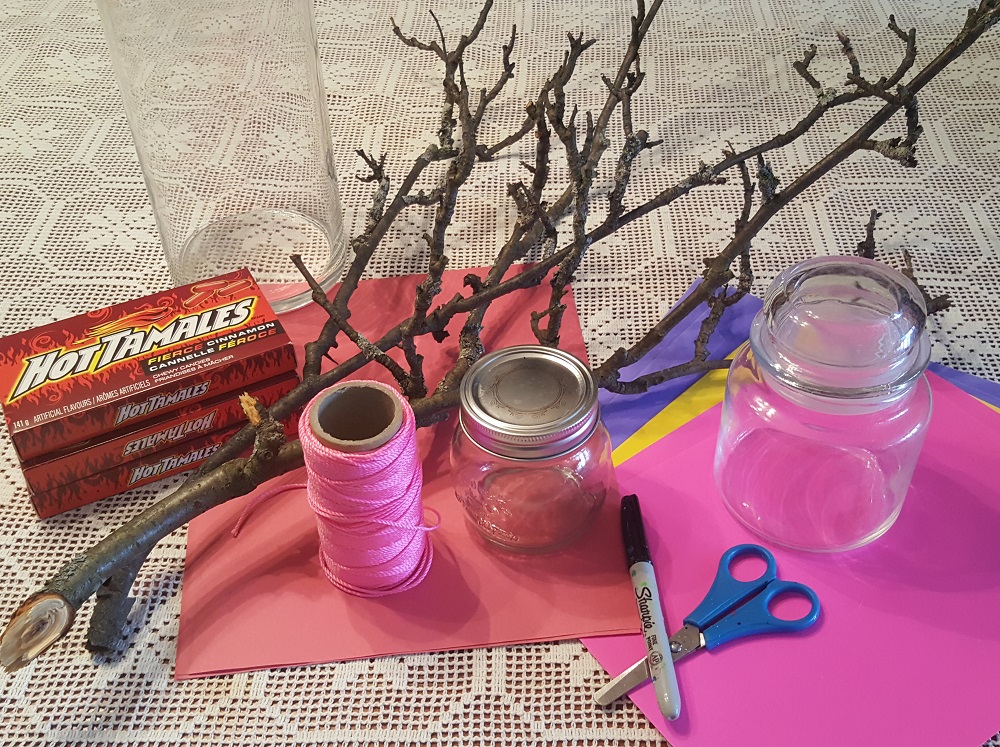
I ended up already having many of the items I would need, including the jars, the twine, the marker, scissors, and vase. I also had colorful card stock but wanted to pick up some red construction paper, and I also had to grab a few boxes of Hot Tamales (yes, I bought three boxes because I wanted to make sure I had enough, and it couldn’t hurt to have a few leftovers to nibble on while working). The only other thing I needed was the branches, and since a few had recently fallen off a tree in my yard, I was able to hop out and select a couple of suitable ones.
“You’re a Hot Tamale” Candy Jar — What You’ll Need
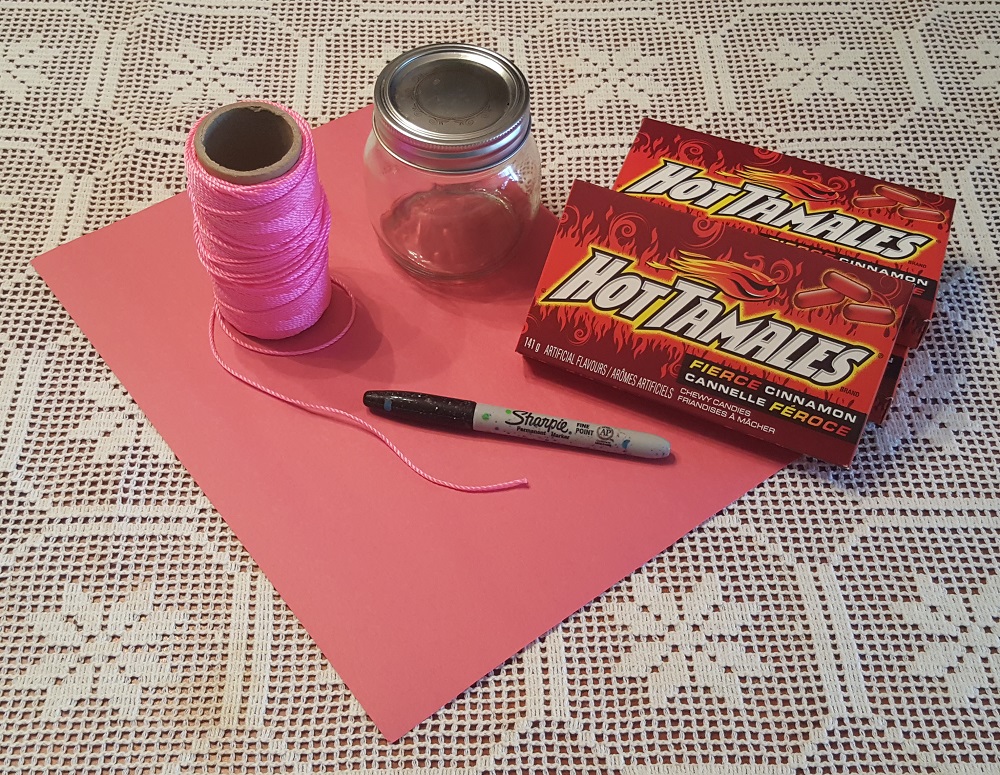
You need just a handful of items to make this candy jar craft:
- Mason jar
- Hot Tamales candies
- Red construction/craft paper
- Twine
“You’re a Hot Tamale” Candy Jar — Making a Heart
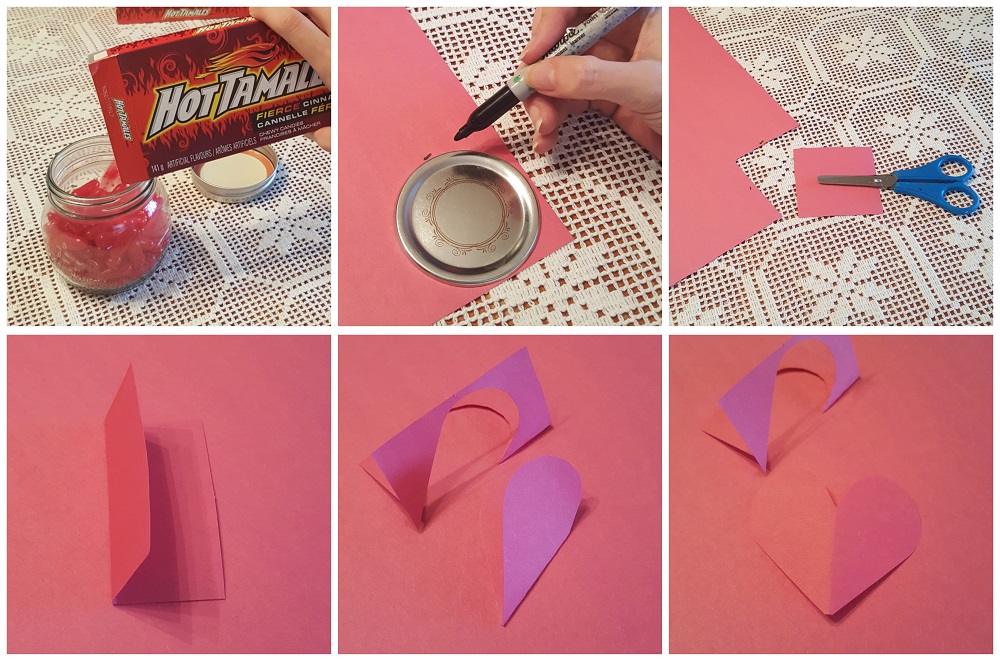
The only tricky part to this craft is making the paper heart for the jar lid the right size. Here's how I did this project:
- I poured the Hot Tamales into the Mason jar, making sure I filled it all the way up.
- I took the lid and marked its size on a piece of red paper.
- I cut out a square based on the marks I had made with the lid.
- I folded my square piece of paper in half, being careful not to make the fold too deep.
- I then cut a half a heart shape along the folded side of the paper.
- When I unfolded it, voilà! A heart! (Did you ever do this in school?)
“You’re A Hot Tamale” Candy Jar — Decorating the Jar
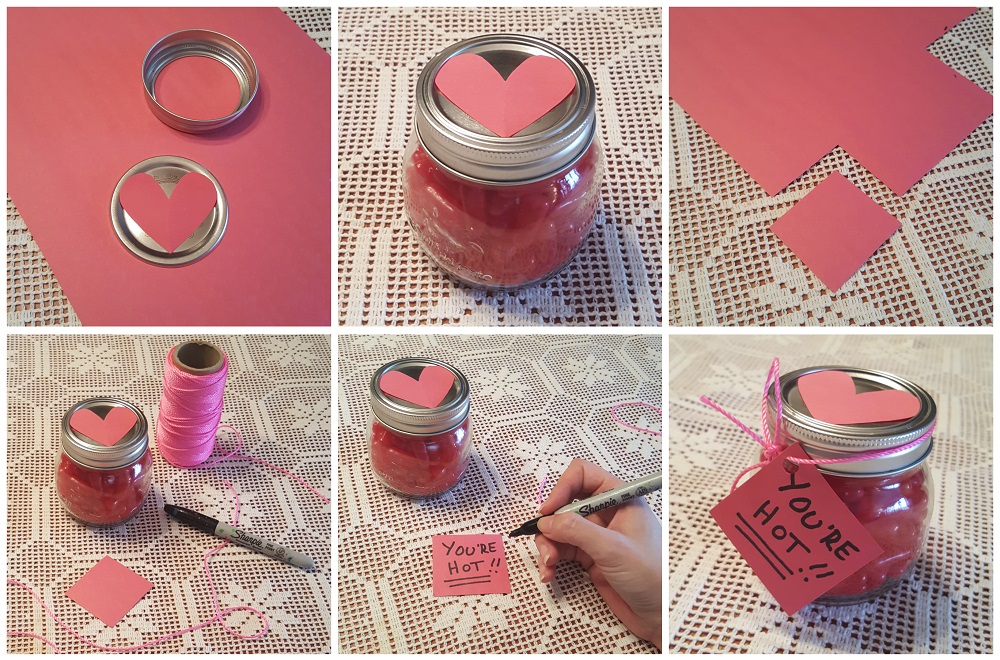
Now it was time to turn this jar into a romantic gift:
- When my paper heart was ready, I popped it onto the lid.
- I screwed on the top to keep the heart in place. You could also use a little glue or tape to make sure it doesn’t move.
- I then cut out another square of red construction paper.
- I grabbed my marker and the twine.
- I added a note for whoever would be receiving my gift, writing, “You’re hot!!”
- I popped a little hole into the corner of the paper and used a piece of twine to tie it to the jar.
“You’re A Hot Tamale” Candy Jar — Final Result
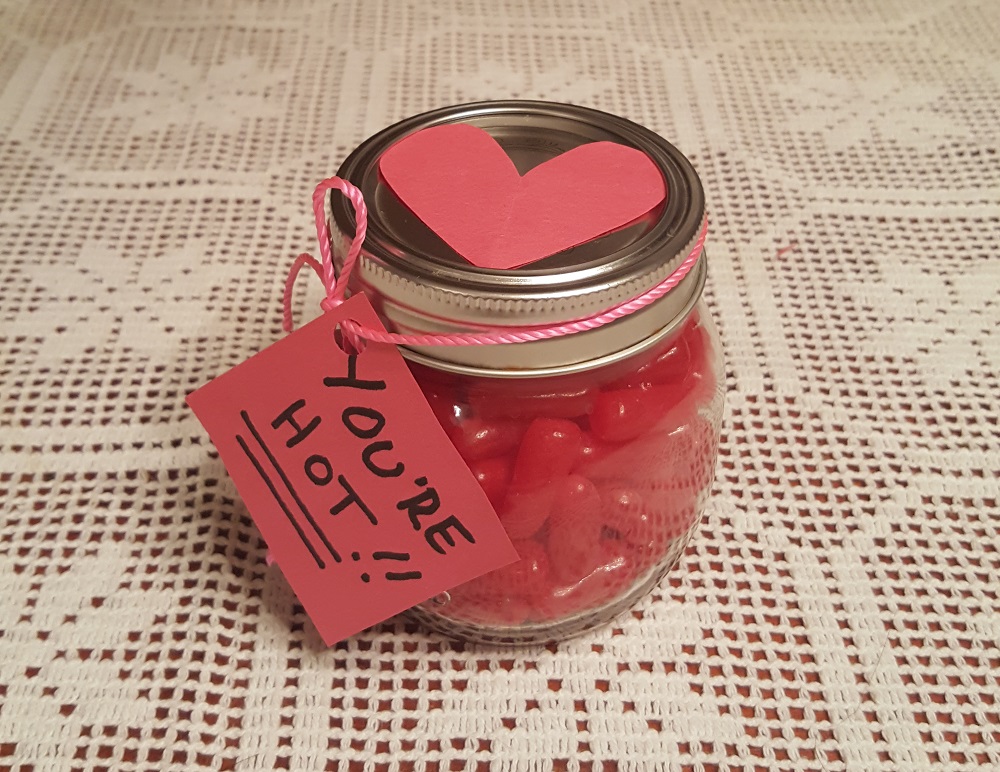
Total success! This DIY gift was incredibly easy to make and is an adorable (and affordable) way to show someone that you think he or she is sizzling. There are also plenty of ways that you could include your own extra pizzazz, like adding a few flourishes to the heart on top or making your note super fancy. And if your sweetheart isn’t into Hot Tamales, perhaps you could do something similar with hot sauce or maybe ghost peppers? That would certainly spark some heat on Valentine’s Day!
365-Day Note Jar — What You’ll Need
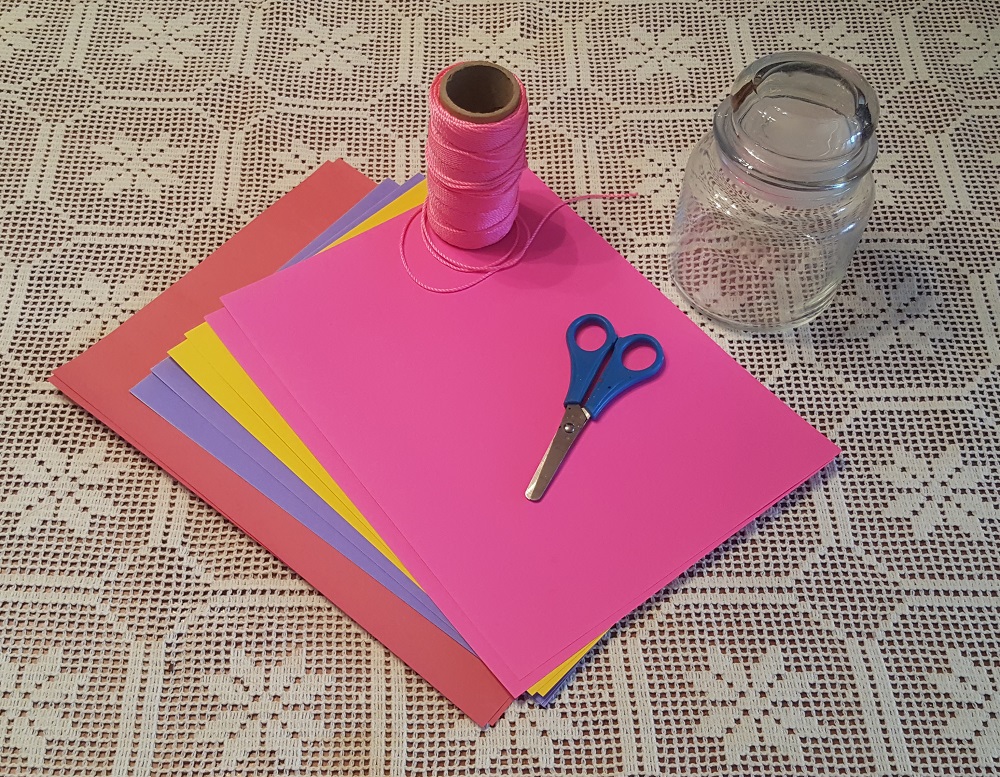
Here are all the materials you need to make this note jar:
- Jar
- Paper
- Pen/marker
- Twine (optional)
You will also need time to come up with 365 messages!
365-Day Note Jar — Making the Notes

First make your individual notes:
- After gathering 365 messages for my love (including reasons why I adore him, special quotes, and anything else I thought might make him smile), I printed them out on three different colors of card stock (you could simply use normal paper if that’s what you have). You can also write out each message by hand, but be sure to give yourself plenty of time to do so.
- I cut each message into individual strips.
- I then folded (or rolled) them up to pop into the jar.
365-Day Note Jar — Lid and Label

Finish up with the lid and a label!
- I noticed the rolled-up pink strips kind of looked like roses, so I made sure they lined the inside of the jar so they could be seen.
- When I was done adding all of the notes, I popped the lid onto the jar.
- I then used another small piece of red construction paper to write “365 [Love] Notes” and simply kept it with the jar.
365-Day Note Jar — Final Result
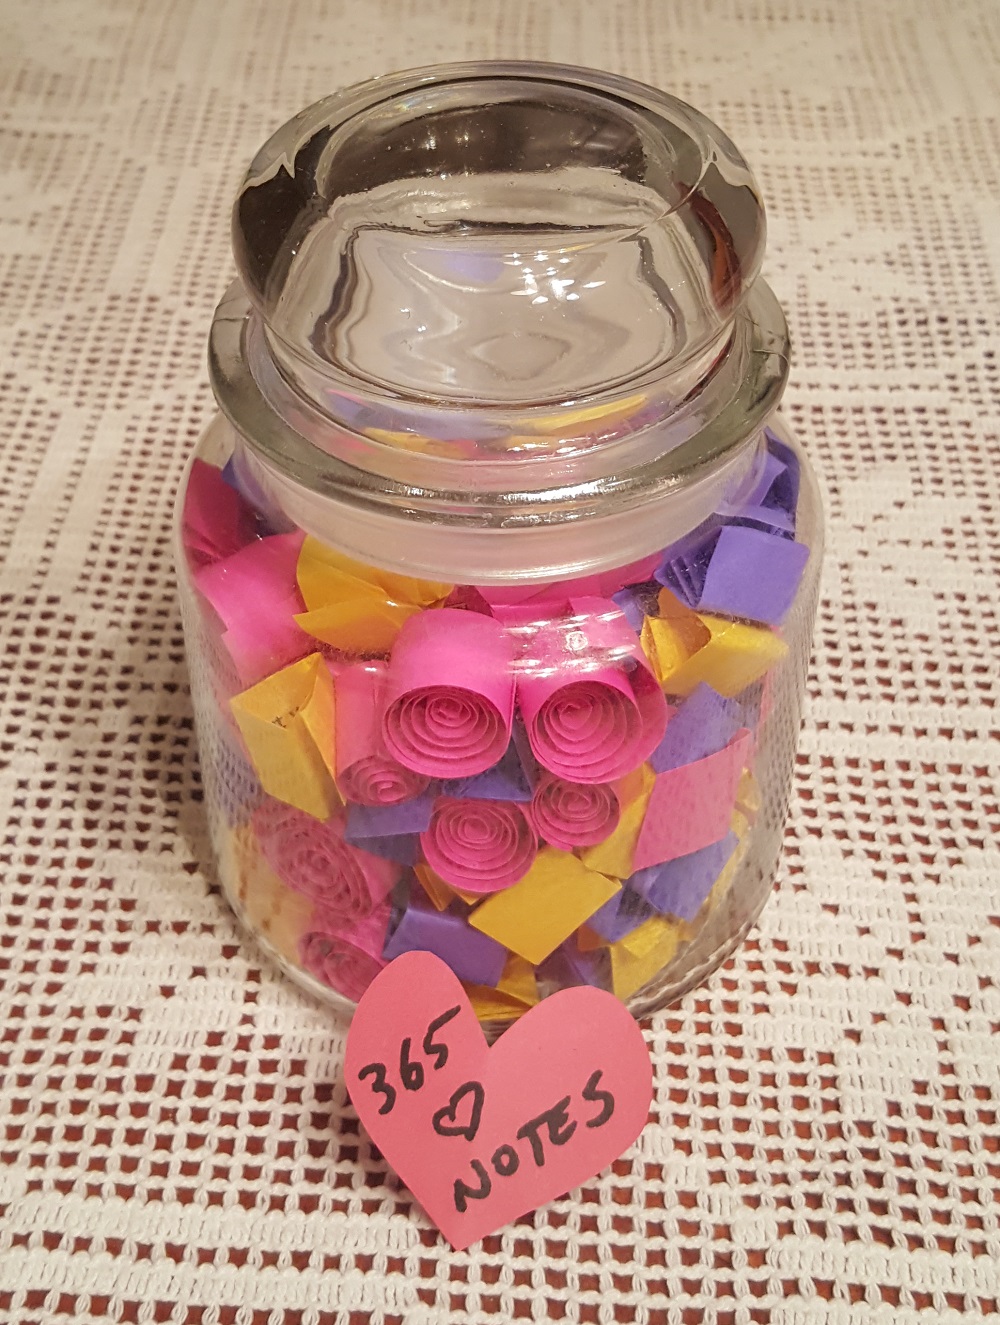
This ended up being another super-simple (and affordable) DIY gift idea that turned out really well. Granted, this one takes a little longer due to the fact that it takes a while to collect 365 different messages, cut them all up once they’re printed out, and then roll or fold each one. But hopefully as my S.O. reads the notes throughout the year, he’ll appreciate the gesture.
Paper Rose Bouquet — What You’ll Need
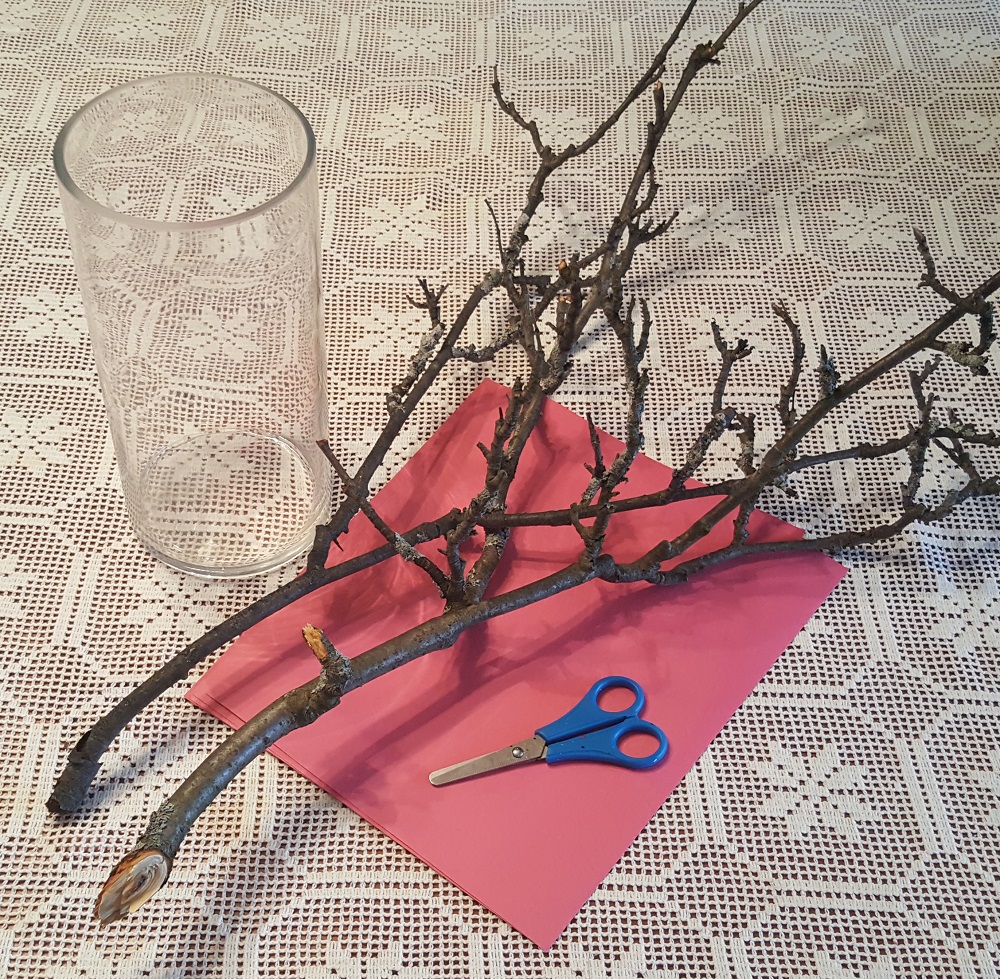
This craft can be as creative as the supplies you collect:
- Red paper
- Twigs/branches
- Scissors
- Vase
- Pencil (not pictured)
Paper Rose Bouquet — Rose Cutting

First up is cutting out the roses:
- I cut out various sizes of squares from the red paper.
- I used a pencil to draw spirals on each of the squares.
- I then cut along the lines I had drawn.
- I made sure to cut off the corners to keep my spiral round.
Paper Rose Bouquet — Assembling the Bouquet
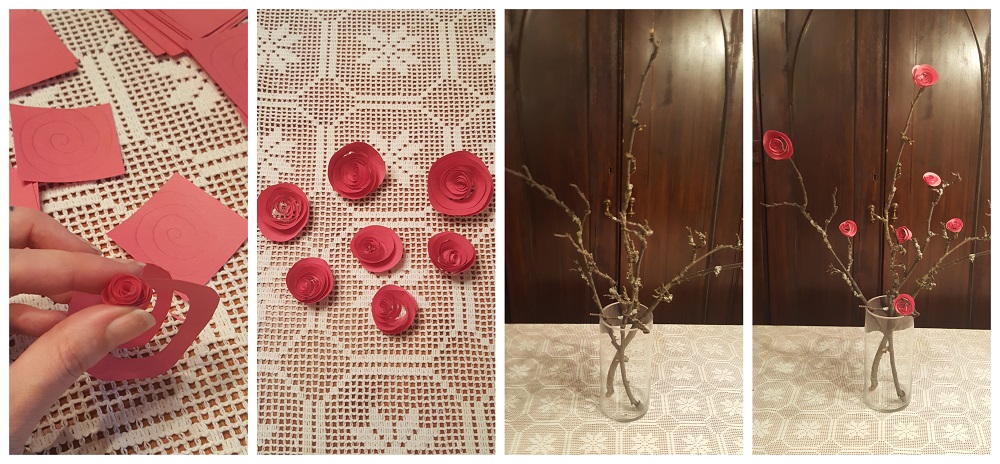
After your spirals are cut, it's time to assemble the bouquet:
- For each spiral, I rolled it up, starting from the outer end and working my way in. While the roses stayed tightly wound at first, they did begin to unravel slightly, so a bit of glue between a few of the layers can help keep everything in place.
- I repeated this seven times with different sizes of spirals, which gave me different-sized roses once they were rolled up.
- From there, I popped the branches I had gathered into my vase.
- I then added my paper roses to the ends of a few of the branches. Mine stayed on their own, but you could add a bit of glue if you want to make them a little more secure.
Paper Rose Bouquet — Final Result
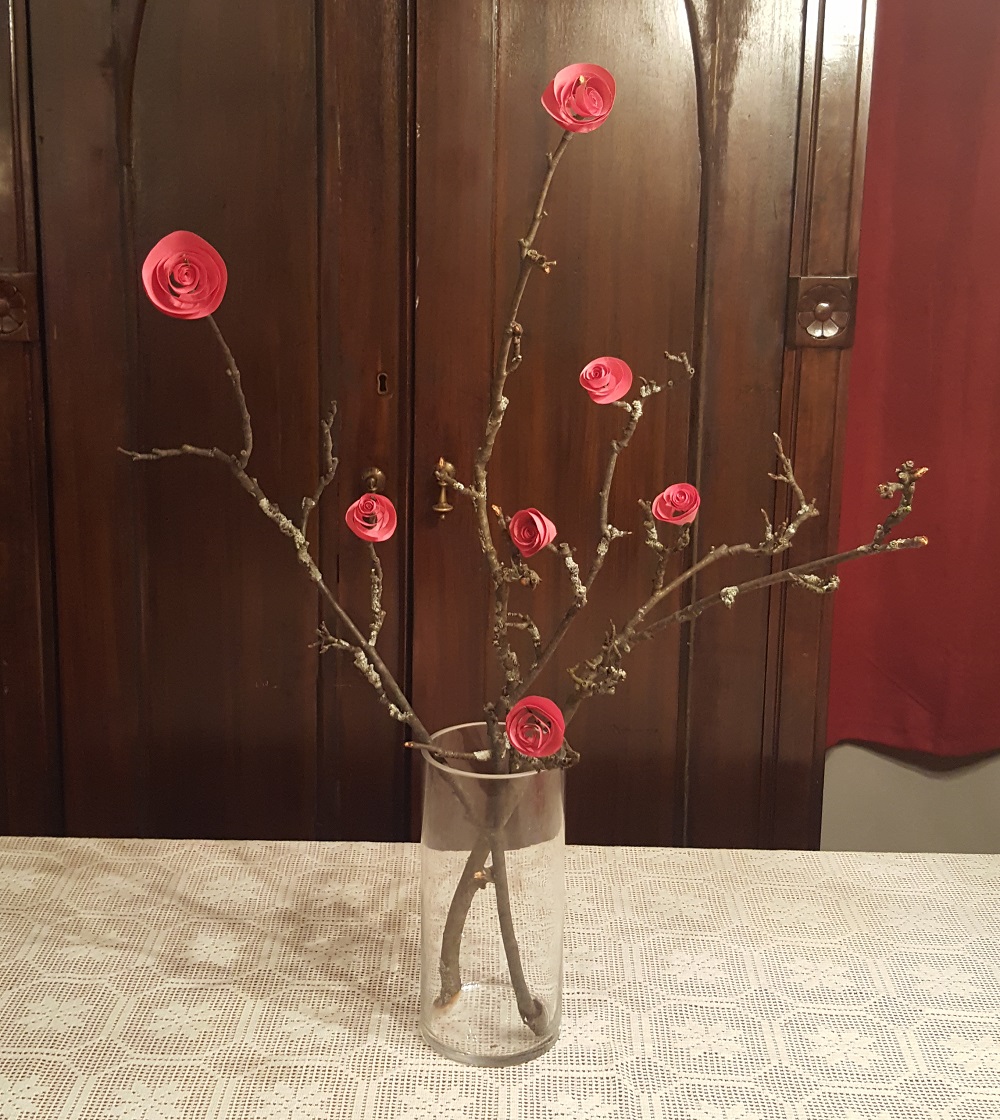
I was thrilled with how this DIY gift came out. I felt that it was a pretty, quirky twist on a normal bouquet that, again, could be personalized in so many ways. You could add even more roses, use paper that is different colors, or opt for branches that are different shapes.
Final Thoughts
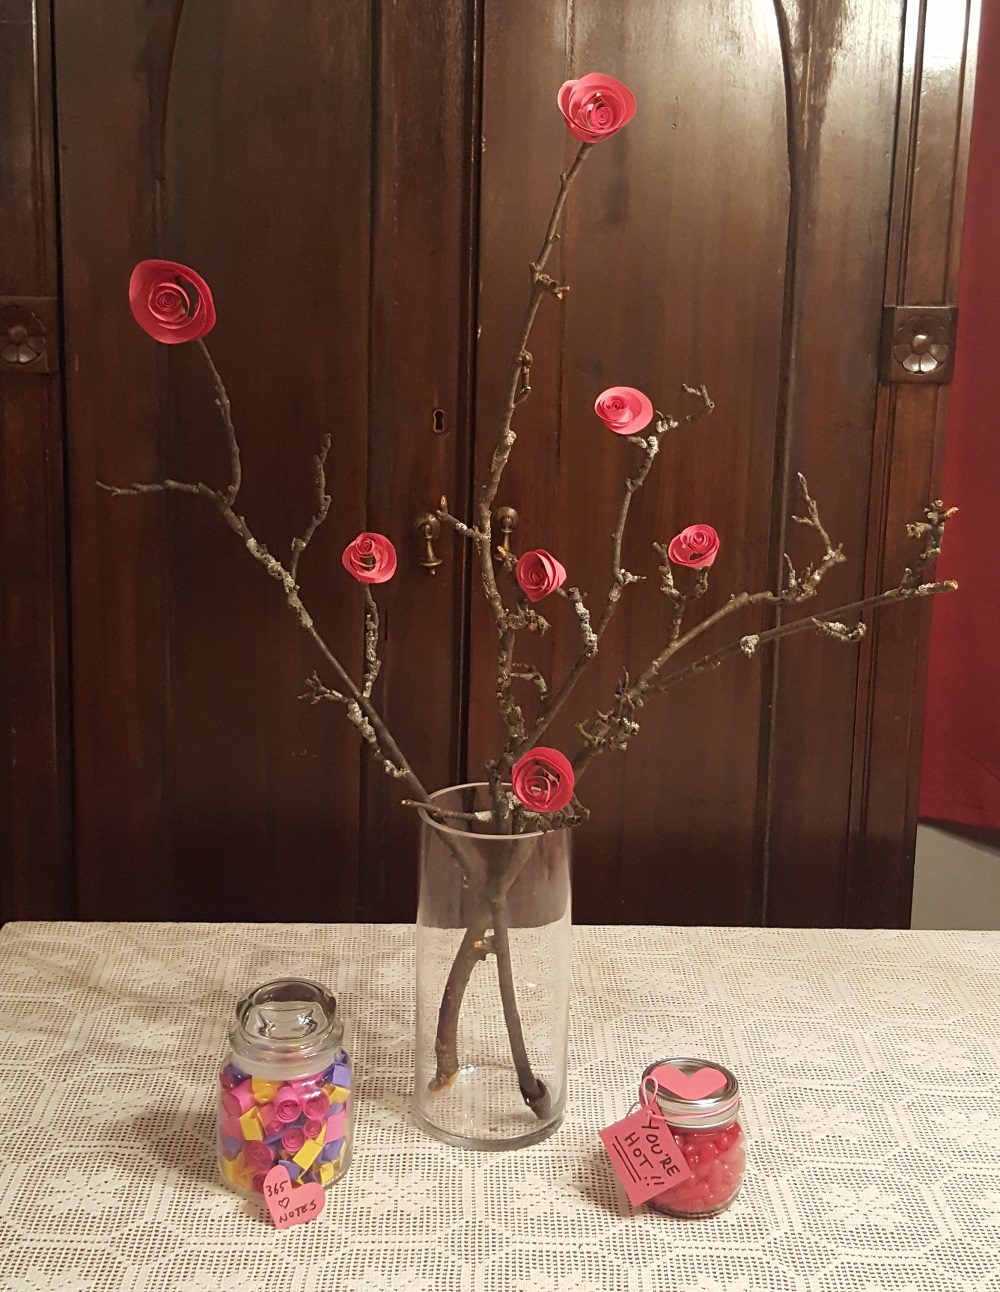
I was really happy with how my DIY gifts turned out and, as it turned out, so was my husband. Although he came home and spotted them well before Valentine’s Day (whoops!), he loved all three. He immediately grabbed a few Hot Tamales after grinning at the note, and he keeps looking slyly at the jar of 365 messages because I told him he had to wait until Valentine’s Day to start reading them. As for the roses, I honestly made them because they’re the kind of thing I would love to receive, but my husband absolutely adores them and even asked if there’s a way to keep them on display year-round. I’d say that’s a sign of a successful gift!


