As the summer months begin to roll in, we're all excited for upcoming vacations: hitting the beach, playing by the pool, and just relaxing are hopefully on everyone's summer agenda!
And if you're looking for a fun little project that's simple, cheap, and easy, then you're definitely going to want to check out the pictures below.
Just think, you're sitting at the grill, cooking up some amazing hamburgers, there's a slip-n-slide, an ice cold coca-cola, and even a pool; but with this newest addition you're going to have the time of your life. Behold, the water blob!
The water blob is a fun addition to your summer toys; along with the rubber duck and pool noodles, this amazing "Do It Yourself" project should be on everyone's list regardless of their age! Fun to bounce on, lay on, or flop on, this treat is fun for the whole family. While some people are waiting in line to buy season tickets for the closest wave pool, or water park, you'll have your own little water world right in your backyard!
And all you'll need is:
- A Plastic sheet
- An Iron and ironing board
- A Towel or sheet to iron with
- Duct Tape
- Water source
If you’re interested in a fun DIY project that will make waves for the rest of your summer this is definitely something you want to check out!
And please SHARE the amazing water blob if you just love summer!
If you're anything like me, chances are you've got sheets and sheets of this plastic stuff. If you don't, don't worry — you can easily pick some up at a store like Walmart!

Lay out the plastic and make sure you have as perfect a rectangle as possible. We don't want any uneven blobs!

Get your iron nice and toasty and place your towel on the end of your ironing board.

Fold your plastic sheet in half and place one edge on your ironing board.

Place your two plastic sheets together. Ironing them will create a watertight seal!

You're going to want to make sure to place a towel over the plastic so the iron doesn't directly touch it, or else it'll melt too much.
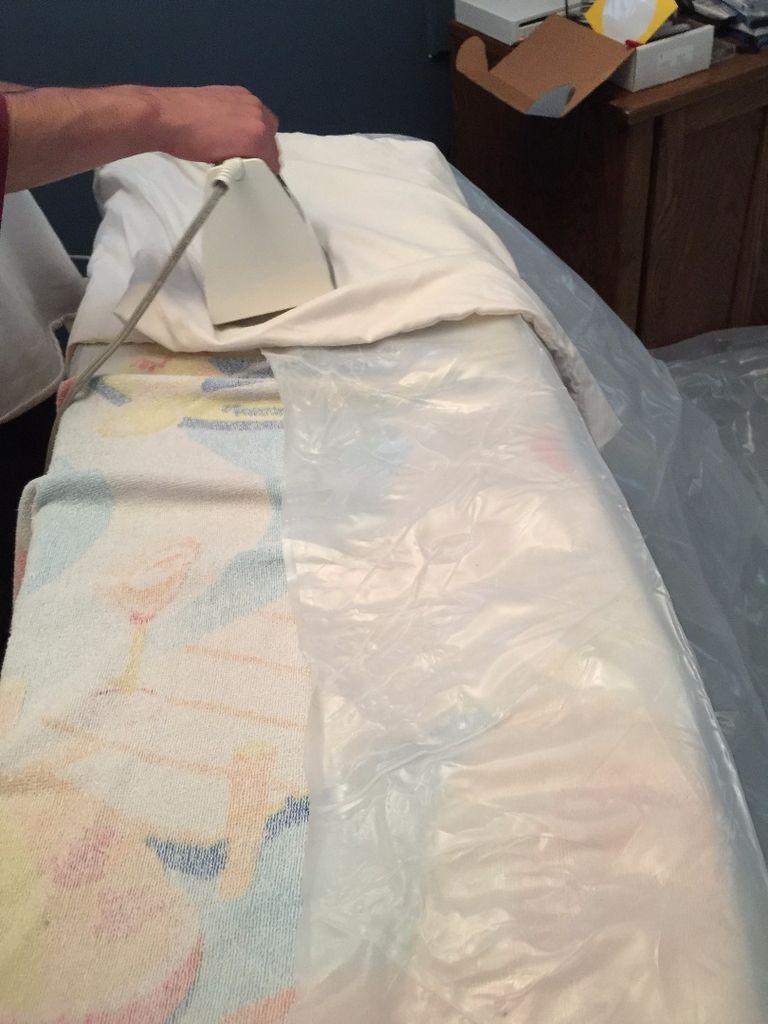
Move your iron back and forth over the edge of your plastic sheets until the sides have melted together. Check the edges frequently to make sure aren't ironing too much or too little!

Do this to all of the edges until you've made something that looks like one big Ziploc bag. Just make sure you leave a tiny opening to pour in your water.

Check out the NEXT page to see how to complete this fantastic little DIY project!
The opening should be big enough to slip in your water hose, but not too big.

This is the only side of your big plastic bag that you don't iron.

Take it outside and fill it up with water. It's as simple as that! In a few minutes, you'll have yourself a good old fashioned water blob!
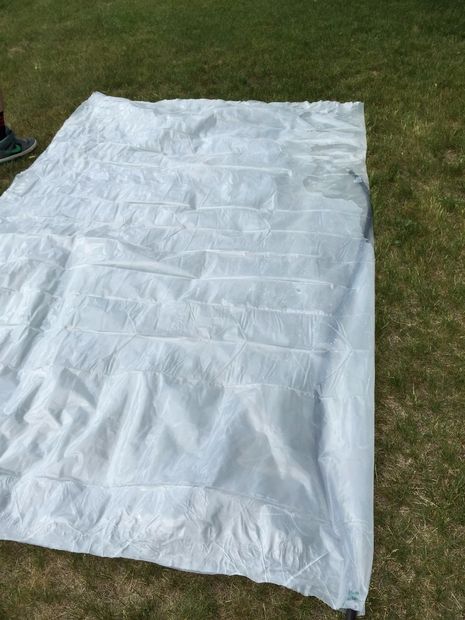
Once it's filled up, pull out your garden hose.

Using the duct tape you bought, patch up any leaks and holes you find.

There you have it, your very own water blob...all made from items that are probably sitting in your shed anyways!

Like a big outside waterbed, this cheap fun summer toy is great for any ages. Take a nap on it outside underneath your sprinklers.

Or watch your baby happily play on the blob without worrying about them being in any danger!
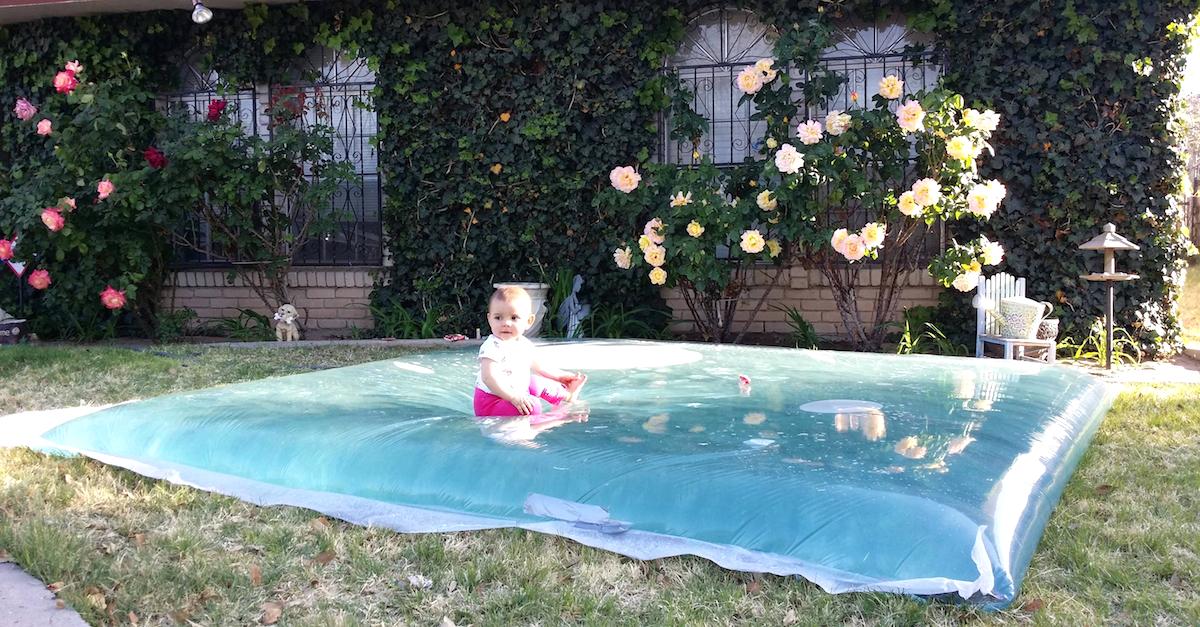
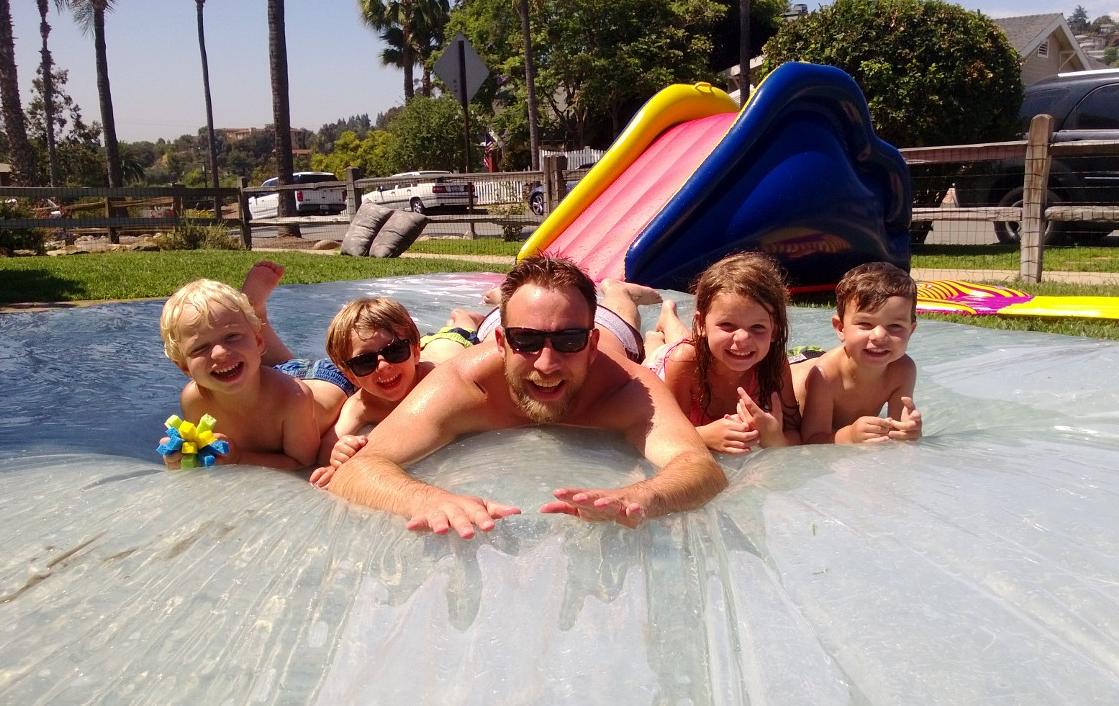
Or combine it with some of your other summer toys like a Slip N Slide, or kiddie pools to jump in and out of. This amazing new toy is fun for everyone, and it was made by you! If you want to jazz it up a bit, add some food coloring when you're filling up
Please SHARE this exciting (and cheap) summer fun project with all of your sunbathing friends!


