
Saying that I love carbs would be a tremendous understatement. In my Instagram bio, I boast that I'm a "carb lord." There's seldom a meal that doesn't involve rice, or fries, or beloved bread. Being tasked with making my own delicious fresh bread sounded like the best thing that could happen, but I quickly learned that it's more of a challenge than you'd think.
First off, there are about a million different kinds of bread to make. For a bread lover like myself, this turned into hours of Googling, scouring recipes, and changing my mind. Since my loaf pans were nowhere to be found, I figured a simple baguette would be more up my alley. After all, how hard could it be?
Even after deciding on a specific type of bread, there were so many different recipes to explore. I did research, compared recipes, and settled on something that felt easy enough for me to pull off while still challenging myself for a bit. Because baking is such a precise science, I read the directions a few times and felt like I was really prepared to tackle this.
WRONG, WRONG, WRONG. My journey in baking started with a major fail. I was carefully documenting my adventures in bread making, and even though the consistency of my dough was never quite right, I figured it would work itself out. Wrong again! My too-sticky, too-moist dough took more hours of the day than I care to admit. When it came time for shaping it into baguettes, it stuck to the lightly floured countertop and wouldn't budge. I agonized over this bread for so many hours, but I had to face my fate. It was trash. So into the trash it went, with many profanities and proclamations of how I was never trying this again.
By the next morning, I realized I wasn't ready to accept defeat at the hands of bread. Against my better judgment, I found a new recipe and started again. Every step of the way, I expected disaster. I was pleasantly surprised when, after 16 hours in the making, I pulled some fresh, scrumptious baguettes out of the oven, and victory was mine.


After I threw my messy first attempt at baking bread away, I was pretty over it. I seriously thought about doing the keto diet and walking away from carbs forever, but I was only lying to myself.
The Ingredients
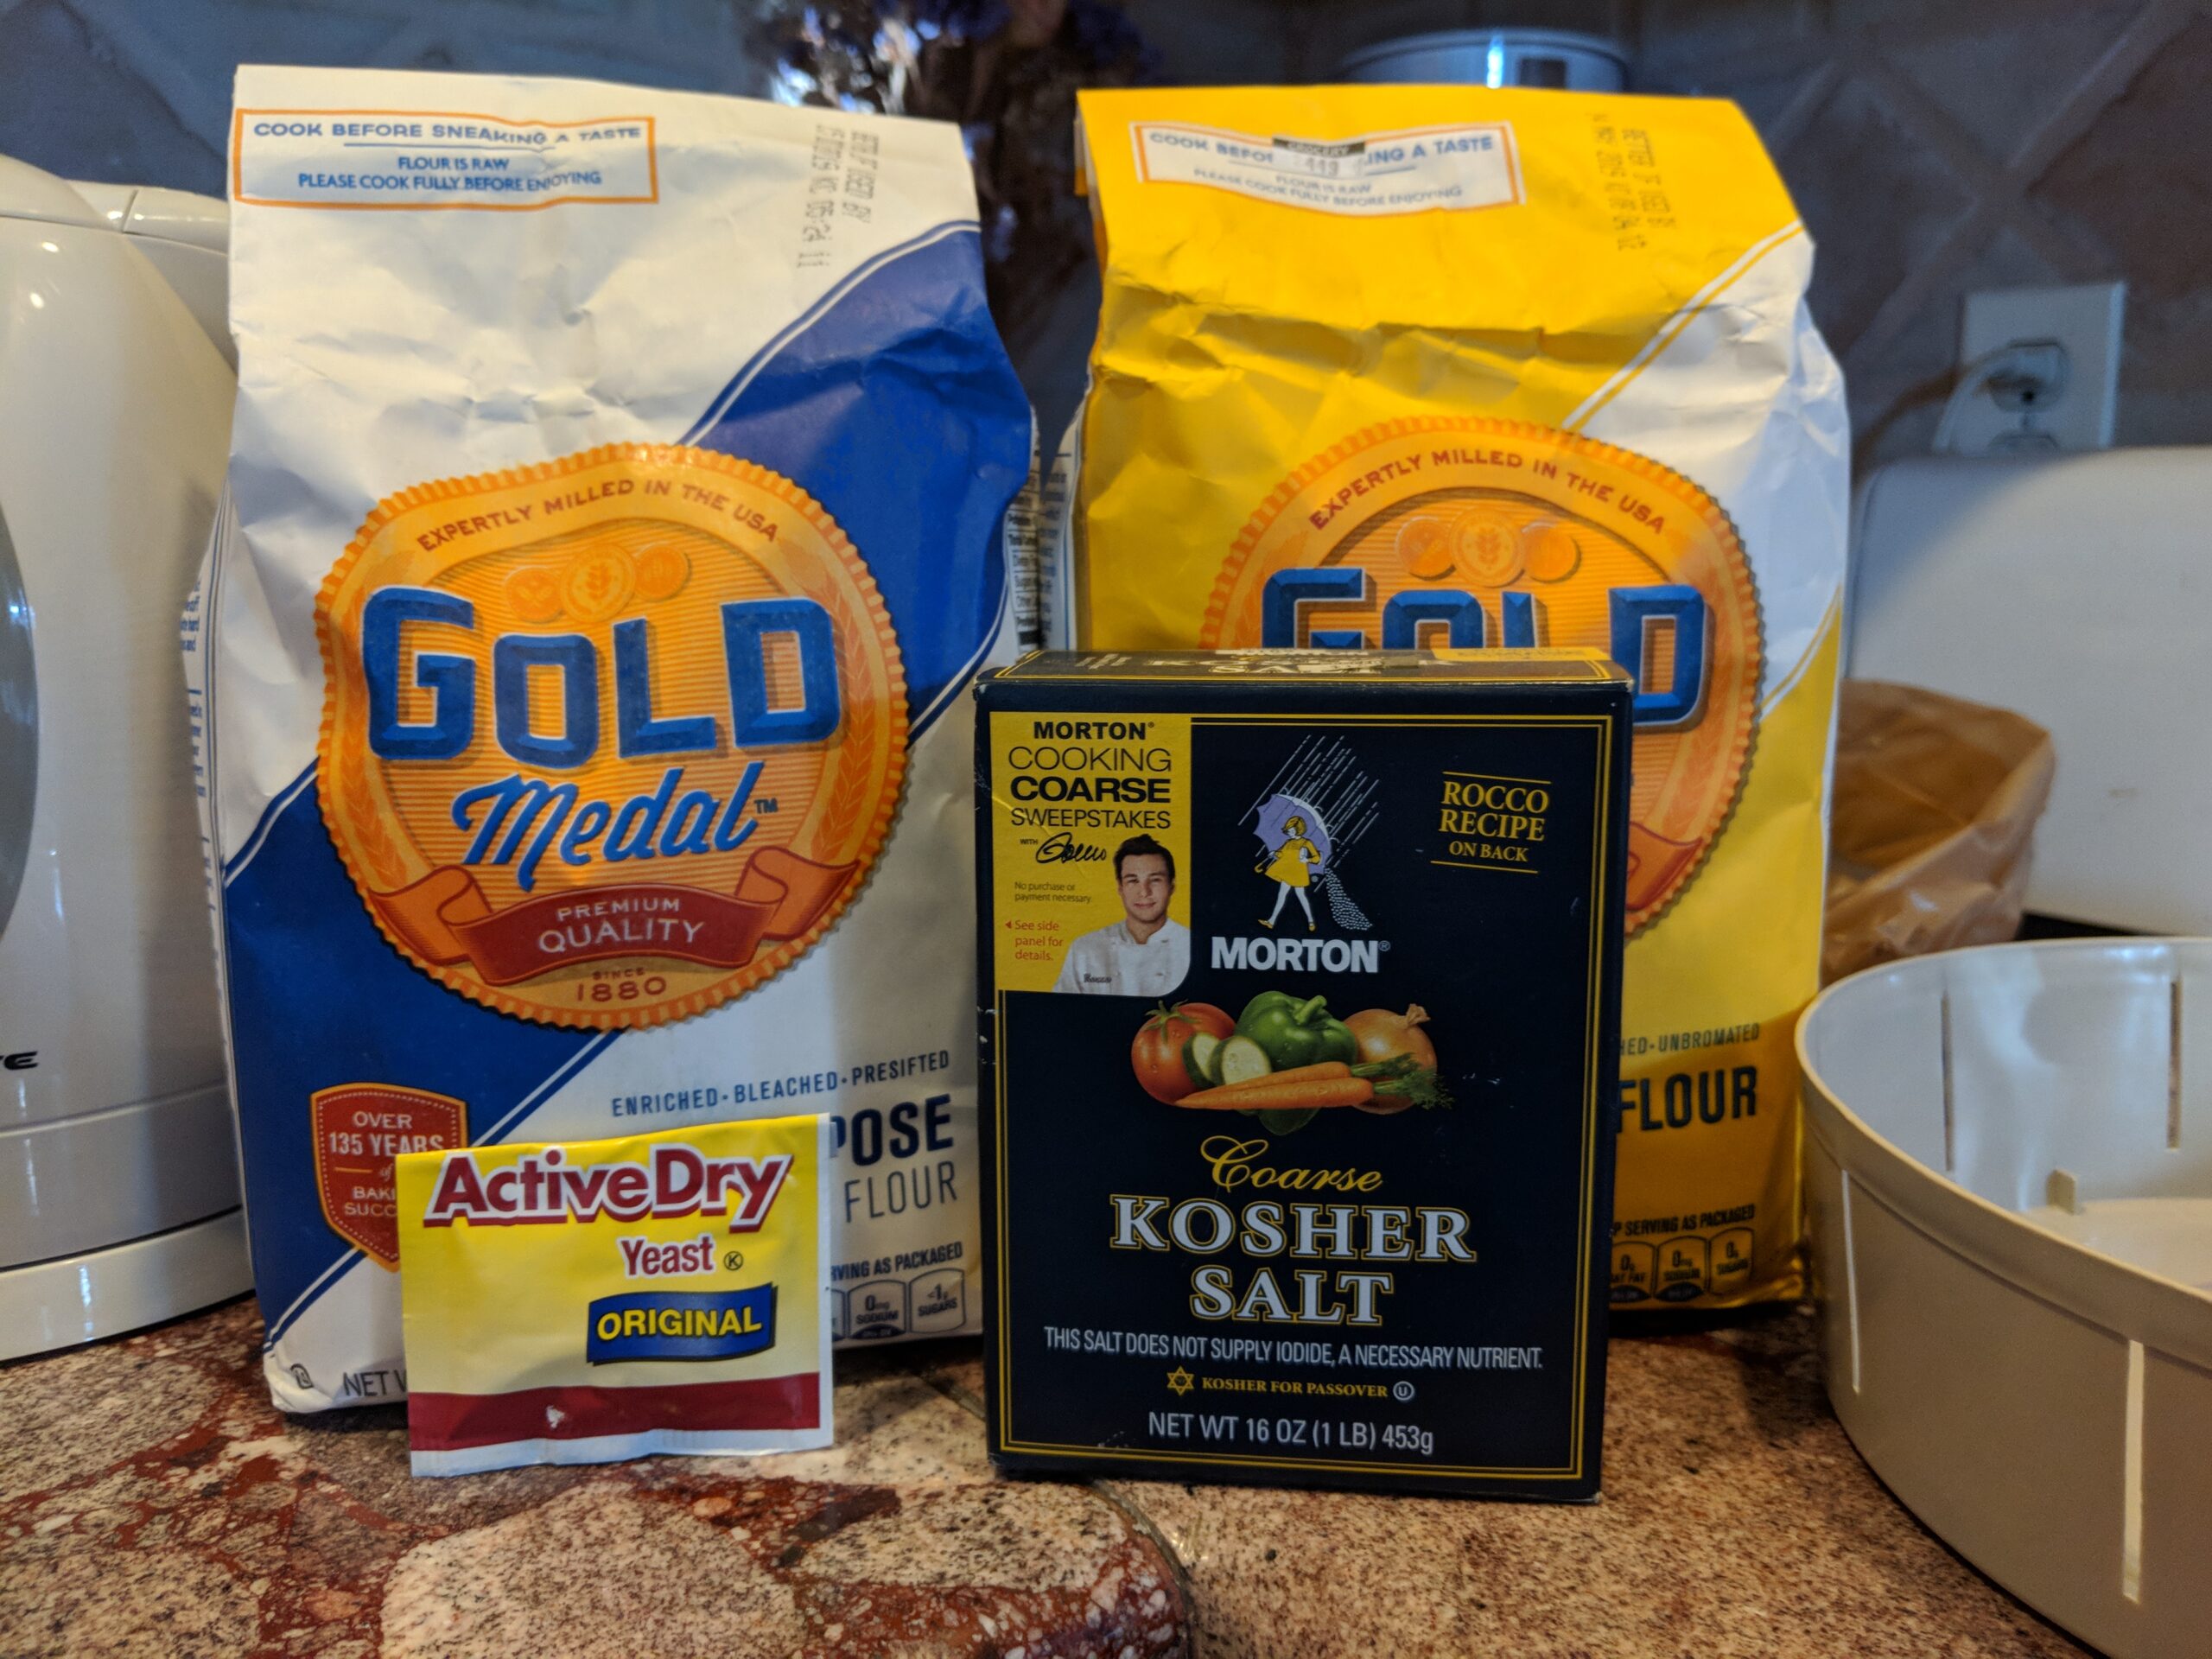
After looking through the treasure trove of bread recipes the internet had to offer, I went with King Arthur Flour's Classic Baguettes recipe. Here's what you'll need to pull this off:
Poolish (starter):
1/2 cup cool water
1/16 tsp. active dry yeast or instant yeast
1 cup all-purpose flour or bread flour*
Dough:
1 1/2 tsps. active dry yeast or instant yeast
1 cup + 2 tbsps. lukewarm water
All of the poolish
3 1/2 cups all-purpose flour or bread flour*
2 tsps. salt
*Bread flour can be used in this recipe but will result in a stiffer dough.
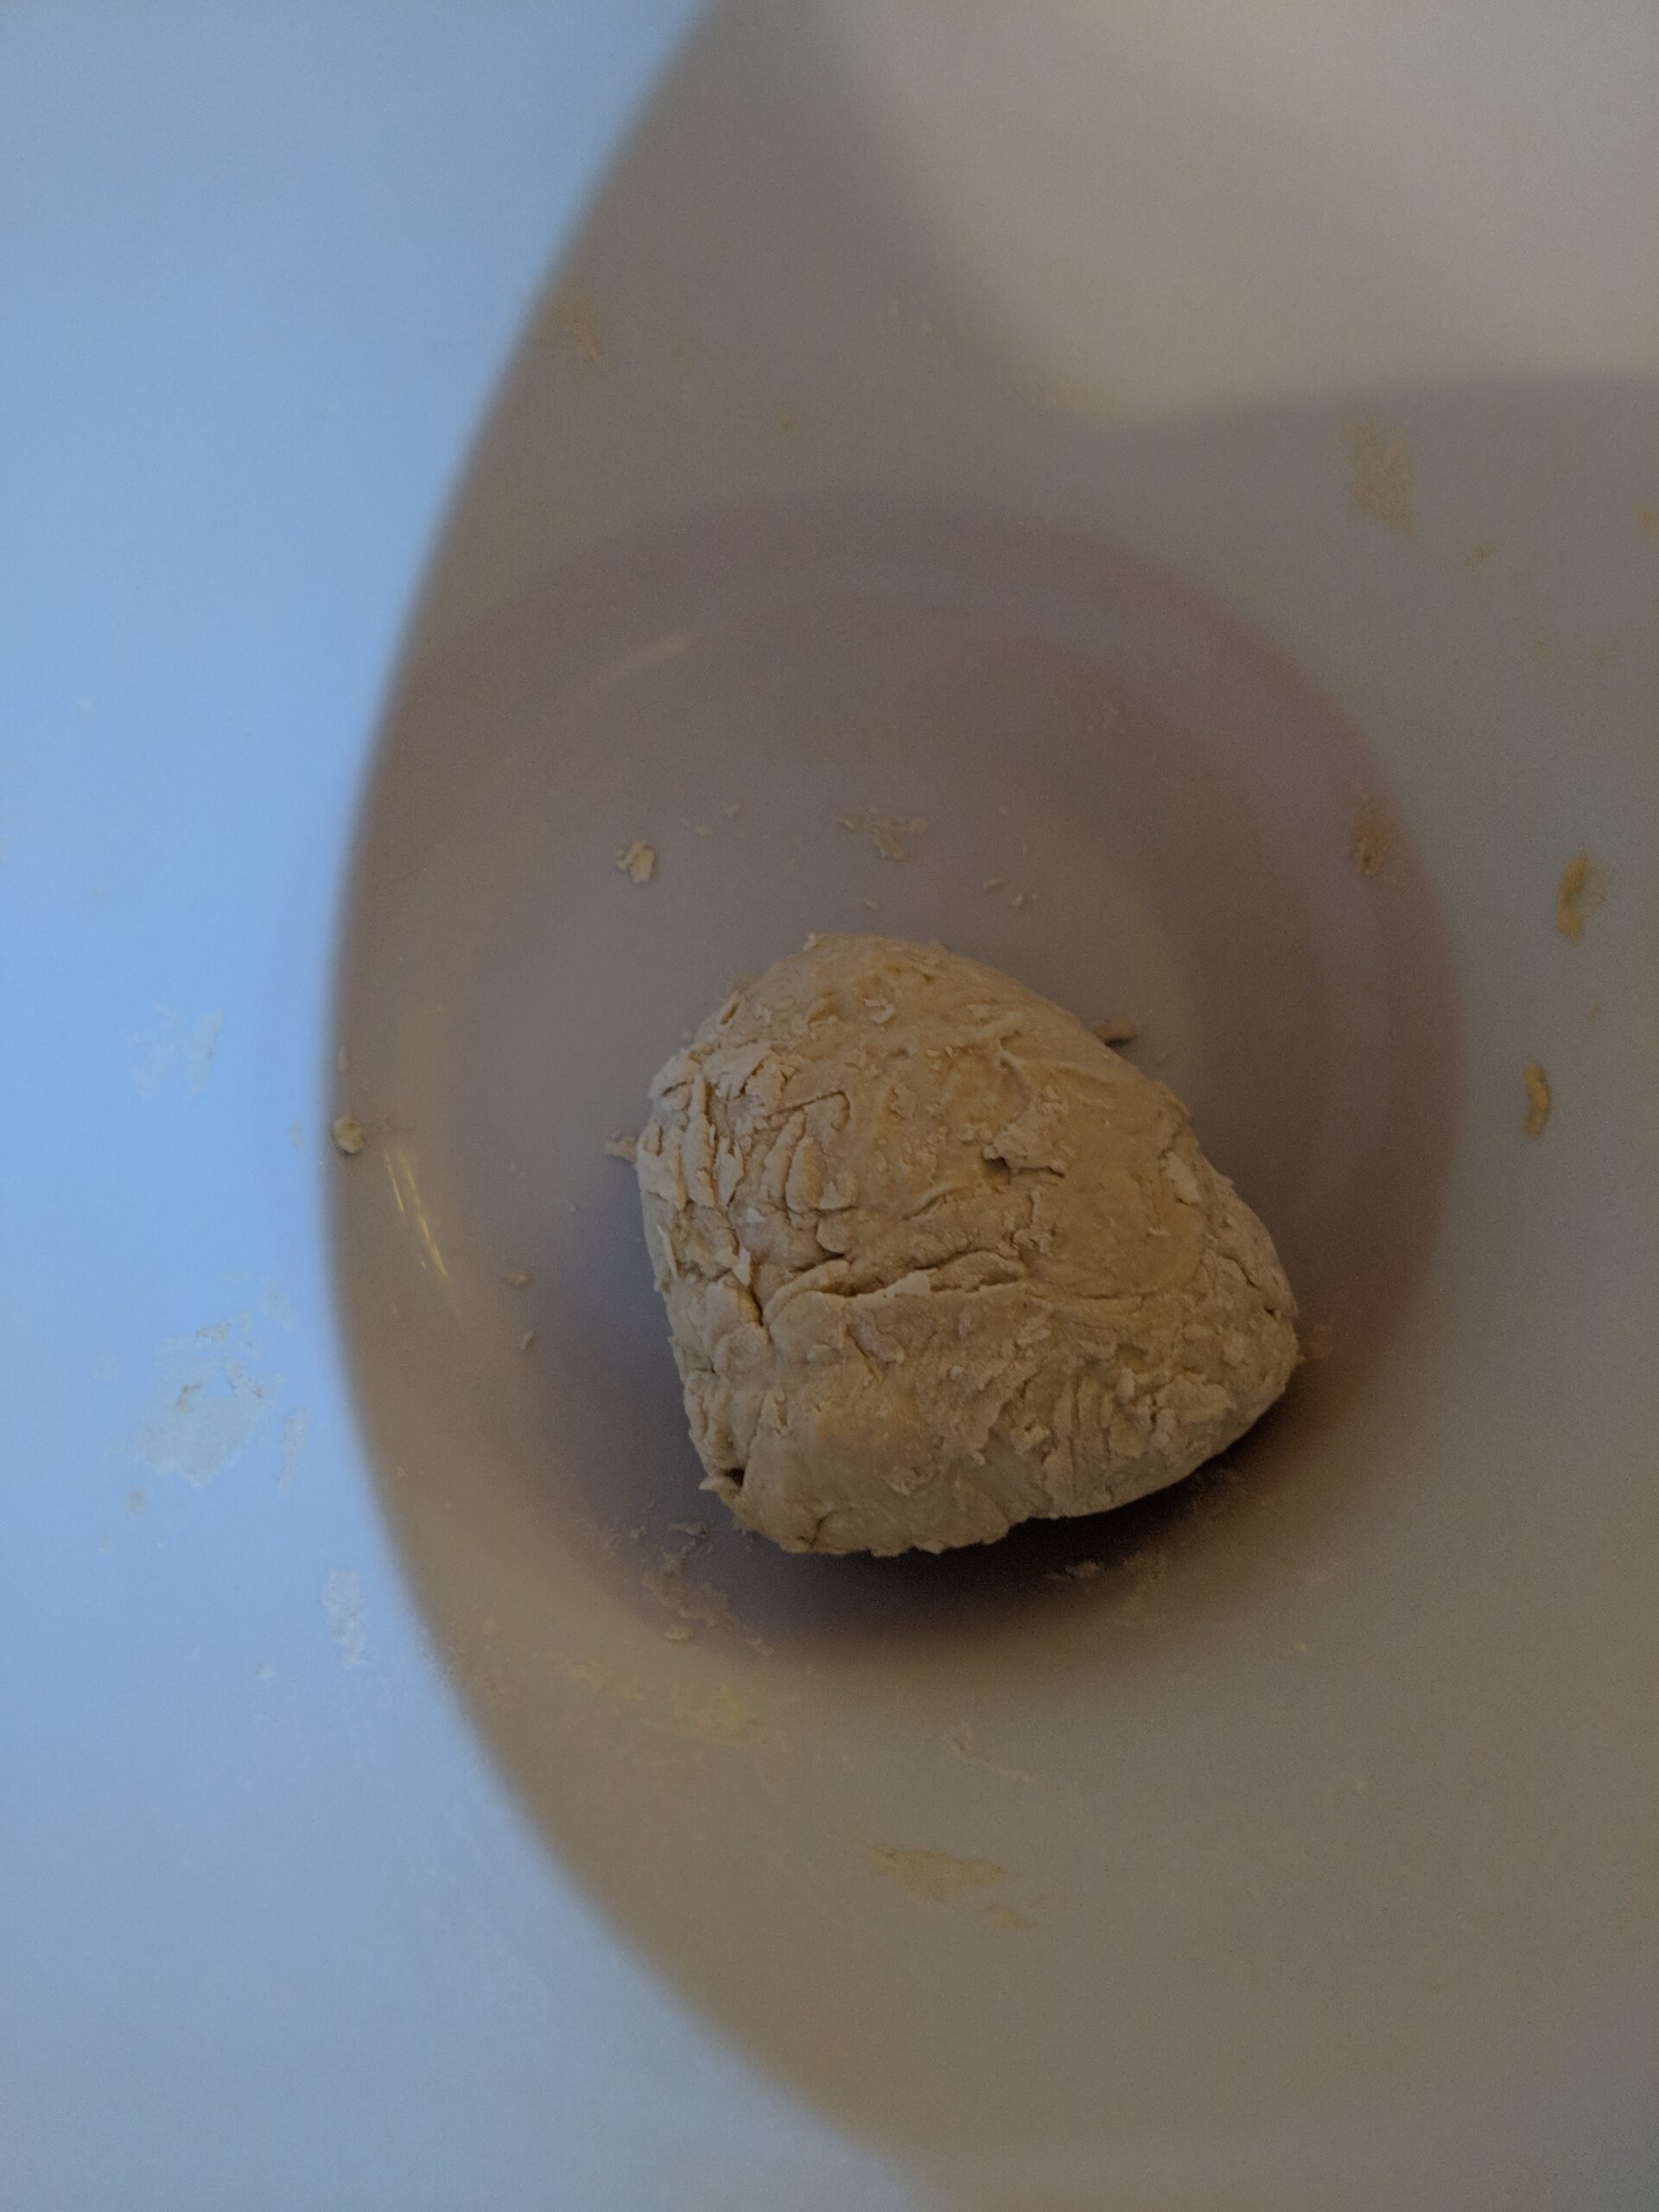
First off is the poolish. It needs to ferment for quite some time, so you'll want to do this the night before you make the bread, ideally. Simply mix all of the ingredients for the poolish together, cover the bowl it's in, and let it rest at room temperature for at least 14 hours.
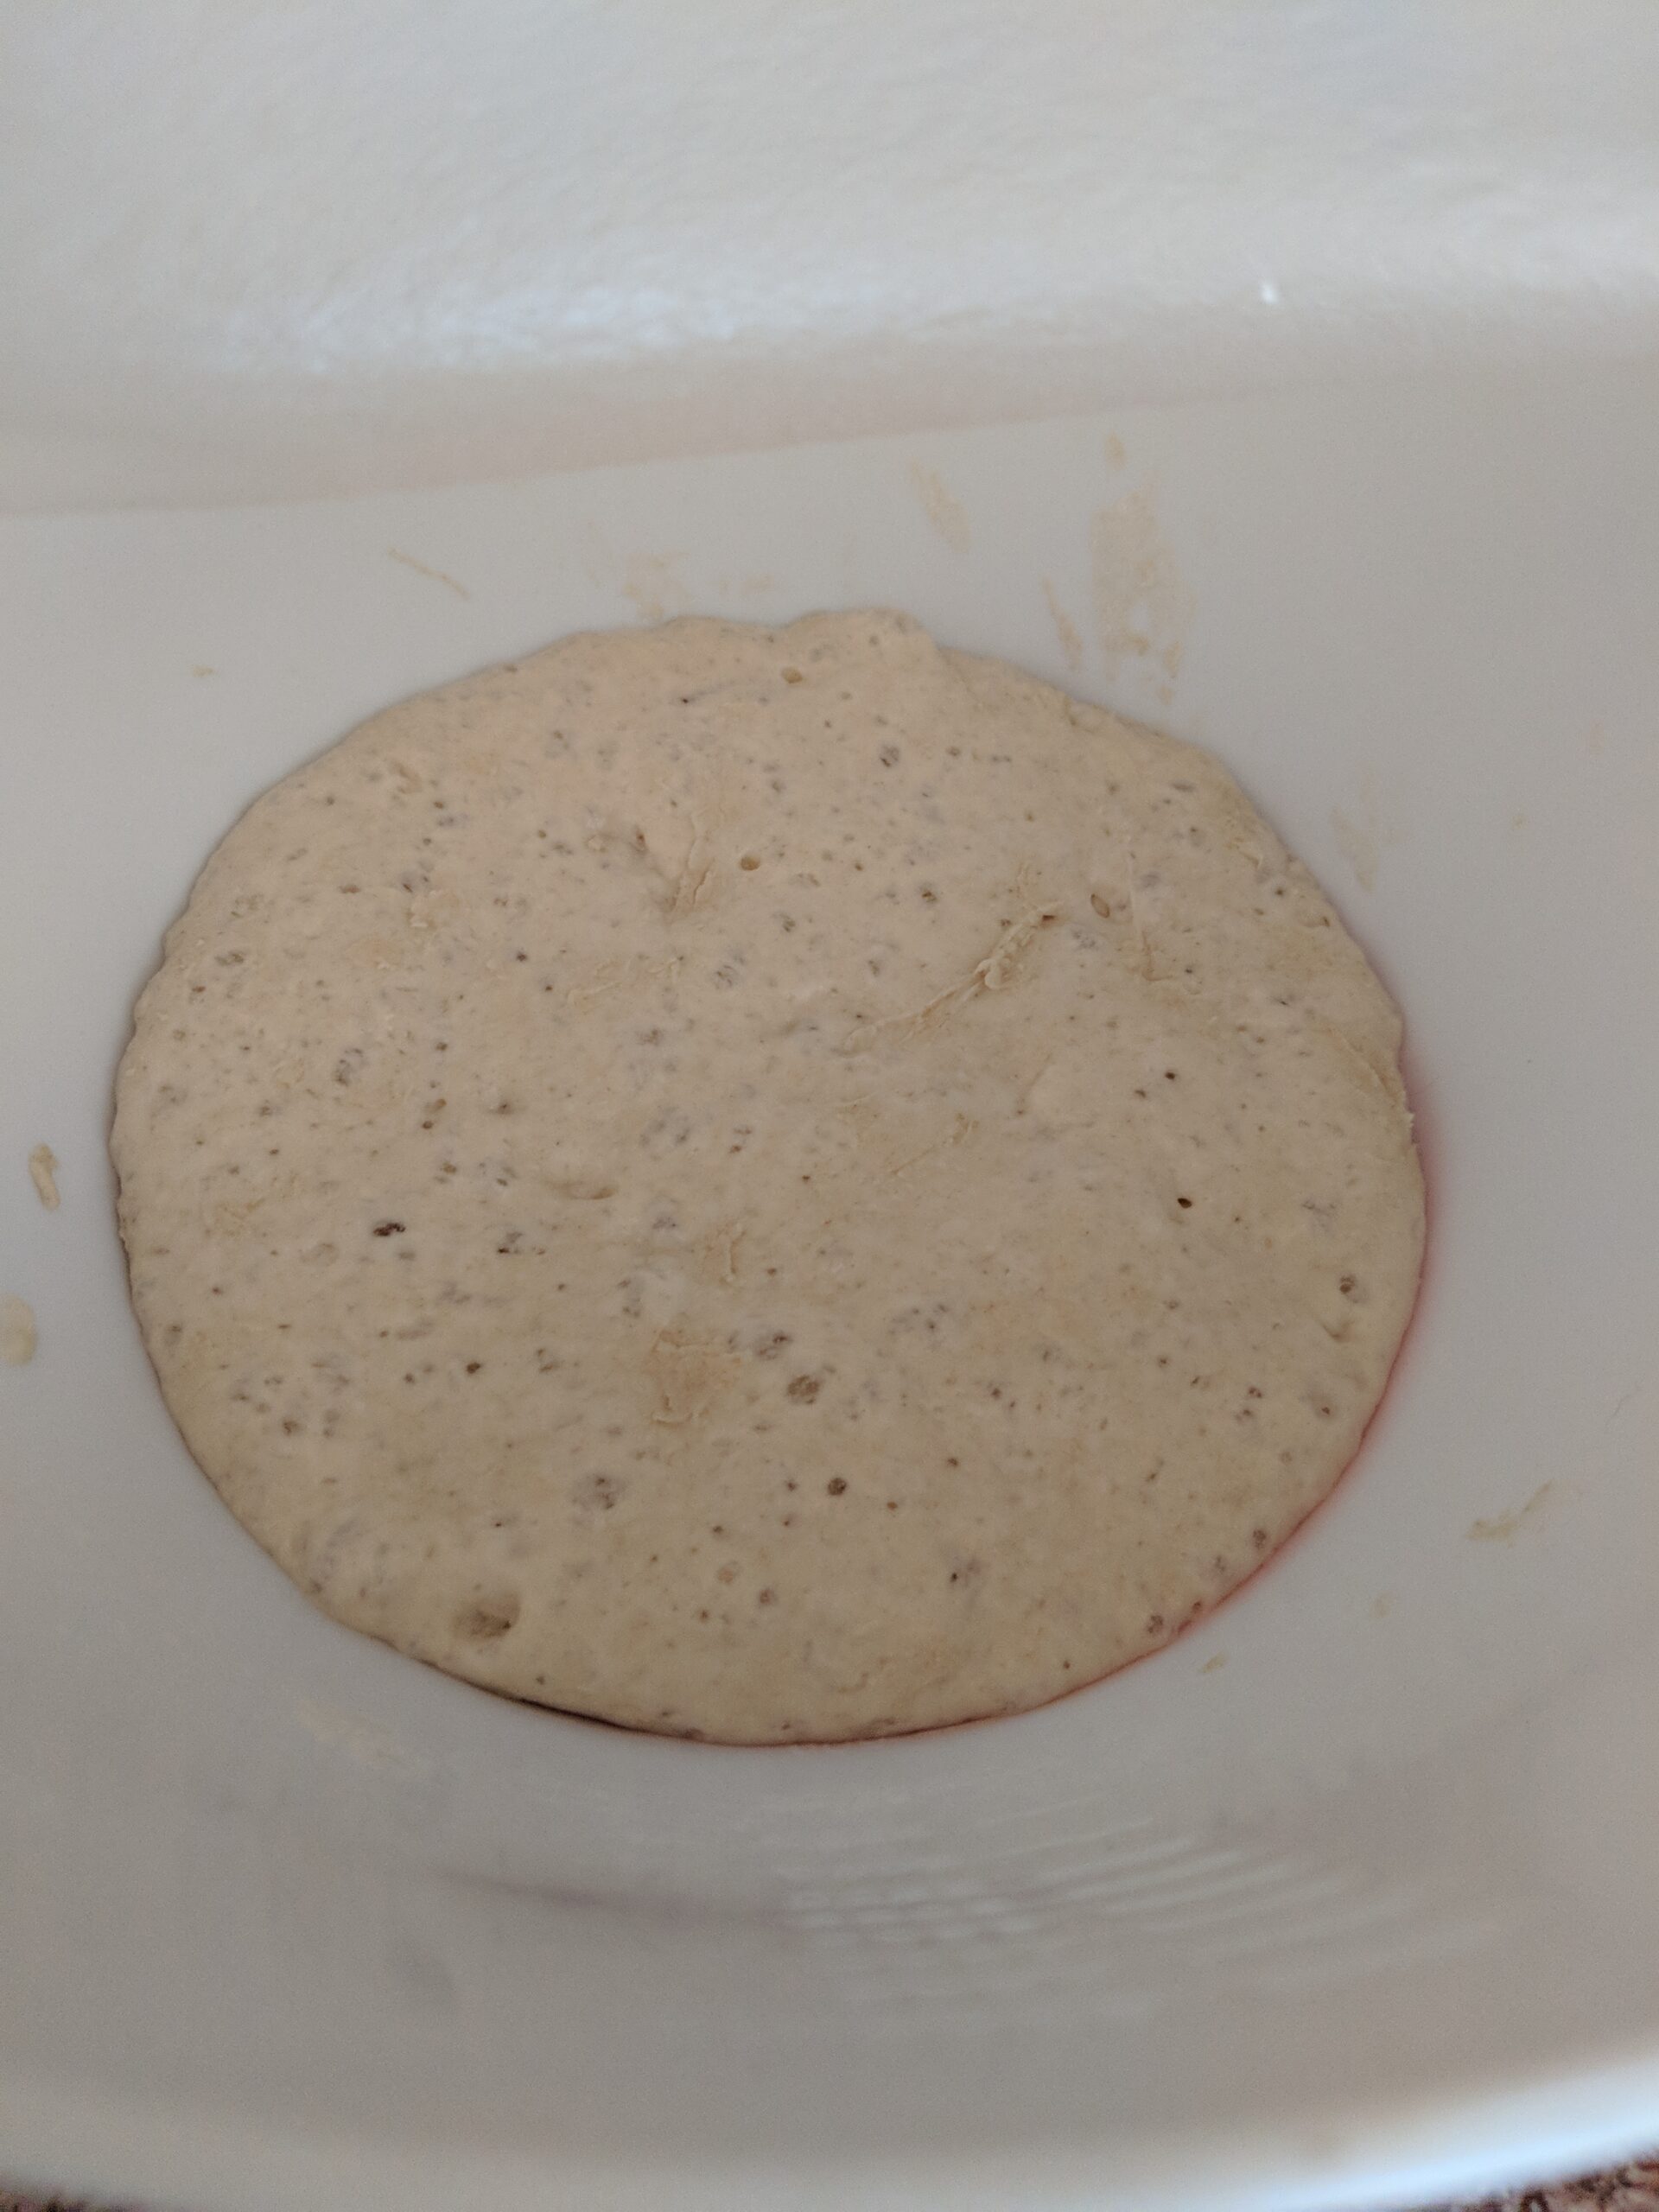
When you come back to it, it'll look like this. It's ready to be incorporated into the rest of the dough. Mix the rest of the ingredients in with the poolish, then knead until you've got a dough that's soft and as smooth as you can get it. You can do this by hand or with a stand mixer.
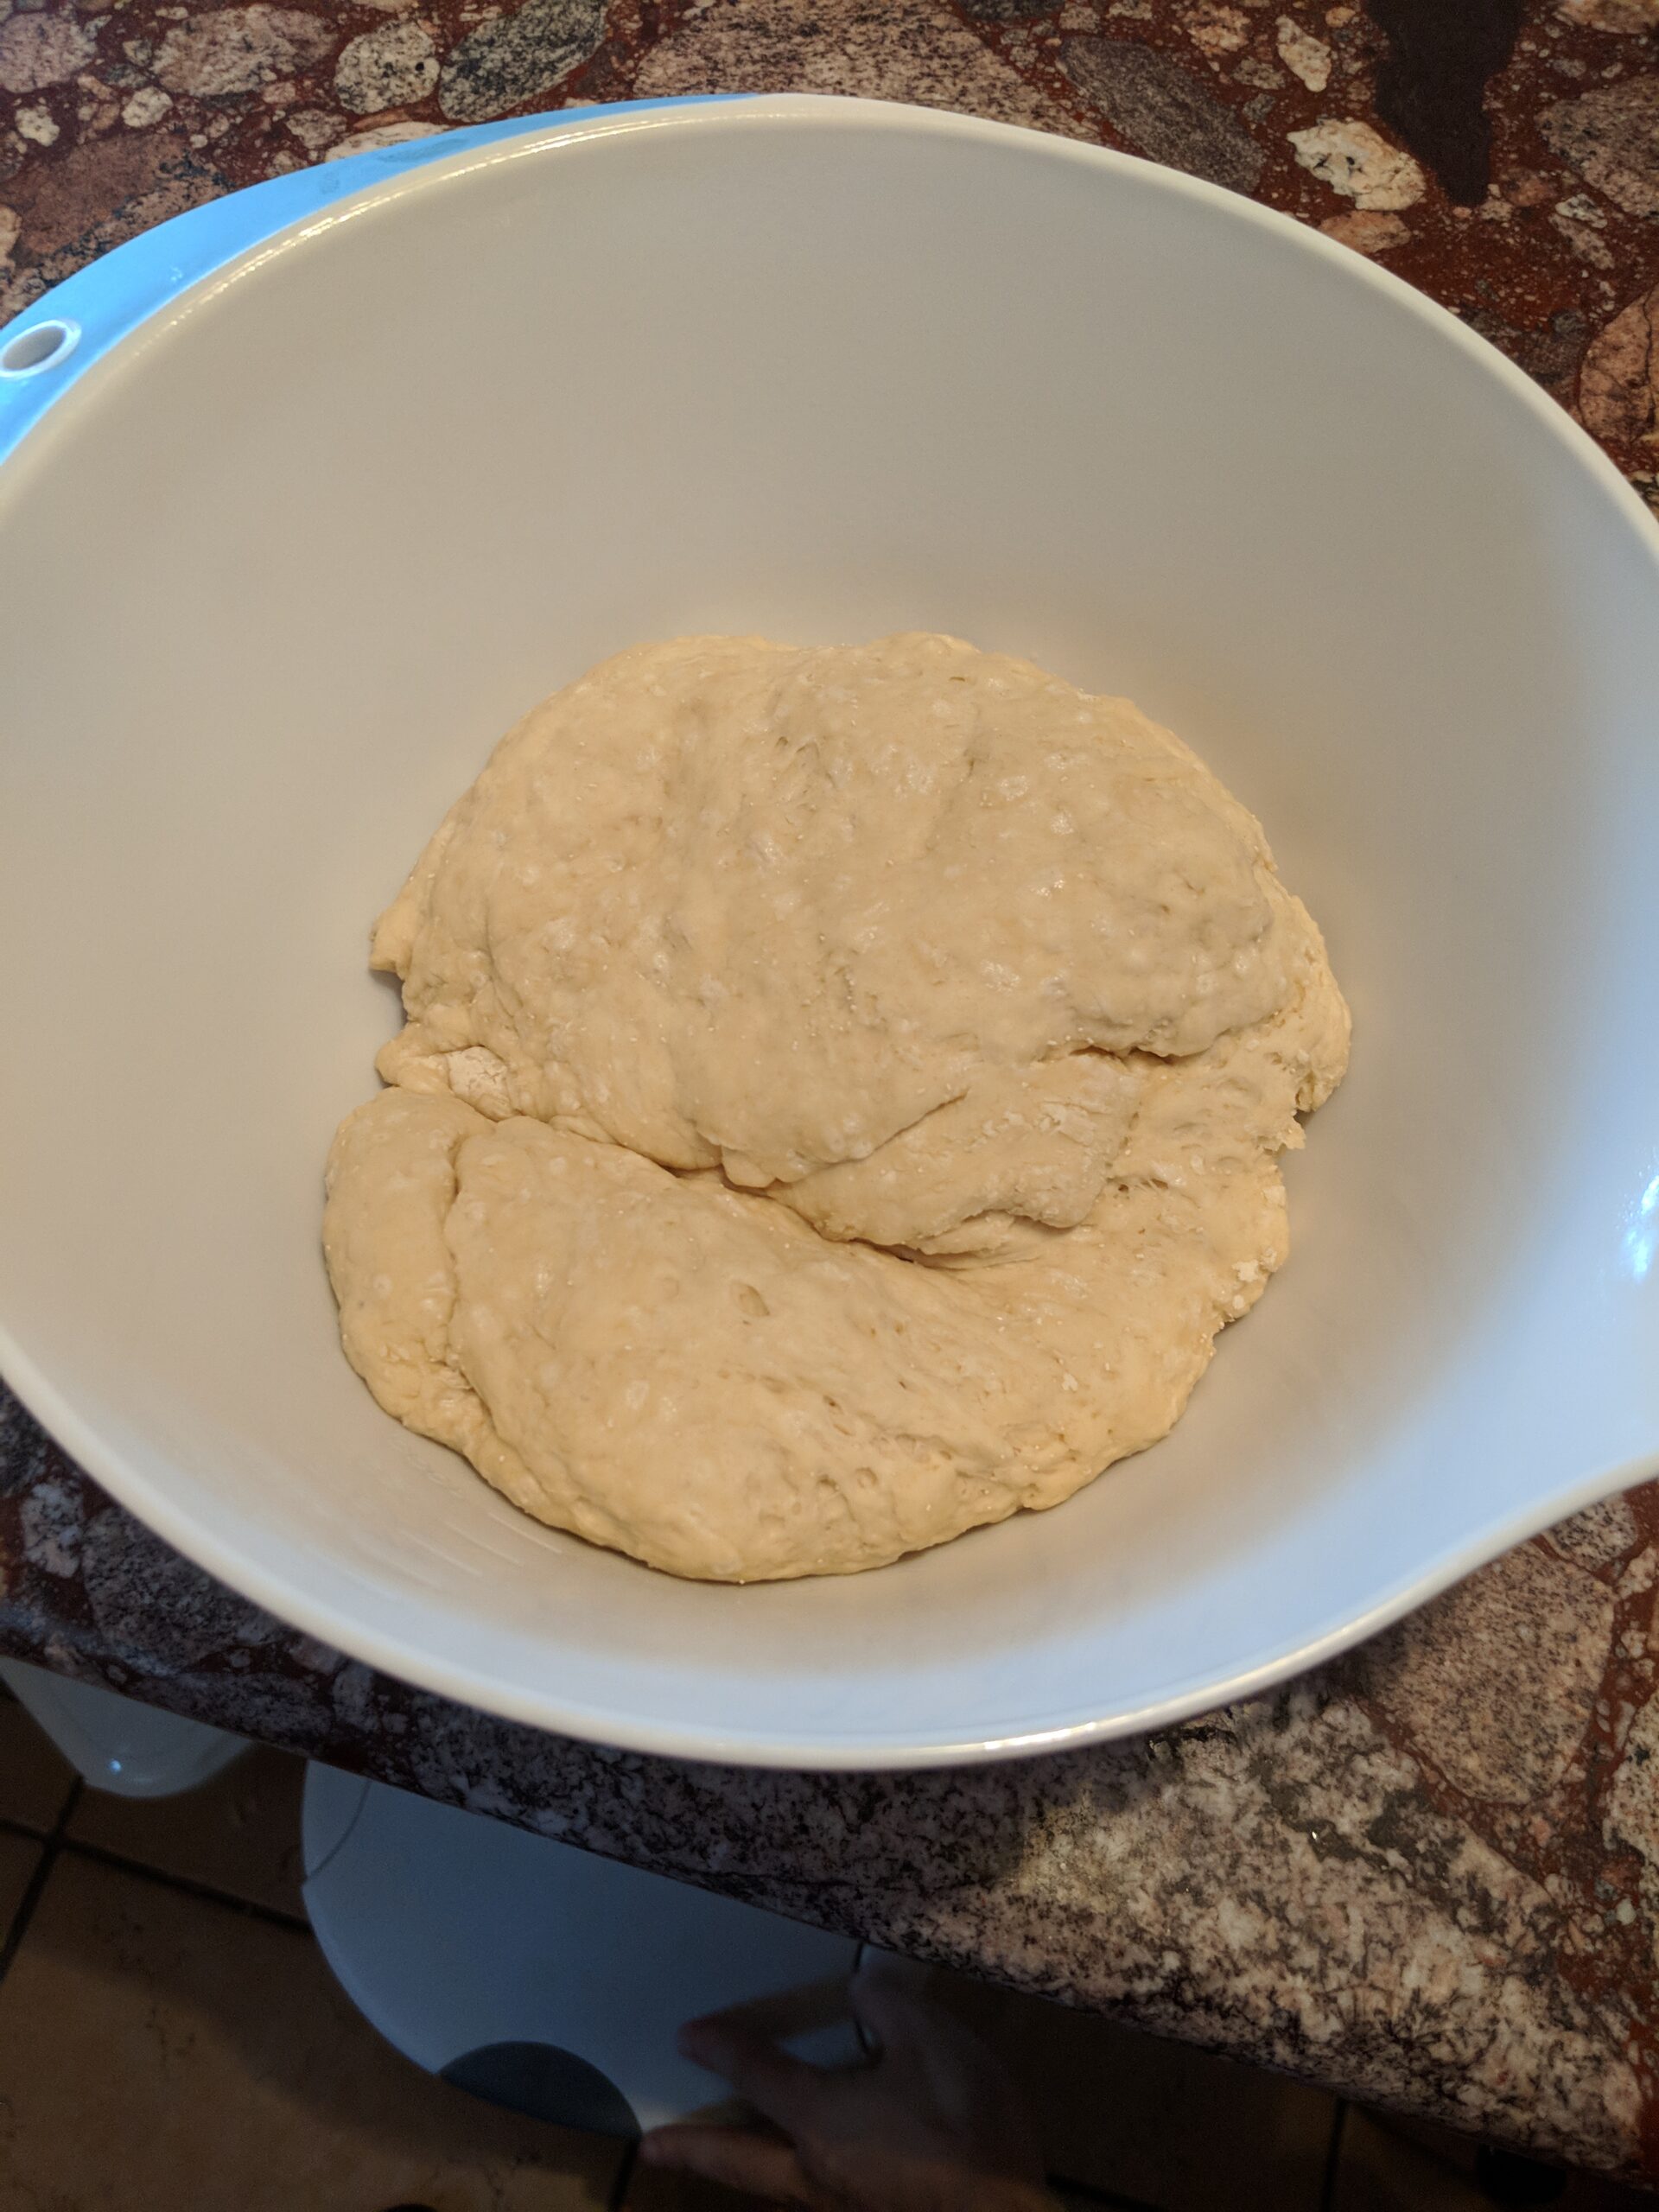
Once the dough is ready, transfer it to a lightly greased medium-size bowl. Cover it, and leave it for 45 minutes.
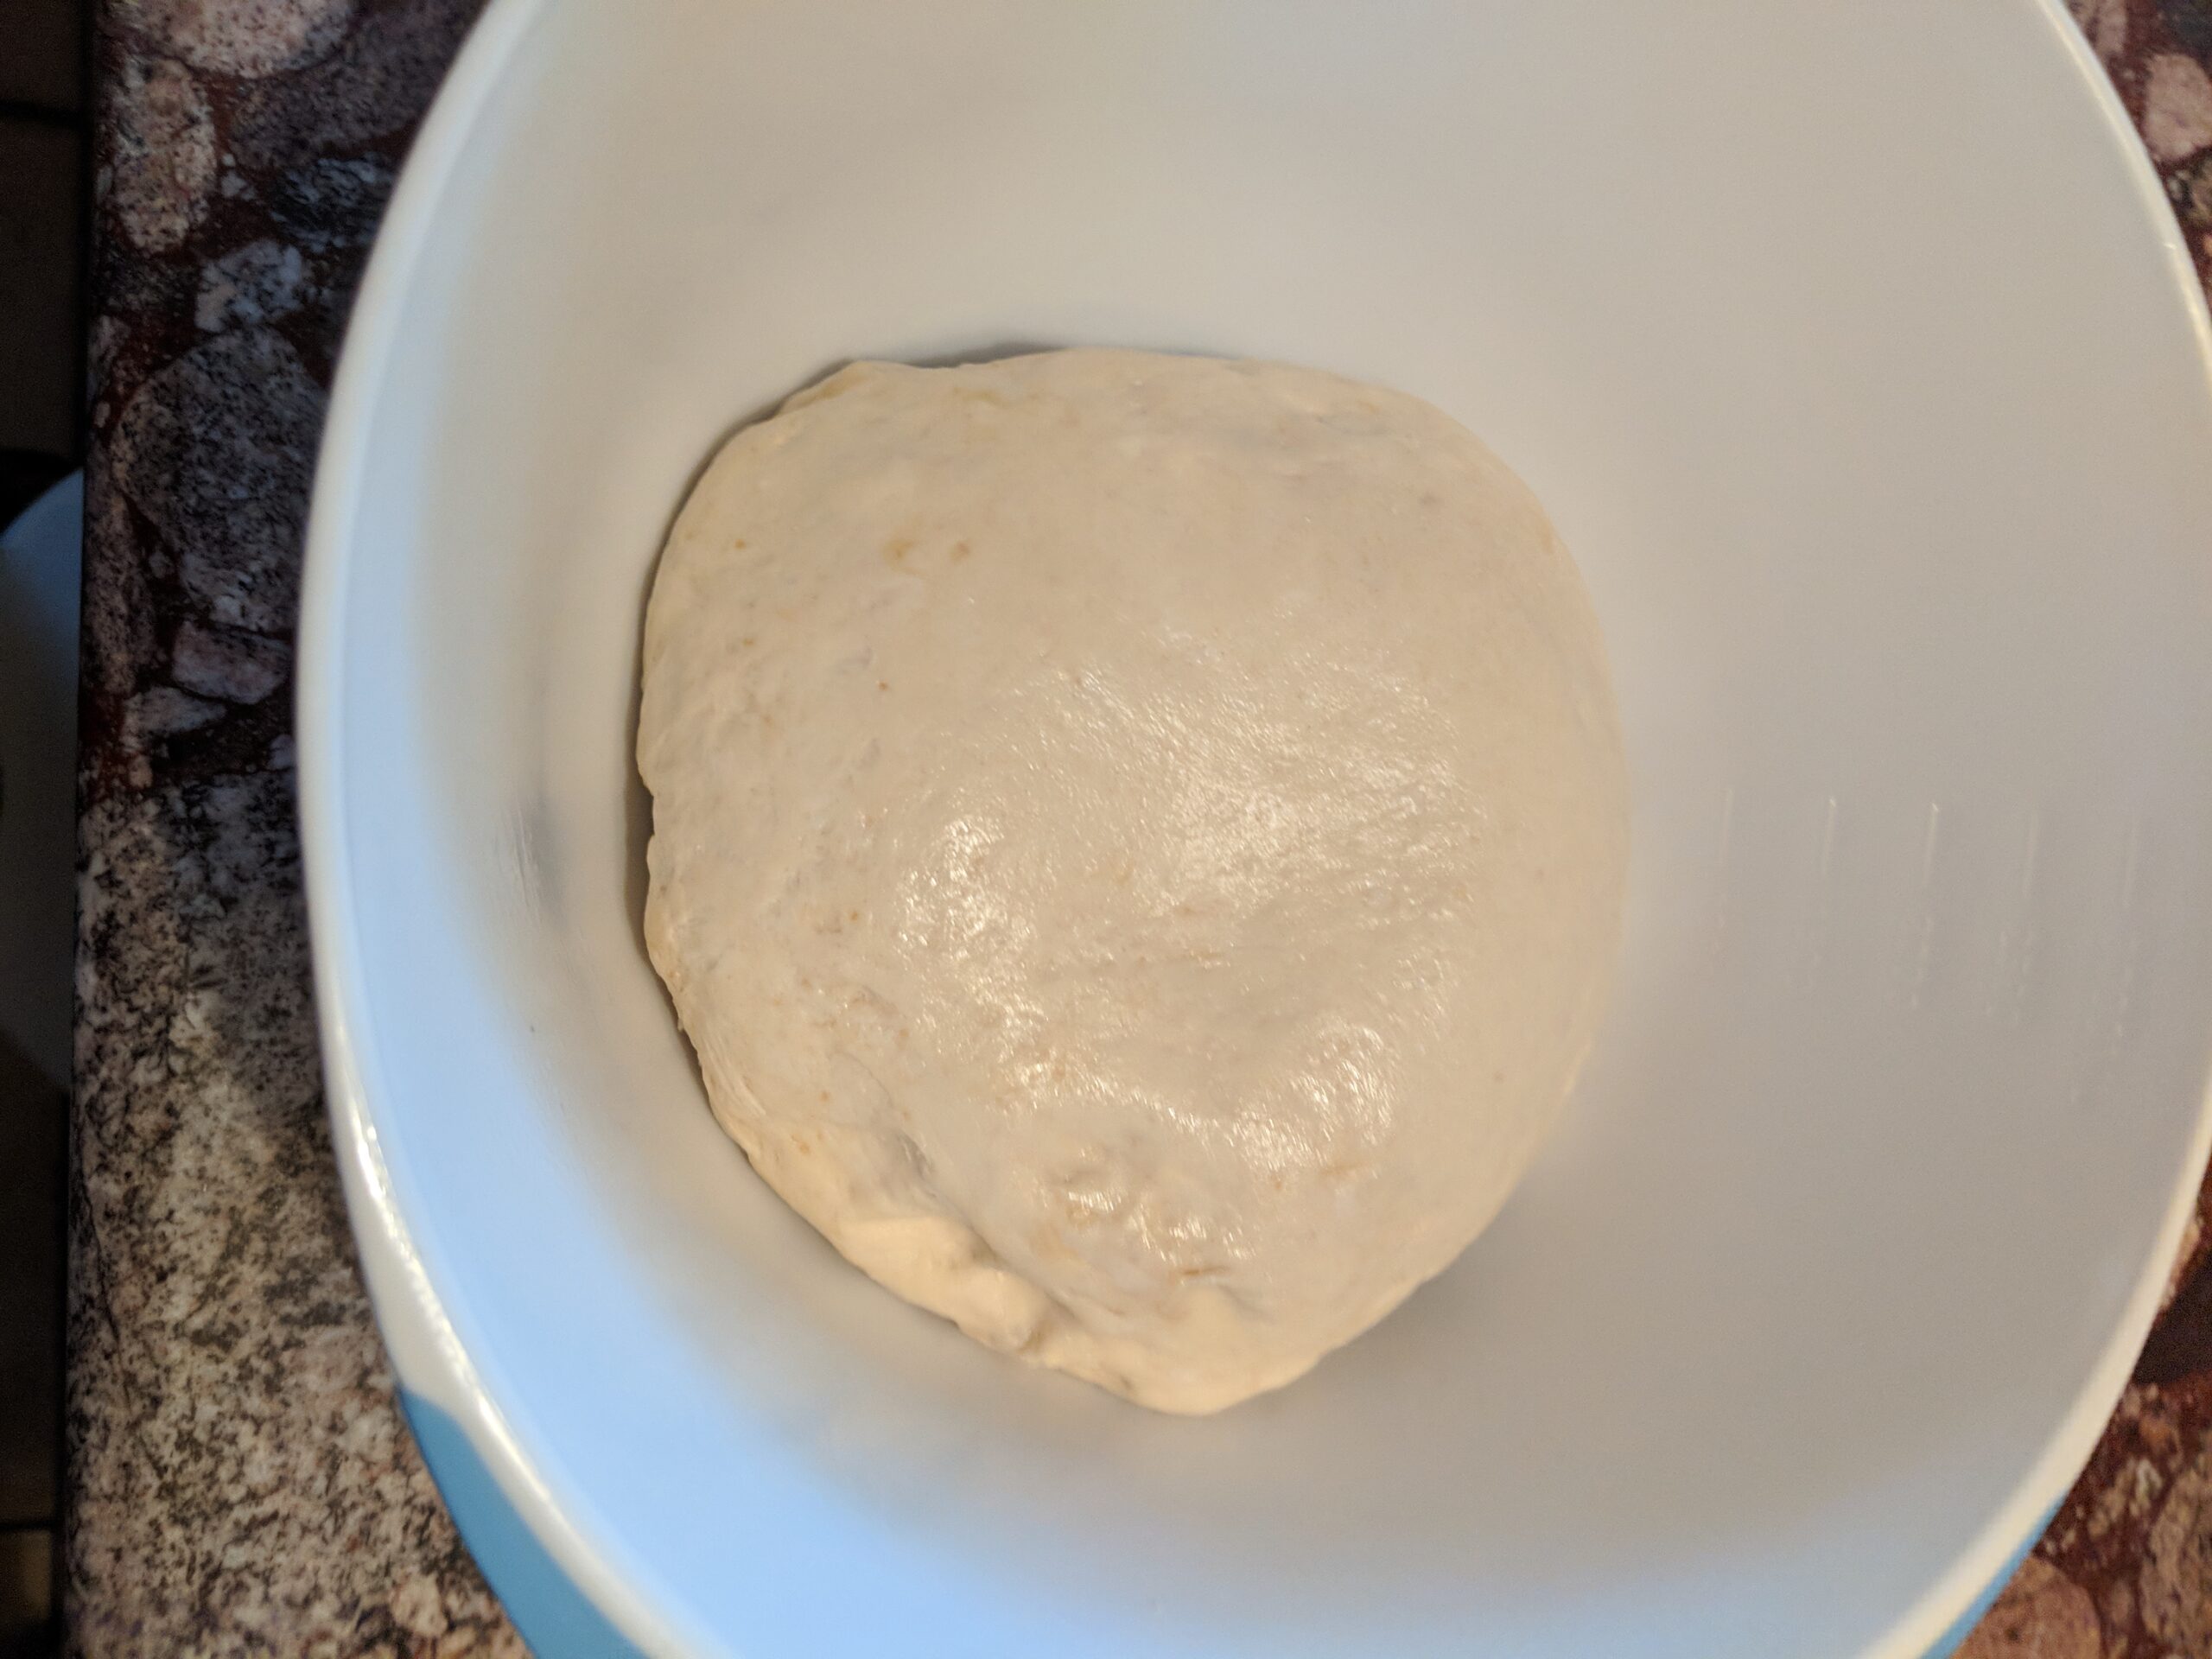
Uncover the dough and carefully press on different areas to let excess air out. Then pull each of the edges out and over into the center. Turn the dough over so the side with the seams you just created is at the bottom. Cover it again, and let it rest another 45 minutes.
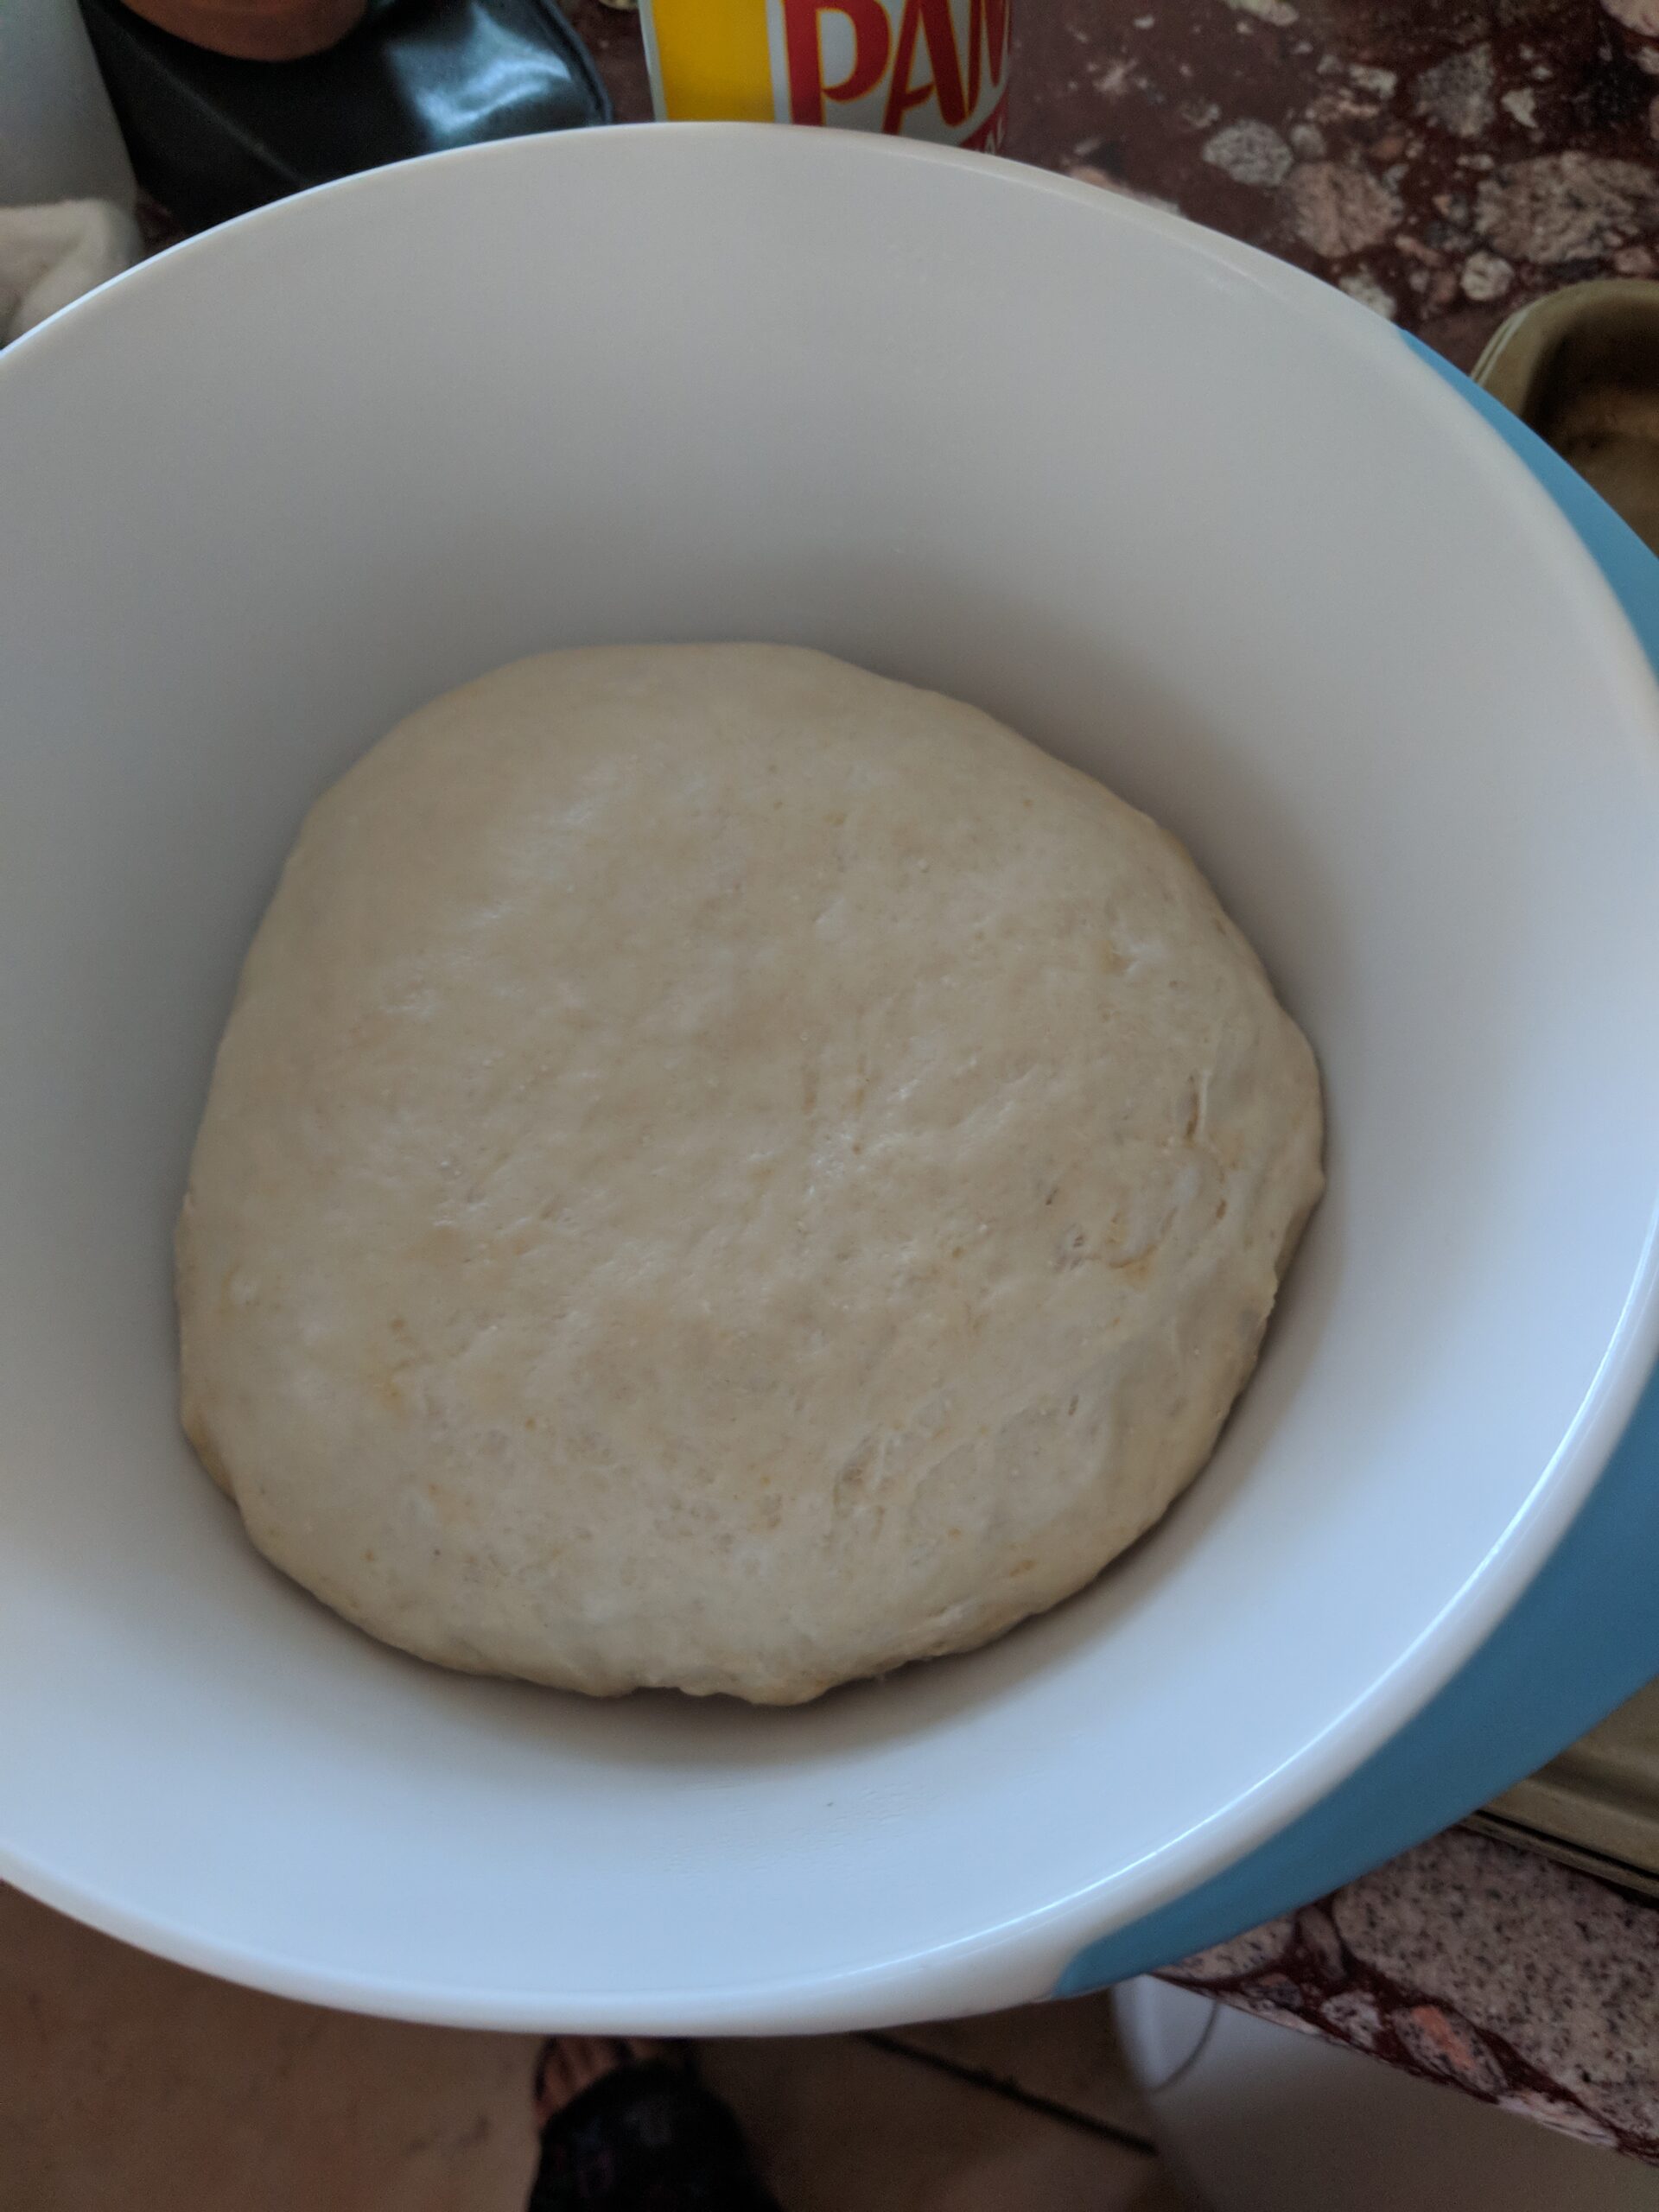
Woo hoo! Now you've got a nice-sized ball of dough that smells delicious. Transfer it to a lightly greased work surface.
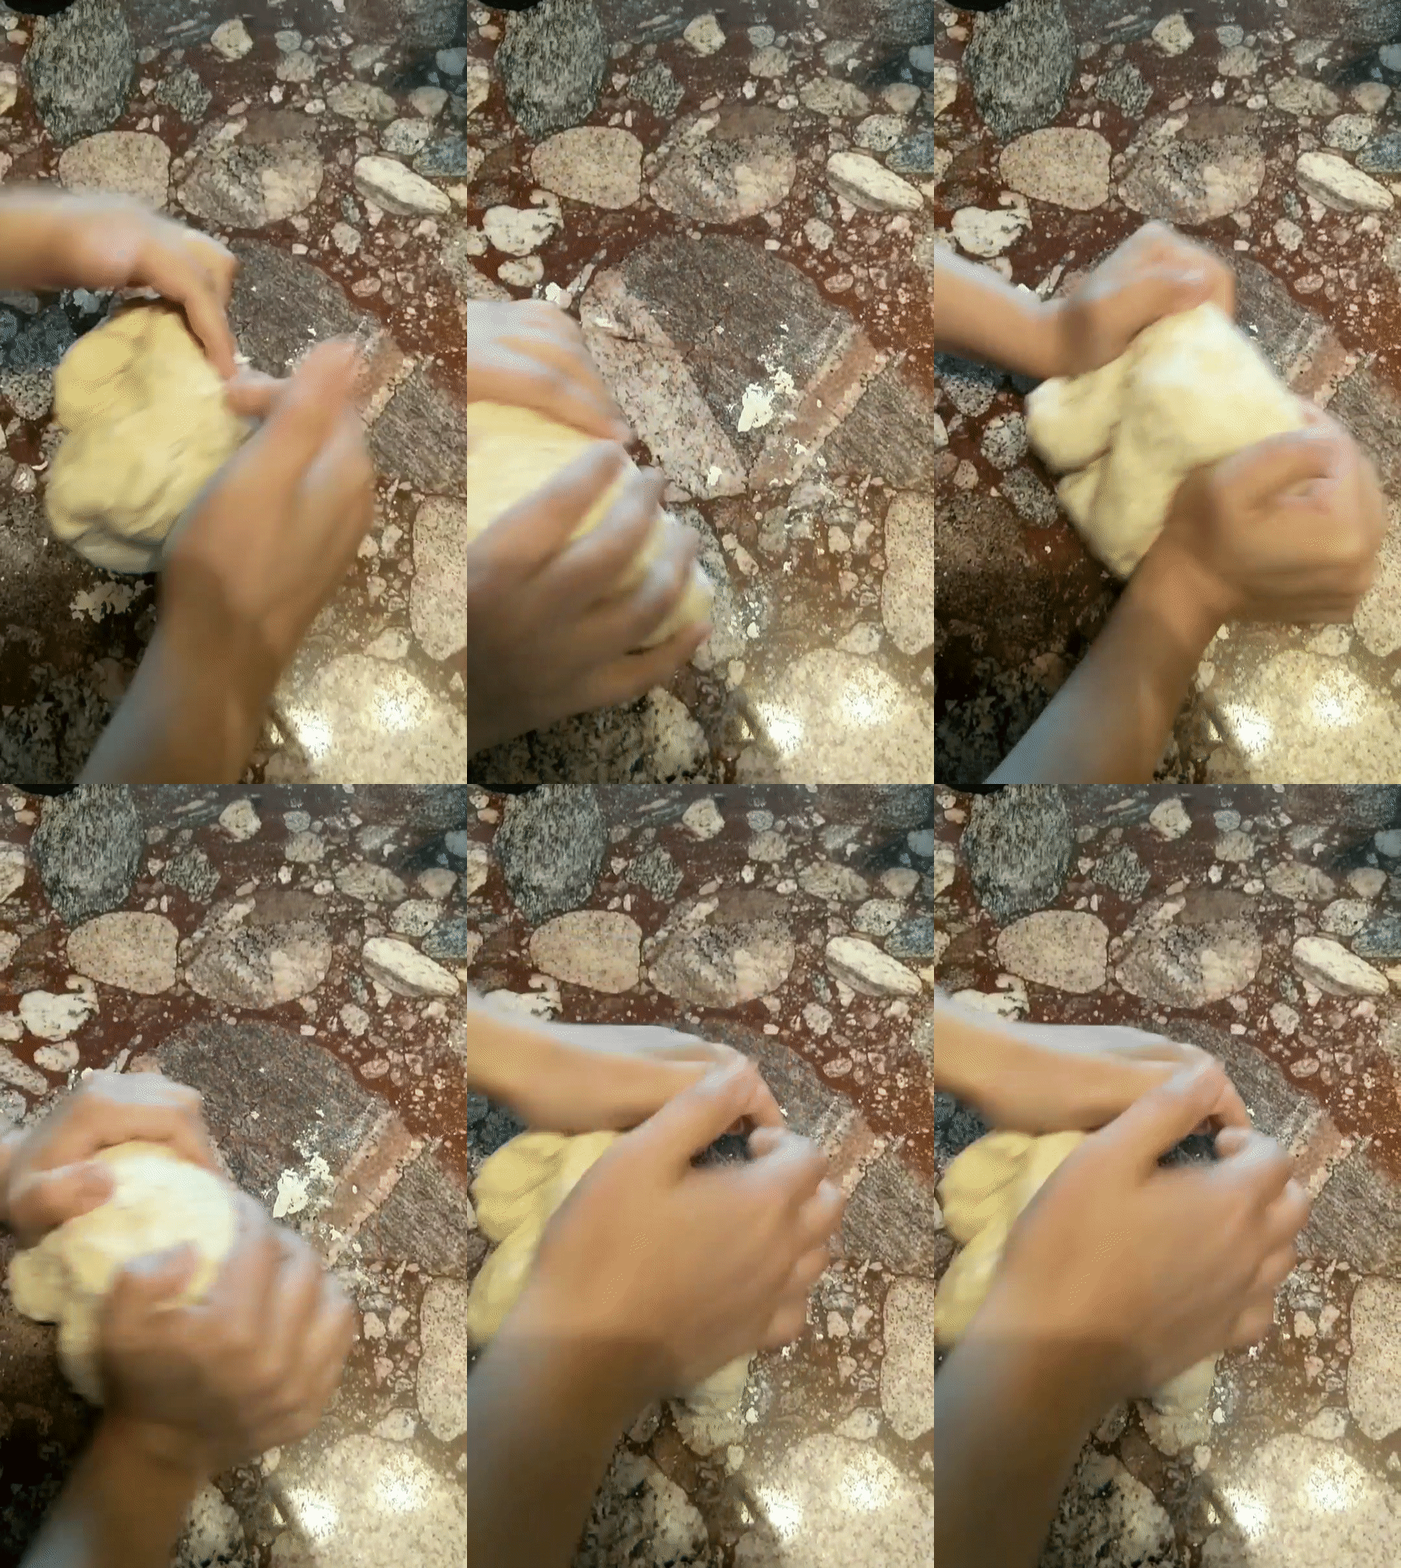
Give the dough one last good knead, gently working any excess air out of it.

Divide the dough into three equal pieces. Take one piece and stretch all the edges over and into the center, then turn the dough so that side faces down, creating a ball. Repeat with the other two pieces. Then wrap each of the pieces in greased plastic wrap, and let them rest for at least 15 minutes, but no more than an hour.
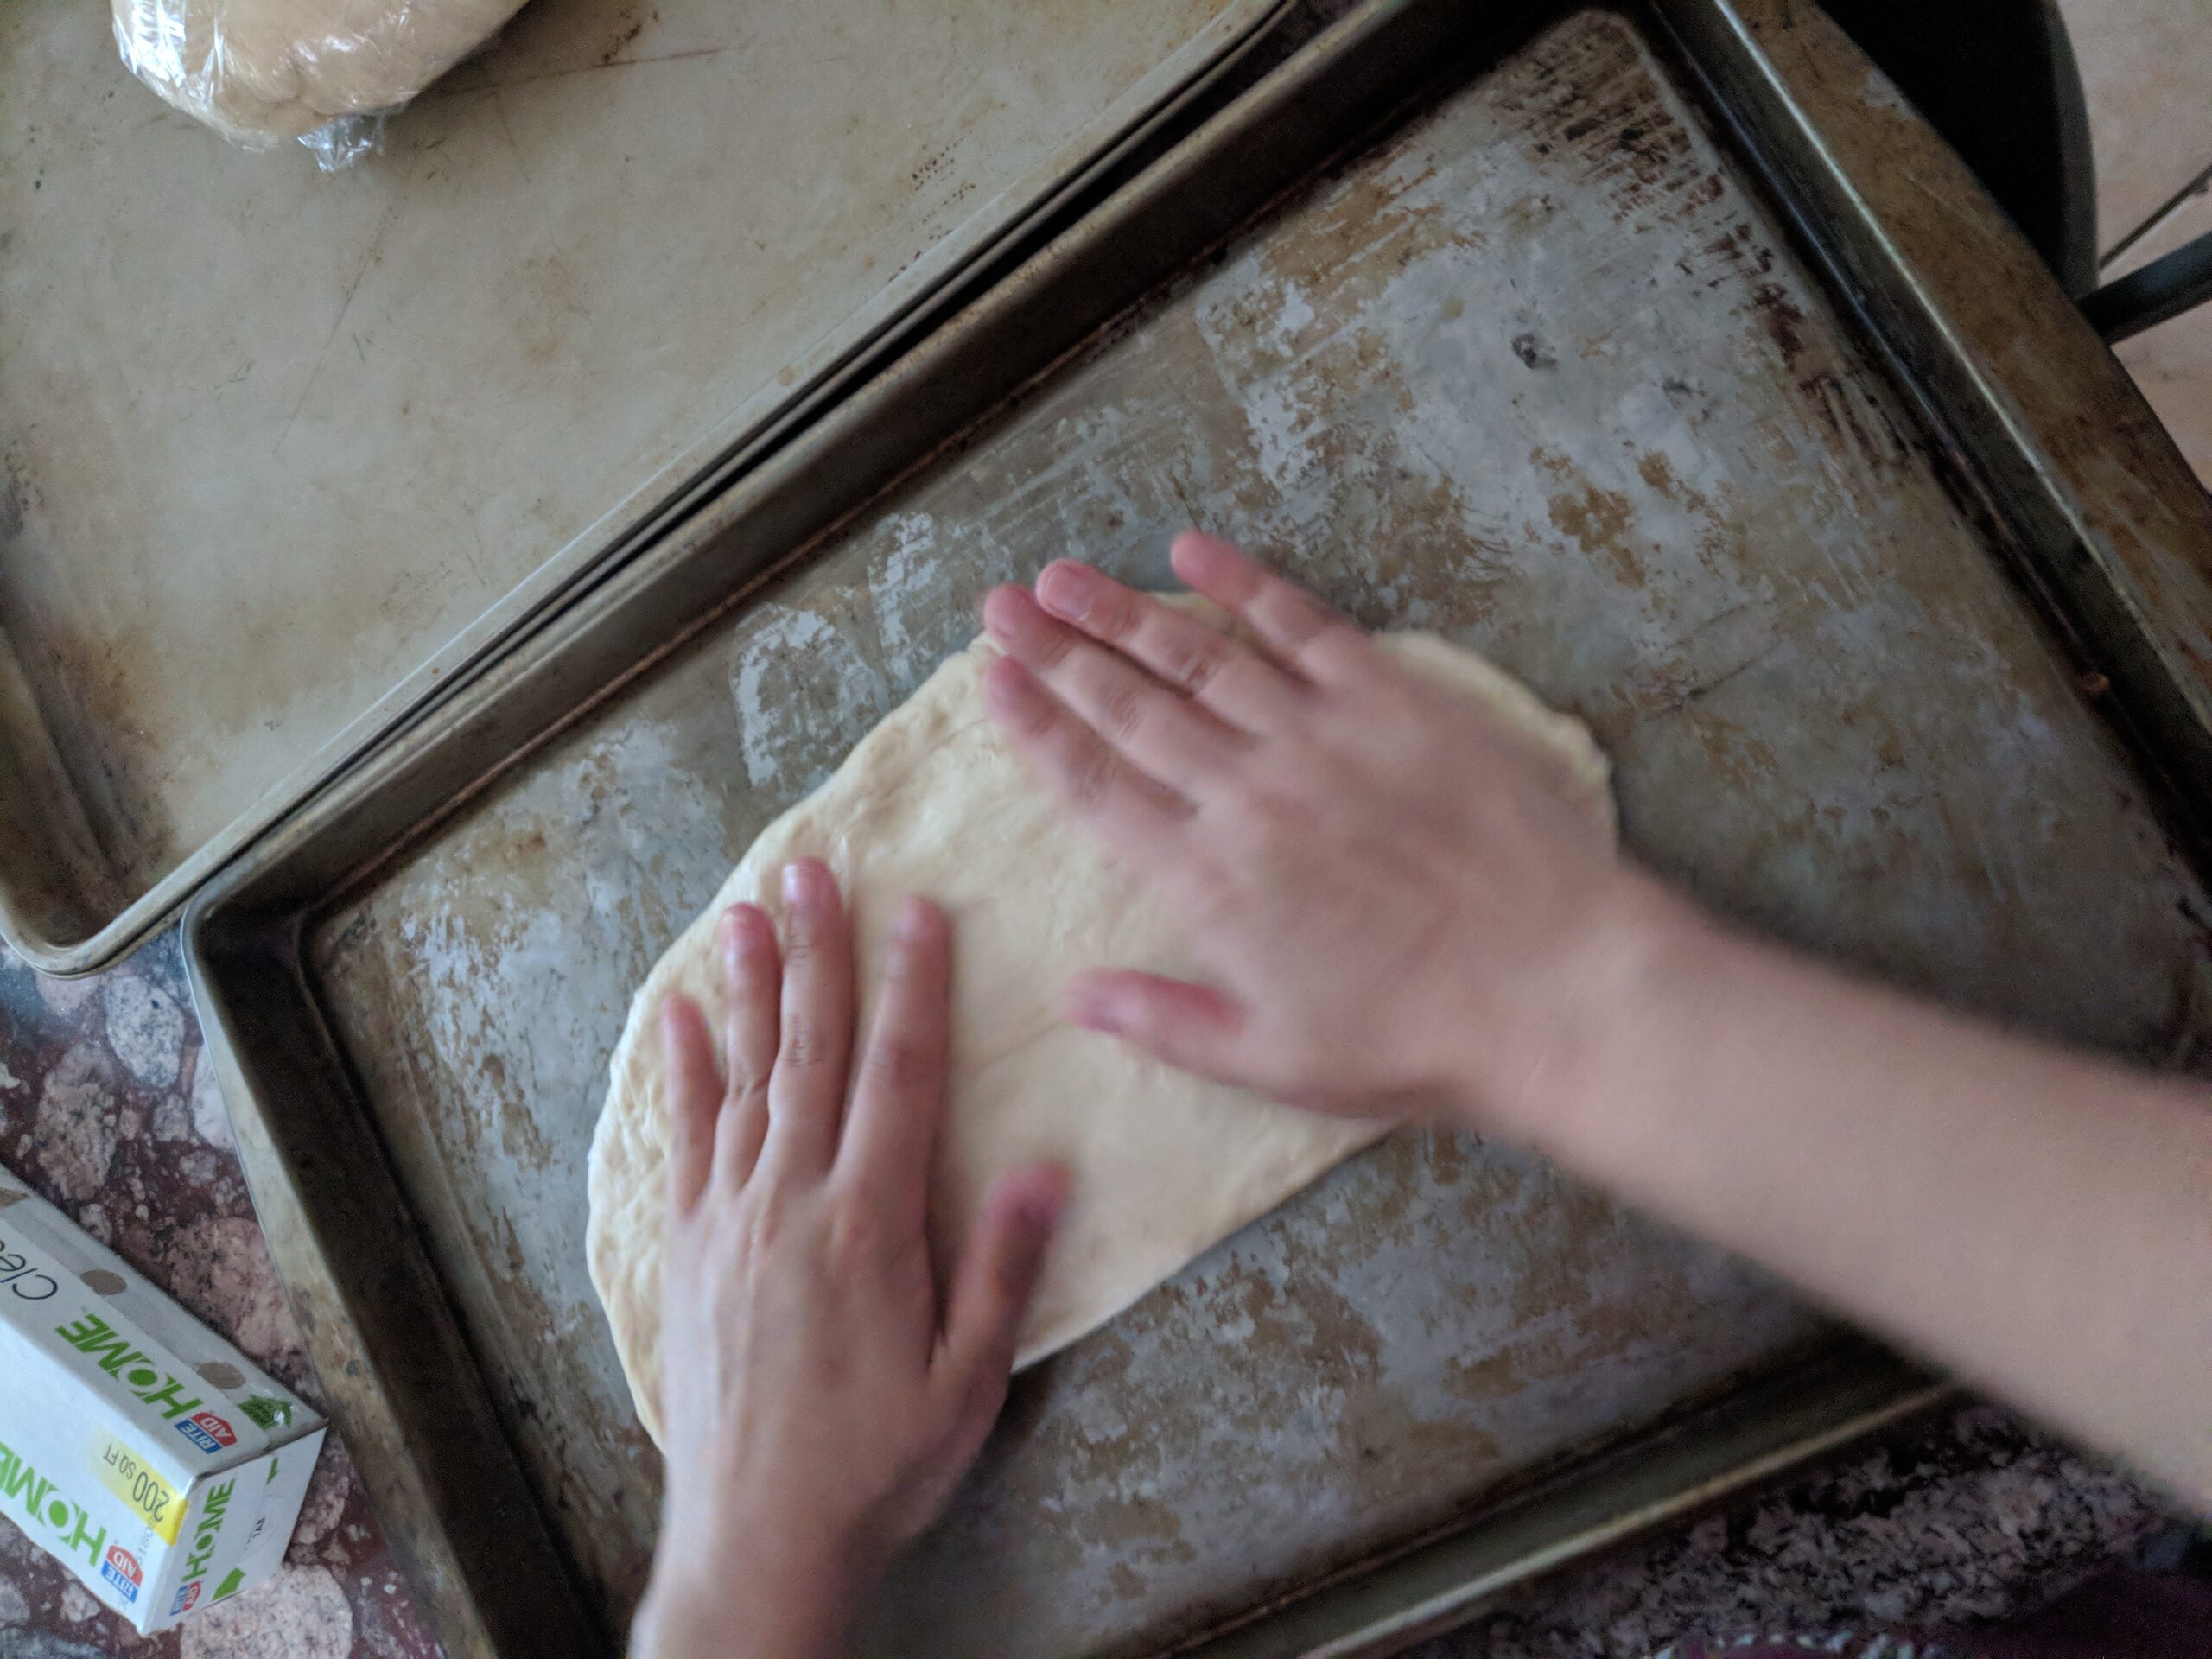
Working with one piece at a time, flatten the dough, fold it nearly in half, and seal the seams with the heel of your hand. Turn it over and repeat. By doing this, you'll be elongating the dough.
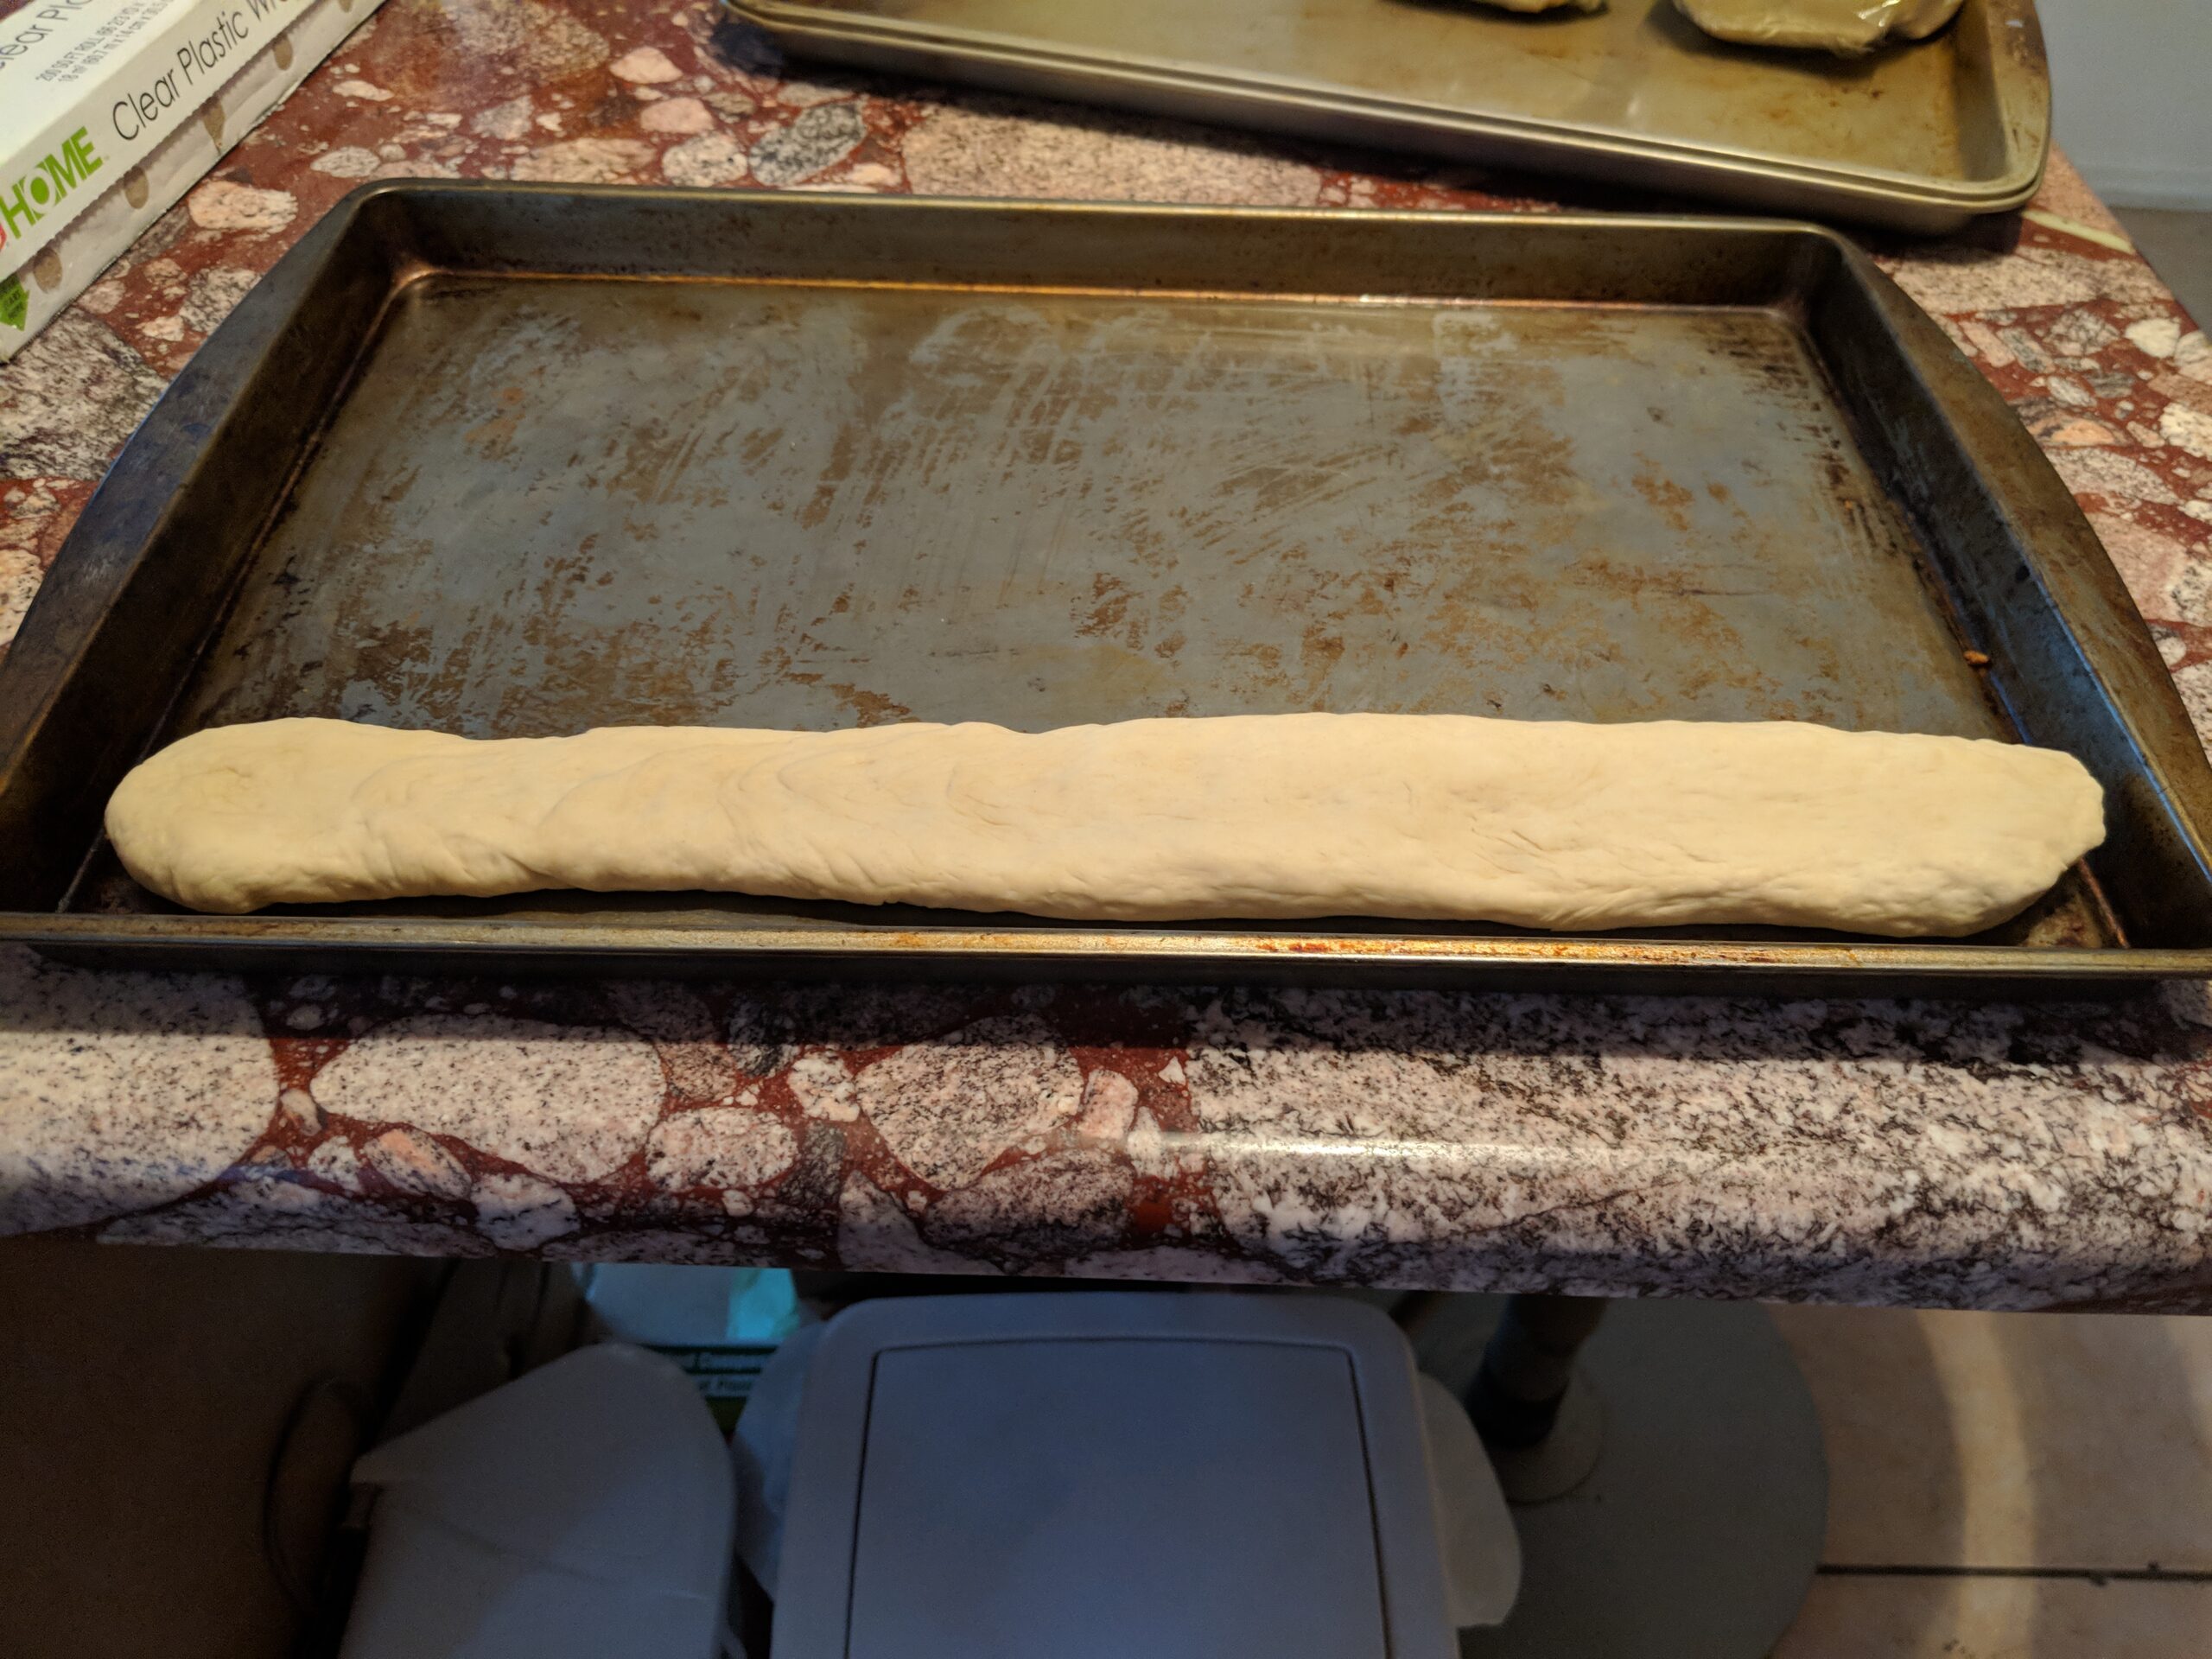
Once all the pieces have been elongated, it's time to roll them into baguettes. You want them to be about 16 inches long. Once you've rolled each piece, you might need to work the dough a little to make sure it's proportional throughout the loaf. Don't worry if they look a little flat.
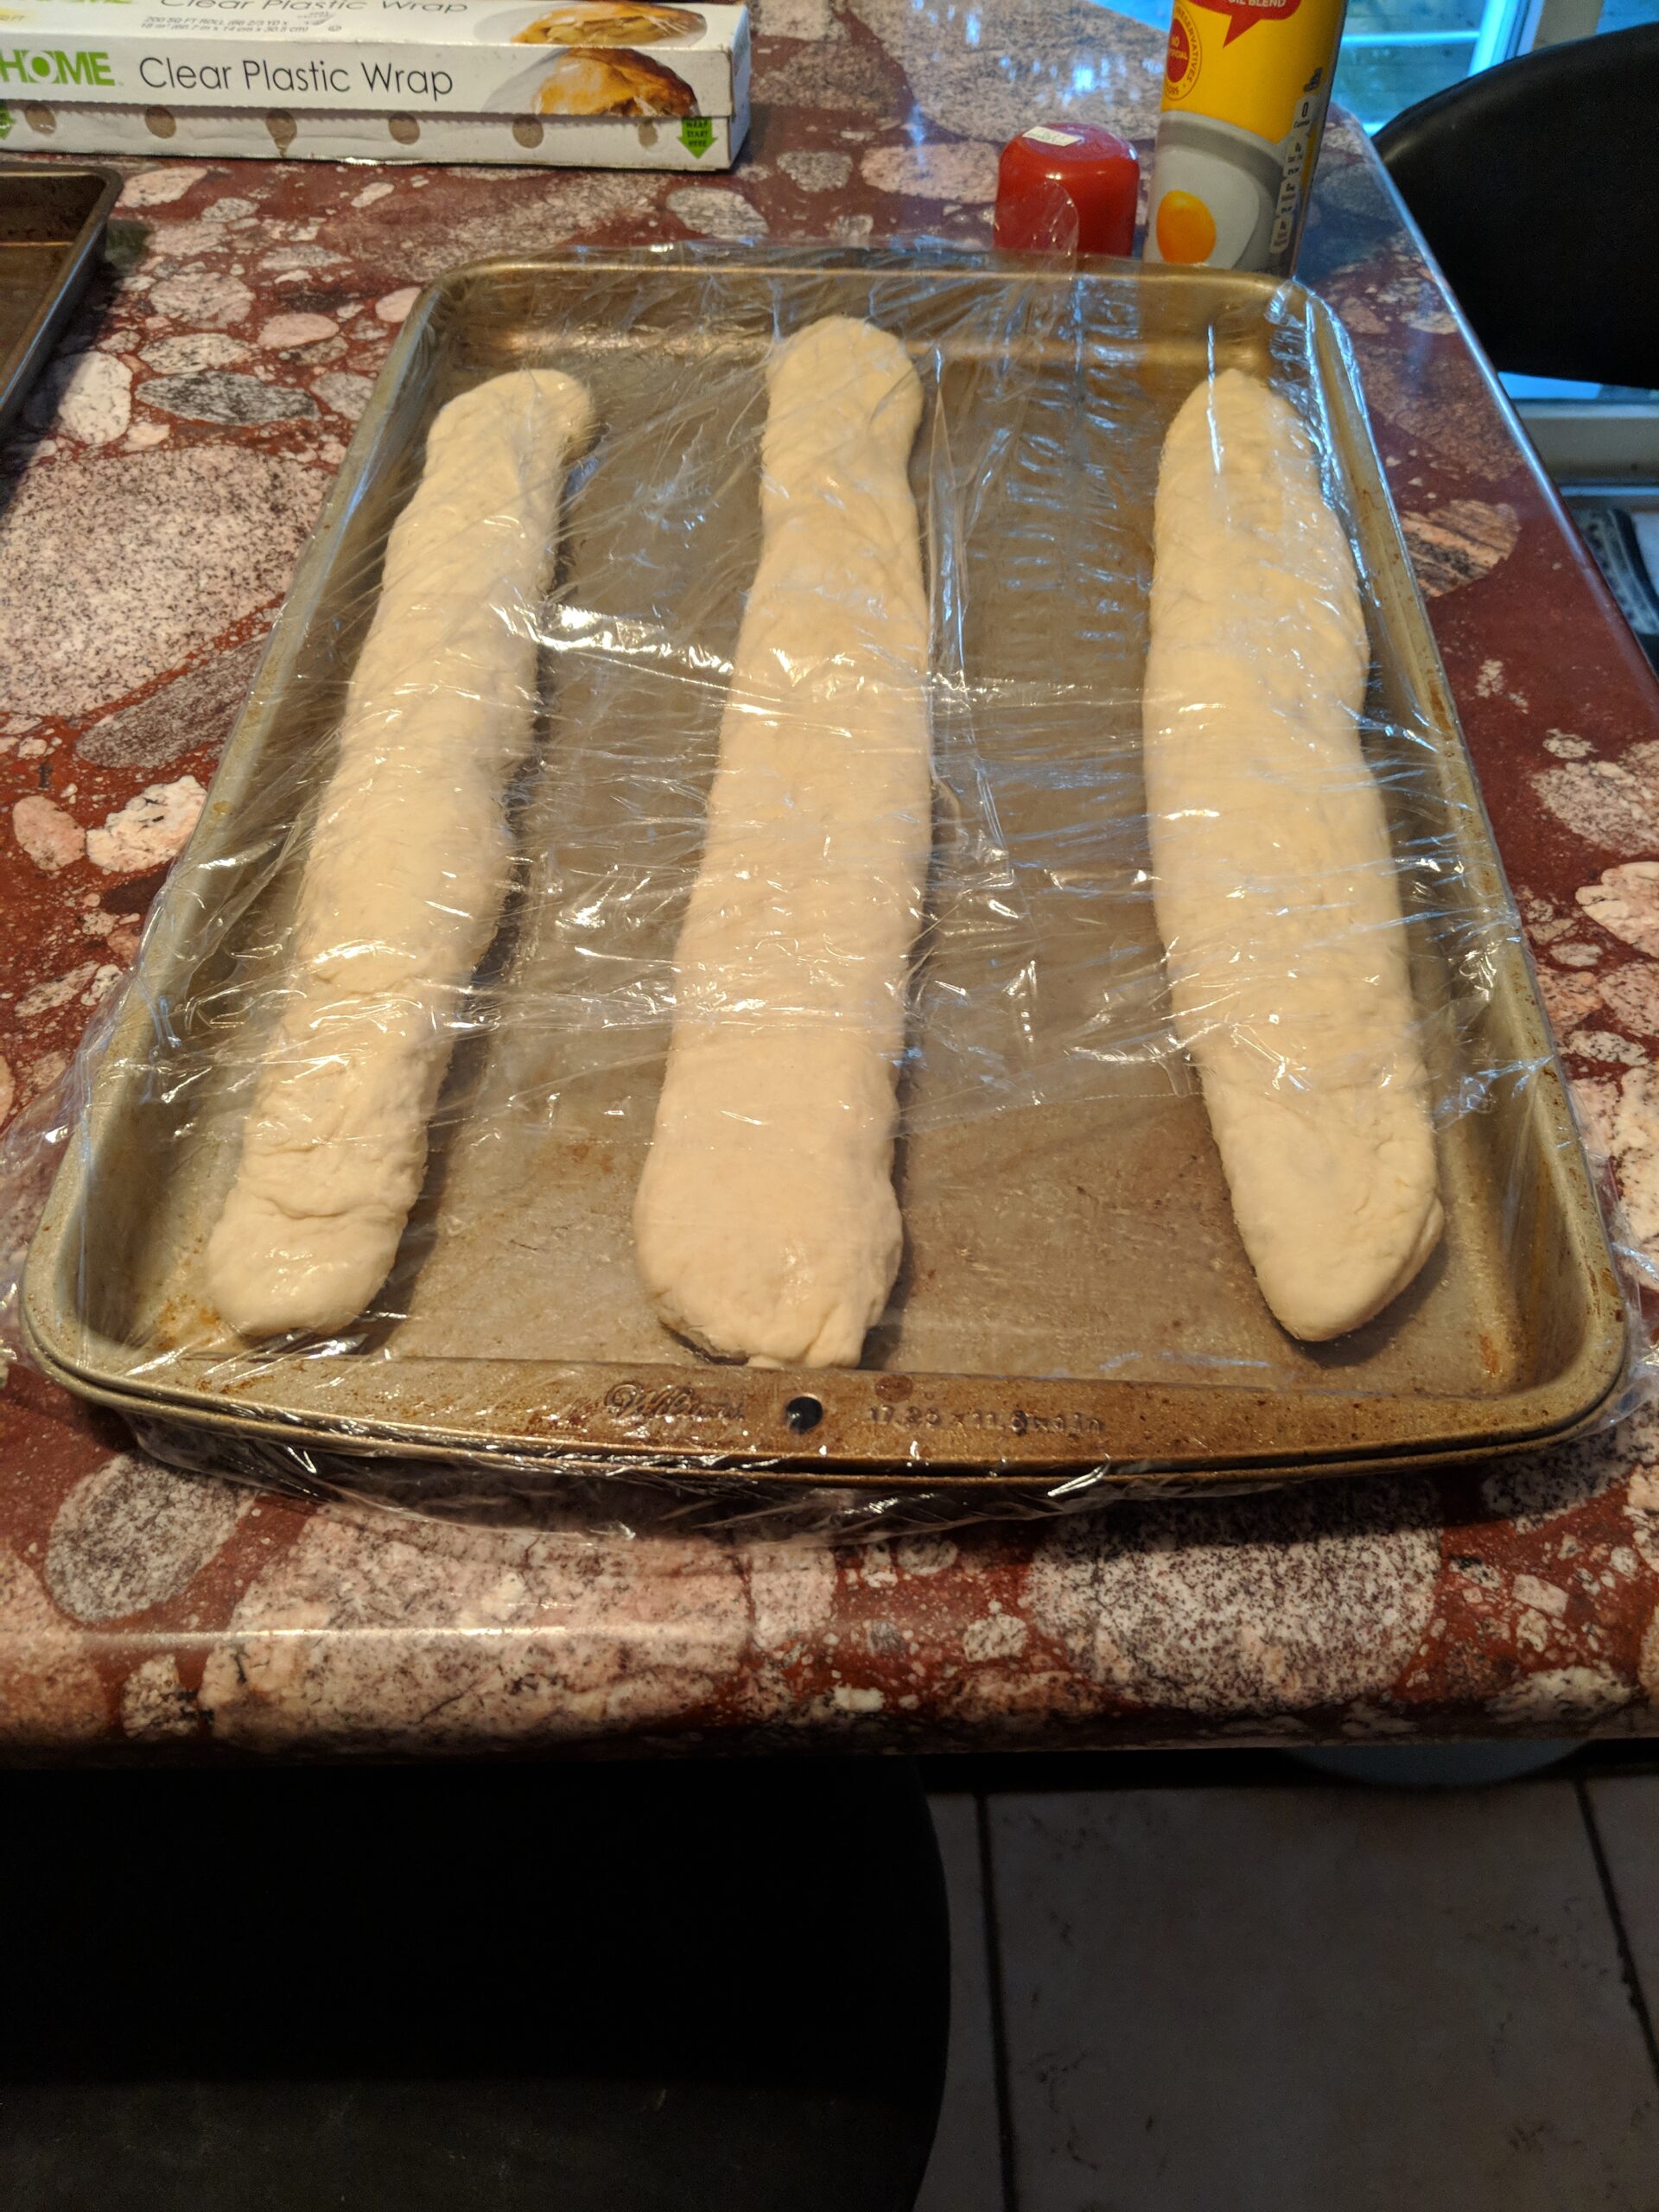
Once you have three baguettes, transfer them seam side down to a sheet pan that is either lightly greased or lined with parchment paper. You can also use a lightly floured lint-free dish towel or baker's couche, which is a cloth that helps keep the baguettes' shape while they cook. Cover them with lightly greased plastic wrap and allow them to rest at room temperature for about 45 minutes. The size shouldn't change too much, but they should be less dense than when they were created.
While you wait, preheat your oven to 450 degrees F. You want a rack in the middle. If you're using a baking stone, let it heat in the oven on the middle rack. You'll also need an oven-safe pan on the lowest rack or floor of the oven. Start boiling 1 1/2 cups of water.
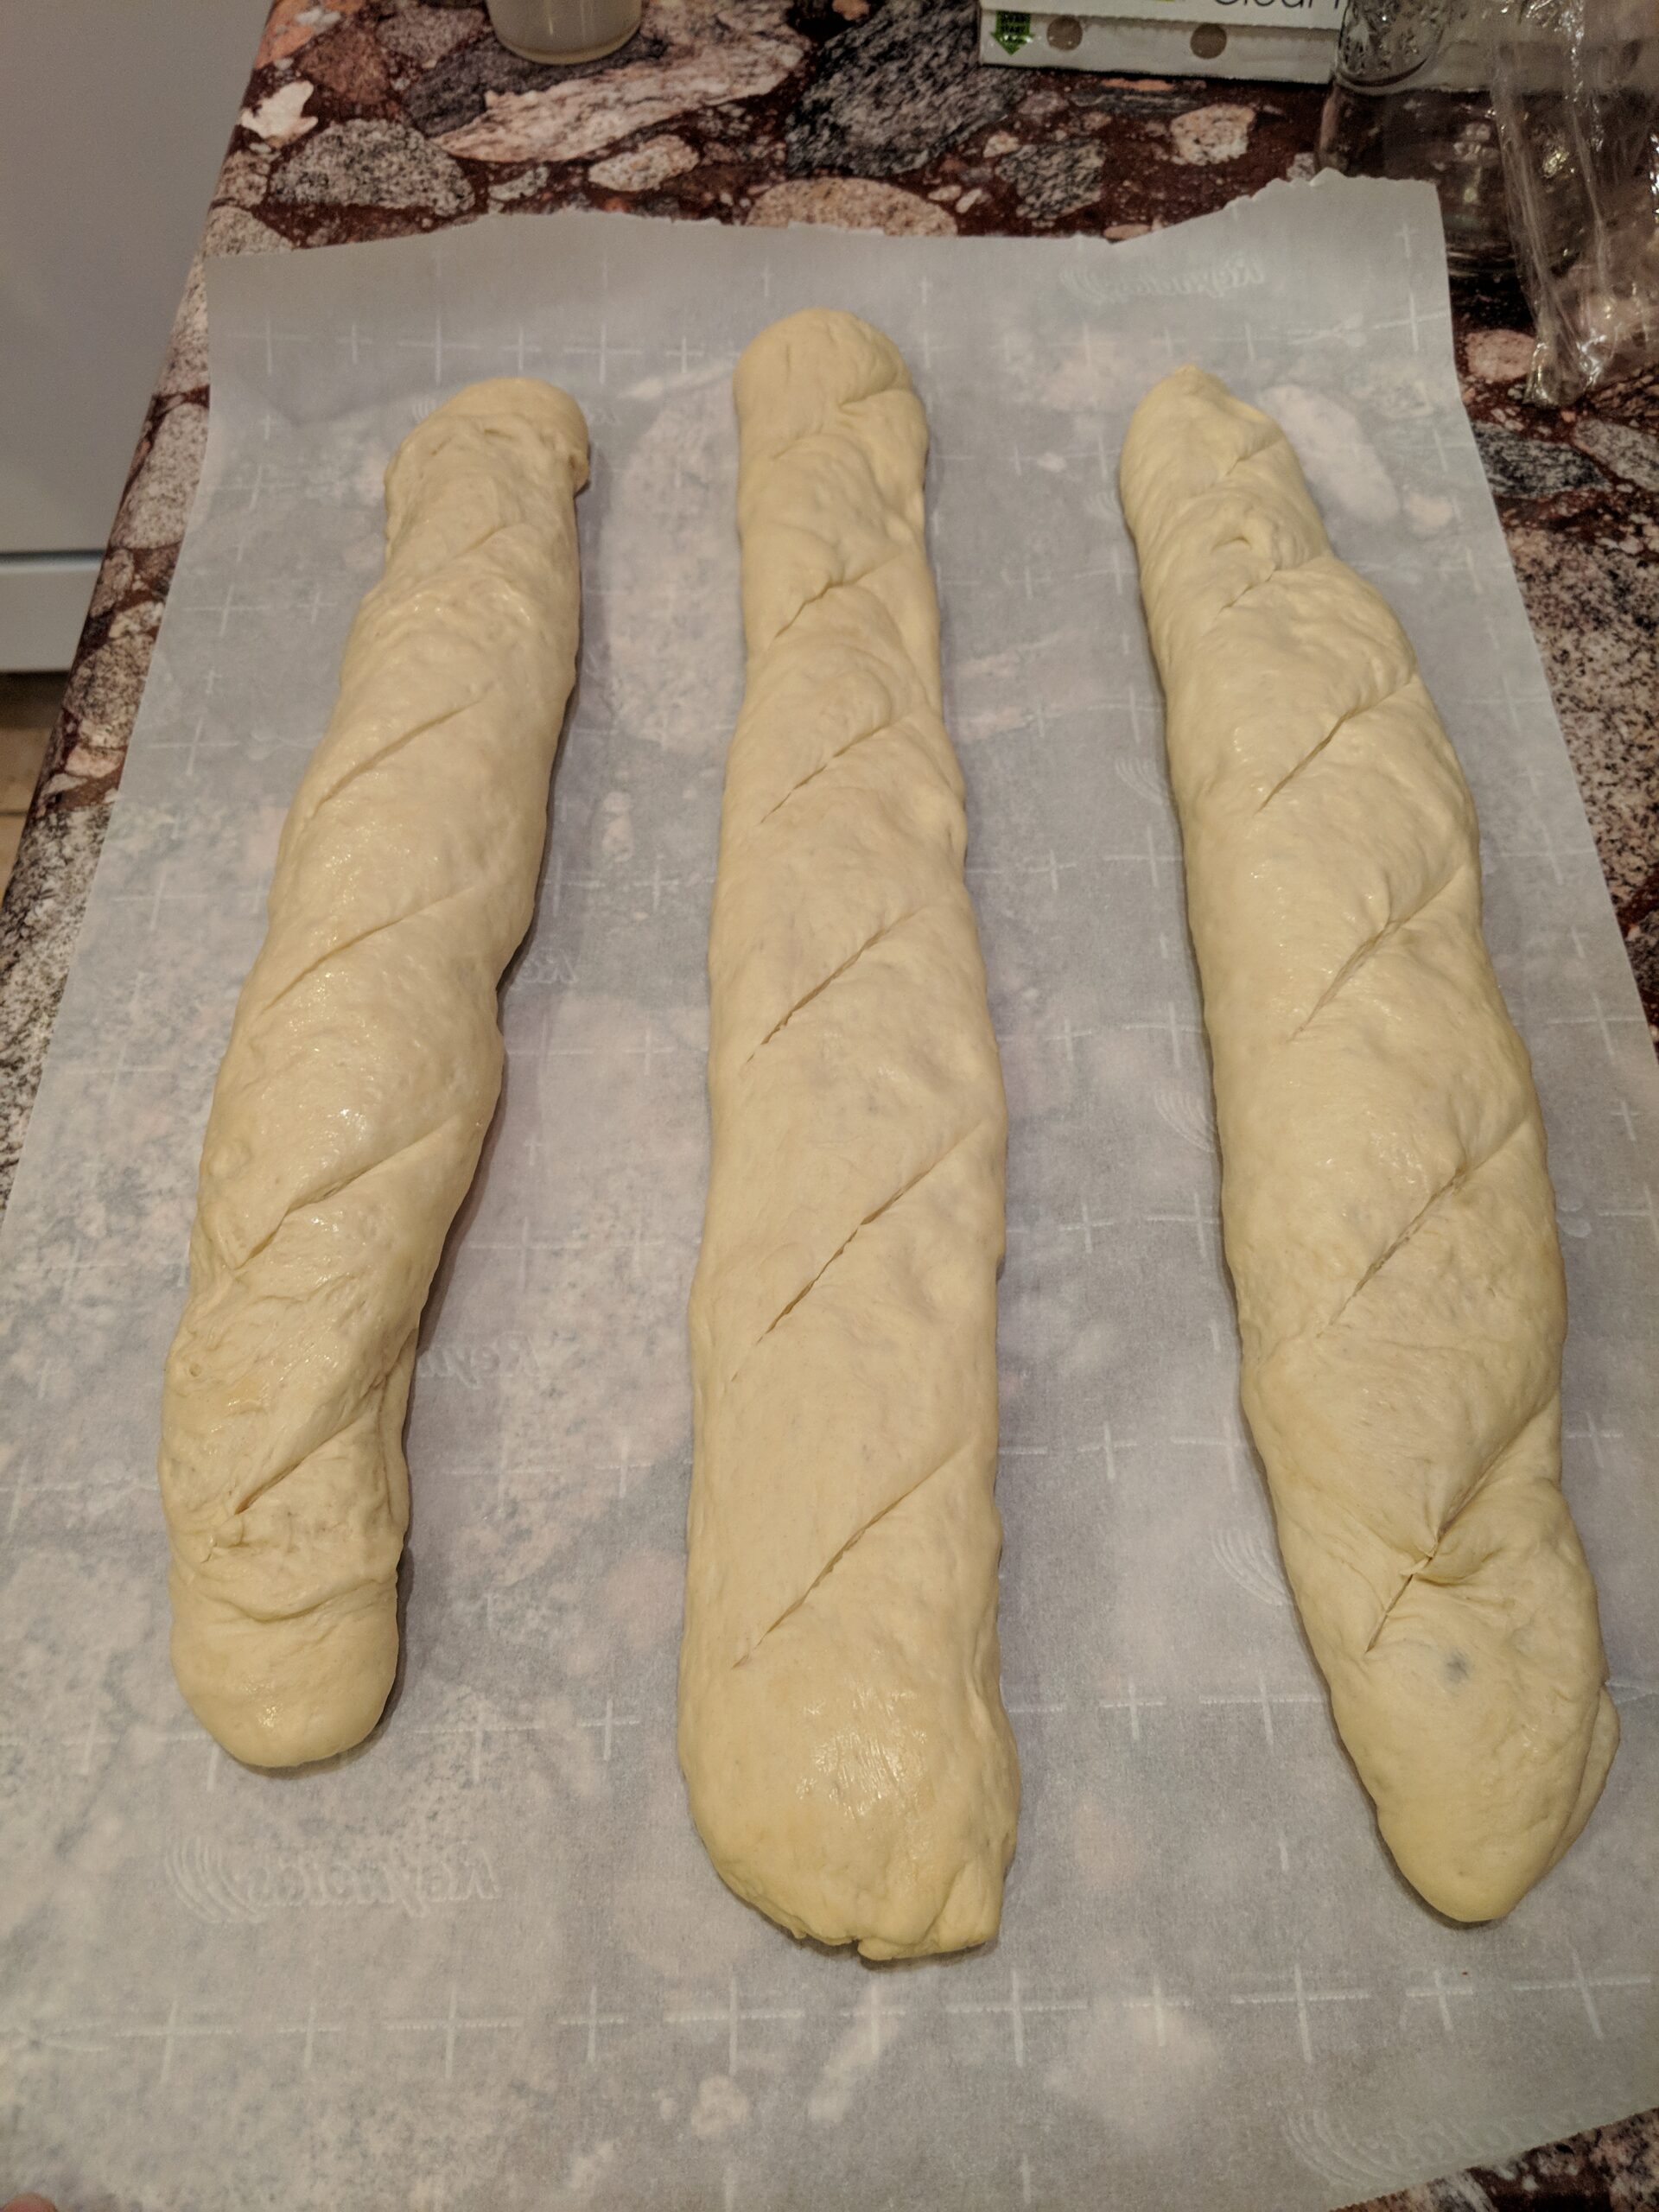
If you're using a baking stone, transfer the baguettes to a piece of parchment paper. If you're using a baking sheet, grease it before transferring the baguettes onto it. Use a sharp knife or baker's lame, which is a special knife for slashing bread dough, to make three to five slashes in each baguette at 45-degree angles.
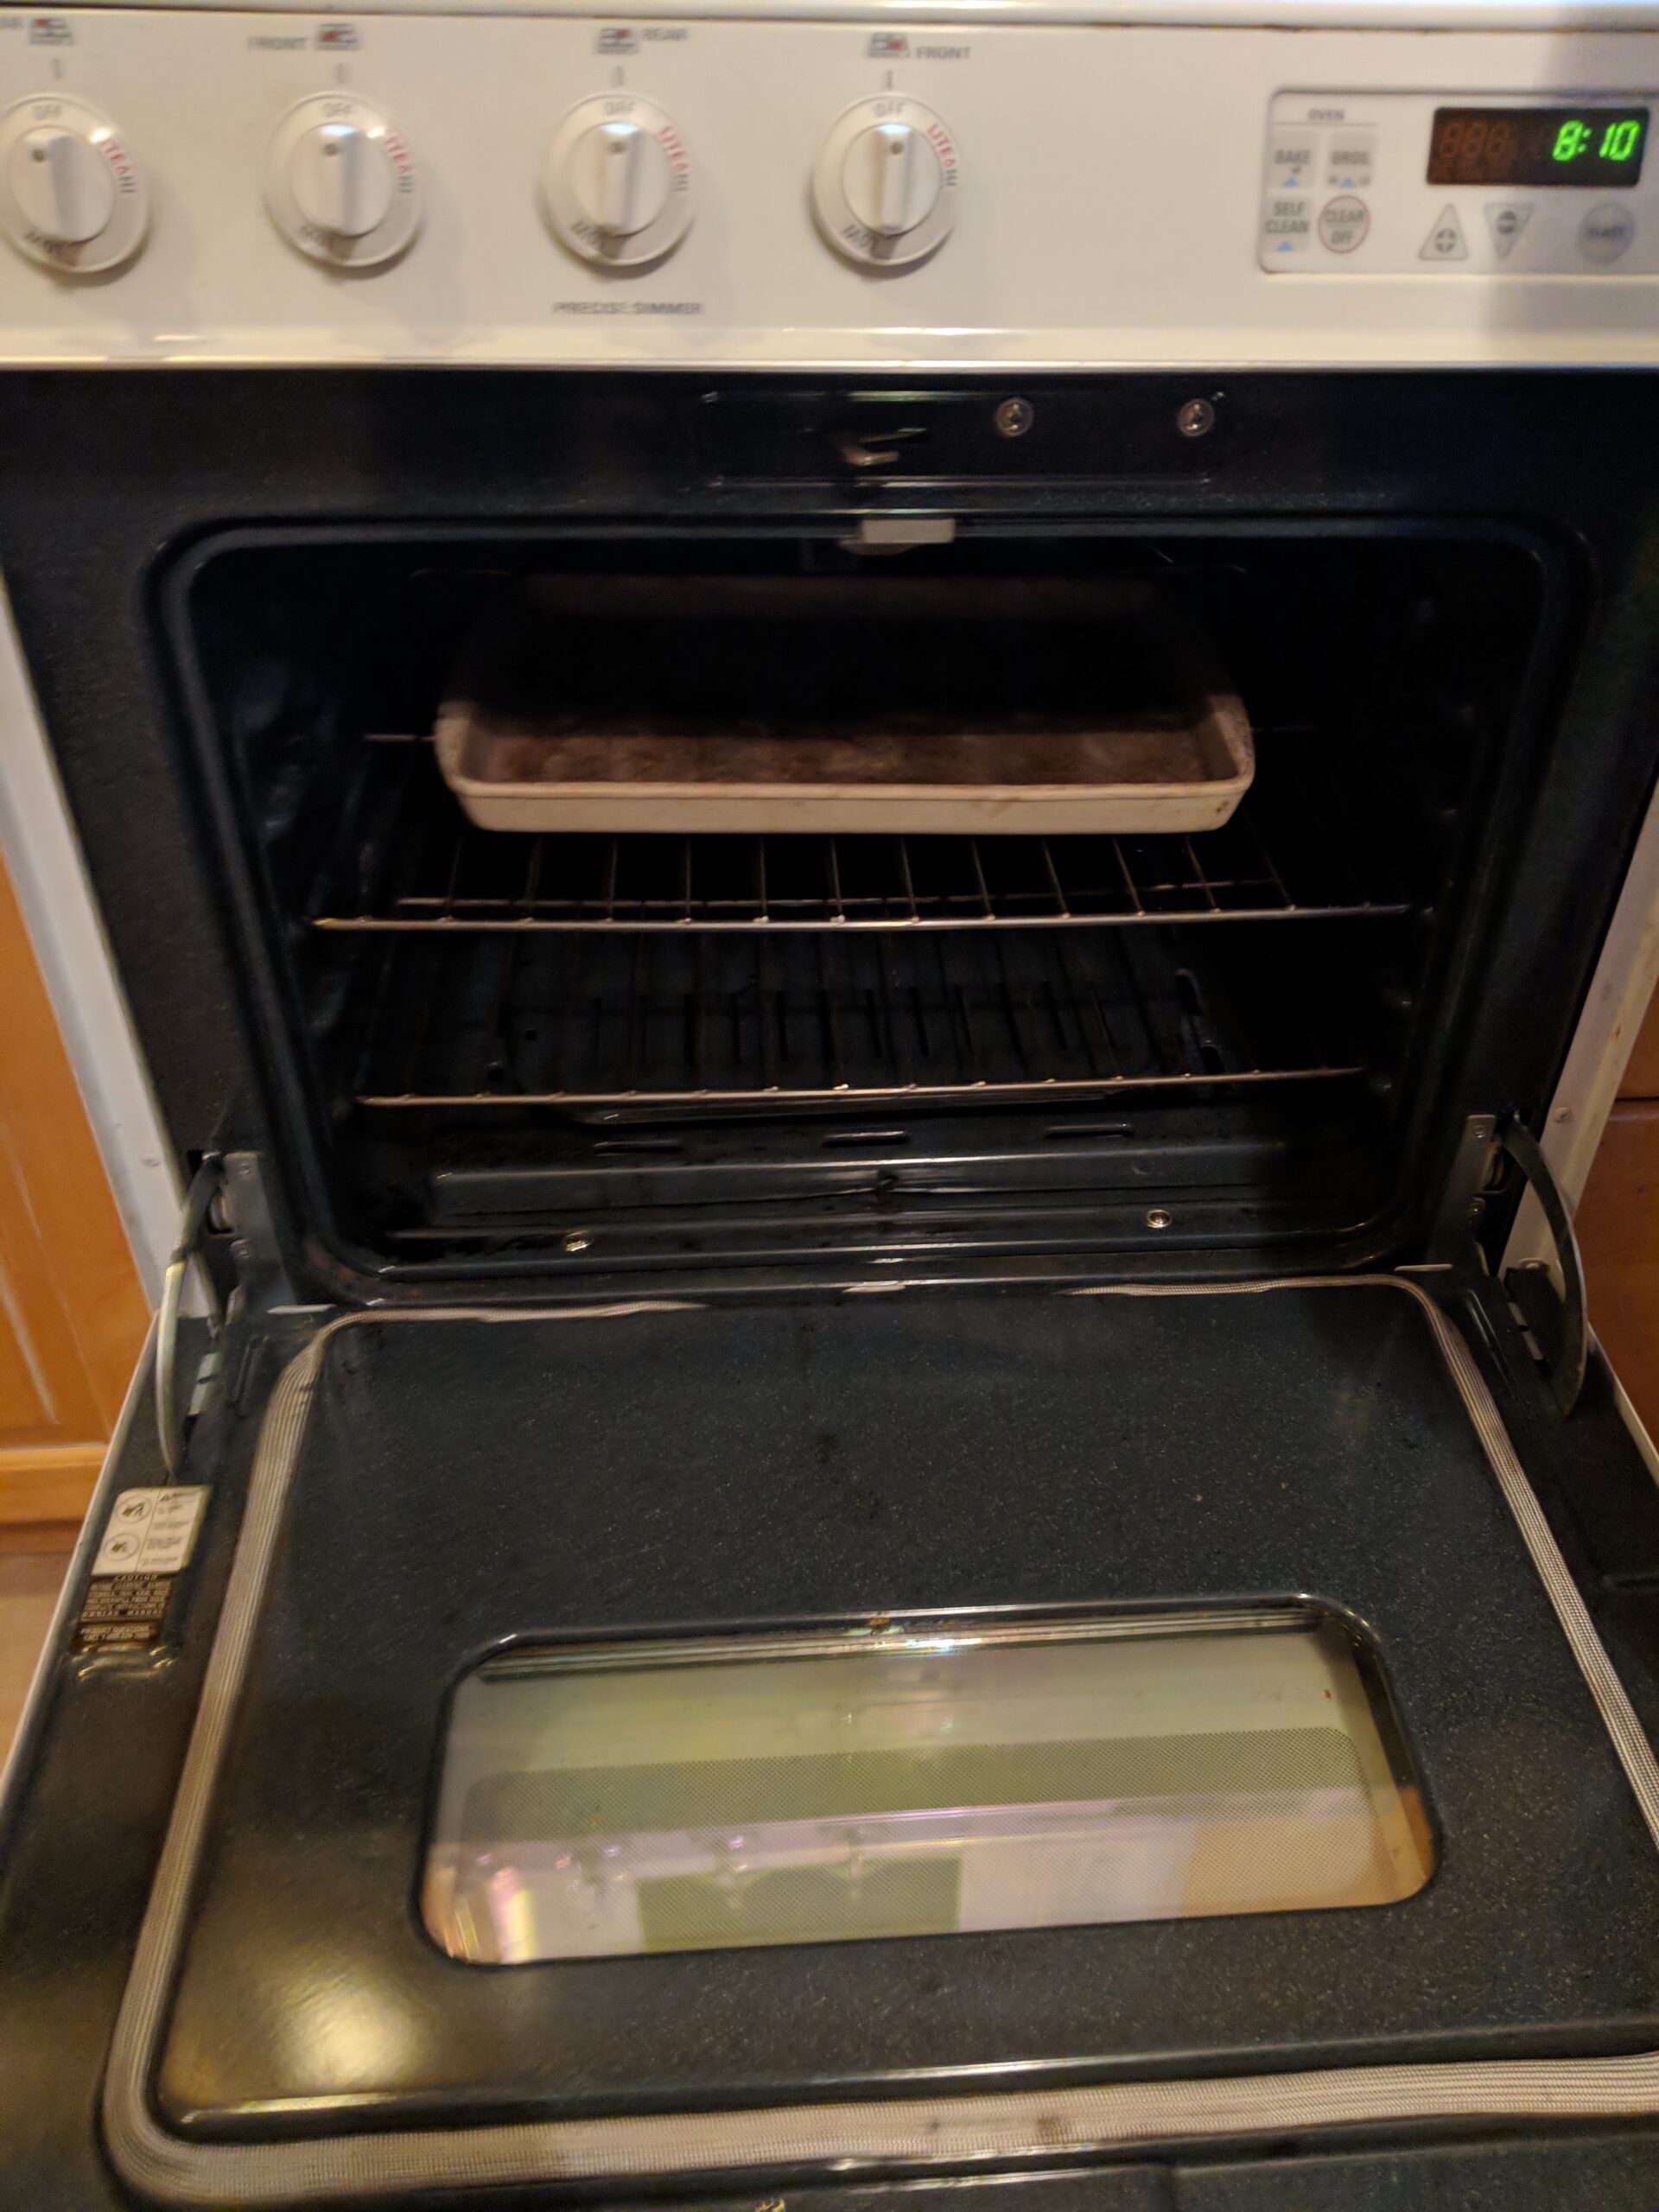
Getting these baguettes in the oven is tricky and might require an extra pair of hands. If you're using a baking stone, transfer the baguettes with the parchment paper onto the stone. If you're using a baking sheet, place it on the middle rack. Then carefully take the boiling water and pour it into the oven-safe pan you placed at the bottom of the oven. Close the door immediately to trap the steam, which helps the baguettes rise and achieve that beautiful, golden crust. Allow 24 to 28 minutes to bake.
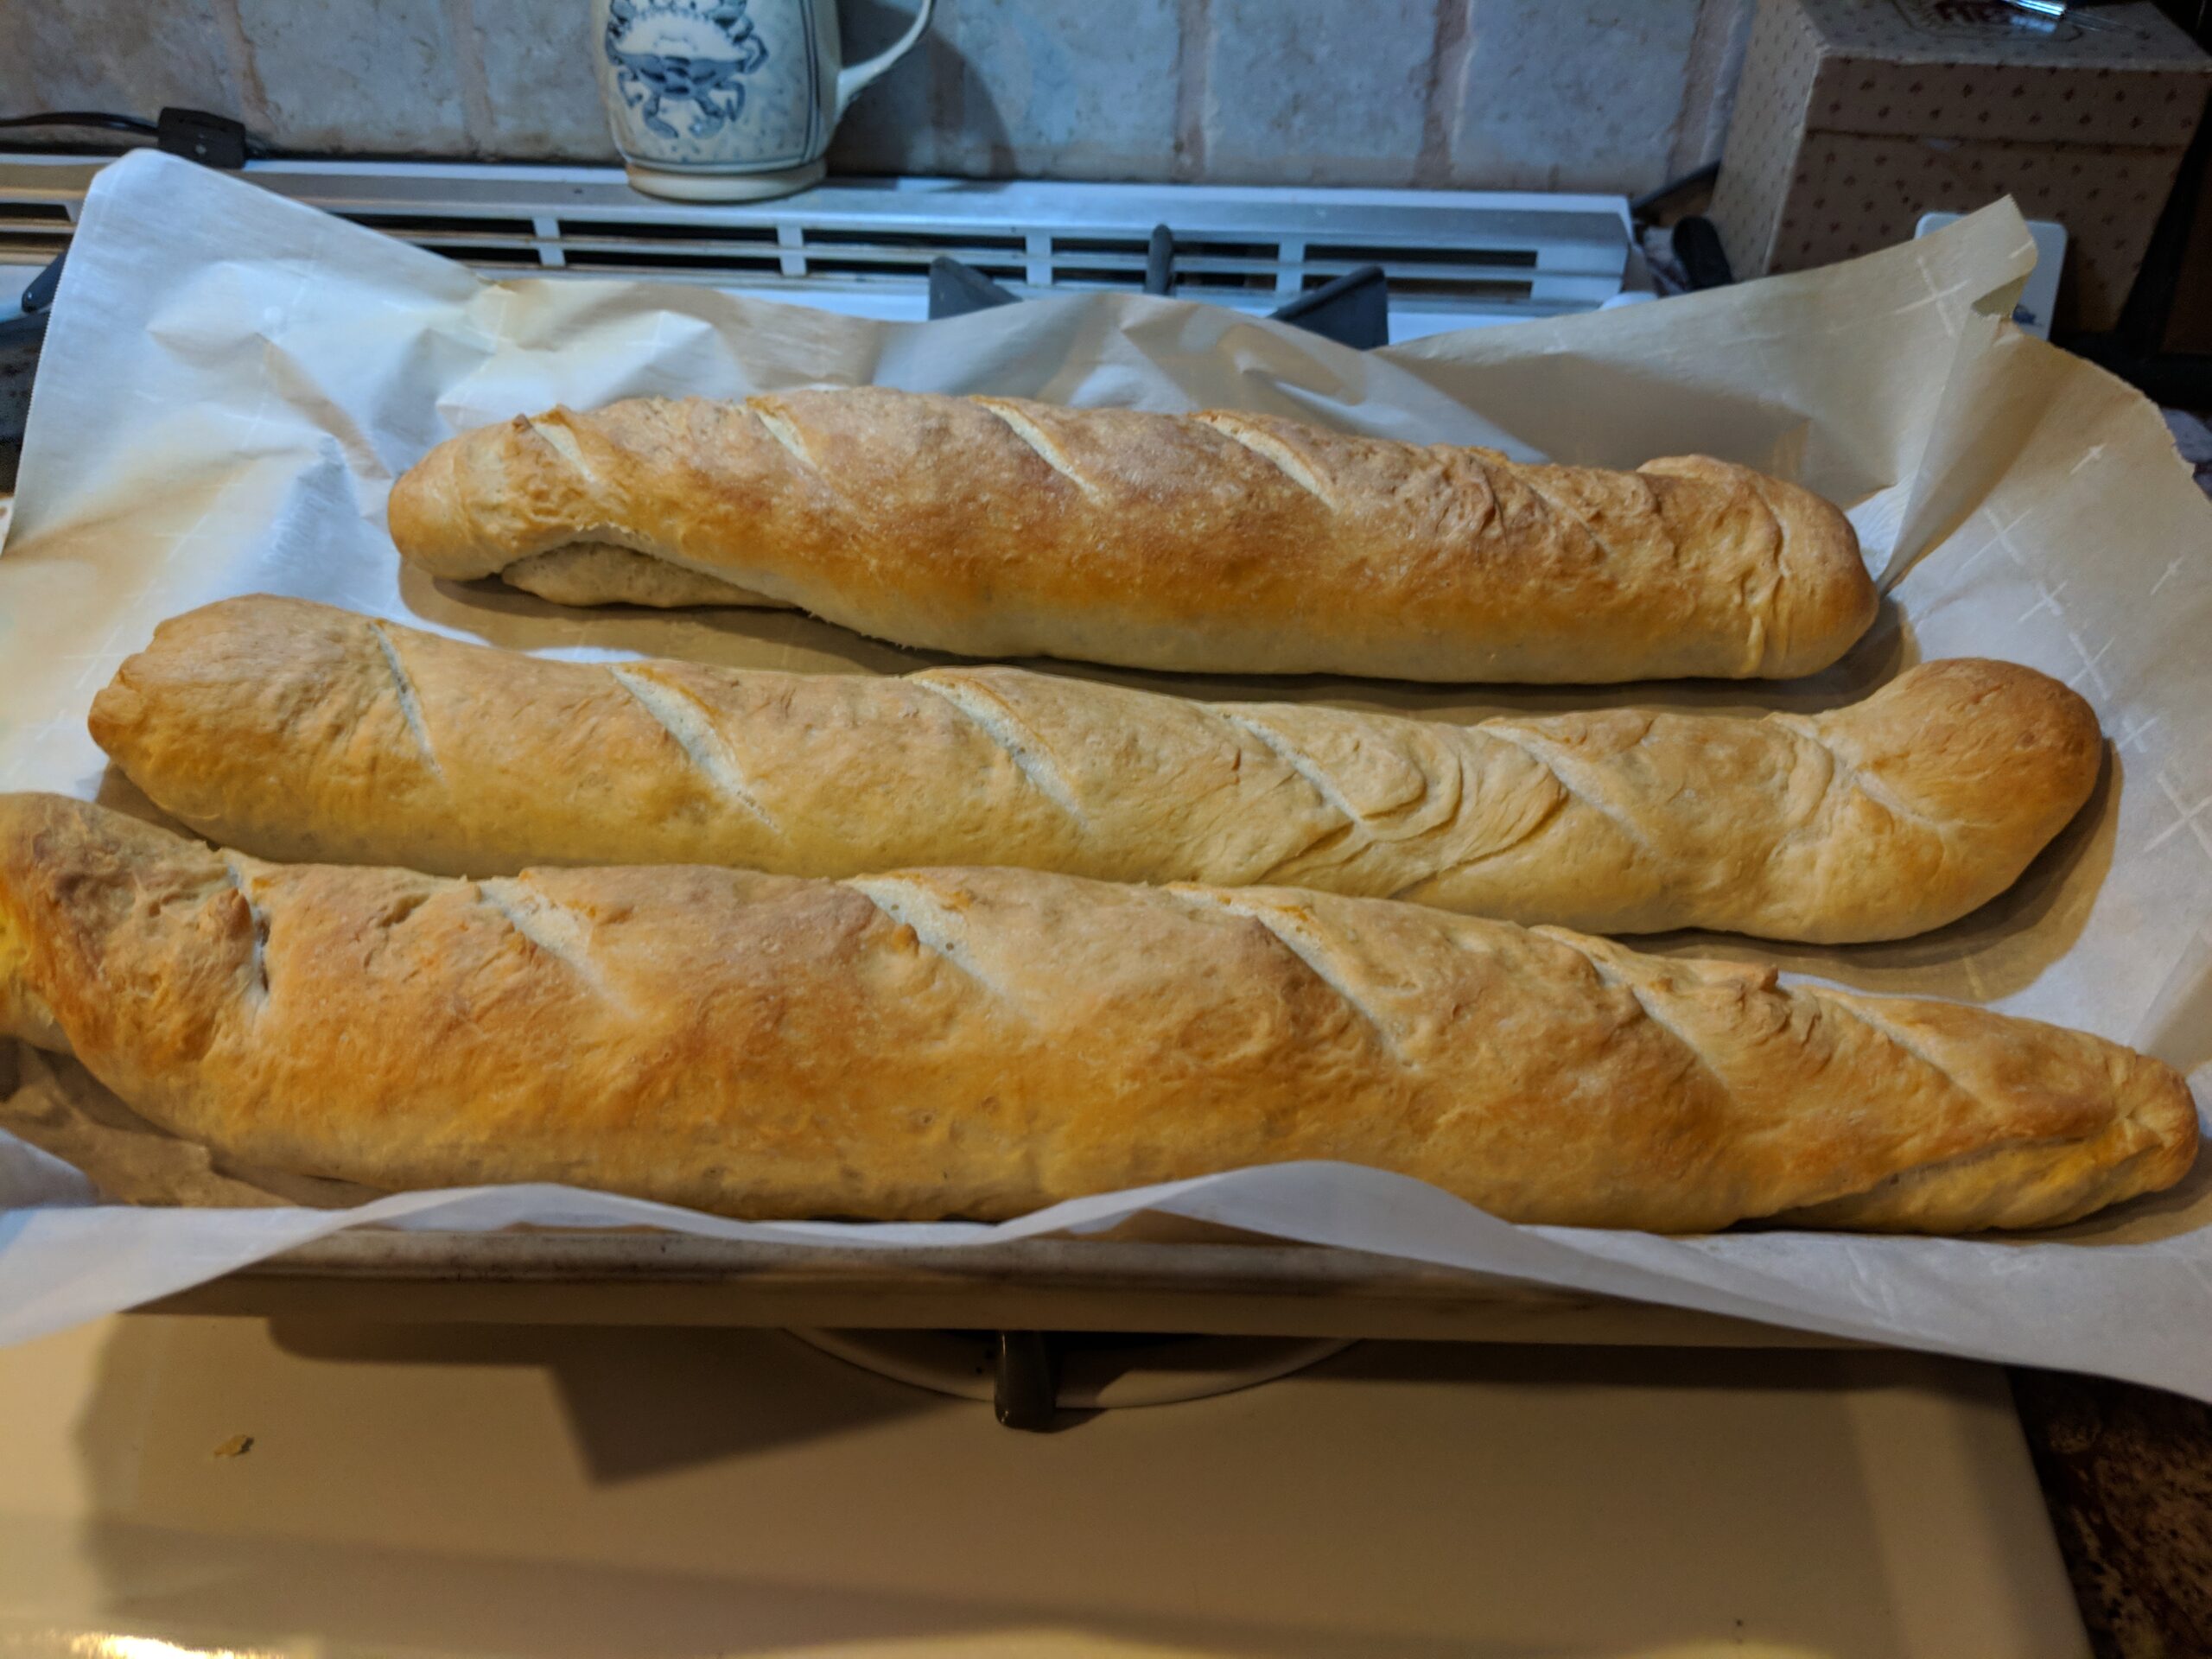
Voila! After a fun, albeit nerve-wracking, process, you've got three beautiful baguettes!
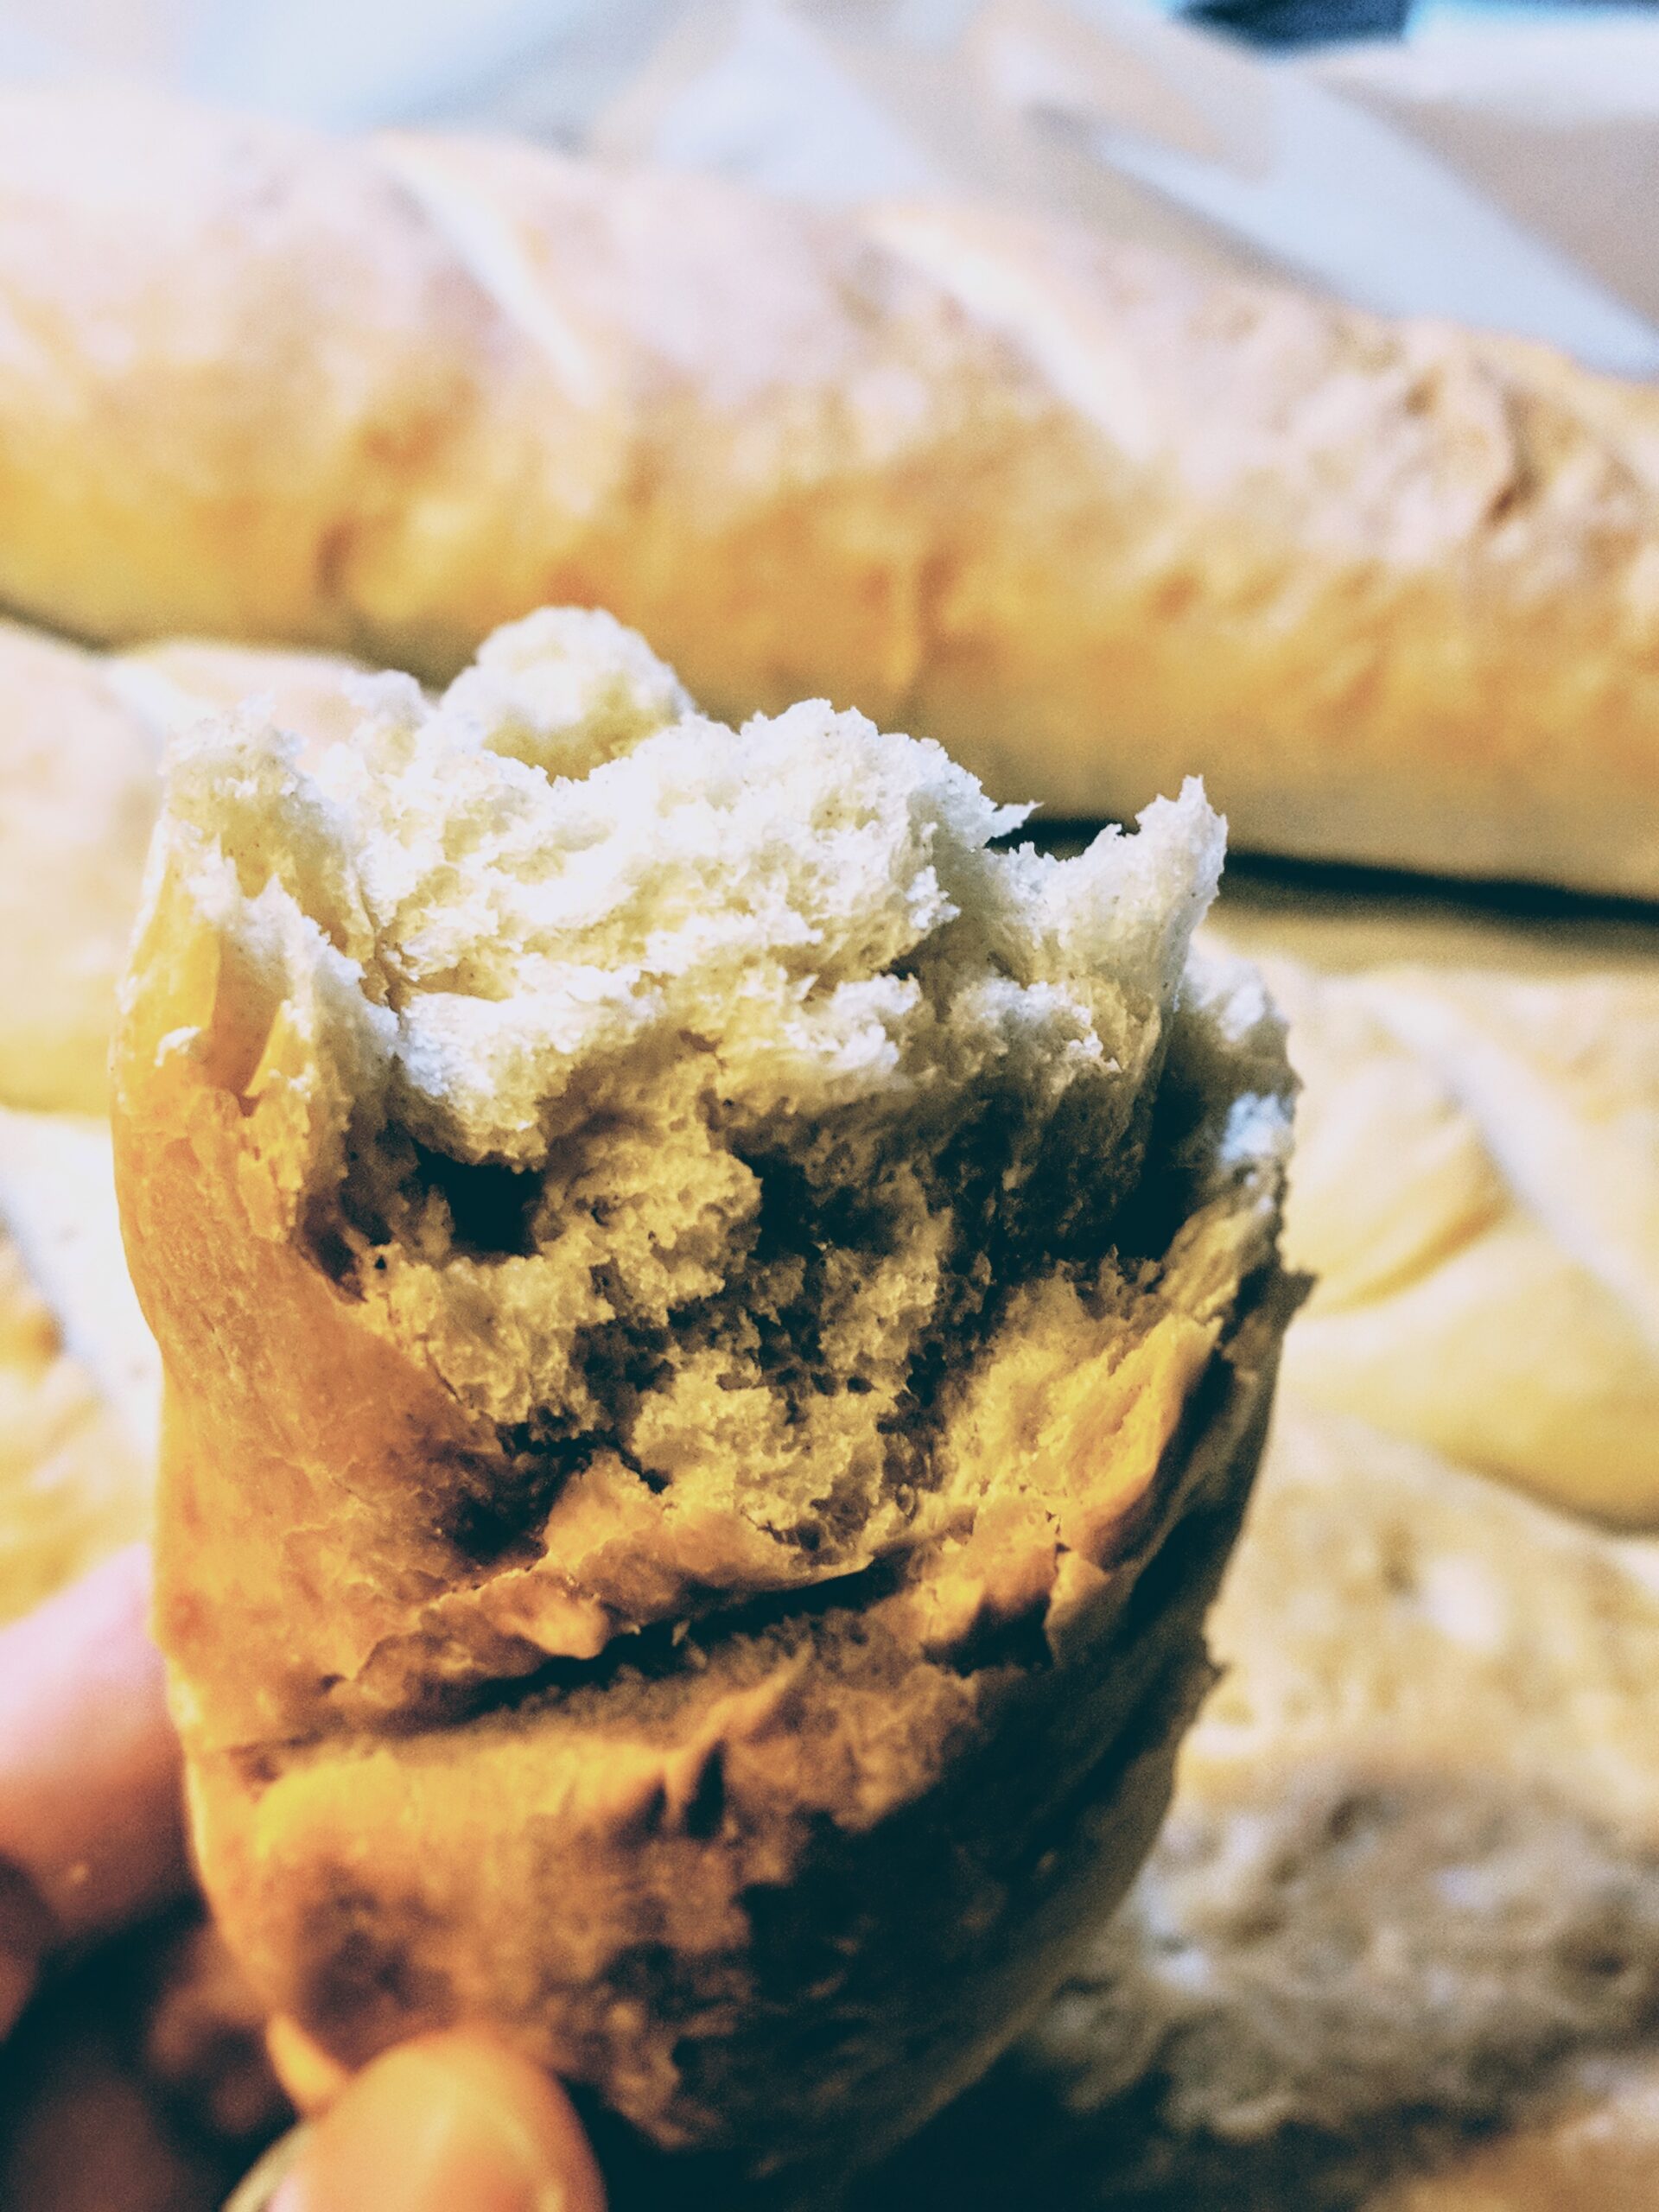
I waited for the loaves to cool a bit, and then I ripped off a piece. It was light with a nice crispy crust.

All that was left was to do was to dig in! I was elated that my bread saga finally had a happy ending!
Throughout all the recipes I considered, I saw a running theme that seems worth sharing, especially considering my experience. Every time you make bread, you'll learn something that will inform your decisions the next time you make bread. You're always building on your experience. Even someone who experiences a bread fail like mine the first time around can still make a beautiful, delicious baguette.


