Isn't it funny how the older and rougher something is made to look, the more expensive it usually is? Whether it be jeans, furniture, or even hair — the more distressed something looks, the more the price tag grows.
For me, this trend is truly a shame, because I love all things rustic. When I see something "shabby-chic" — like this adorable lacy dresser — I have to have it. But if it's not a true antique, why should I pay a steeper price?
And when facing dilemmas like this, that's when I turn to the internet — which is where I found this incredible DIY project. Who knew that with just an old pallet and a few sheets of printer paper, you could make something so adorable?
After seeing how easy this is, I'm definitely making this my next weekend project. Are you going to try it, too? Let me know in the comments below!
Please SHARE if you love these cute country crates!
Looking for some cute storage with an antique flair — but not wanting to pay retail prices — crafter Ananda took to the streets to find a nice wooden pallet.
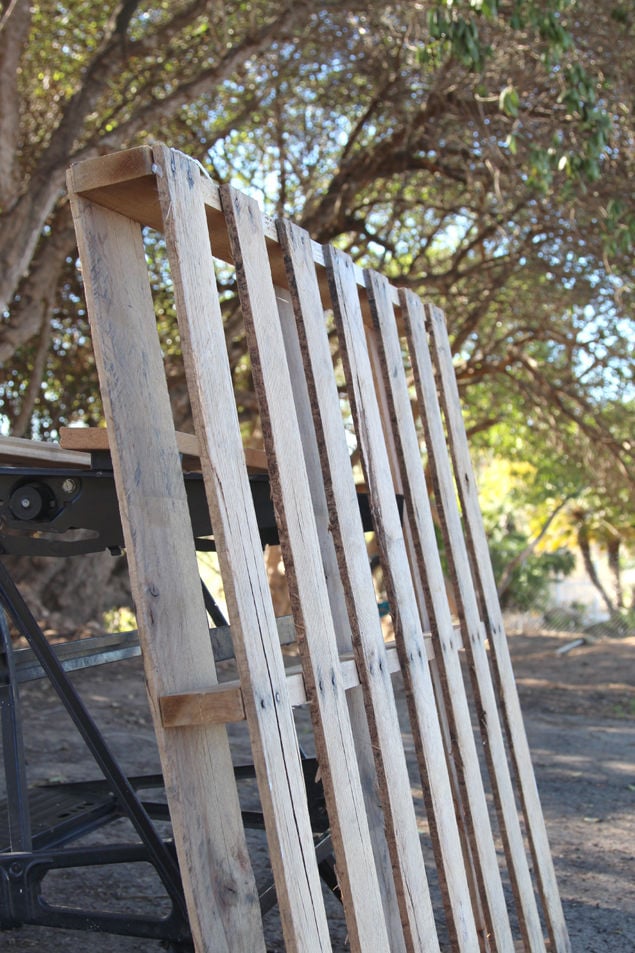
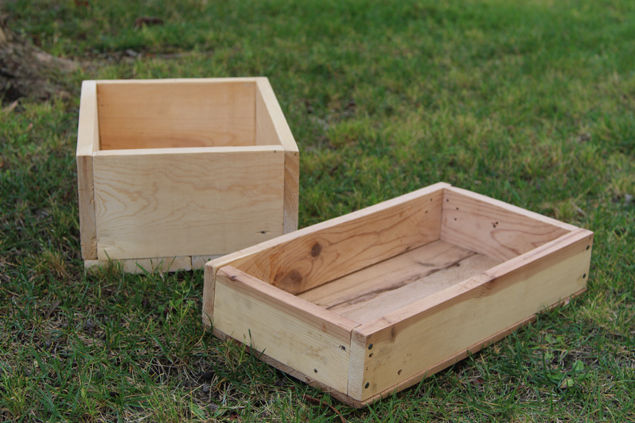
Using a table saw, she cut the pallet down and sanded the pieces. She then assembled and nailed it together to make her crate.
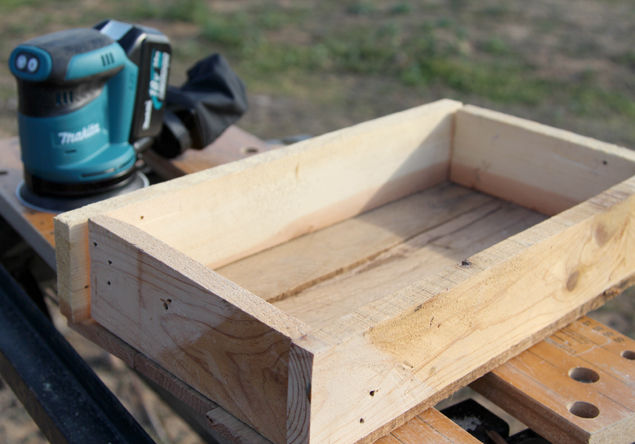
When both were ready to go, she moved them inside. Here's where the beautiful transformation begins!
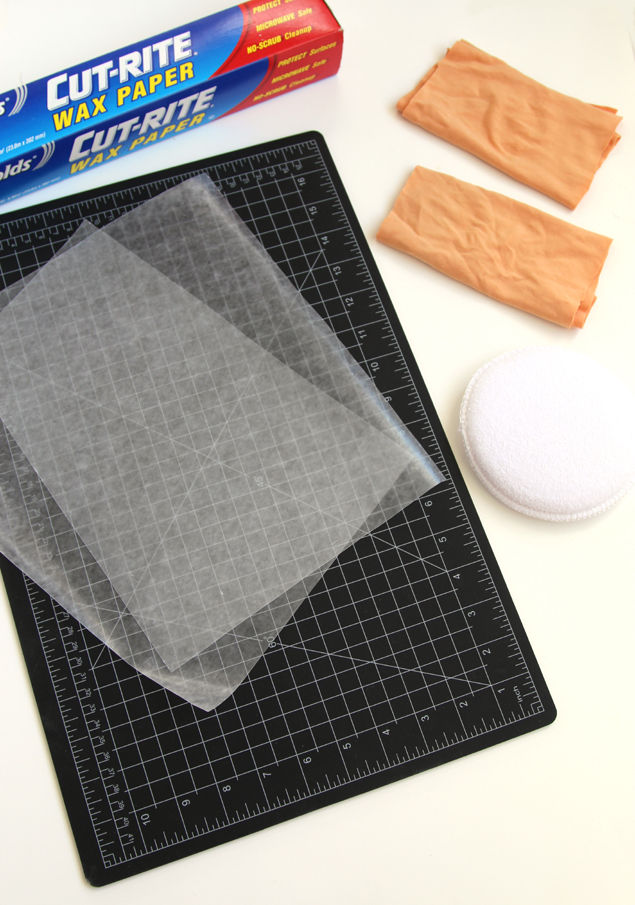
First, she gathered some supplies. She used wax paper, printer paper, two soft cloths, a shoe polish pad, and some tape.
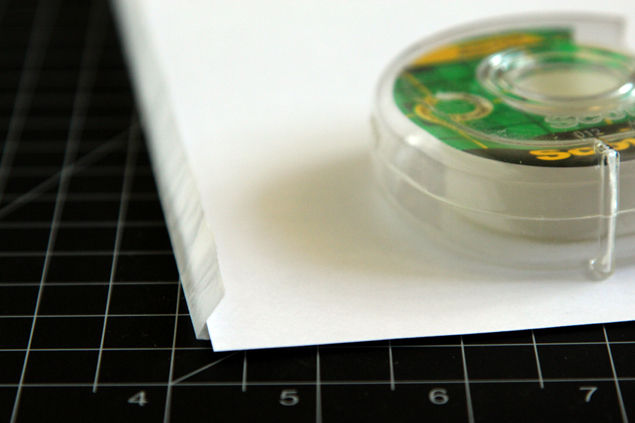
Next, she folded and taped one end of the wax paper onto a piece of regular 8.5"x11″ paper. This is the end that will be going through her printer.
When her paper was ready, she went online to find a photo she liked. When she found the right image, she "mirrored" it with Photoshop. Then, she printed it onto the wax/printer paper.
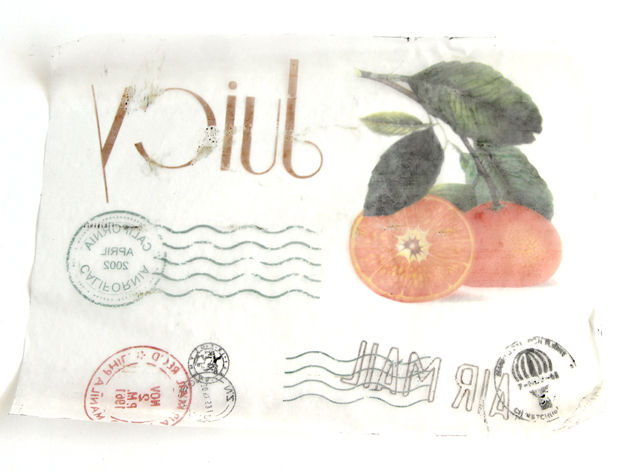
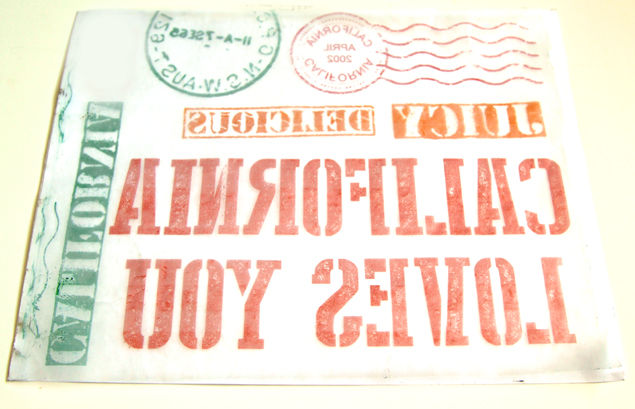
She printed a few other images like this, always careful to "mirror" the image beforehand.
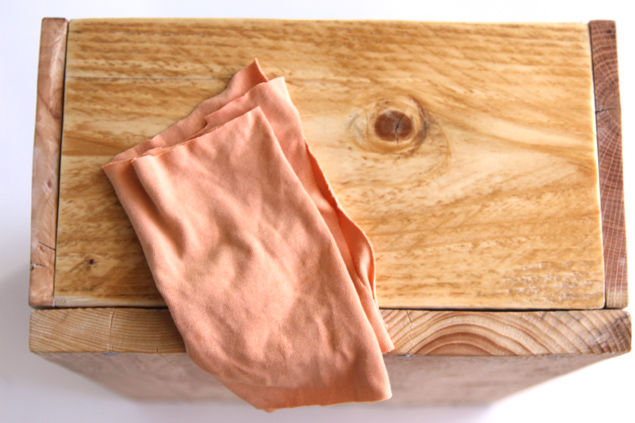
Next, she took a wet cloth and dampened a side of the crate. She was careful not to let it get too wet, or the ink would have run.
When the side was properly damp, she carefully laid down her wax paper printout. Once it was on there, she was careful not to move it again.
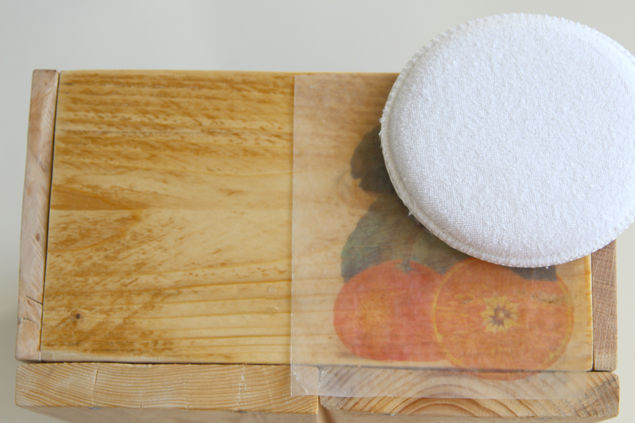
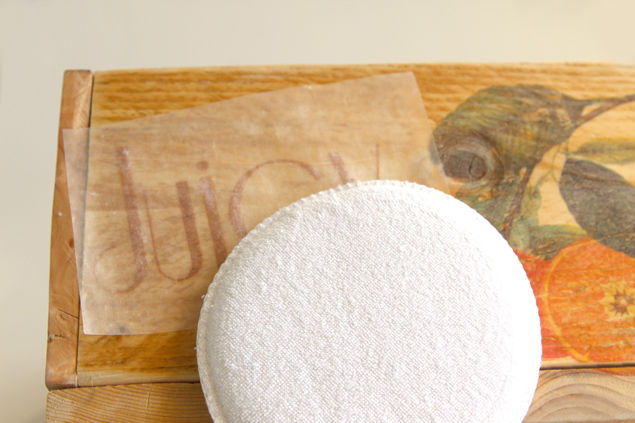
Using her shoe polish pad, she rubbed the wax paper. She continued to repeat this step with her other print-outs. When the wax paper is lifted, you'll see the image has transferred beautifully.
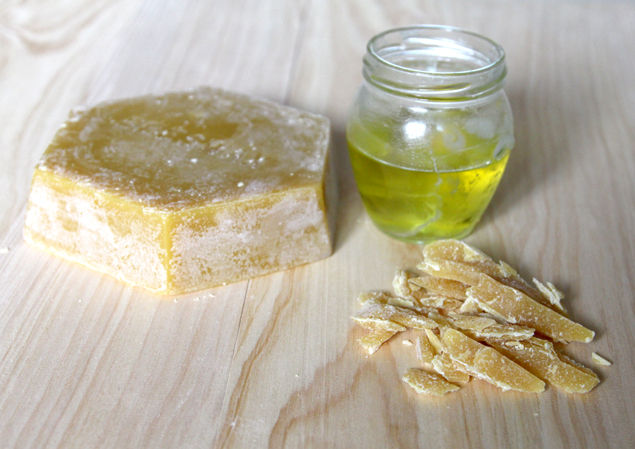
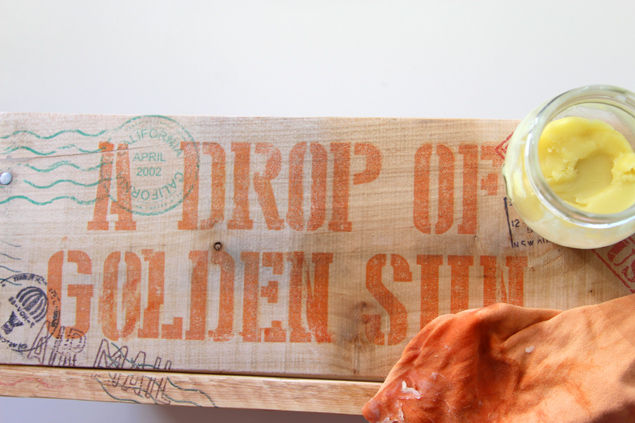
After the image transfers dried, she protected the crate with some nice furniture wax. She shaved the wax down, melted it, and poured it into a jar.
Using another soft cloth, she applied the wax to rub it in.
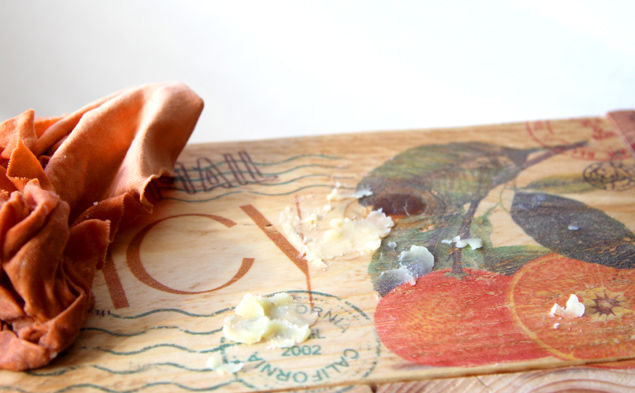
The wax deepens the color and protects the print.
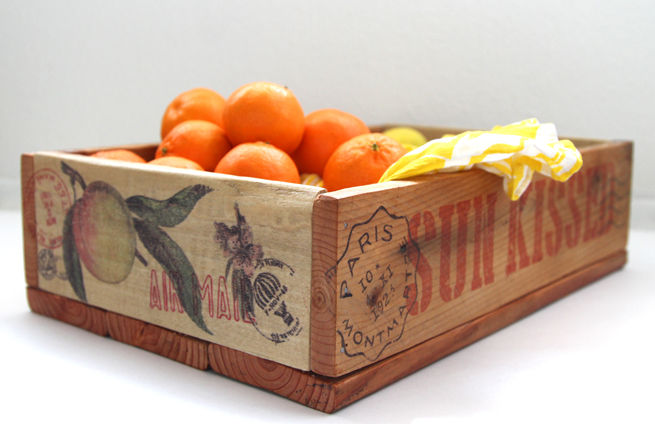
Once she had waxed every side, her crates were finished! Fill it with fruit, like some beautiful oranges, and it will be perfect on a kitchen countertop.
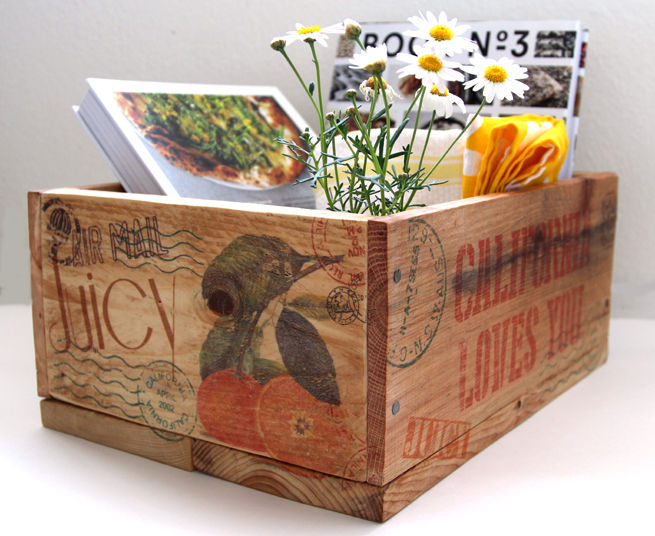
Or grab some pretty books and flowers, and it could make a lovely coffee table centerpiece.
How would you use this gorgeous, rustic crate? Let us know in the comments below!
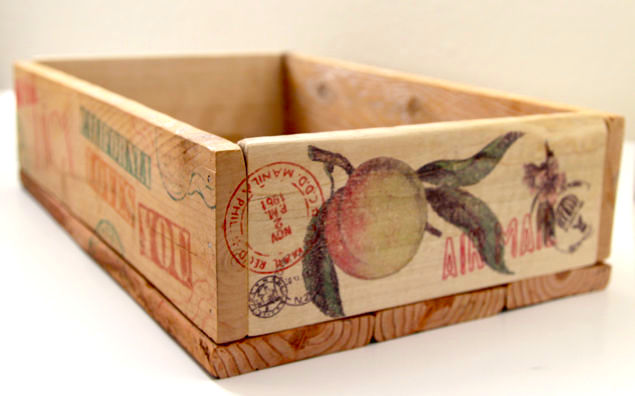
Please SHARE if this crate would look perfect in your kitchen!

