They say when you get to the end of a rainbow there is a pot of gold.
Well, I don’t know if you noticed, but a rainbow is pretty expansive. It would take a really long time to get to the end for that sweet, sweet reward. It’s kind of like digging through the Internet for a perfect recipe. You can search forever and you may never stumble upon that gem.
Well, not anymore!
Here at LittleThings, we have decided to spoon-feed you the best recipes we have come across without you even having to look very far. Best part? We’re making them in-house to verify that their tastiness is top notch.
For instance, are mini apple pies in a bacon-crust bowl actually good? Yes!
Are nachos better when you swap tortillas for tater tots? We did the tough investigative research for you here, and our findings are fascinating.
Our most recent discovery is not only delicious, it’s also incredibly beautiful and easy to make.
Whip up a batch of these for guests at a party and watch their inner children pop out (we even had a staff member do a little “happy jig” when he saw the end product of this treat). They can also make a really cool and tasty gift anyone will love.
This recipe, much like a rainbow, is truly magical…
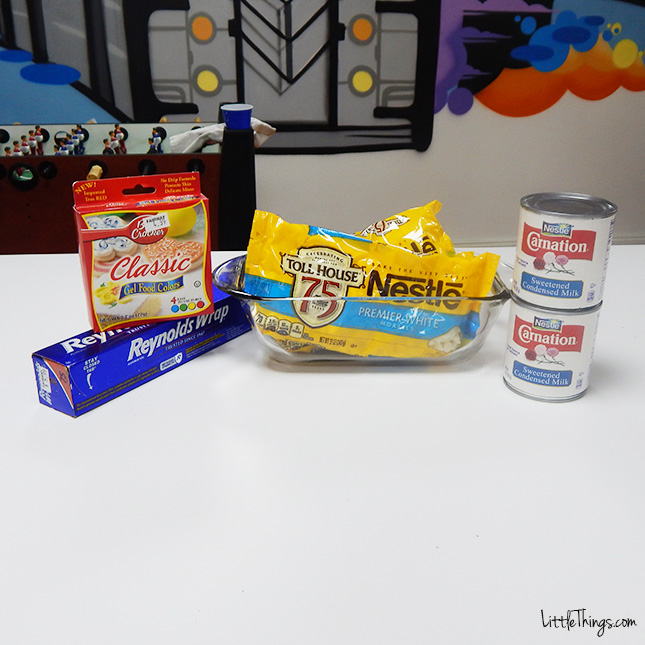
For this recipe all I needed was 36-oz. white chocolate, 24-oz. of sweetened condensed milk, food coloring, bread baking dish, a mixing bowl, and foil.
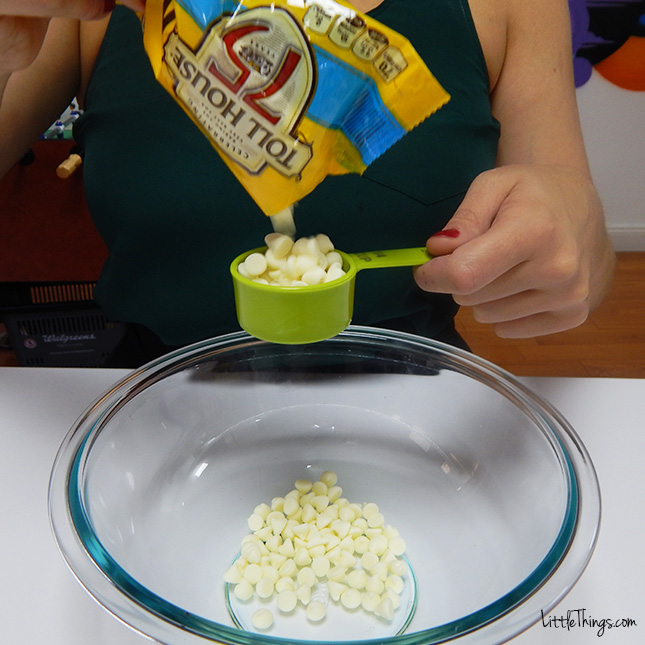
First I poured 3/4 cups of white chocolate and 1/2 a cup of condensed milk into a mixing bowl.
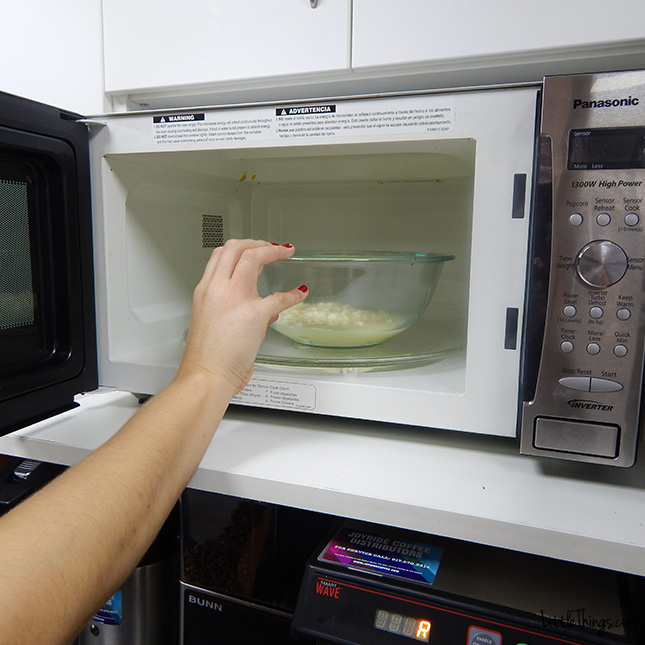
Then I microwaved it for about one to two minutes (depending on your microwave).
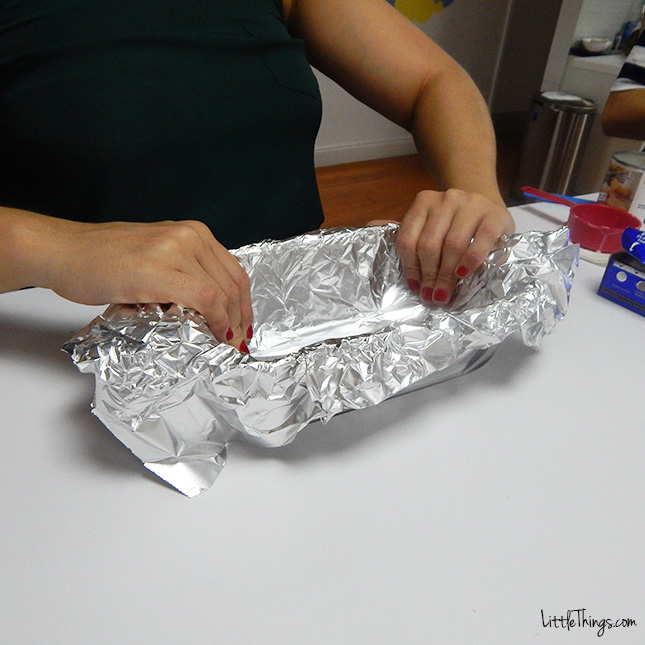
While my mixture was being heated, I flipped my baking dish upside down and placed tin foil on top.
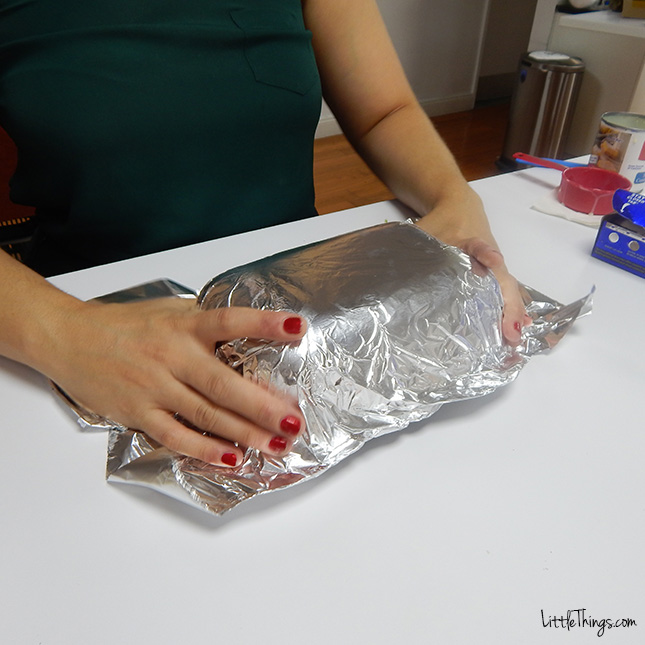
The mold fit perfectly into the baking dish.
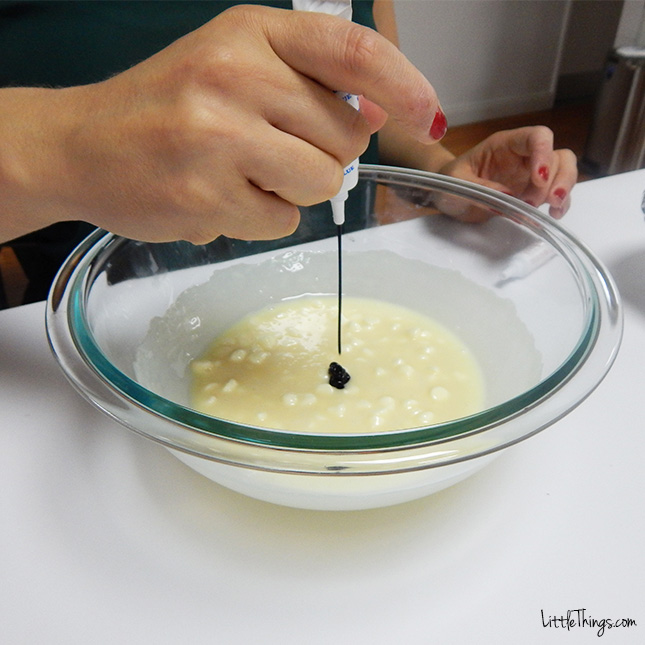
Once my chocolate and milk mixture was melted, I squirted about a teaspoon of purple food coloring into the bowl.
Then I mixed it thoroughly until it was completely smooth.
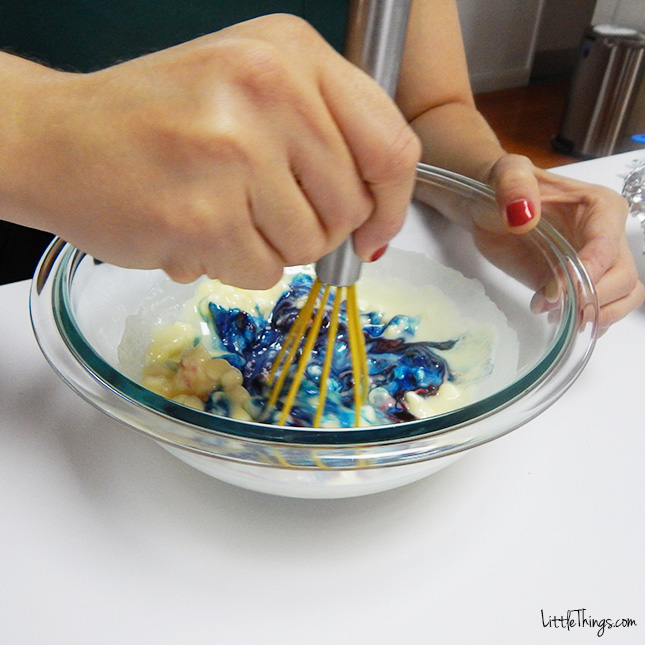
If some of your chips are partially melted, don’t fret. The heat form the bowl will eventually melt everything.
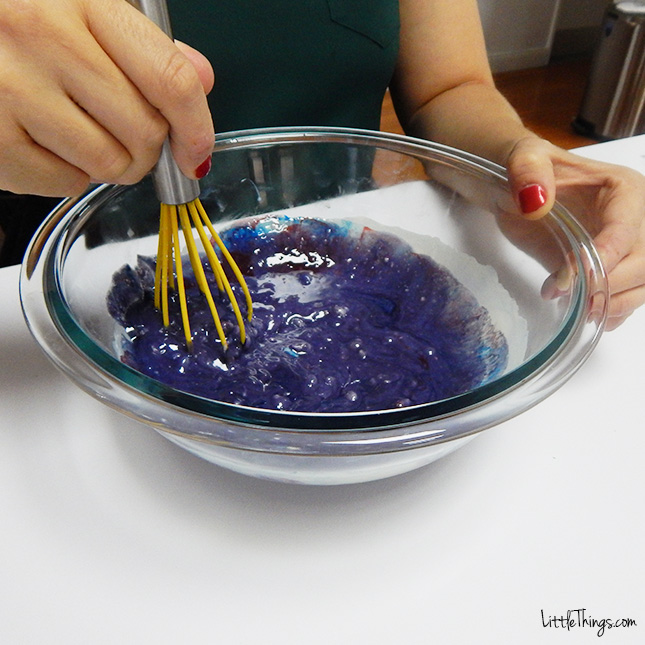
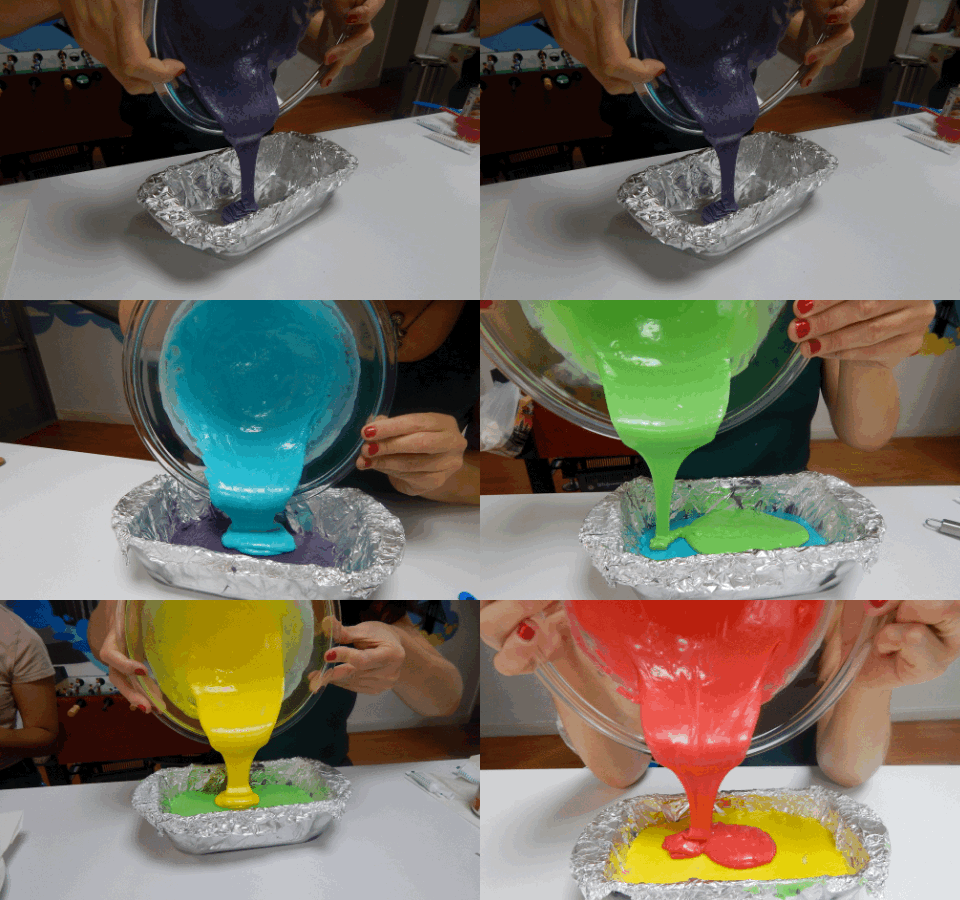
Once I was done, I poured the purple chocolate into my baking dish.
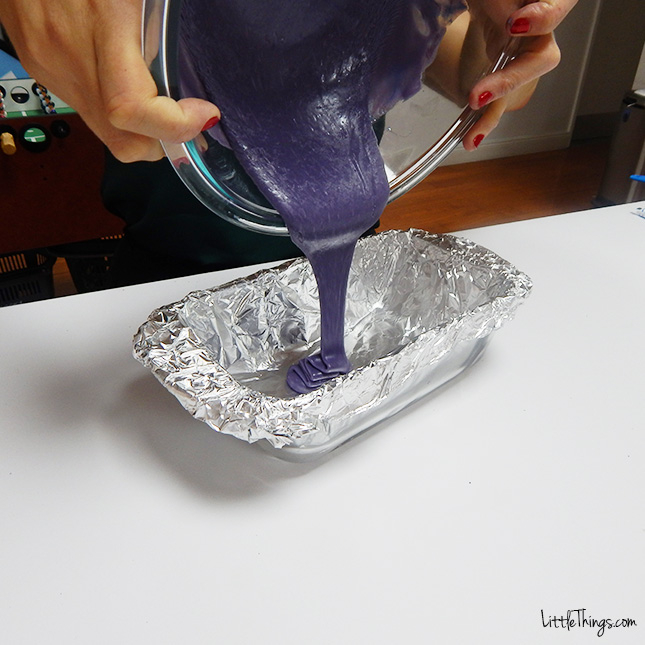
Then I placed it in the freezer for 15 minutes.
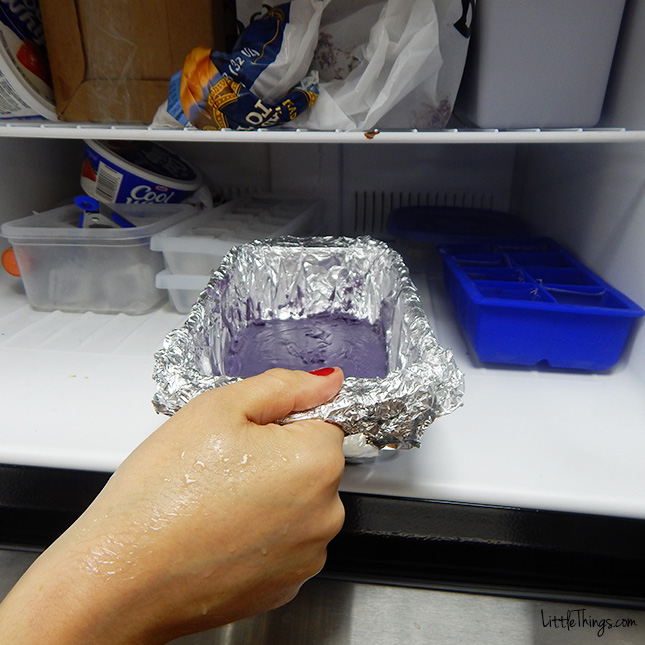
While my purple layer chilled, I started the same process again. I poured 3/4 cups of white chocolate and 1/2 of condensed milk into a bowl, microwaved it, and added a new color to the mix.
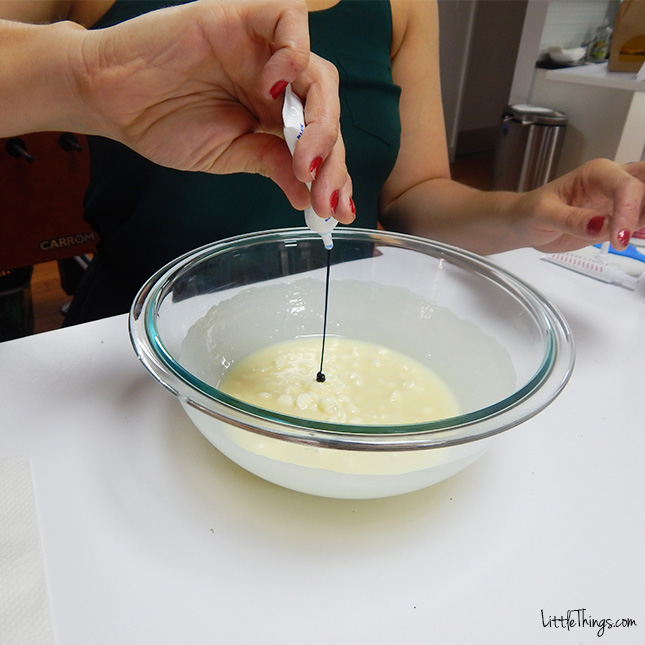
This time I chose blue, and once my purple layer had been in the freezer for 15 minutes, I poured the blue layer on top. Then put it back in the freezer for another 15 minutes.
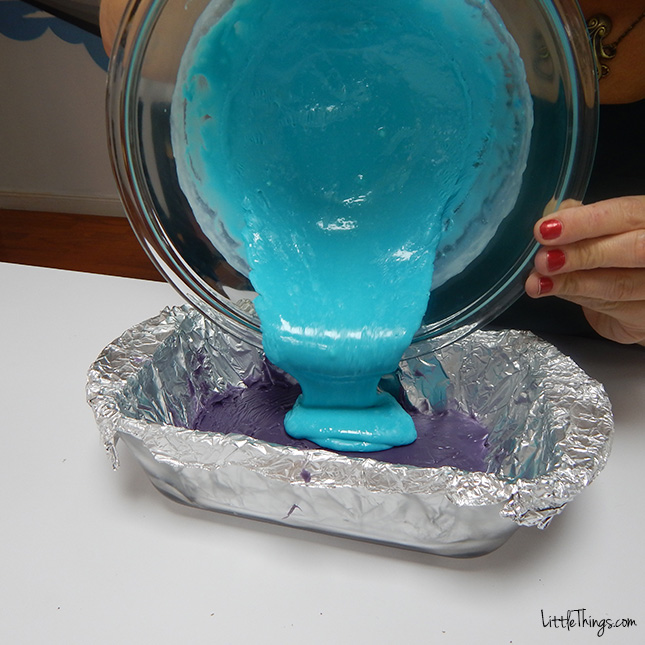
Then I repeated the same process and dyed this layer green.
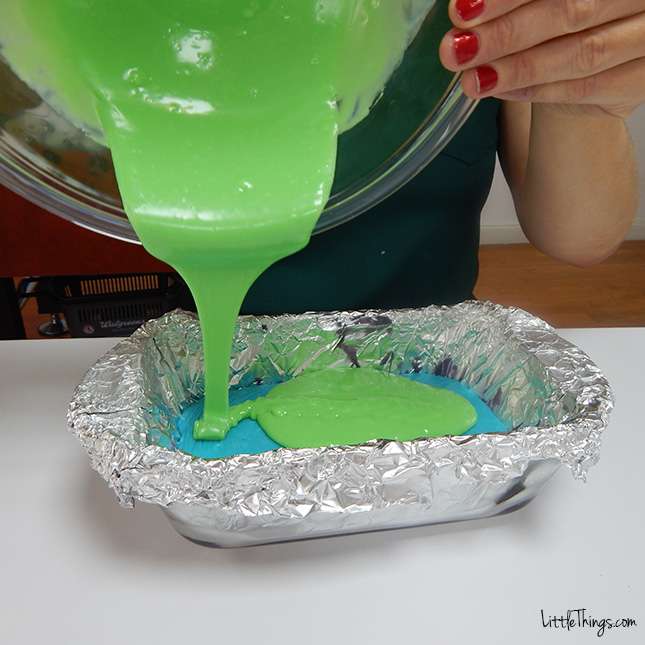
I repeated the process and dyed this layer yellow.
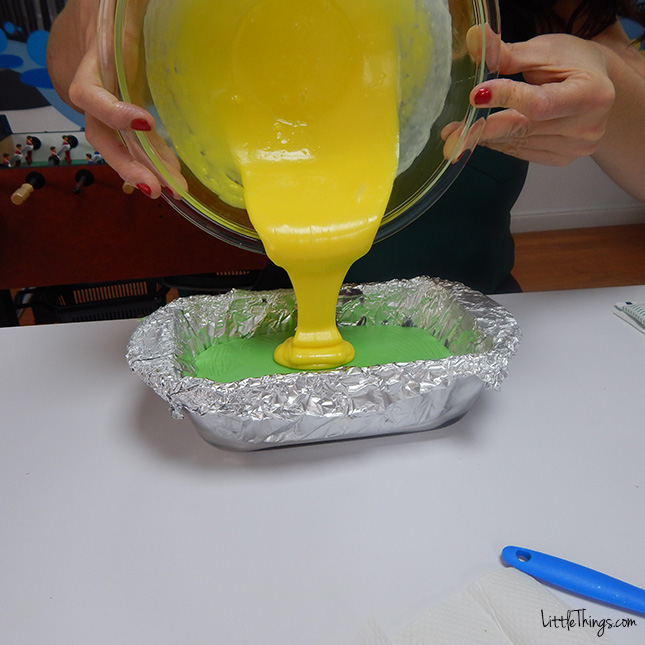
Finally, I did the process one more time and dyed the last layer red.
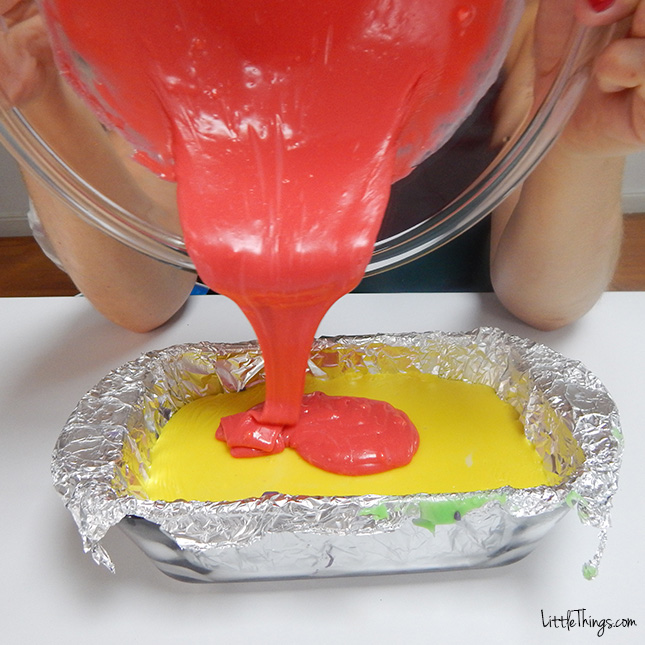
I smoothed over the top and made sure it was pretty.
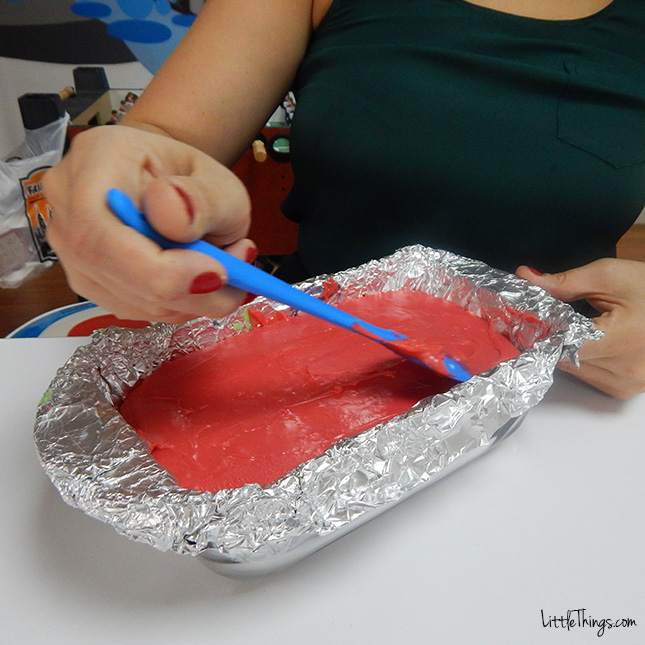
After the final 15 minutes, I flipped over my bread dish on top of a cutting board.
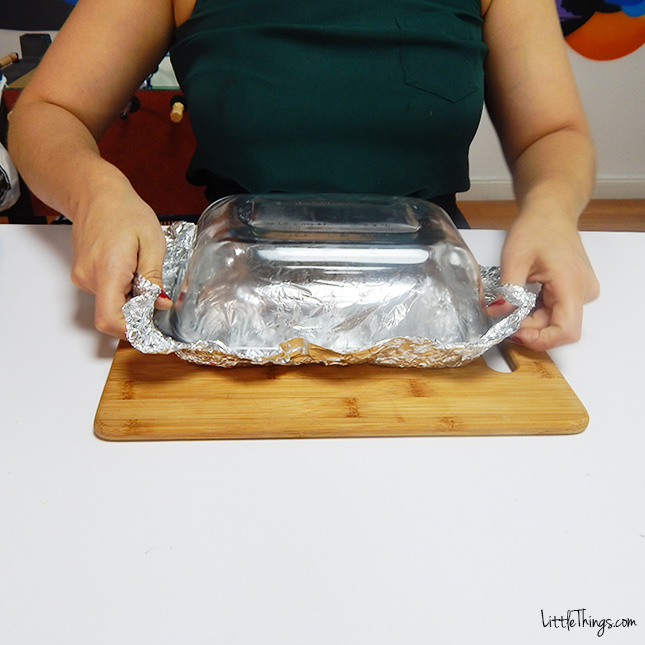
I peeled back the tin foil.
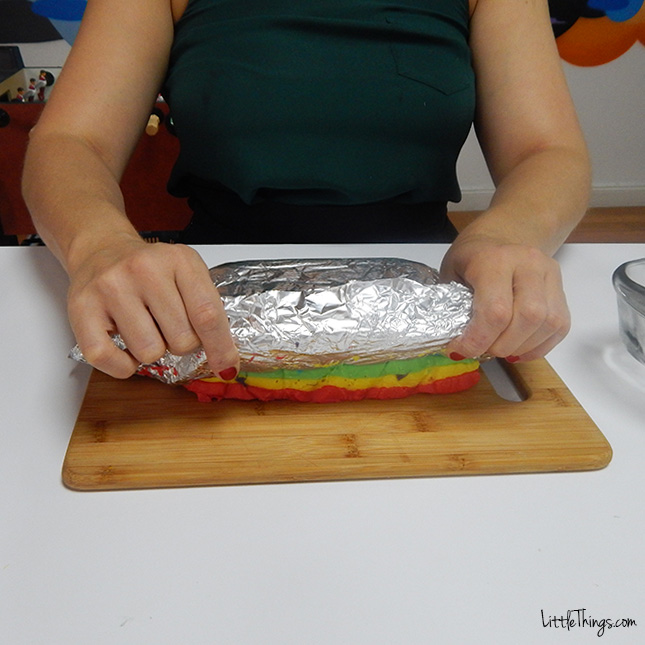
I then trimmed the sides.
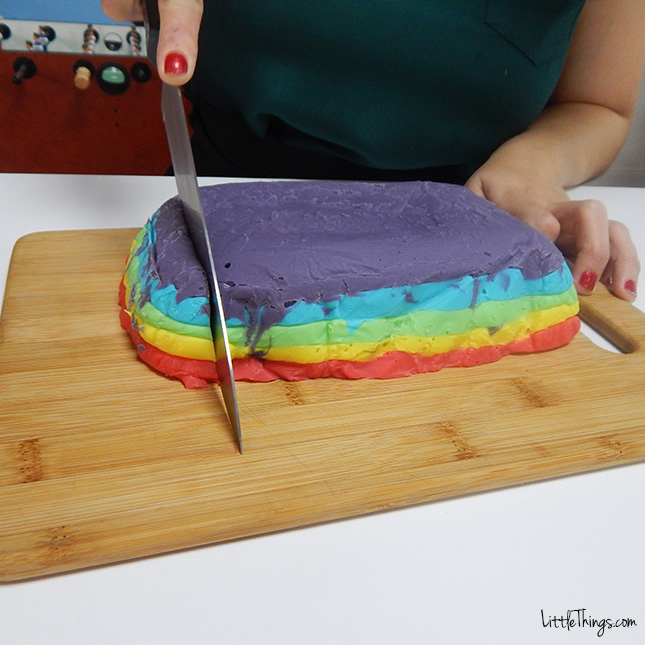
It’s starting to look beautiful!
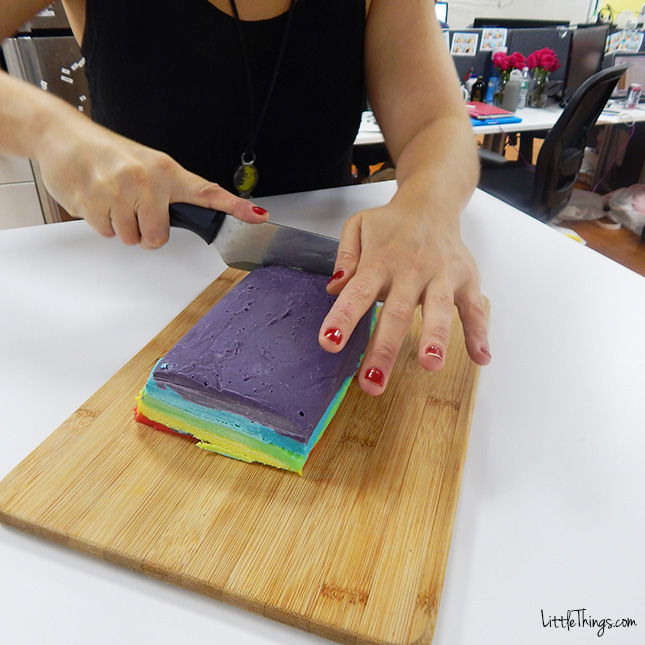
The end result is delicious rainbow fudge!
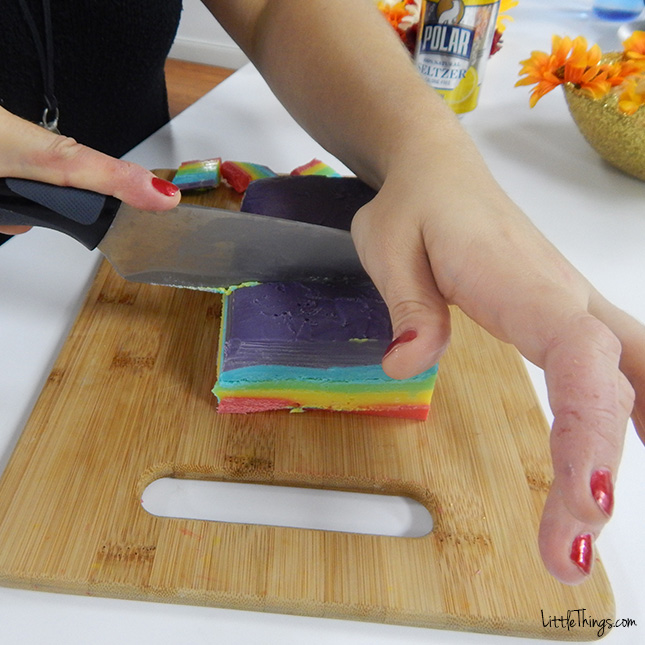
Once the loaf was neatly trimmed, I cut it into chunks.
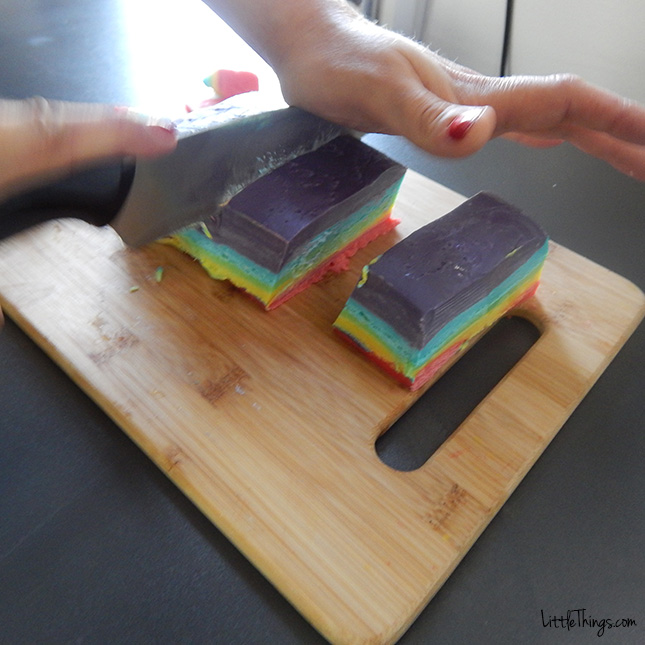
Then I halved them. You may want to make even smaller pieces because it’s very rich.
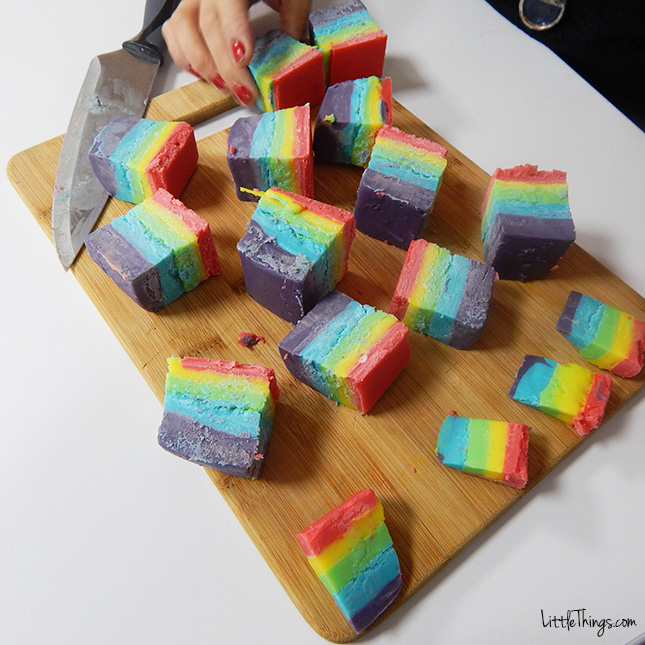
The end result looks as wonderful as it tastes!
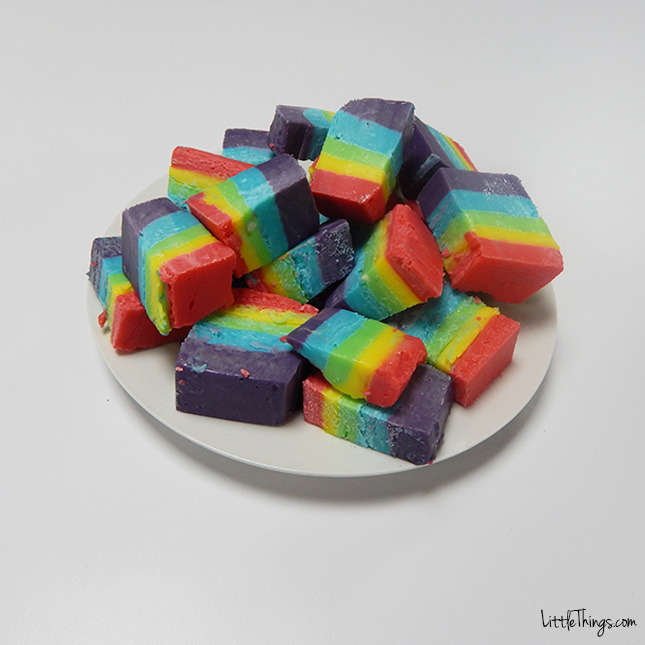
It’s a great snack to share.
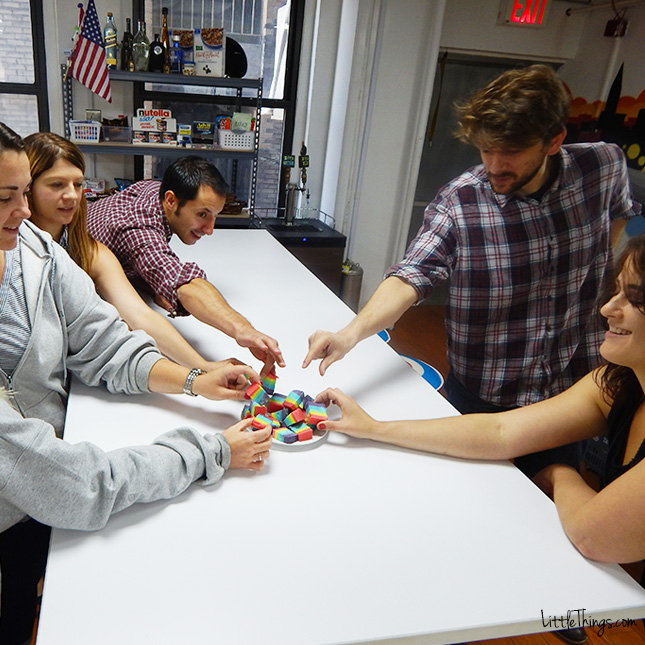
The recipe is really simple, but it is timely...and totally worth it. If only it was this fast:
Please SHARE if you loved this recipe!

