One of the most fun and challenging things about buying our first house was figuring out how to decorate all of the new space.
Even though they looked like mansions compared to the smallest apartment in the world, there was only so much wall space to cover in our previous apartments.
Moving to a full-size house made us realize that we were going to need some more wall art to make it look like someone was actually living there. The only problem? Art is expensive!
Trolling the thrift stores for decorations revealed plenty of art that was big enough for the walls we needed to cover, but let's just say that the subject matter left a lot to be desired. So instead I turned to a more DIY approach.
This tutorial from Jeanette at Snazzy Little Things shows how easy it can be to turn those outdated — and often ugly — old paintings into art you'd actually want to display on your walls, without breaking the bank!
Scroll through below to see how you can spruce up your home with some adorable and inexpensive revamped wall art.
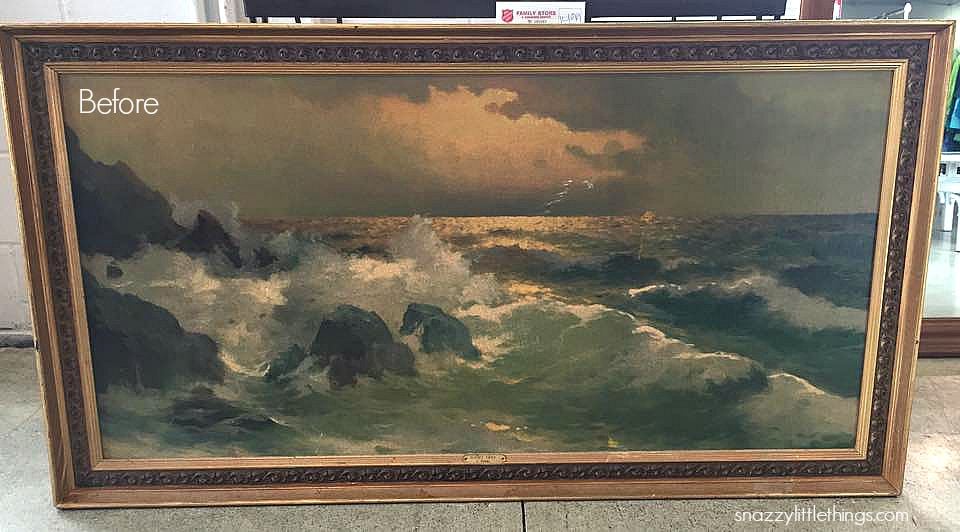
Jeanette, the author of Snazzy Little Things, was thrilled when she found this thrift-store art that was the perfect size for above the mantel in her living room.
The only problem was the painting itself. The seascape gave off a very "motel room" feel that just didn't work with her modern decor.
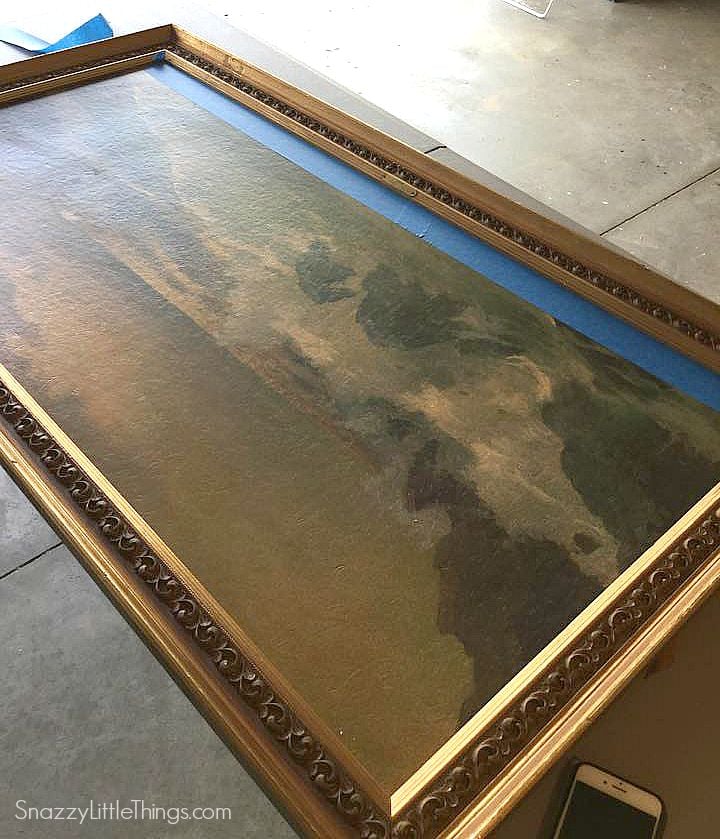
So, being the crafty DIY-er that she is, Jeanette decided to give the painting a modern face-lift without spending too much money.
First, she blocked off the edges of the canvas with painter's tape so that she could refinish the frame without affecting the image.
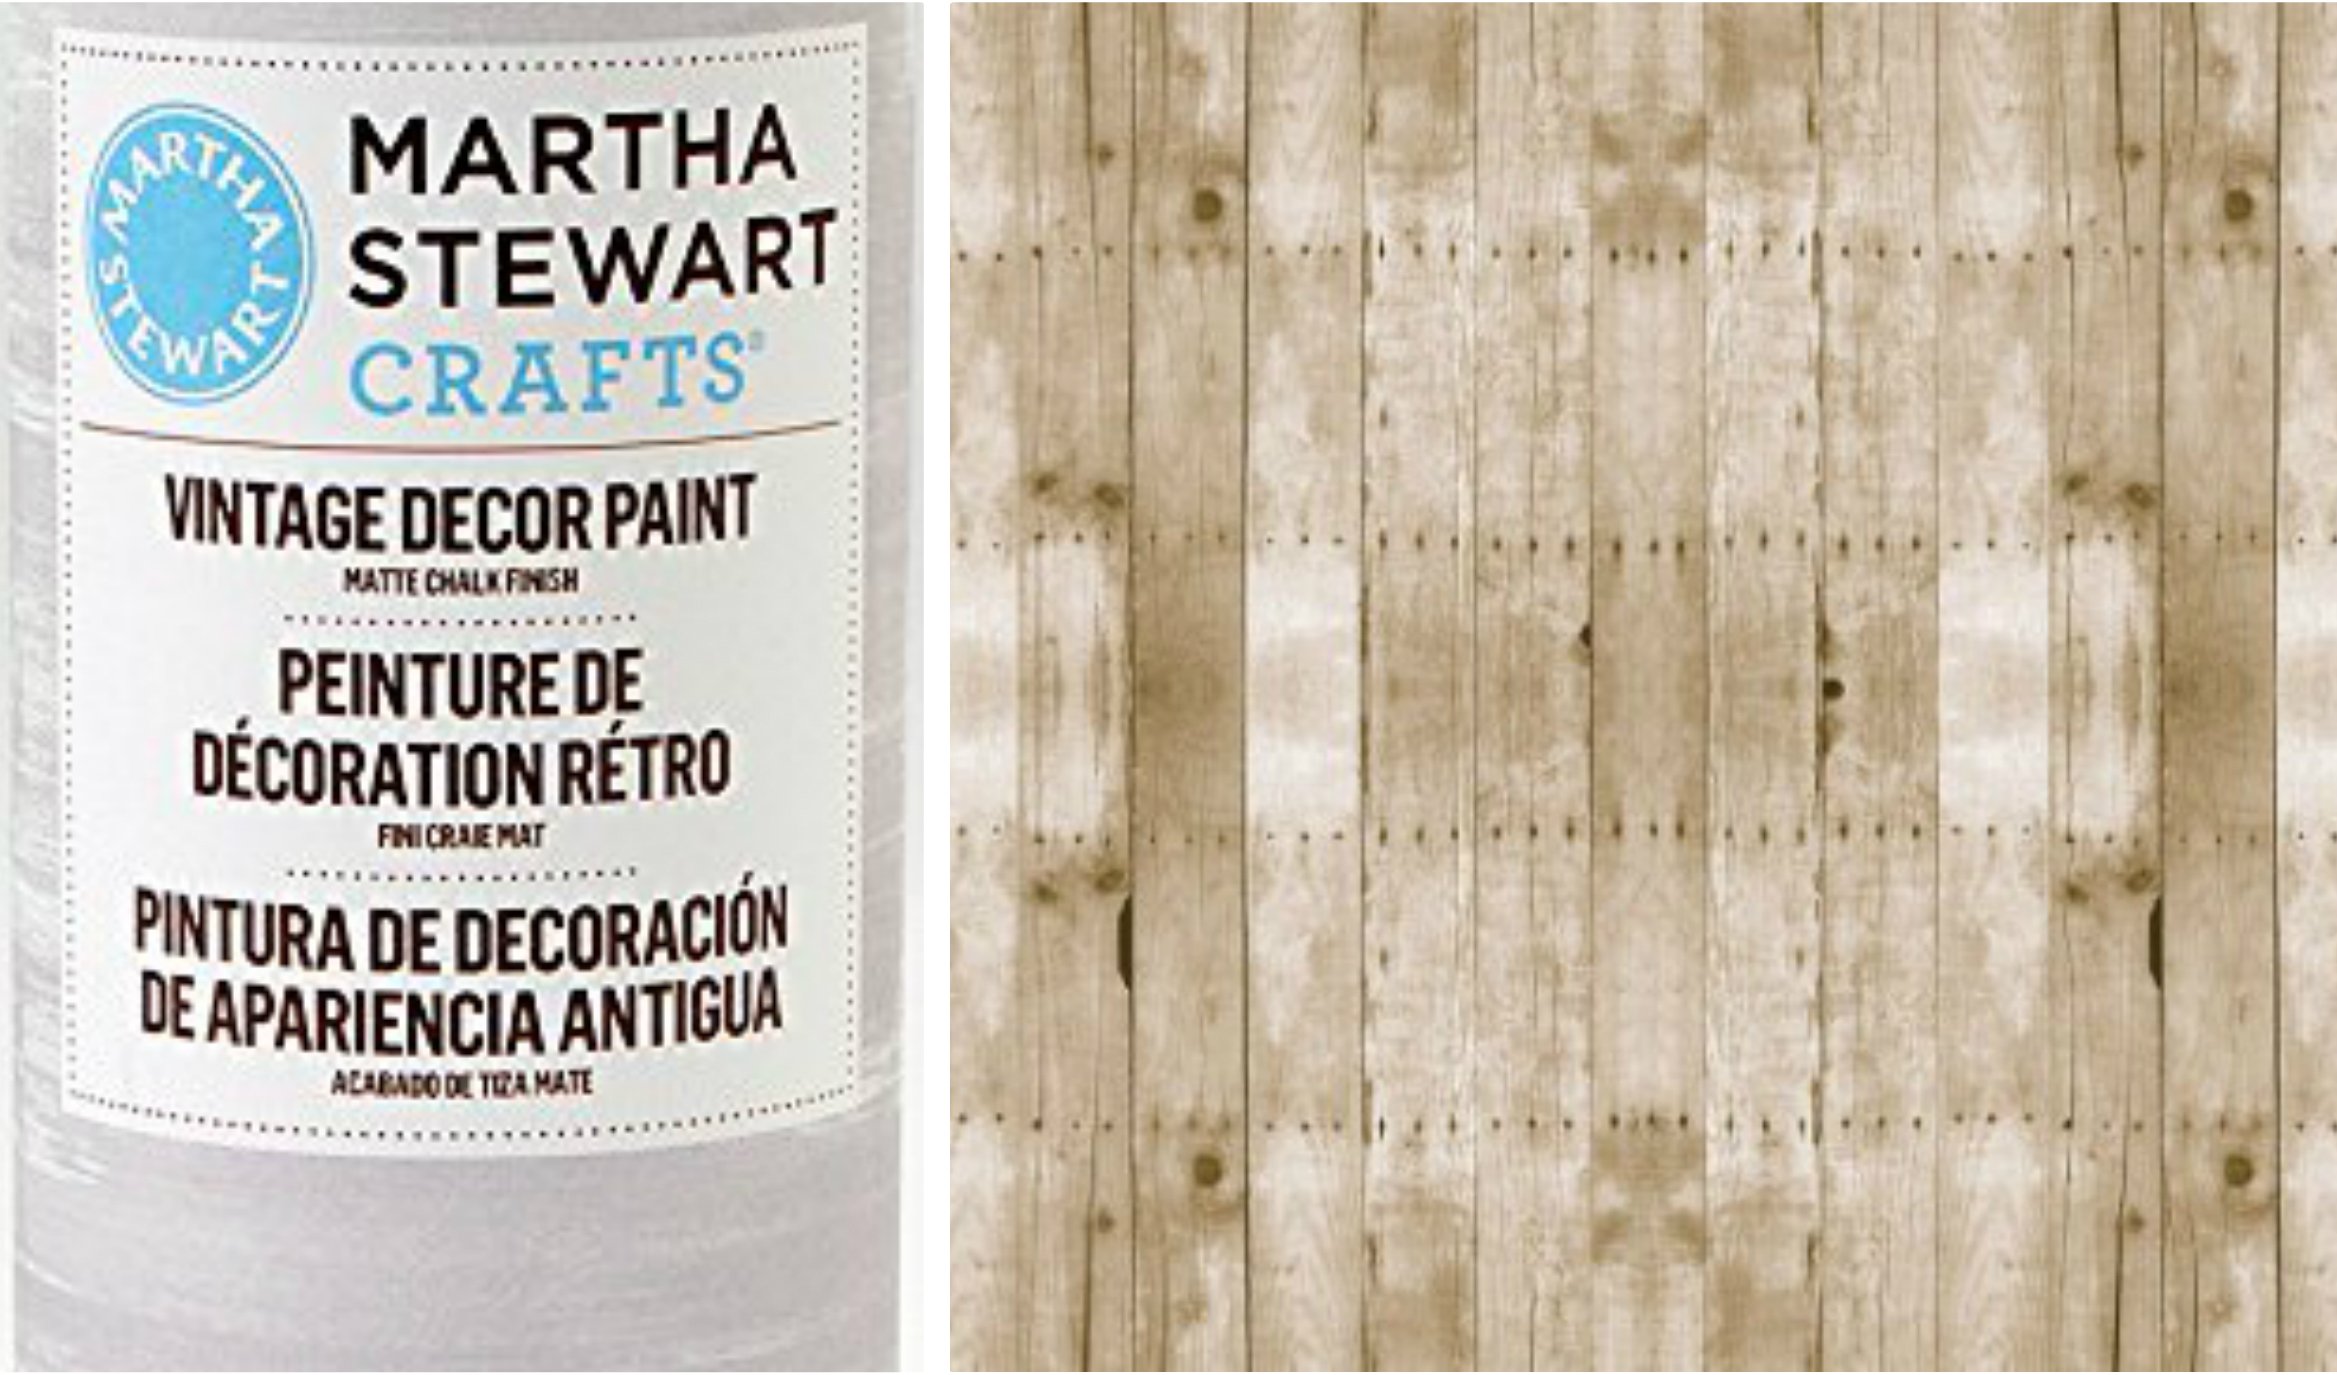
Then, the frame was dry-brushed with Martha Stewart Chalk Paint — just enough to highlight the embellishments.
Jeanette explains: "I don't have a lot of gold in the house, and I knew it would be beautiful. One dry-brushed coat is all it took to make it 'pop.'"
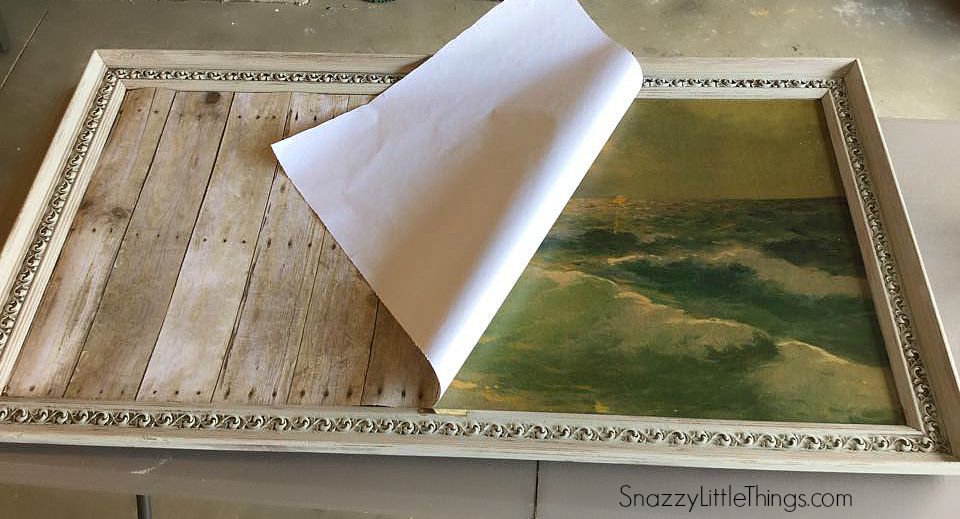
Next, she used a tape measure and an X-Acto knife to cut a large piece of printed contact paper to fit perfectly over the canvas.
"I recommend these large rolls of paper that actually serve as a background in photography," Jeanette writes.
She continues: "I sprayed the back of the paper with repositionable adhesive spray, and tacked it down onto the canvas once it was sprayed (I did not spray the art itself, only the paper)."
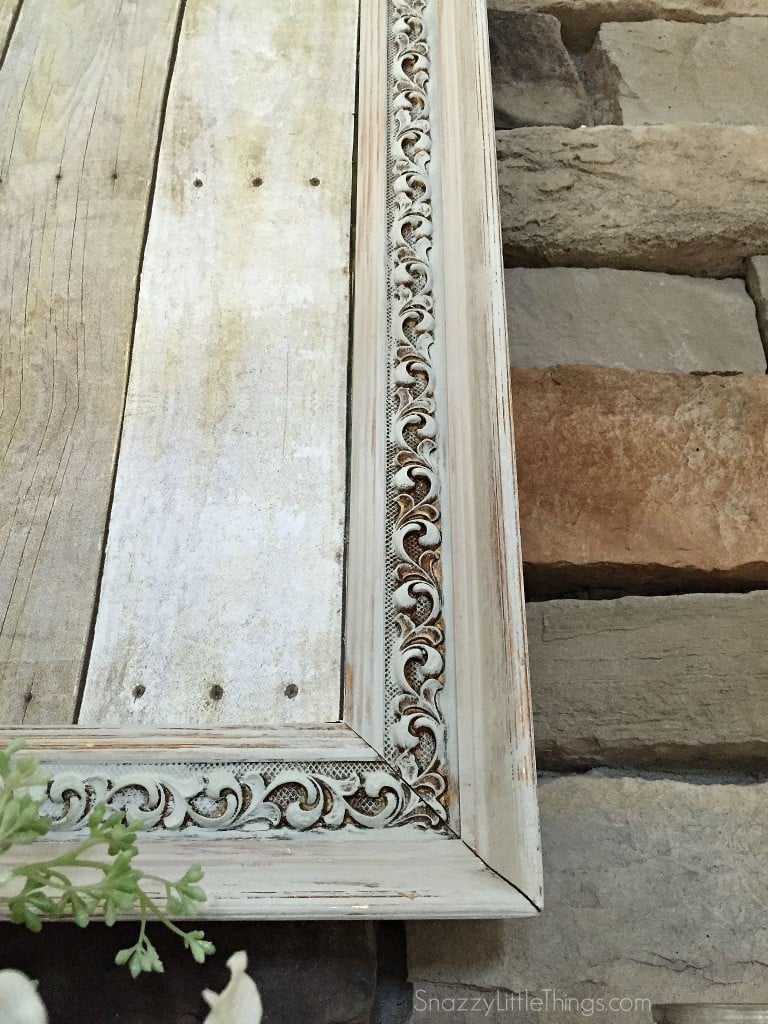
The color of the vintage paint and the printed paper background complemented each other perfectly!
The entire piece of art now had an elegant/vintage/chic appearance, instead of looking like something that was just pulled off of the wall at a run-down motel.
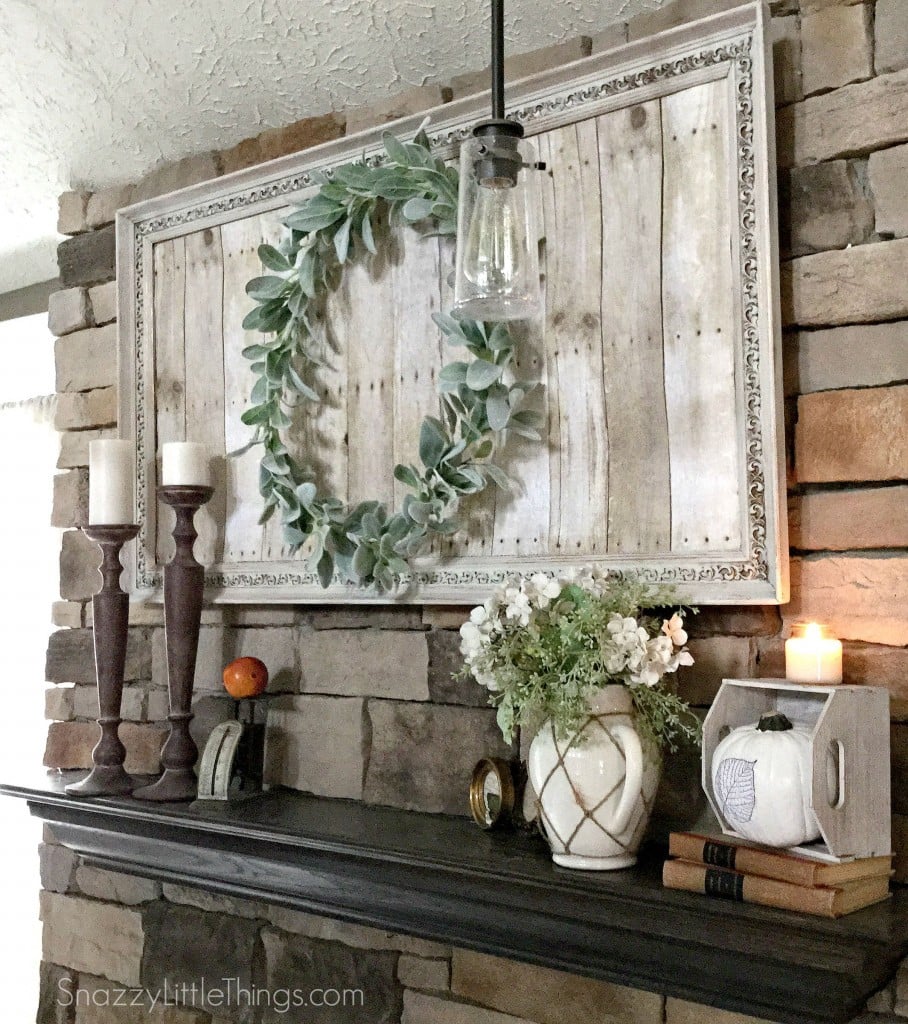
The finished wall art was already beautiful, but Jeanette took it one step further. She created a 3D effect by adding some greenery right in the center.
She explains: "I created the wreath using floral found at Walmart. Hung it in the center, then rehung the art over my mantel."
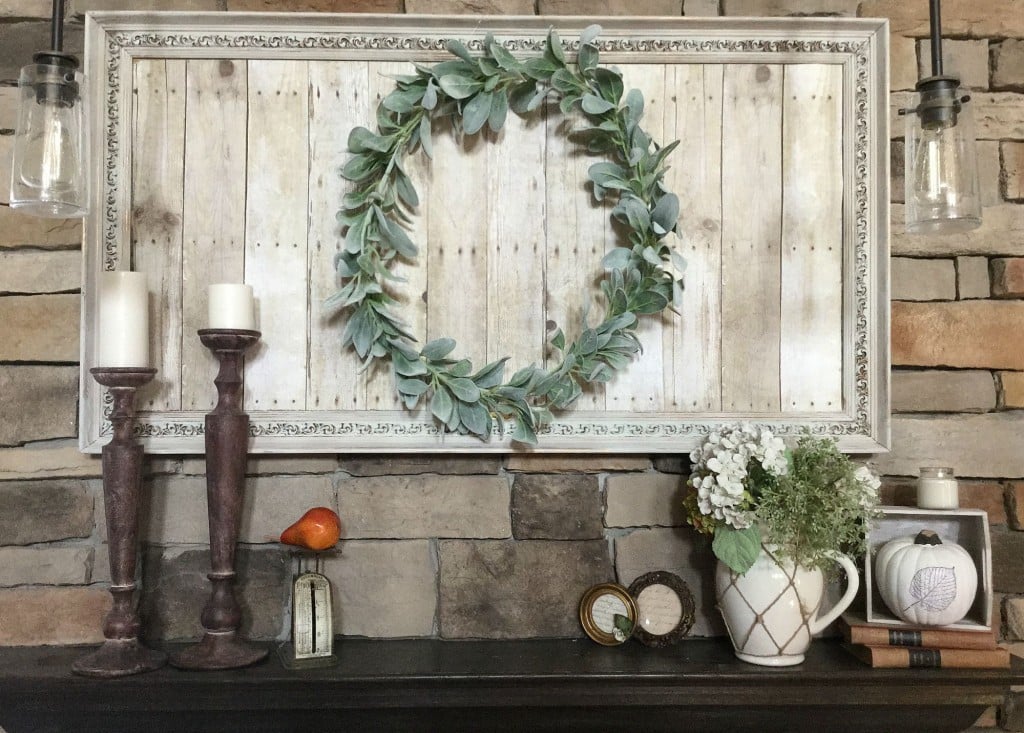
The finished product is absolutely gorgeous and hardly cost anything at all!
For more of Jeanette's DIY work, visit Snazzy Little Things.
Would you hang this repurposed art over your mantel? Tell us in the comments.
Please SHARE if you love DIY decorations!


