One of the things I am most proud of is my hair. It's taken me years to grow it out, but I think that time was well worth the wait.
I've used countless hair masks, different shampoo and conditioning methods, taken breaks from coloring my hair, all in the name of keeping it healthy. It certainly has worked! Every time I get a haircut, my hairdresser compliments me on how soft my hair is.
While I love having long, thick, healthy hair, I tend to do nothing with it. I always toss my hair up into a messy bun at the end of the day! Sometimes, I've got my hair up before 11 a.m., when it is "just one of those days."
I only do my hair when I know I am going to take a picture, basically. If I am going to a wedding or out somewhere nice with my friends, I'll straighten my hair or take the time to curl it. I usually straighten it because it's much easier, but I love how my hair looks when I curl it.
My parents laugh at me for curling my hair because my natural hair is "curly," but in reality it's wavy with a whole lot of frizz. While I love the curly hair look, I hate how using heat on my hair makes it feel after-the-fact.
When doing some research for work, I noticed some "vintage" hair-curling methods, like soda can curls and rag curls, that required zero heat! I decided to test these out to see which method worked best for me!
Scroll down to see my results from vintage hair-curling methods and find out what worked, and what did not!
My Natural Hair
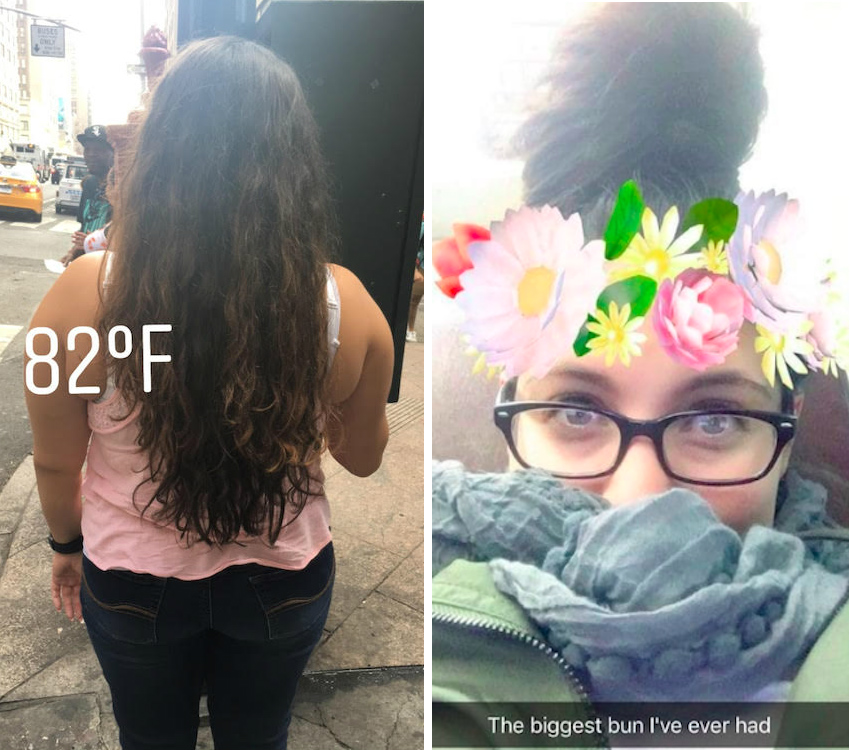
My natural hair is a mix between wavy and curly. If I let it air dry and don't toss it into a bun, I tend to work my fingers throughout it during the day and it winds up wavy. If I put it in a bun, or ignore it, my hair is usually a little curlier.
But my hair is always frizzy and uncontrollable when I have it natural. I wear it that way nearly every day of the week, yet I often never take pictures when my hair is naturally curly. I prefer how it looks when it is straightened, but I would never want to heat treat it every single day.
I used to use a hair straightener daily from sixth through eleventh grade, and by the end, I had to have 8 inches of dead hair chopped off.
Method #1: Soda Can Curlers
What You Need
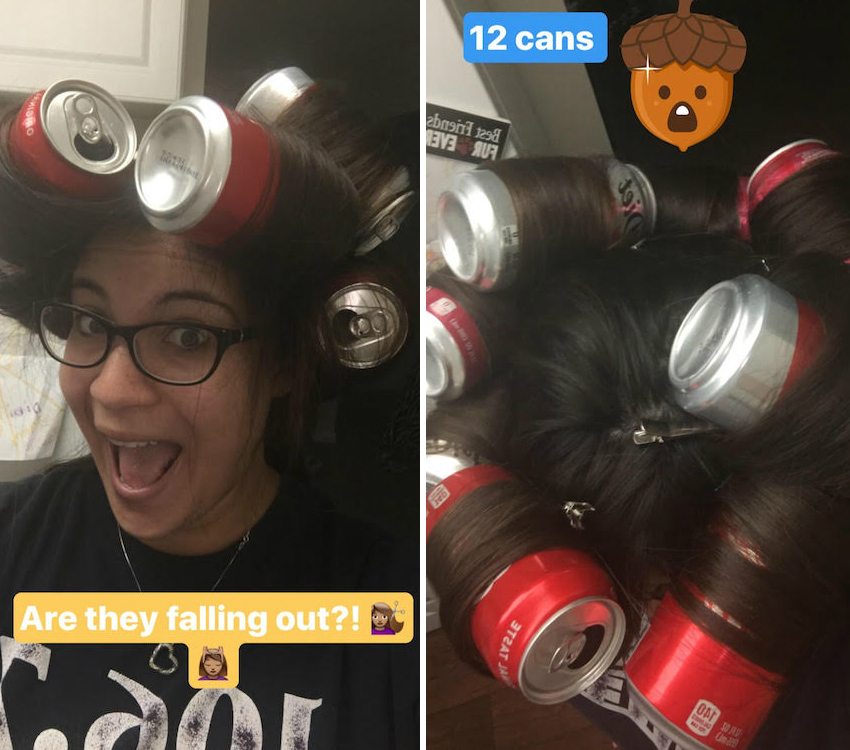
- Soda cans (I used 12; my hair is 26 inches long)
- Extra strong bobby pins/clips
- Clips or hair ties to section off your hair
I have always wanted to try using soda cans as curlers, ever since I saw it in Seventeen magazine when I was a preteen. It was easier (at first) than I thought it would be!
How To Do Soda Can Curls:
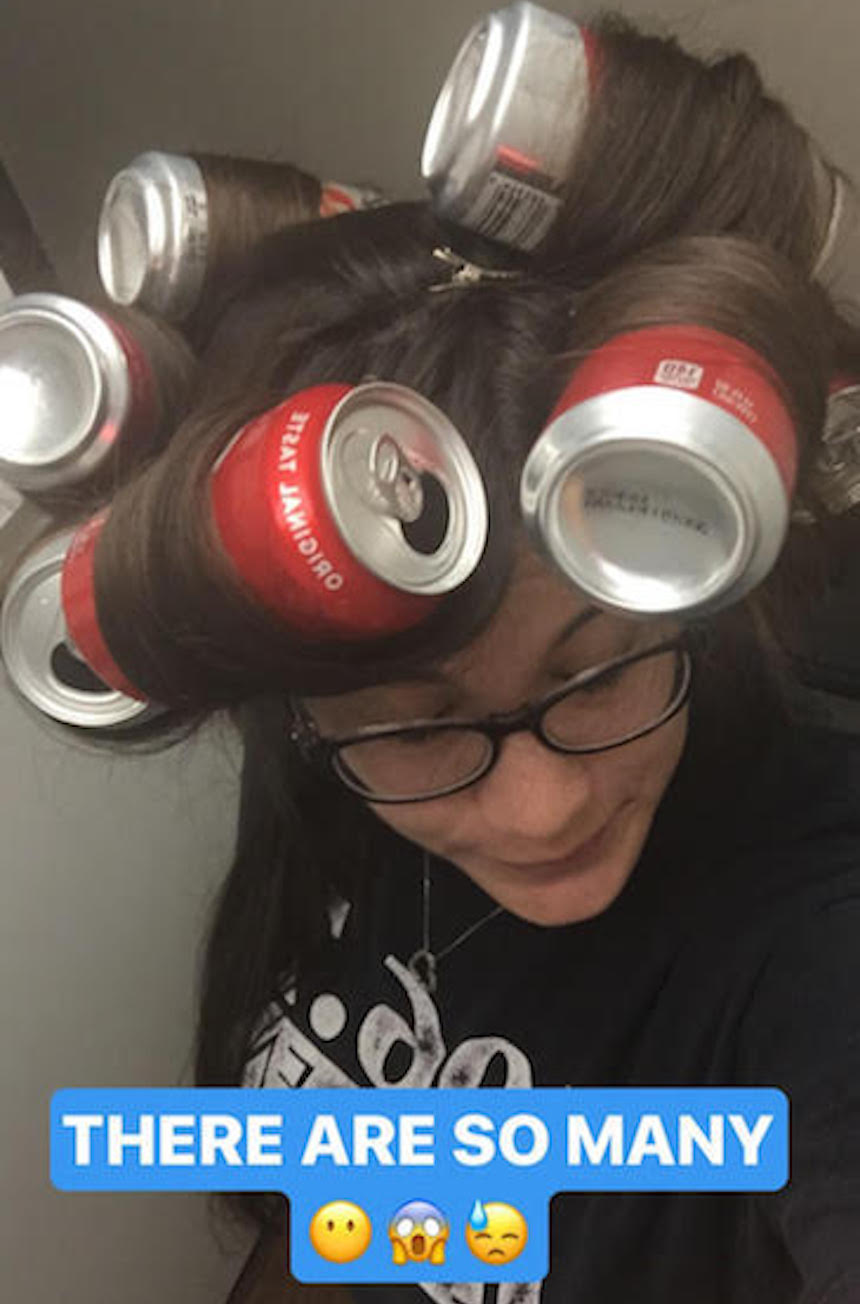
- I used 4 hair ties to break my hair up into sections, from top to bottom.
- After that, I broke each bigger section into 2-inch sections of hair to curl, using the soda can. I simply rolled each section of hair around the can, starting at the ends and rolling up to the root.
- Once the can was as close to my scalp as possible, I’d secure it using a bobby pin. The hardest part of this is getting the bobby pins or clips in. I definitely wished I’d had a little help with this one!
The first four or five cans went in easily, but everything after that was a bit of a struggle. It was hard to find enough room on my head. I knocked one can out of my hair and then ten more fell out. After a bit of screaming, I managed to secure all 12 cans in my hair and kept them in for 2 1/2 hours.
Soda Can Curlers Results
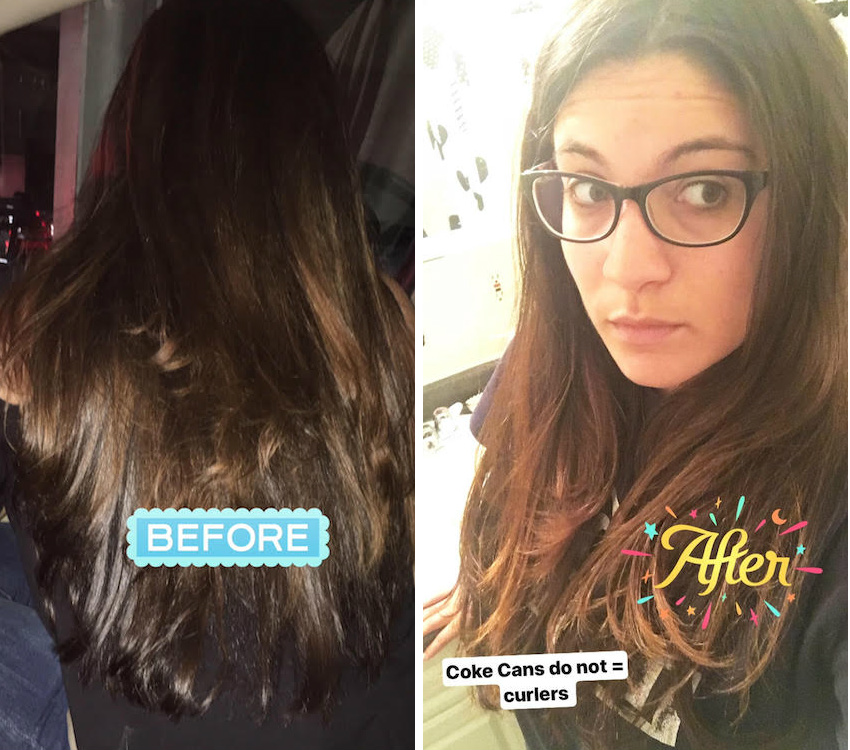
I realized, after the fact, I went into this curling method with probably not the best hair. I'd gone out the night before, so I had straightened my naturally curly hair. I didn't think anything of it when I put the soda cans in, but after I took them out, I realized my mistake.
These cans did not curl my hair, not even a little bit. They gave my hair some slight volume and a bit of a flip at the ends, but that was it.
This curling method probably would have worked better if my hair was either slightly damp or just my natural hair. It might have also worked with some heat applied, but I'd used this method to avoid heat if possible.
Curl Factor: .5/5
Method #2: Headband Curls
What You Need
- A headband
- Slightly damp hair
I have seen many different variations of headband curls, and they all warn you to dampen your hair. Some suggest having damp hair before twisting the curls, some people suggest twisting the curls and then dampening your hair. I went for the former because it was easier.
I just took a shower, and an hour later, my hair was the perfect mix of damp and dry!
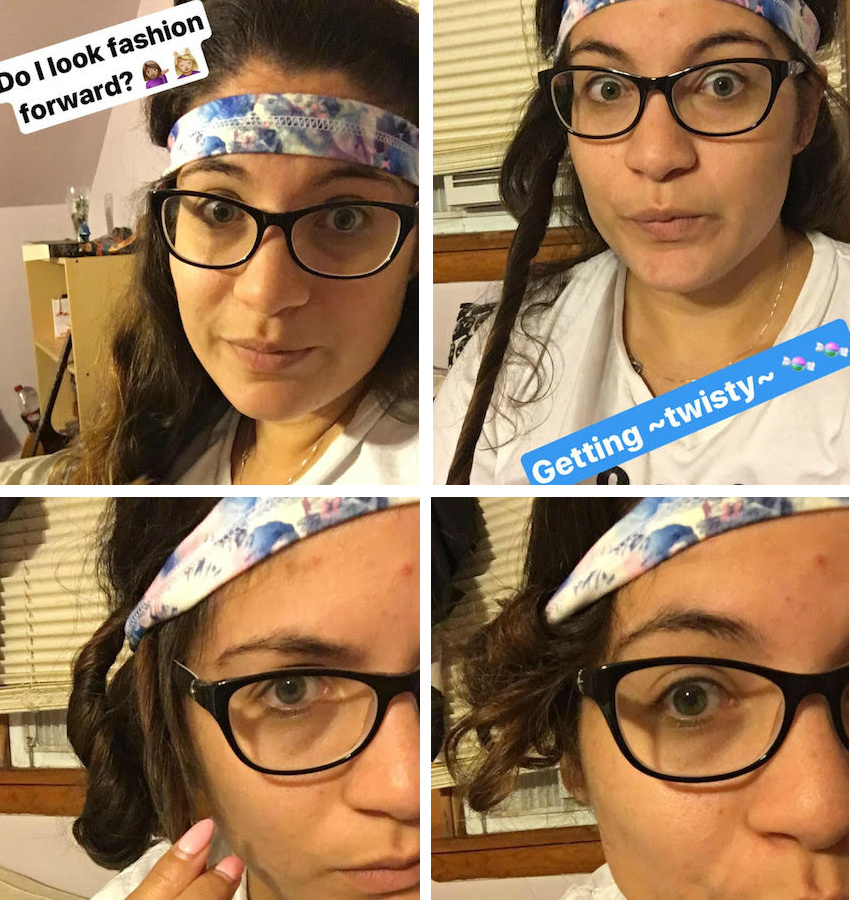
How To Do Headband Curls:
- You put a headband over your head, with part of it on your forehead.
- You then take sections of hair, pull them away from your face and twist them.
- Then take the twisted hair and wrap it around the headband. At first, this method was super easy, then I realized I was accidentally knotting my hair in the process. I’d suggest doing this when you’re not super tired (like I was) and to try to brush your hair as you go.
- Once all of your hair is twisted into the headband, you’re done! I went right to sleep after I finished.
Headband Curl Results
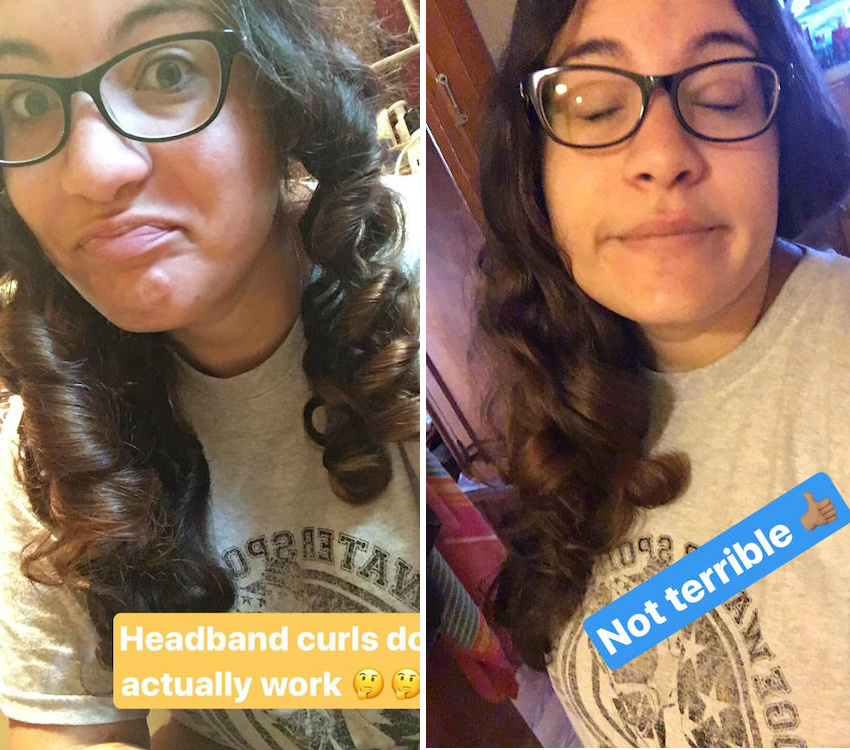
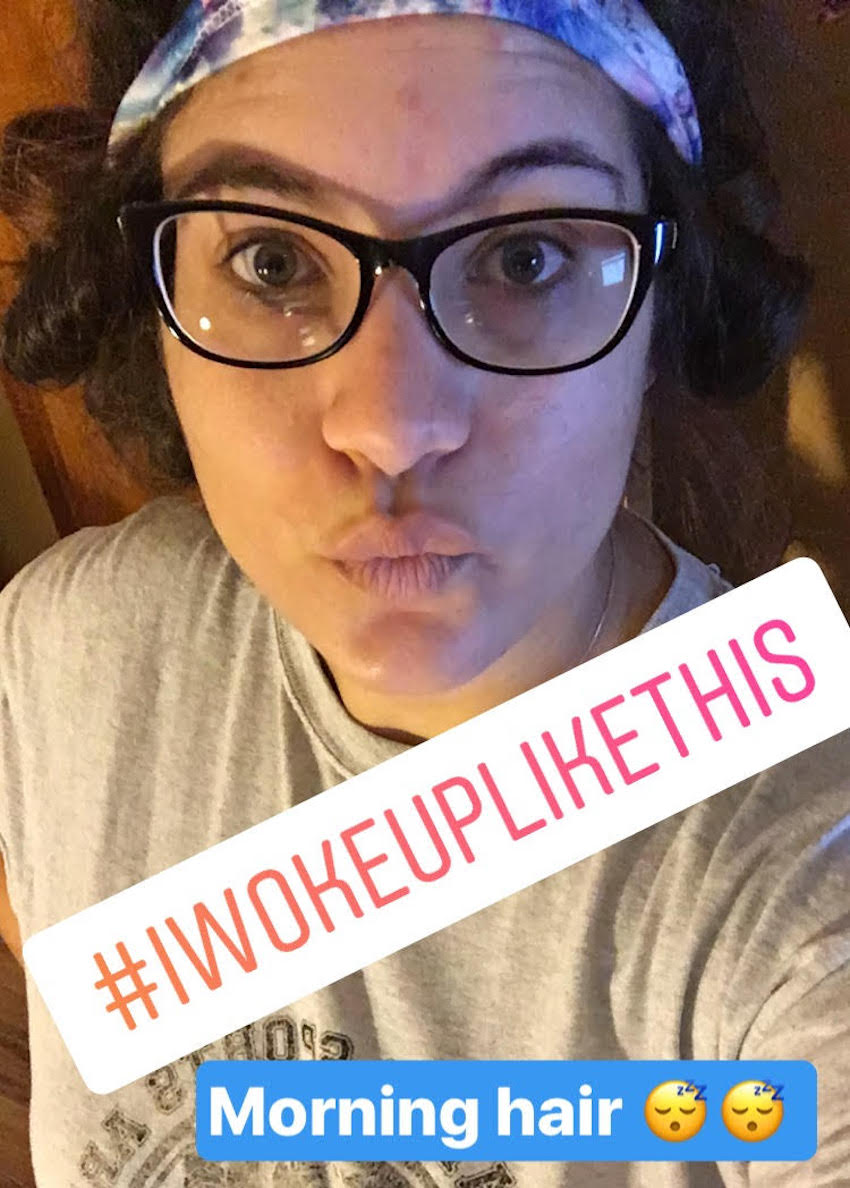
When I woke up the next morning, the headband had slipped back into the curls and it all became one big mess. I was nervous about taking it out, but I knew to proceed with caution after I got my hair all knotted the night before.
Once I untangled my hair from the headband, I could tell that this method had worked. My hair had bouncy ringlets. I'm not a big fan of ringlets, so I tried to brush them out. After a little bit of brushing, I added a dollop of my favorite anti-frizz cream, and I had moderately workable curls!
Curl Factor: 3/5
Method #3: Rag Curls
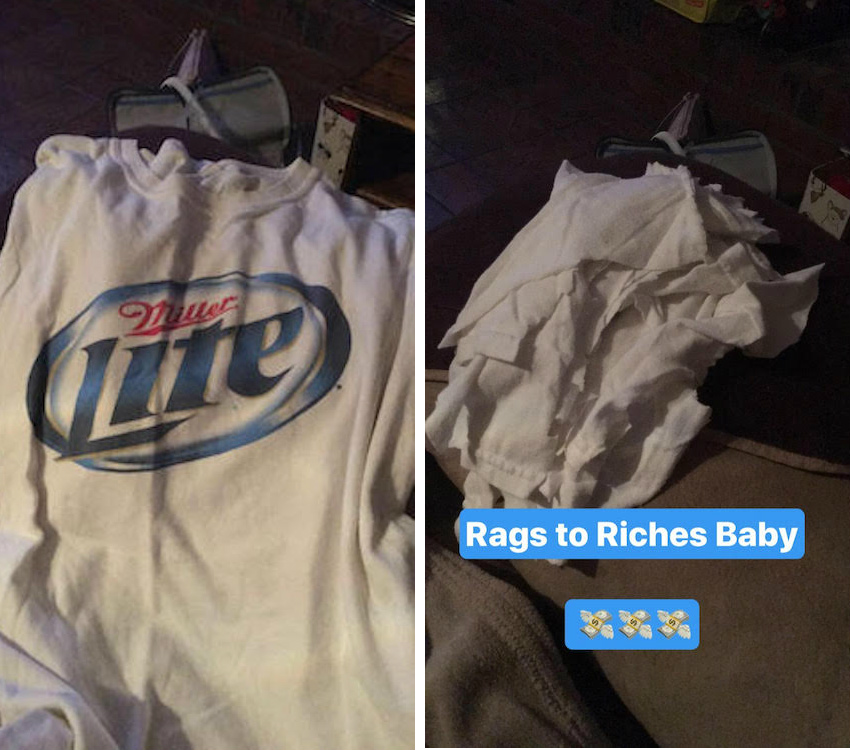
Out of all the methods on this list, rag curls are definitely the cheapest option, and they're so easy! Just to be safe, I followed the instructions from this article by the blog Foodie with Family.
What You Need
- An old T-shirt or towel
- Scissors
I picked an old T-shirt my boyfriend got from a bar when he turned 21. Cutting off just the sleeves supplied me with plenty of rags and I still can wear the shirt as a tank top!
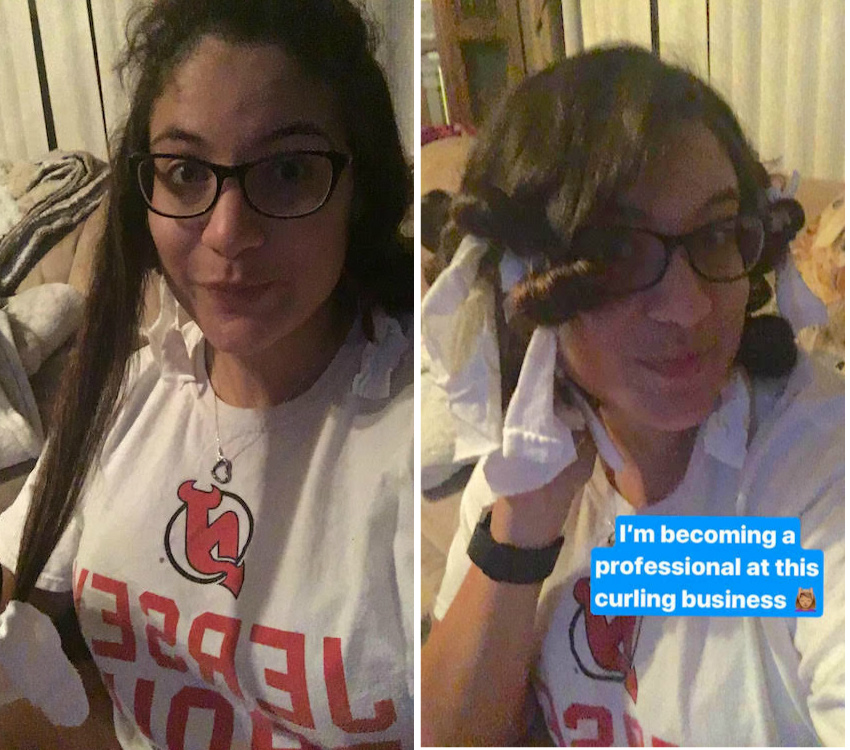
How To Do Rag Curls
- The first step here is cutting up your rags. Depending on how much hair you have, you can cut 10 to 20 strips of rag. I didn’t feel like measuring these out, so I eyeballed it and tried for 2 inches wide x 8 inches long (as the instructions said).
- Like always, I broke my hair apart into sections and worked through them. I started on the bottom and took sections of hair (about the width of 2 fingers).
- Taking the ends of my hair, I wrapped them around the middle of the rag and then began rolling up toward the roots. Once I got close to my scalp, I knotted the rag (just once and not too tight).
I’d definitely suggest cutting the rags longer than 8 inches, as it’ll be easier to secure the rag with a neat knot!
Rag Curl Results
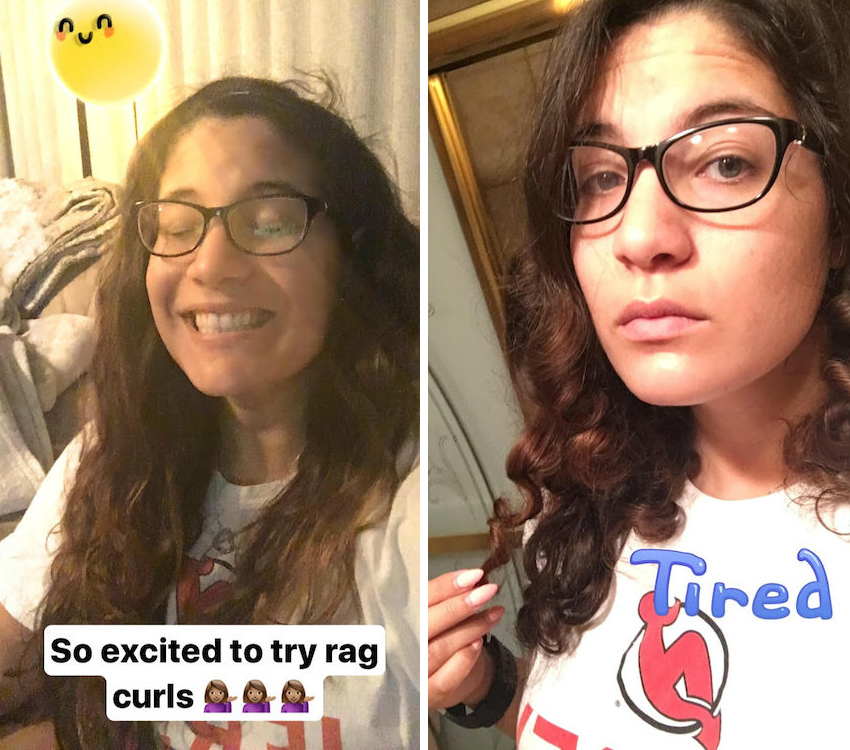
Just like all the claims online say, rag curls really do work! When I woke up the next morning, I undid each rag and there was a bouncy curl in its place. A little too bouncy for my liking.
I am not the biggest fan of tight ringlet curls. I prefer a more loose, wavy curl, which I think is attainable with rag curls! If I cut my rags a little bit thicker and don't tie the curls so close to my scalp, I think these will give me the perfect, heatless curling I am looking for.
Curl Factor: 4/5
Method #4: Pink Foam Hair Rollers
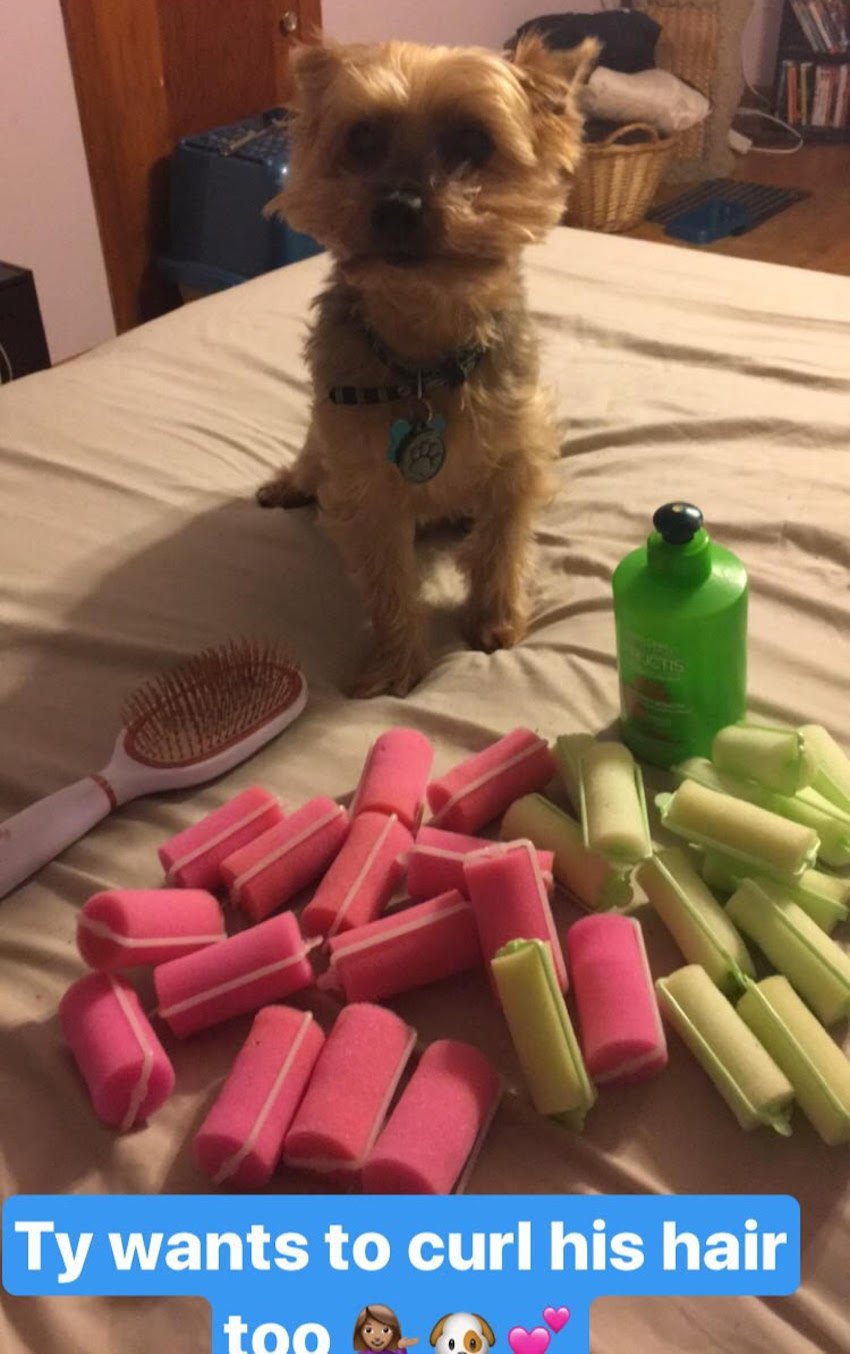
The last time I used foam rollers, I was 12 and it was the night before a cheerleading competition. We'd all gelled our hair back into high ponytails and another member of the cheer squad rolled my hair into little rollers to create the bounciest little curls for my ponytail. But it's been 15 years since then and my hair is totally different, so I was down to try this again!
What You Need
- Foam rollers
- Hair ties (to section your hair)
- A brush
- Damp hair/spray bottle to dampen hair
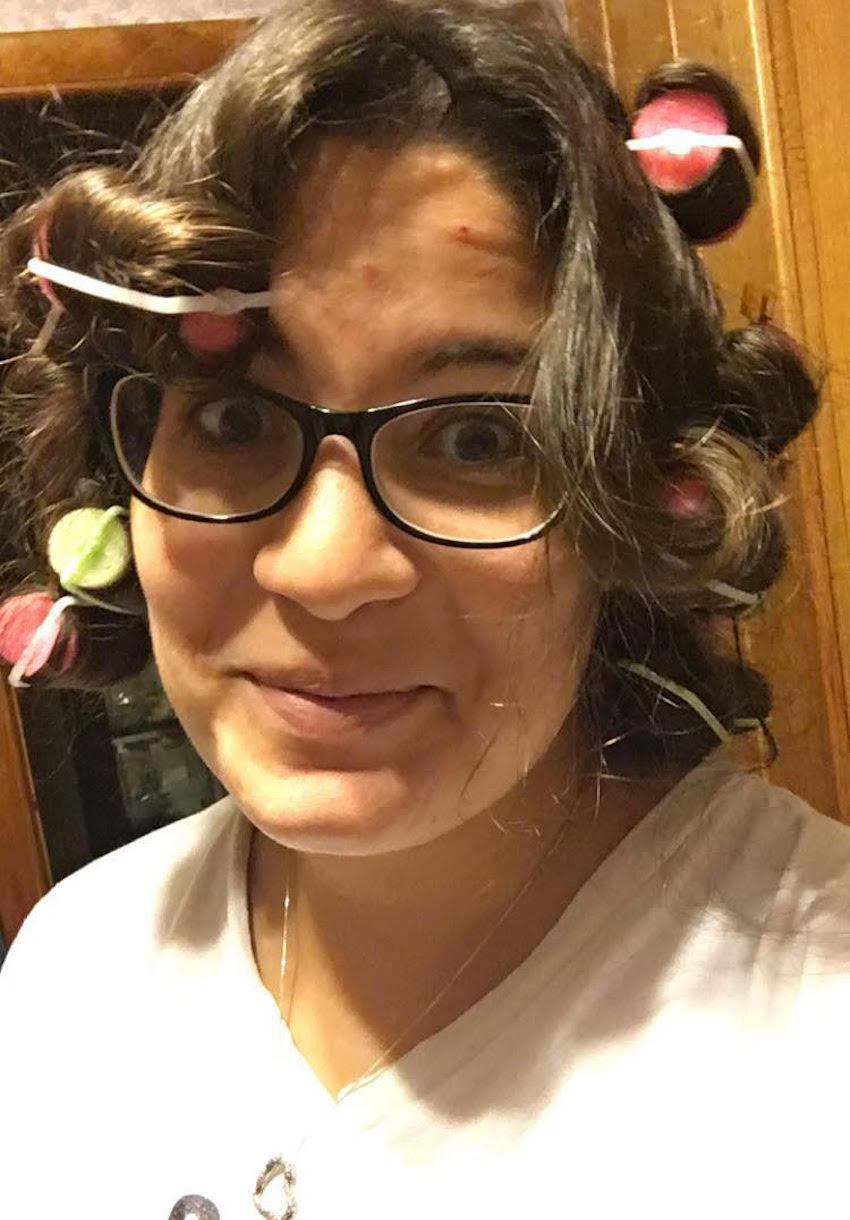
How To Do Foam Roller Curls:
- Out of all the methods I tried, foam rollers were certainly the easiest. I didn’t need to look up instructions on how to use these. They’re pretty self-explanatory.
- I sectioned my hair into 4 different parts and made sure to really brush my hair out. If you put knotted hair into a foam roller, it will only come out worse.
- I took sections of hair, no thicker than an inch, and rolled them up, starting from the bottom of my head and working to the top section.
Foam Hair Roller Results
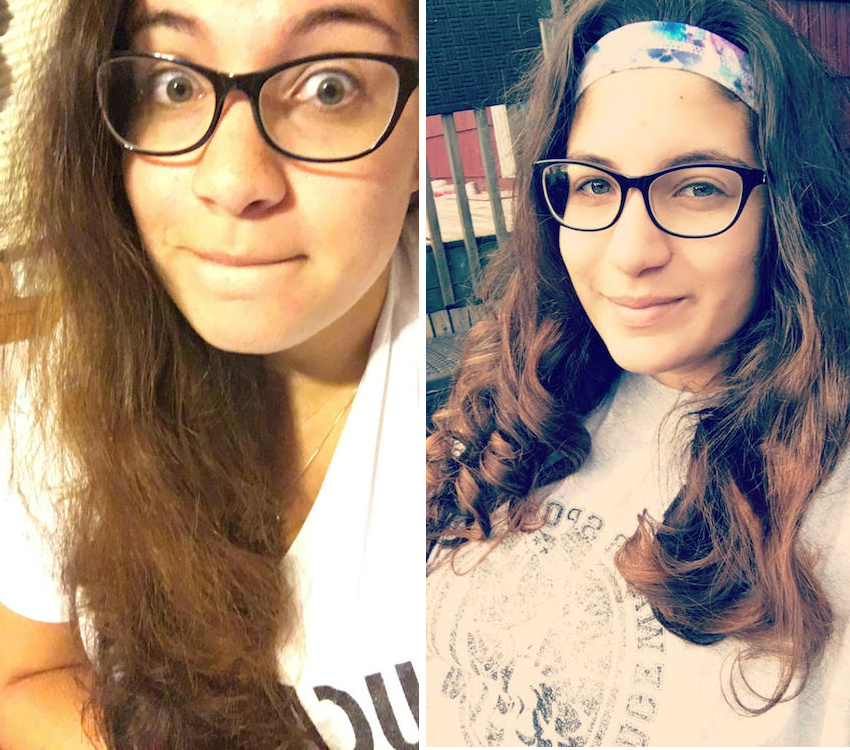
One of my coworkers said I looked "very '70s" in my photo, and I agree! I felt a bit like Farrah Fawcett with this hairdo. The little tie-dye headband certainly helped out.
Taking the foam rollers out was virtually painless, probably because I was super careful after I'd knotted my hair so badly during the headband curls trial. After I'd gotten all 20-something rollers out of my hair, I ran my fingers through the curls a little bit, and boom I had workable curls!
While I really did like these curls, I hated how they felt while I wore the foam rollers. I do not enjoy having hair touching my neck or face (hence why I wear a bun so often) and this had hair all over my neck and face. Luckily, I slept through most of the annoyance!
Curl Factor: 4/5
Method #5: Finger Waves
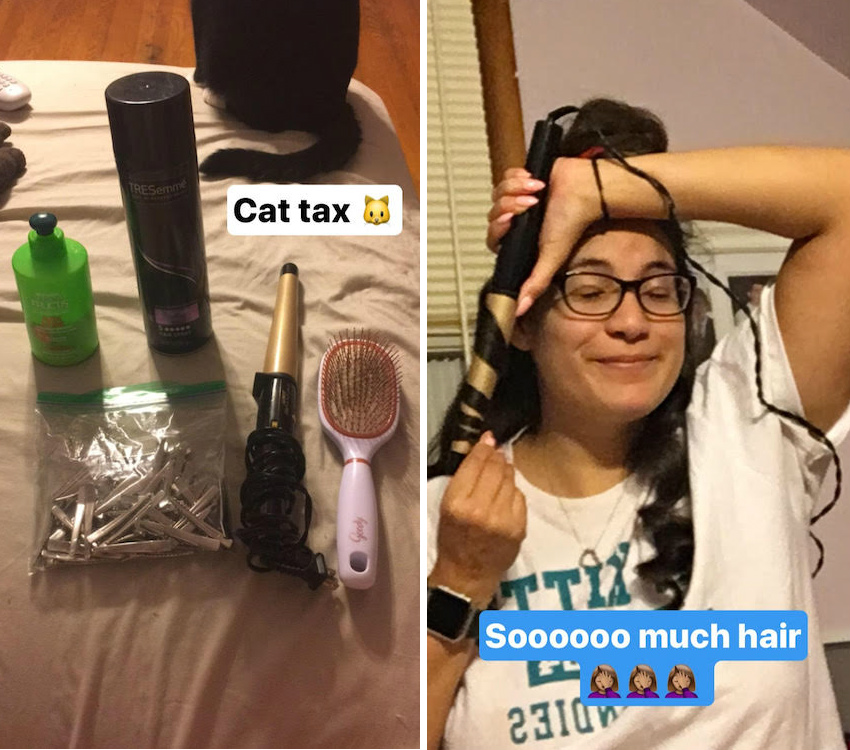
This was by far the most confusing method. I saved it for last because of that, but it really seemed even more frustrating because the others were so easy!
There are a variety of ways to get finger curls, and when I saw that a few ladies on Pinterest used their curling wands, I knew I had to go that route.
What You Need
- Hairspray or gel
- Long clips
- A wide tooth comb
- A curling wand/iron
- A hairbrush
- Not necessary, but I also used anti-frizz serum
And you need the patience of a modern saint for this one!
I am being very upfront about this: finger waves are more work than what I expected. The biggest part of that, for me, is because my hair is so long! Every picture of perfect finger waves that I've ever seen is a woman with short hair. So because of this, when I found the option to "cheat" on this one, I had to go with it. Ladies have had curling irons for decades, so it isn't a major cheat in my eyes.
How To Do Finger Waves (For Beginners/Lazy Gals)
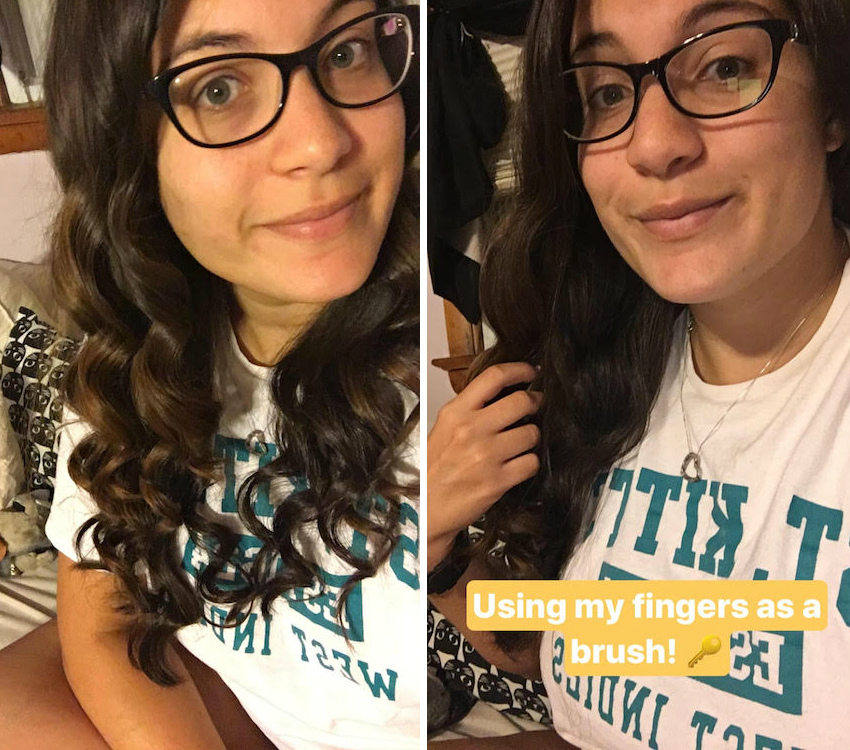
- To start, I curled my hair with my 1 1/2-inch curling wand. I broke my hair out into 6 sections, with a deeper part than usual. I made sure to brush out my very wavy, frizzy hair and added some anti-frizz serum as I went.
- Starting from the bottom, I curled 1-inch sections of my hair, trying to get the curl closer to my scalp as usual. By this point, I’m sure you’ve figured out that I am not a big fan of ringlets, but after looking at how other people did this online, I knew I needed a tighter curl to start this.
- Once I’d curled my entire head, I used my fingers to comb it out a bit, then went through it with the wide tooth comb. Together, this softened the curls a bit and bonded hair curls together in that perfectly vintage way I’ve always envisioned.
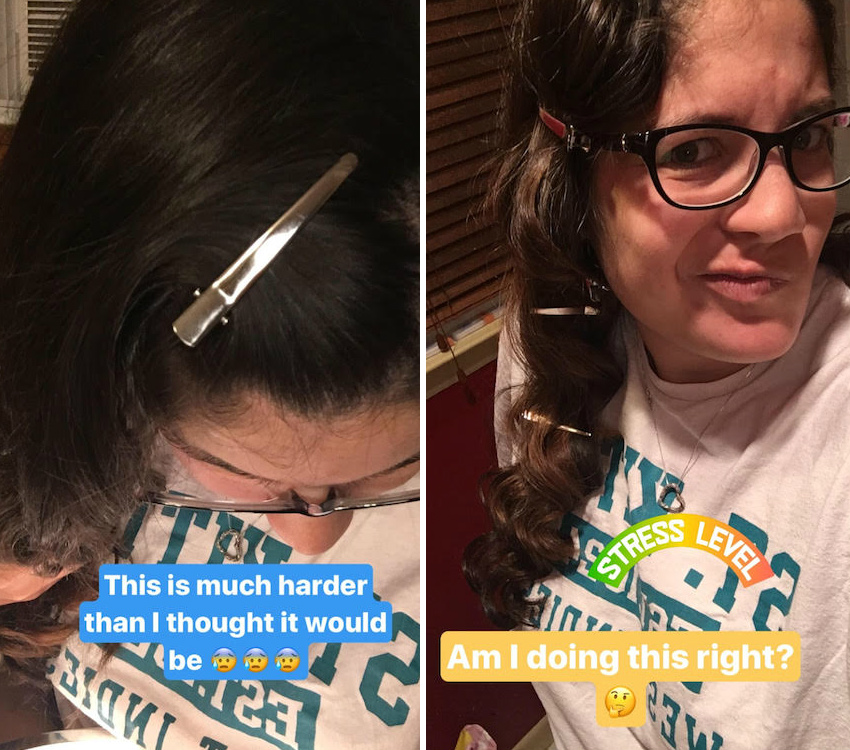
My grandmother would certainly have rolled over in her grave if she could have seen me attempting these finger waves. They are not easy! Just a reminder, I am in no way a professional. I'm just trying to learn more about hair curling!
- After I combed out my curls a bit, I grabbed my metal clips and attempted a few finger waves.
- On the hair by my part, I put a clip in to give the hair a bit of lift.
- Starting on the bigger side of my part, I pushed 2 fingers down, close to my part, and using the wide tooth comb, I pulled the top curl out in a “C” motion toward my forehead and clipped the hair down that was closer to my ear.
- Since this wasn’t a very natural-feeling process, I tried to form these C shapes using the curl I already had and that seemed to help me get the trick done.
- Going down my face, I kept doing the C motion to frame my face with the finger waves.
- Then I sprayed my hair with hairspray and I left the clips in my hair for 2 hours.
Finger Wave Results
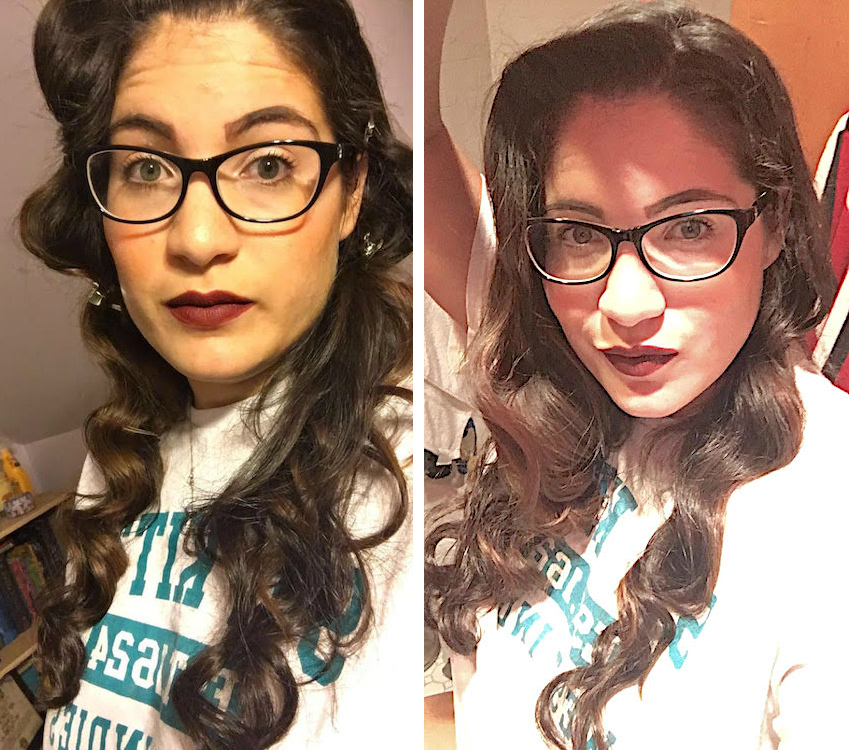
I could tell as I waited for these to set just how much I loved them. In fact, I liked them so much, I put on makeup at 11:30 at night, just to take a nice picture!
Now, these may not be your traditional finger waves, but I am in love with this look! I'll happily recreate it anytime I want to feel extra glam. I felt very "old Hollywood" with this hairstyle. It might be a bit of a hassle, but it is well worth it in my opinion.
Curl Factor: 5/5
Best Hair Curling Method
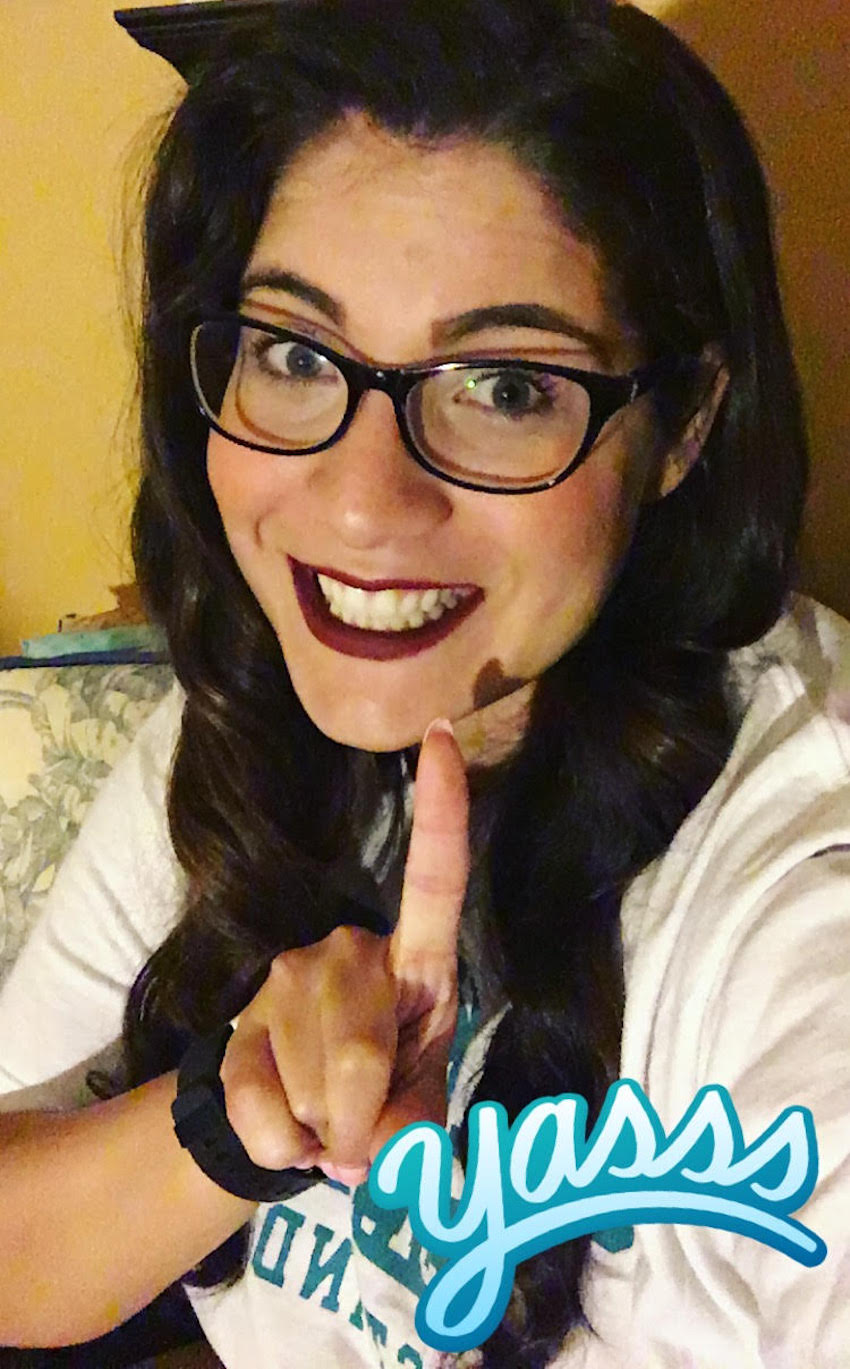
My favorite vintage curls method: Finger waves
My least favorite vintage curls method: Soda-can curlers
Would I recommend any of these to a friend? I'd recommend them all! Even if they weren't perfect for me, that's the beauty of hair: everyone has different textures, styles, and levels of frizz! What looks amazing on me, might not look great on my best friend. But the style that didn't work at all on me, could be the perfect curl for her!
I think anyone that loves to try out new hairstyles really should try at least one of these methods, if not more! Headband curls are so inexpensive, it is almost silly to not try them at least once. Finger wave curls are not easy, but the look is so pretty, I think those are really worth trying if someone has ever wondered what they'd look like with them!
Please SHARE this with all of your friends and family on Facebook to give them some hair inspiration this week!


