I think doormats are an unappreciated adornment. You step and wipe your feet on it, leave drying shoes and umbrellas upon it — it's even a metaphor for someone who allows another to take advantage or "walk all over them."
But to me, a more appropriate name for a doormat is a welcome mat. It's the first thing people see when they walk up to your door. It's their first impression of the person they're going to encounter once that front door swings open — and don't you want that impression to be welcoming? Or colorful, smart, or fun?
I know I do.
And what if I told you that you could make a really cute DIY doormat at home! You totally can, they’re incredibly easy to make!
Before I start, I love to get creative and scour Ebay for the best selection of doormat colors and sizes to use for my projects. (*Here's my personal search to save you some time.)
Once you have your mat picked out, all you need to do this simple DIY are a few very basic materials…
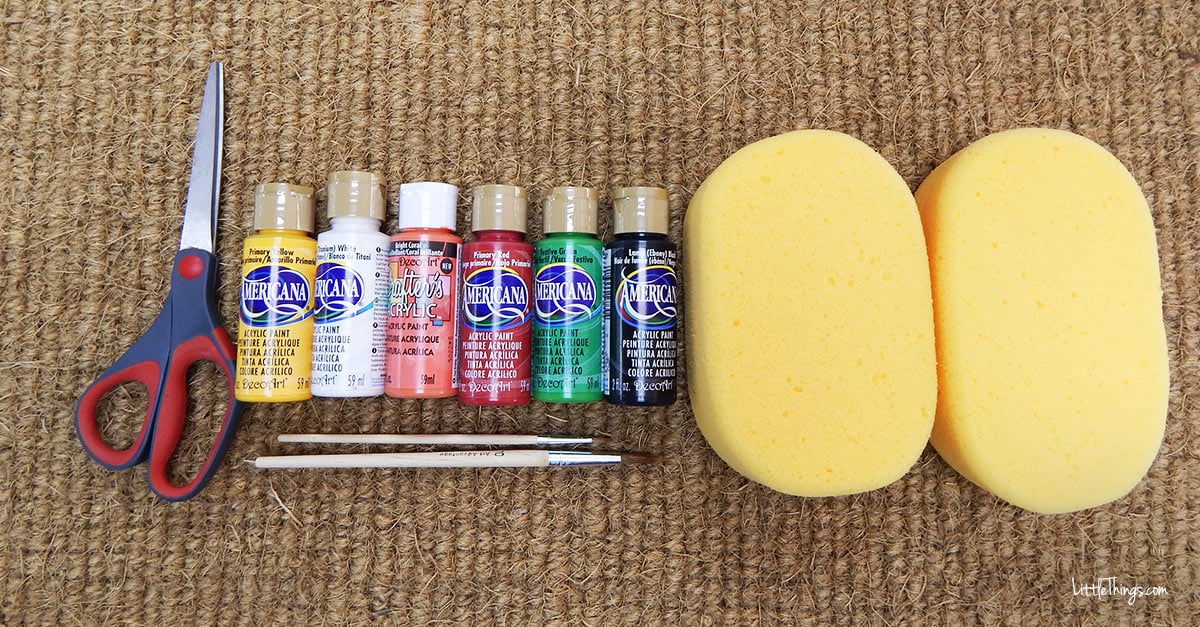
What you’ll need is a natural mat, acrylic paint, brushes, scissors, and a sponge. Double the sponge and the mat if you want to do two.
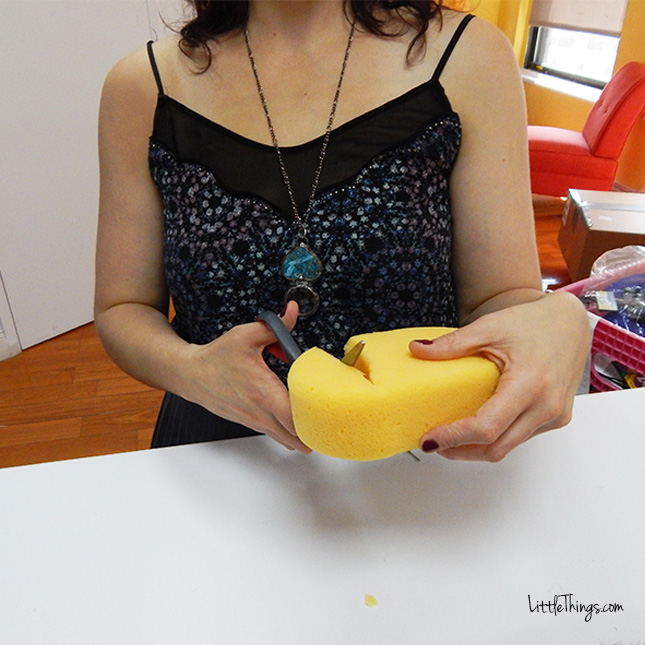
First, cut off a third of the sponge.
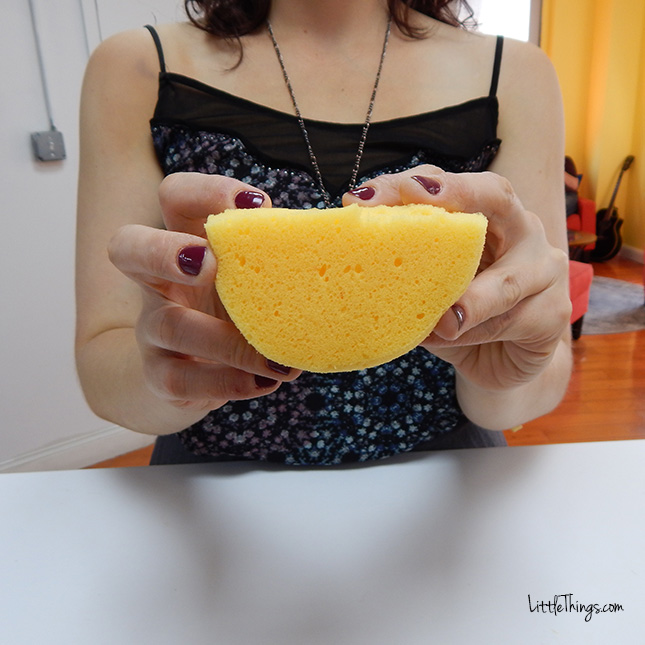
The resulting shape should look like half a circle.
Once you have your shape, it’s time to create the perfect shade of pink. For the shade I used, I mixed a salmon hue with white and a pinch of red.
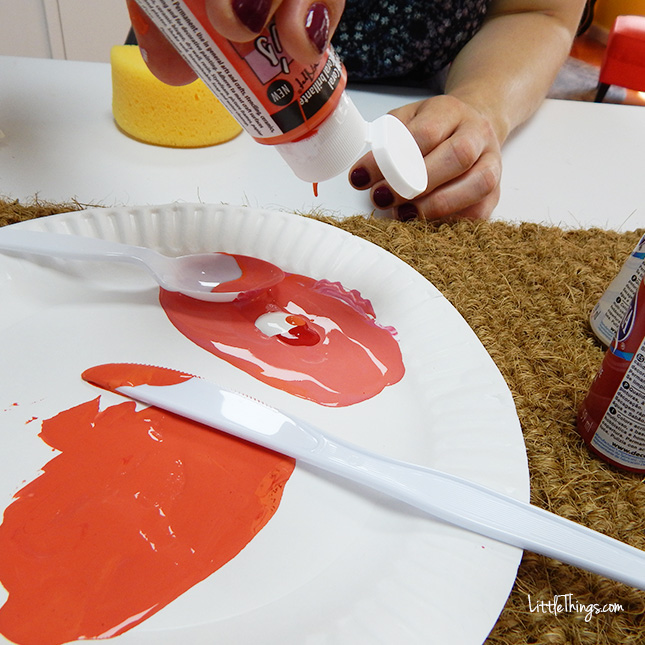
Then I mixed it up until I got the shade I wanted.
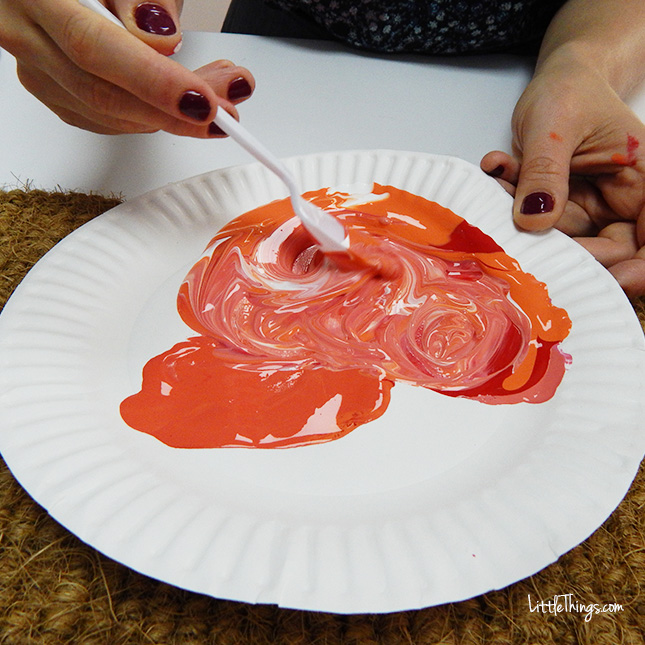
I then dipped my half circle into the paint, making sure that the sponge had a thick layer of paint on it.
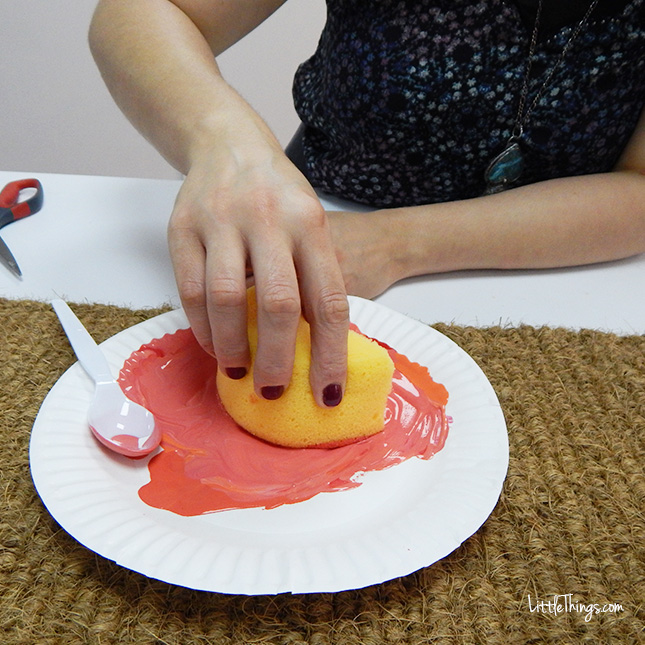
Then I pressed it down on the mat. The harder, the better.
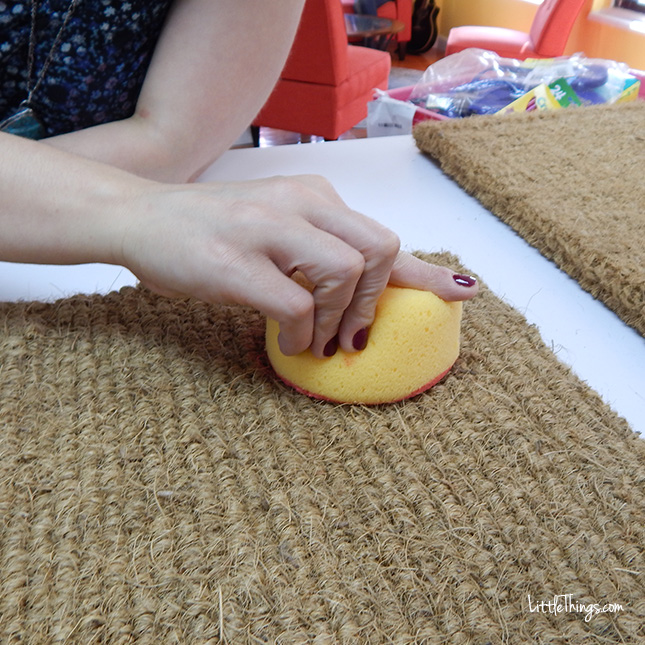
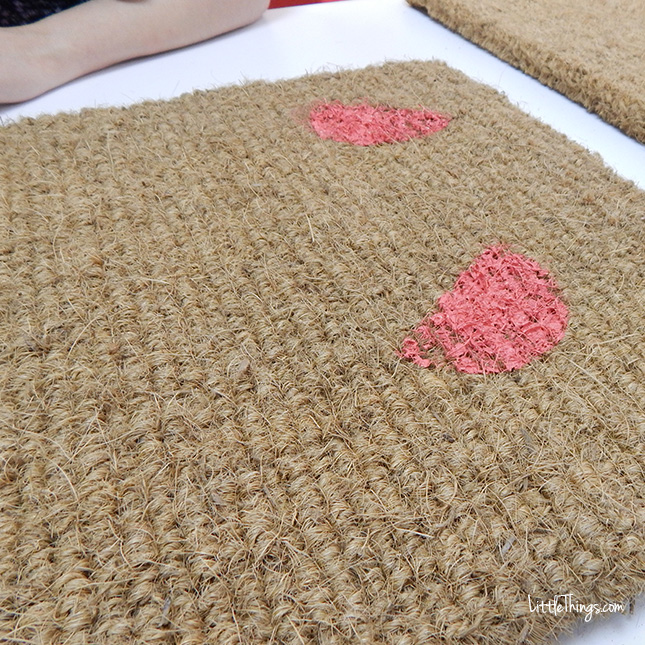
When I lifted it up, I had a half-circle print, looking all pretty in pink.
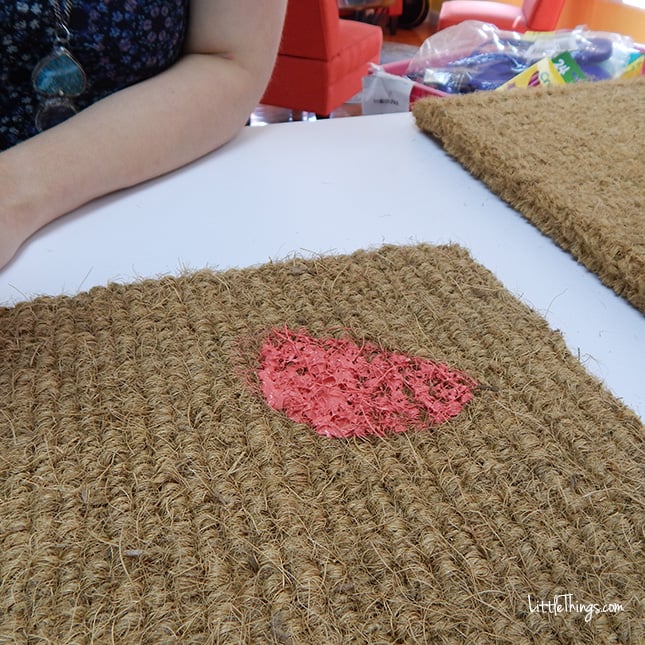
I dipped my sponge back in the paint, and pressed it on the mat in another area.
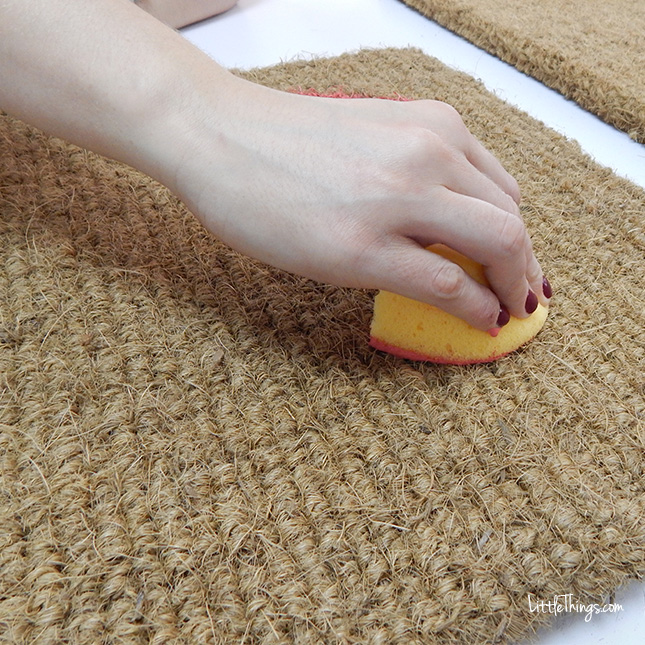
I repeated this a few more times, covering the whole mat with pink half circles.
As I worked, my friend Todd drew the shape of a lemon on another sponge.
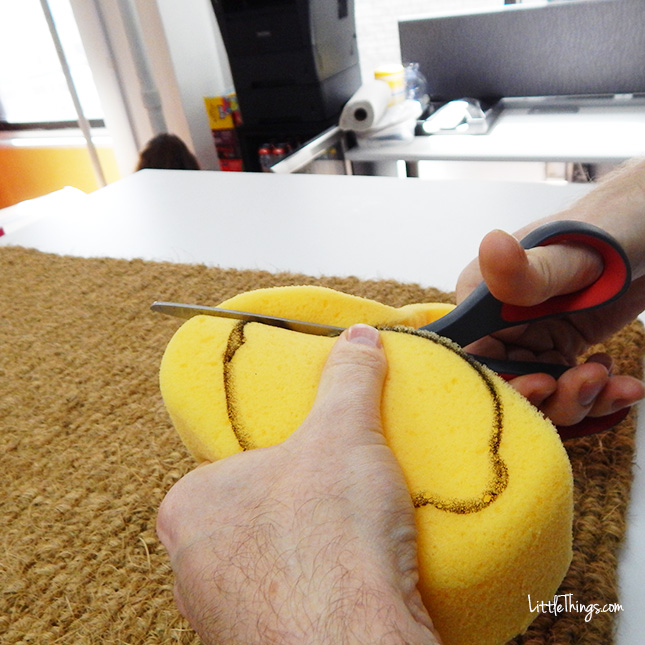
Then he cut out the shape.
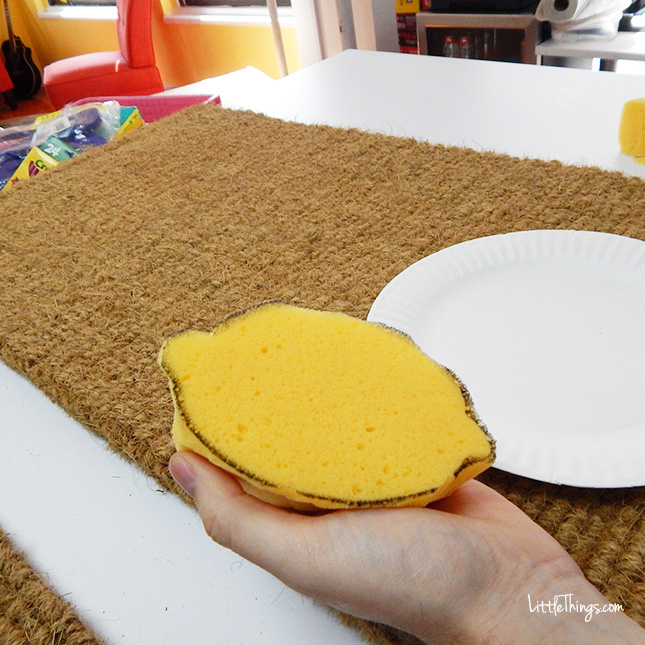
He dipped his sponge into yellow paint.
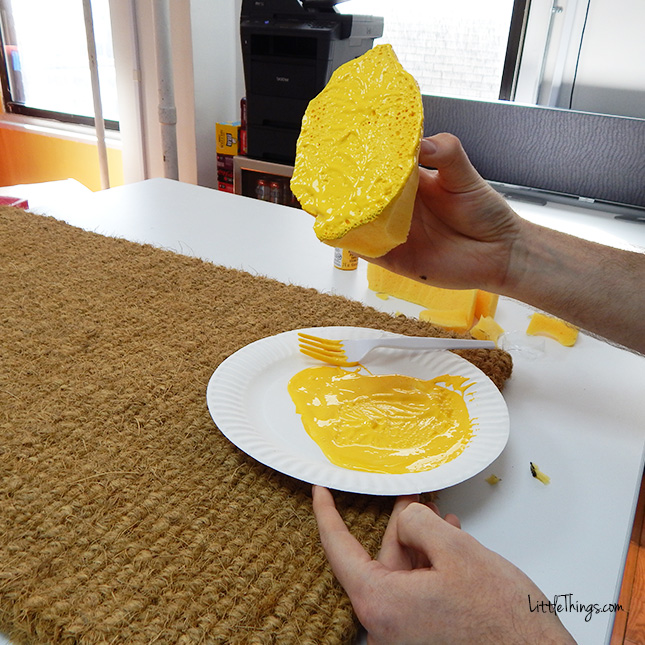
Then pressed the paint down on the mat.
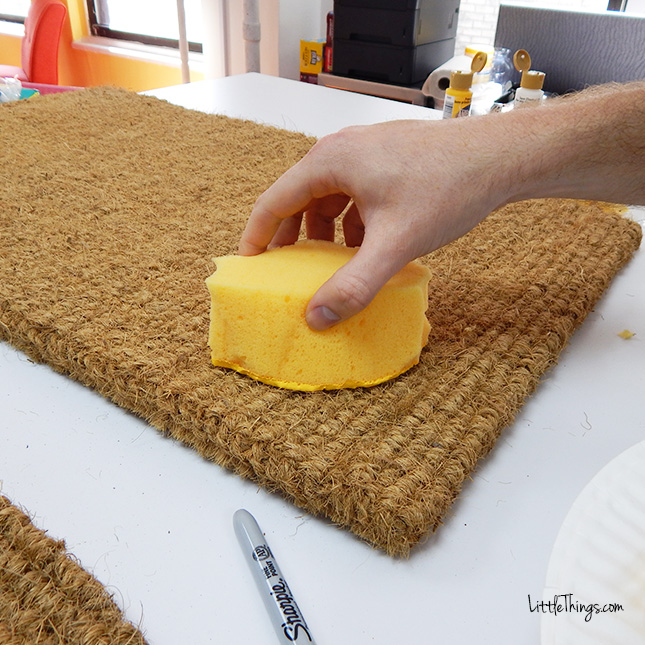
Remember, the harder you do it, and the more paint you have on your sponge, the better!
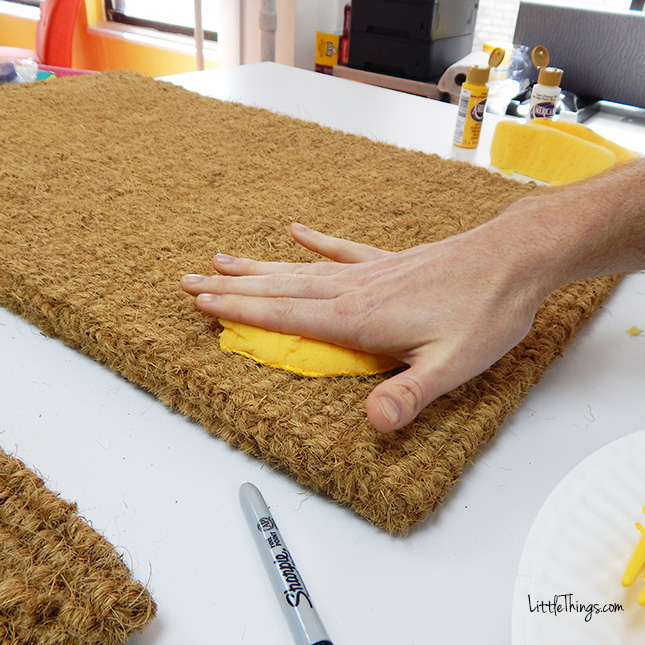
He lifted up his sponge and found a zesty yellow lemon.
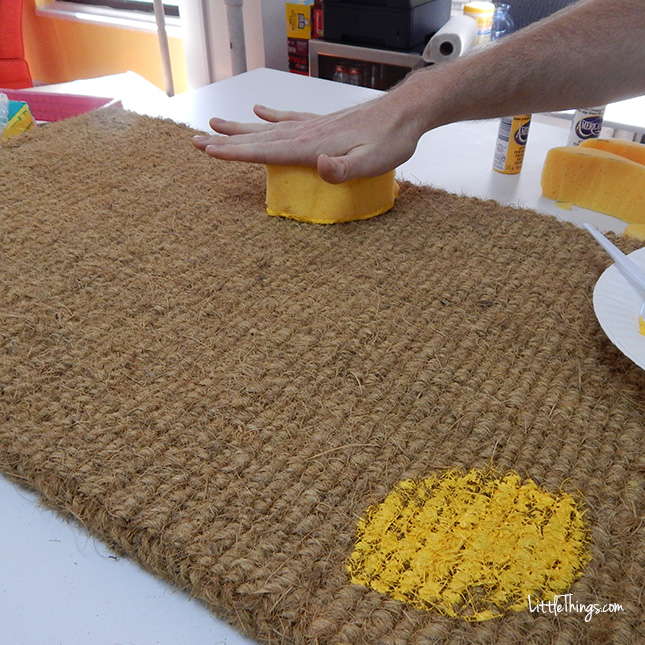
He decided to make a few limes as well.
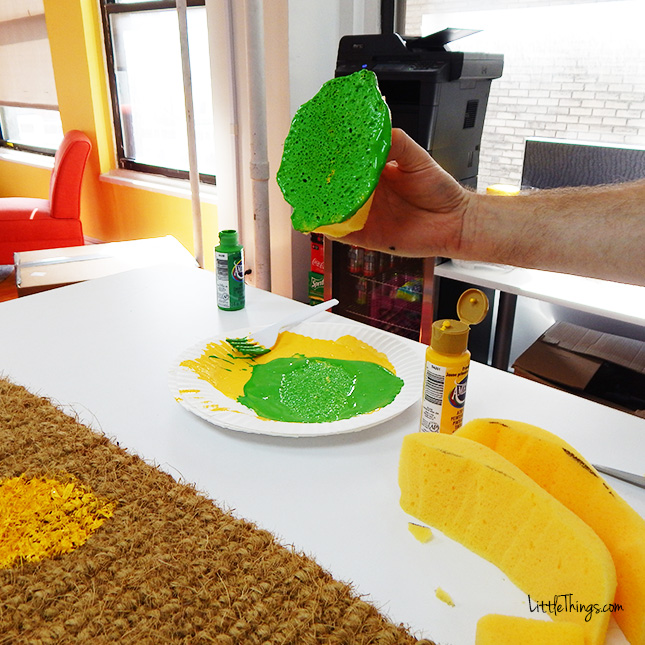
Once I was done making all my pink half circles it was time for me to move on to my next step.
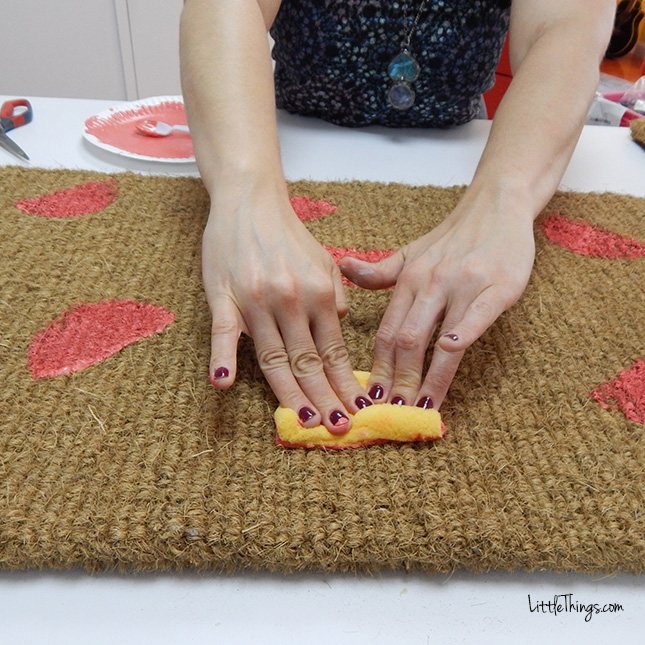
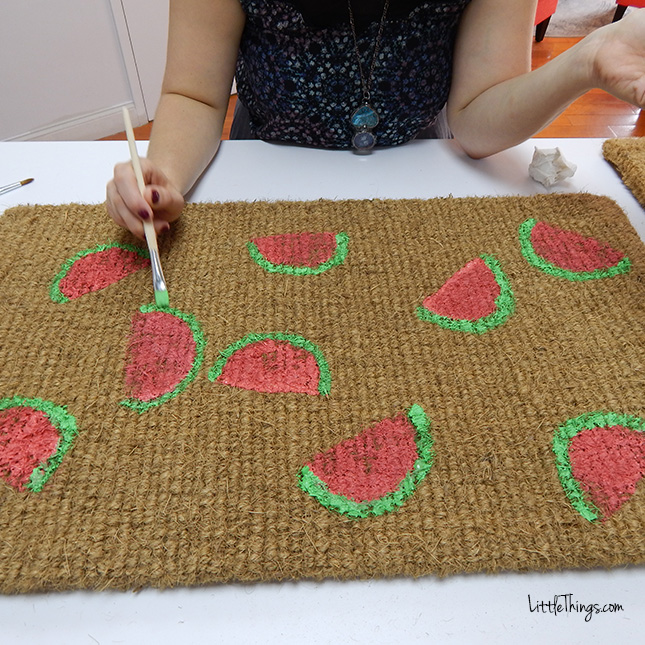
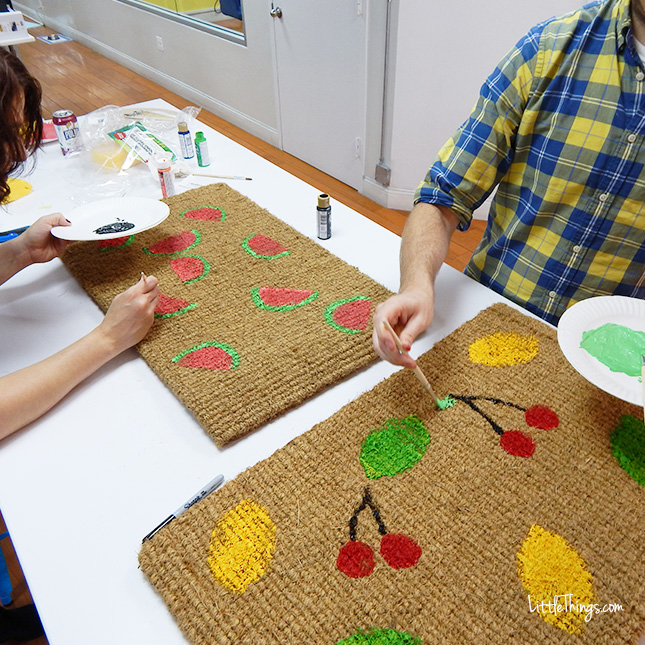
I took a brush and painted a mint-green rind on the curved part of each pink half circle.
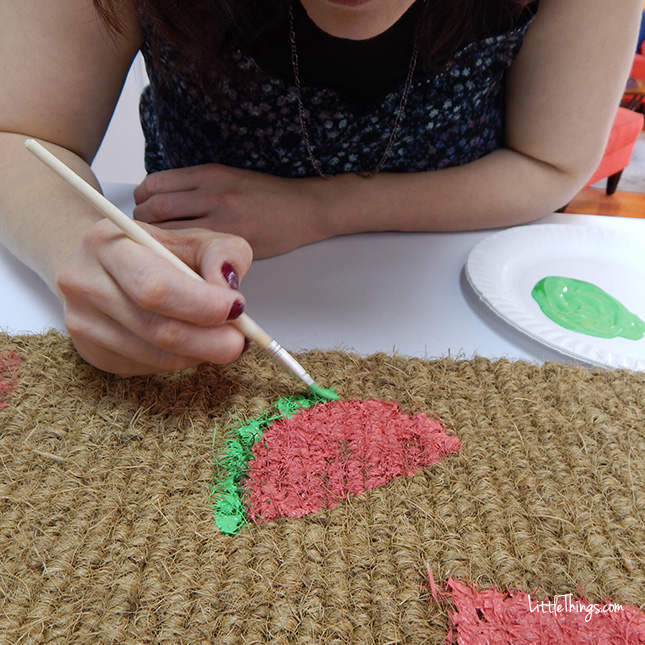
Technique-wise, it’s better to blot or dap the green paint with the brush rather than stroke it. The paint sticks to the straw better this way.
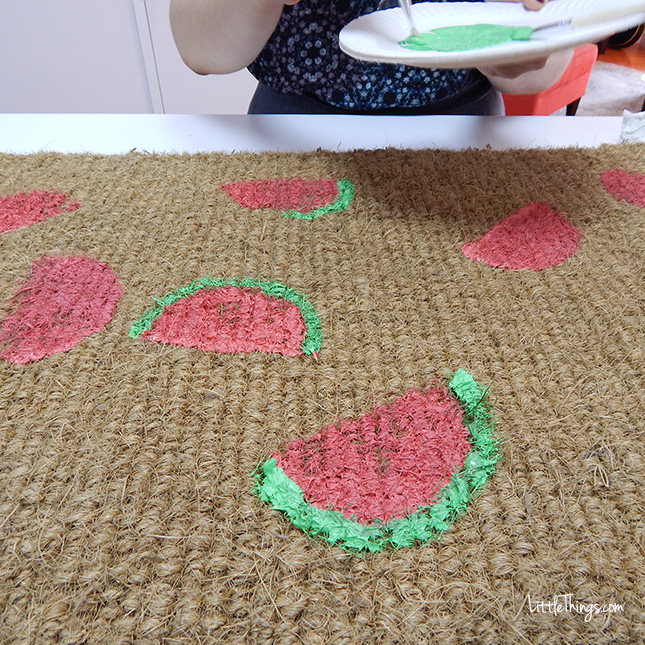
Can you guess what kind of fruit I’m making? Here’s a hint: It’s mouth“water”ing.
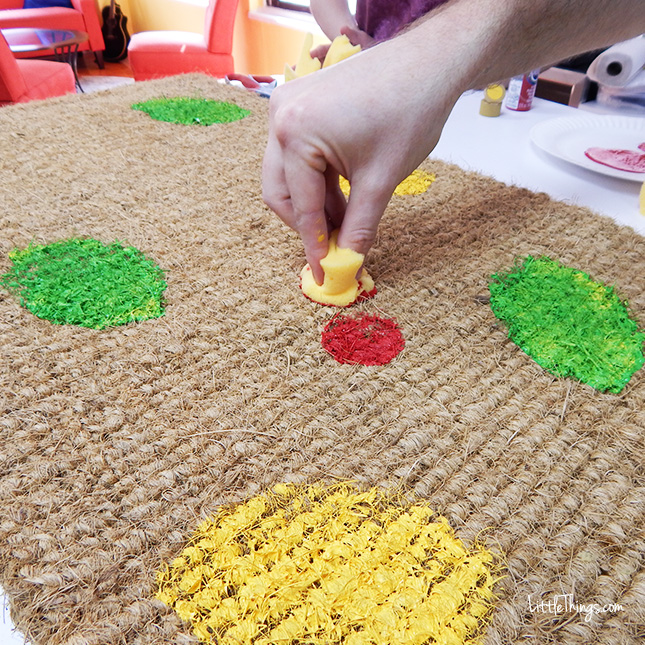
Todd decided to add one more fruit to his mat.
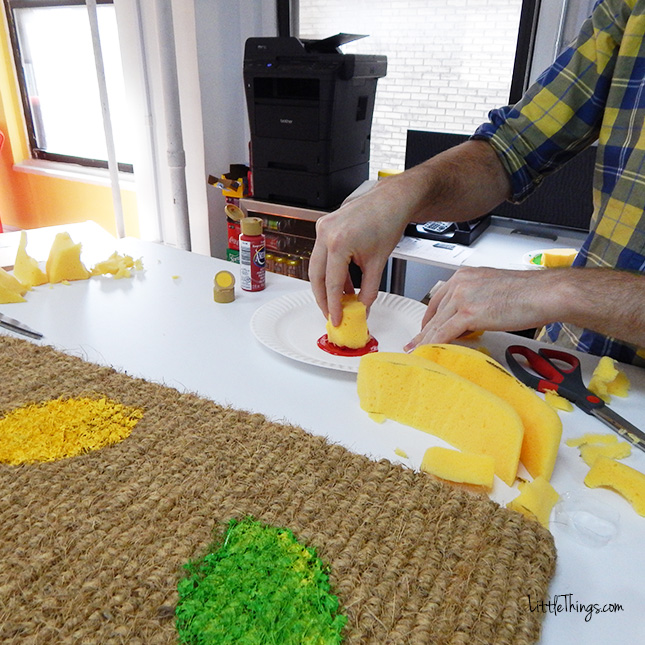
The red really pops!
He added a stem for a touch of authenticity (and adorability).
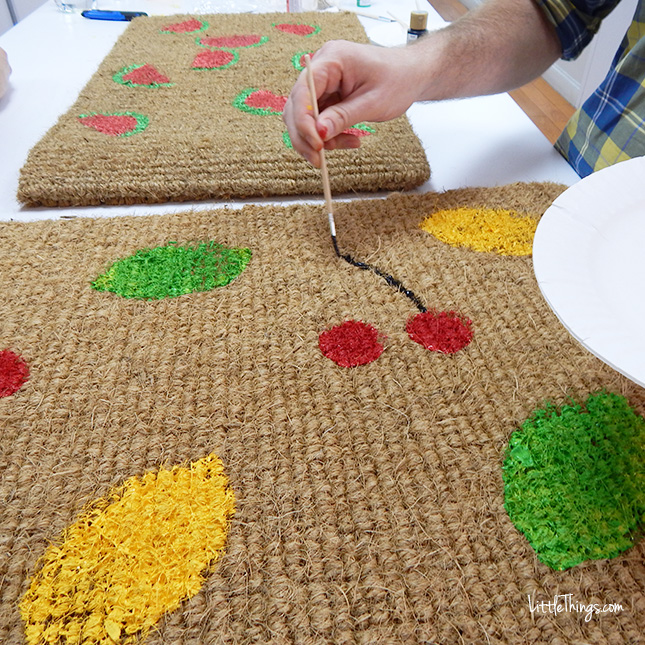
We both worked hard on our final touches.
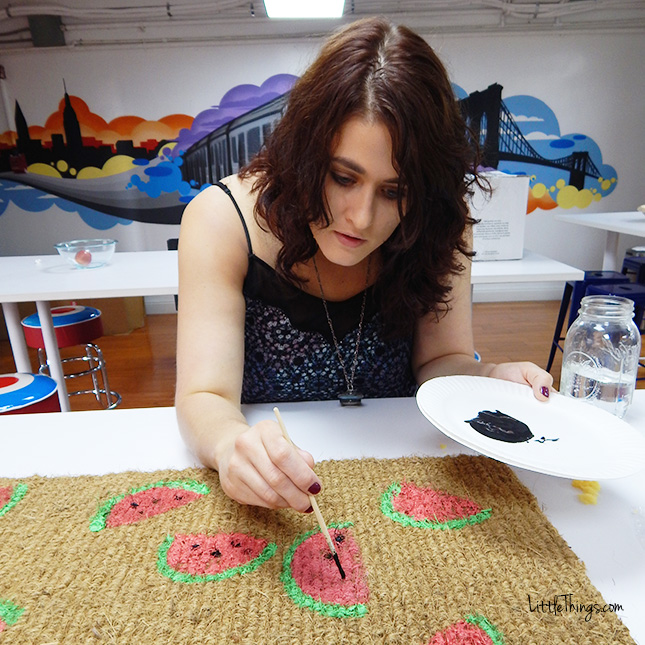
I added a few seeds to my watermelons.
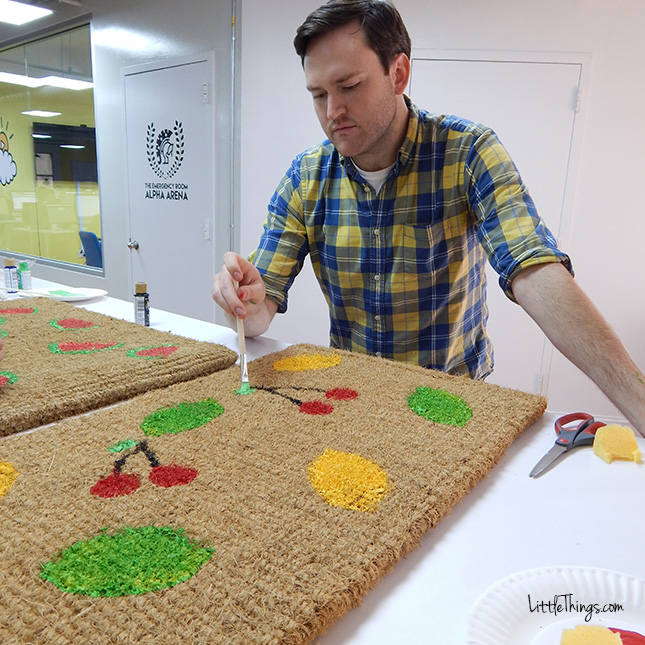
Todd added some leaves to his stems.
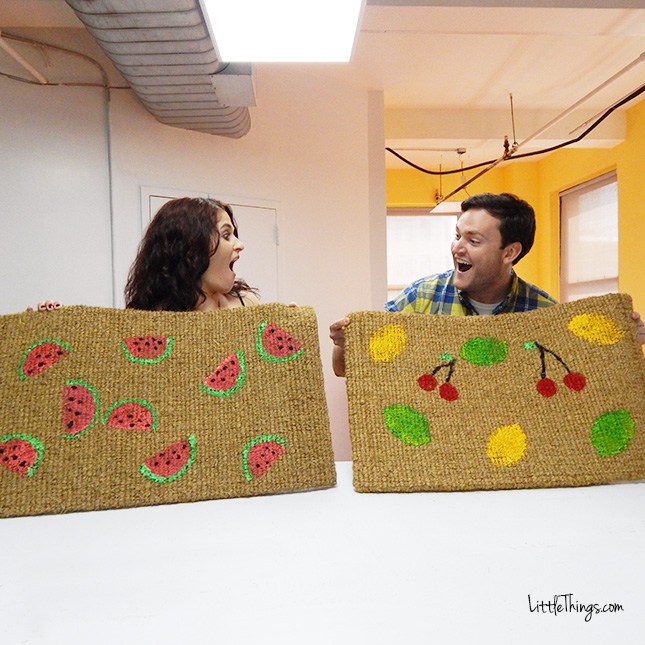
I think the end results are pretty cute.
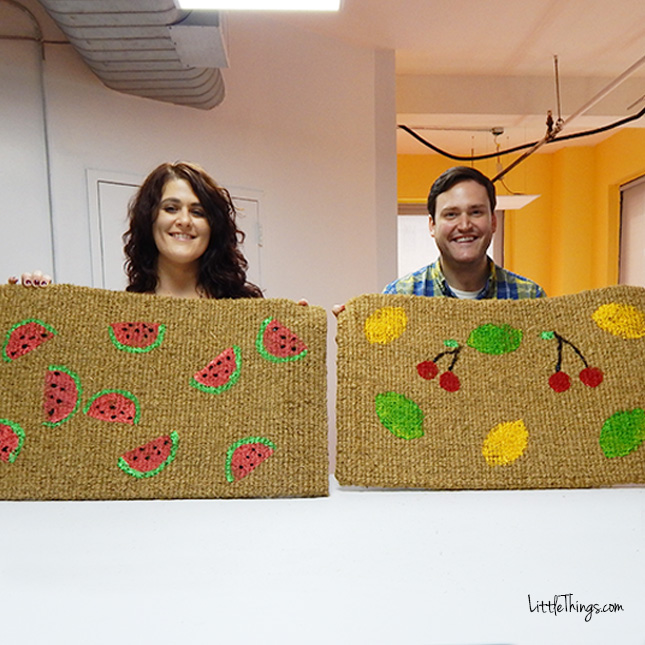
And Todd agrees!
Please SHARE if you though this was a cool DIY project!


