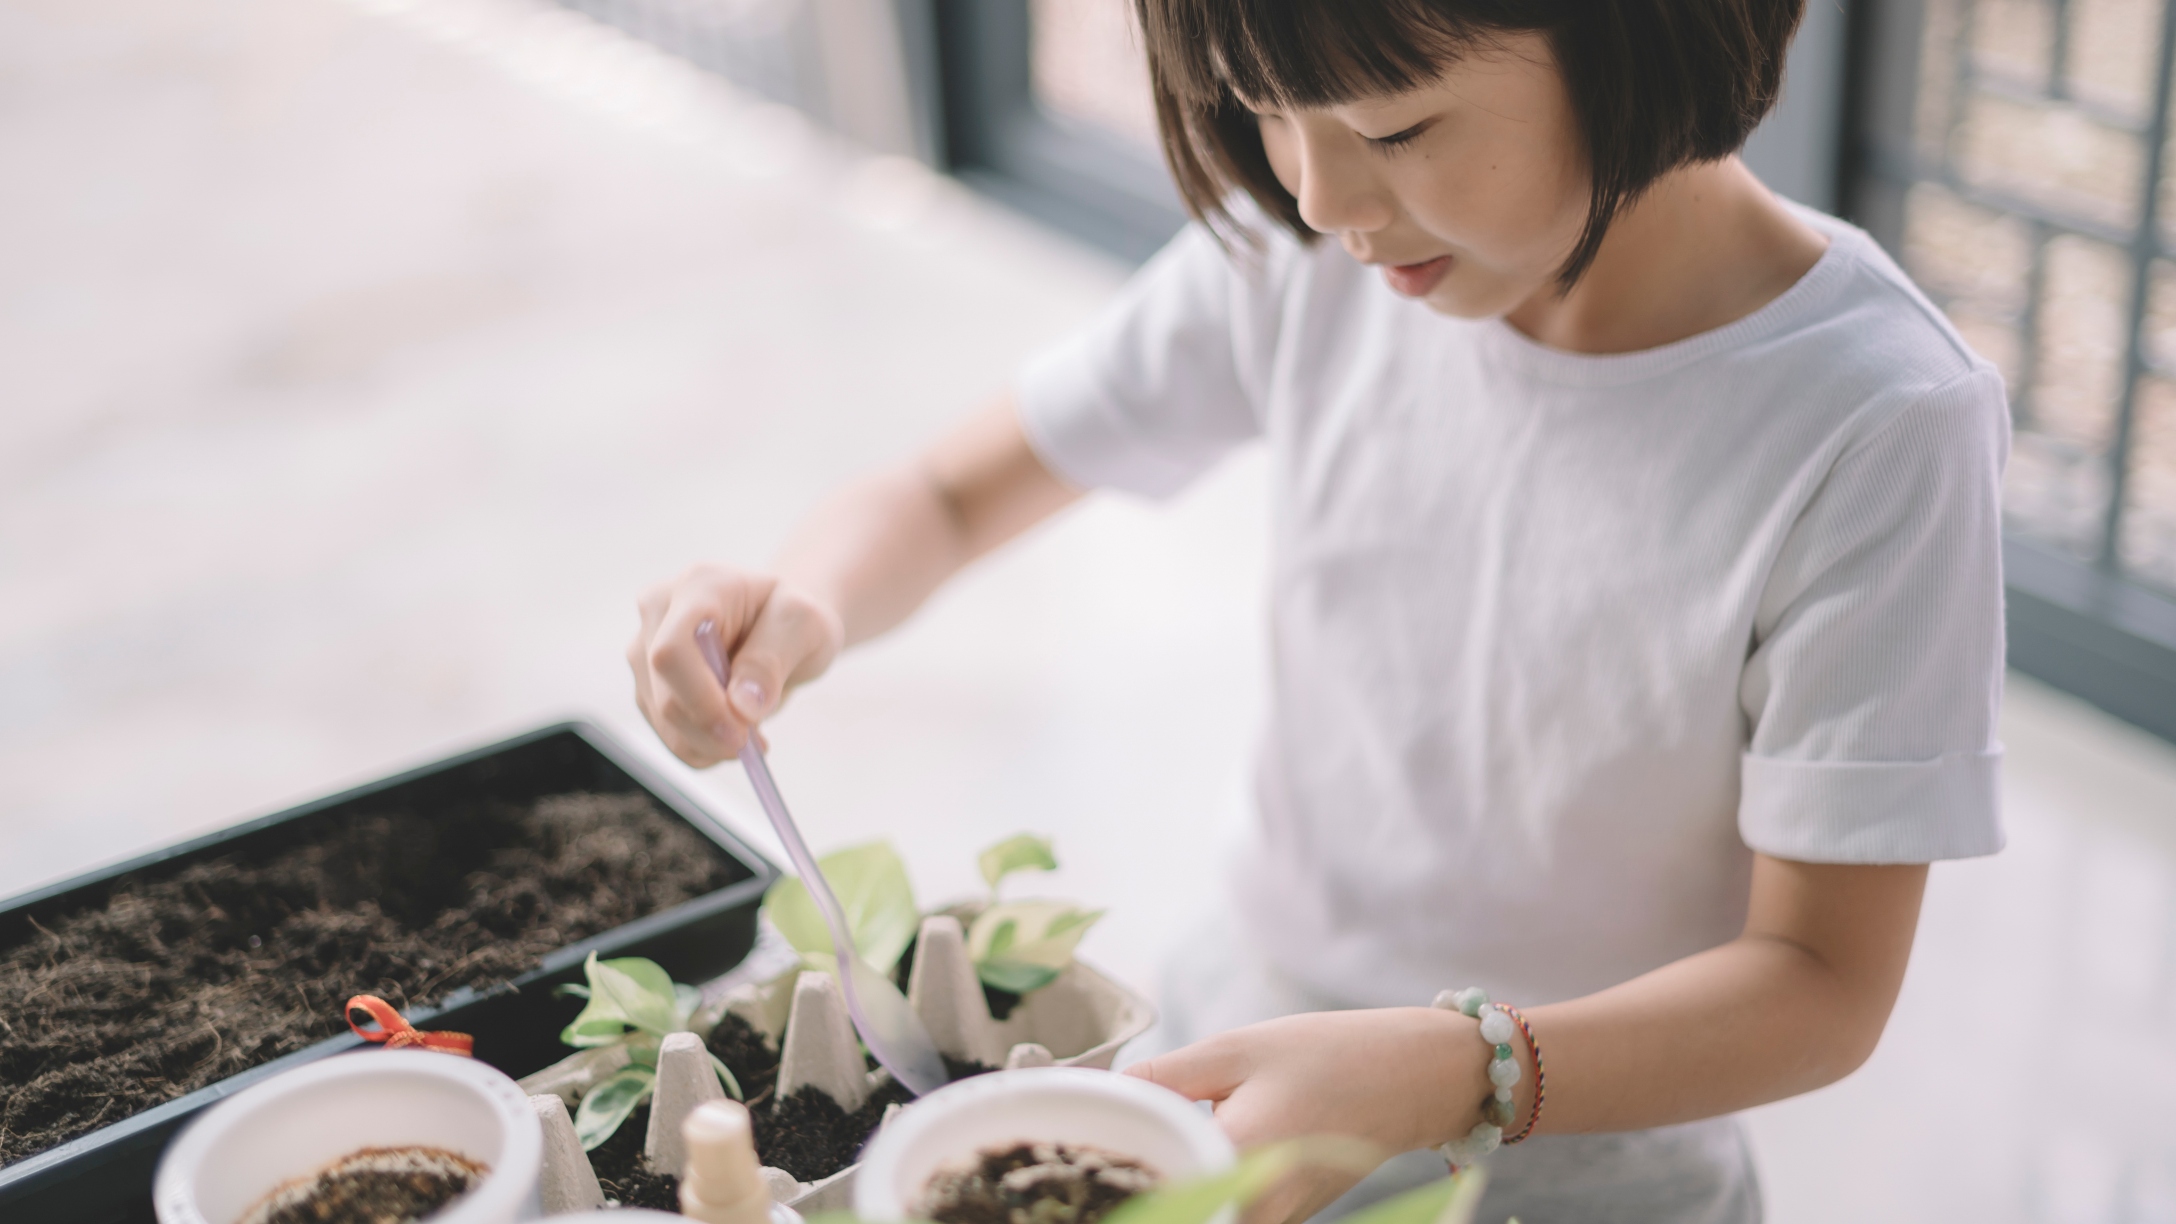
As a stepparent in my late 20s, I've never thought of myself as particularly ancient. When I presented the idea of making DIY chia pets with my family, I was quickly set straight. Despite the fact that they still sell classic Chia Pets in most big-box stores, my 8-year-old had never heard of such a thing.
I worked quickly to right that wrong. As a kid, I remembered getting a kit to make two of my own. My dear buddies, Bob and Bobra, were my beloved confidantes throughout a childhood summer. Sure, they were just pantyhose with seeds in them, but once I gave them faces and their hair grew in, I quickly grew attached.
My family was definitely skeptical about the project, but they went along with it anyway. This one is a lot of fun because you can get really creative. While I used pipe cleaners and googly eyes, you can use plenty of other craft supplies to bring these beauties to life. You can also use any fast-growing grass seed. This is a fun project with quick results that will definitely entertain kids of all ages.
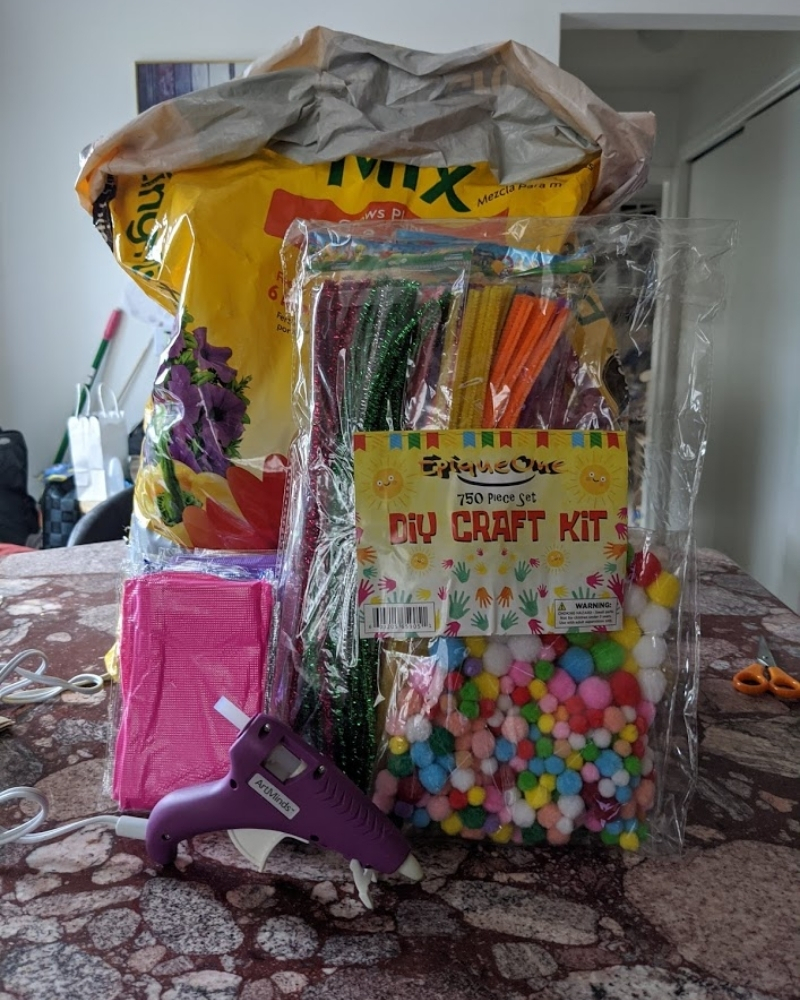
As fate would have it, I had to pick up just about everything I needed for this project. If you have better luck than me, you'll have some of these things on hand:
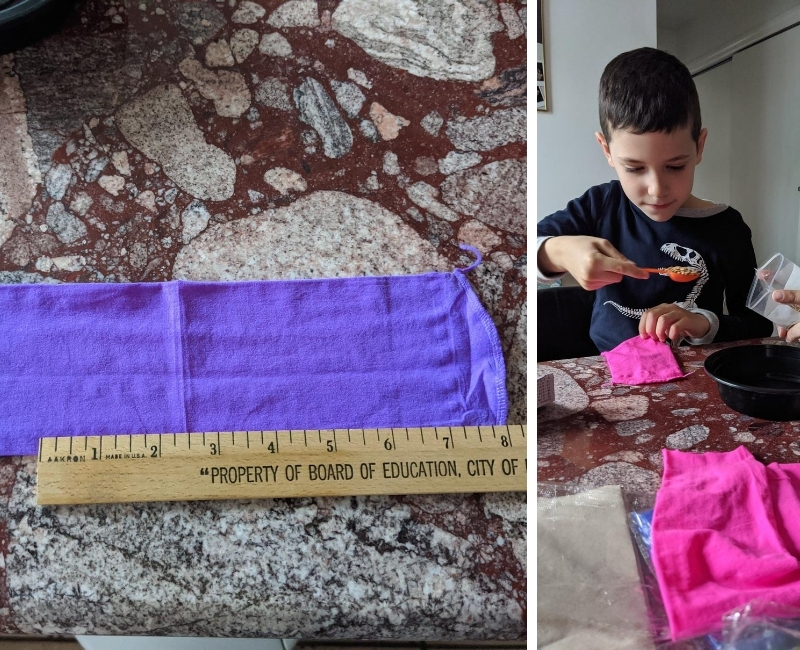
Start by cutting a 6- to 8-inch section of the stocking. To make these little pets look extra cool, I bought some neon stockings so they'd really pop. If possible, use the toes so you only have to tie off one end. Next, we scooped 3 teaspoons of seed into the stocking. I chose wheatgrass seeds for us to use.
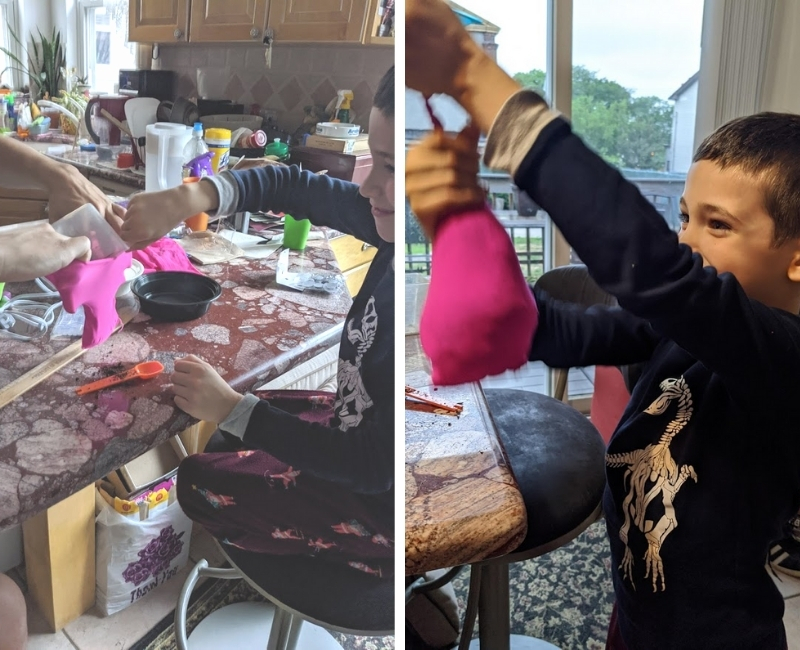
Next, add the potting soil. How big you want to make your pet is up to you. I definitely went plumper than these guys did, but they all worked out. To stretch the stocking and add more dirt, work the dirt down into the toe (or tied-off end) of the stocking.
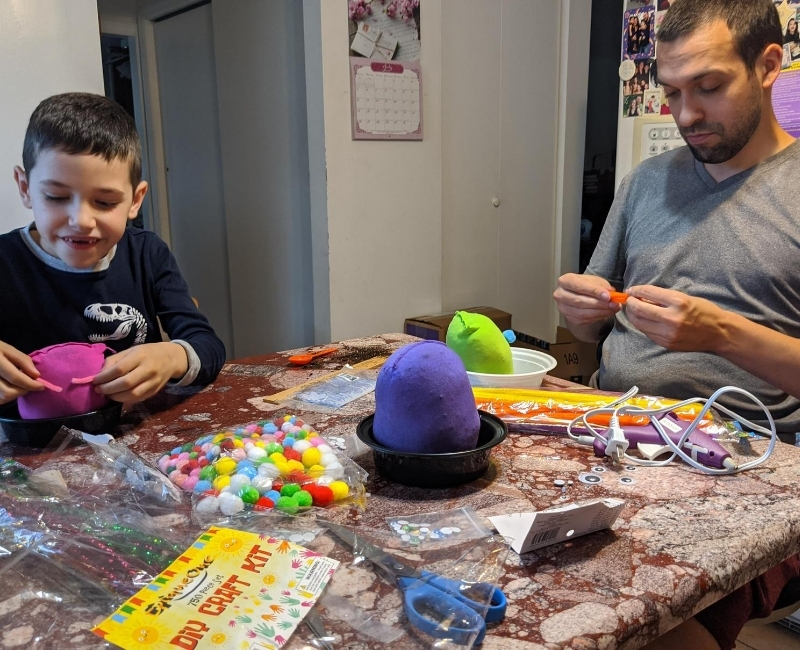
Once all of our pets were filled with potting soil and tied up, we were ready to decorate. I laid out all the supplies and let everyone test out what they wanted theirs to look like. When they were done, I would make the designs final by hot-gluing everything down.
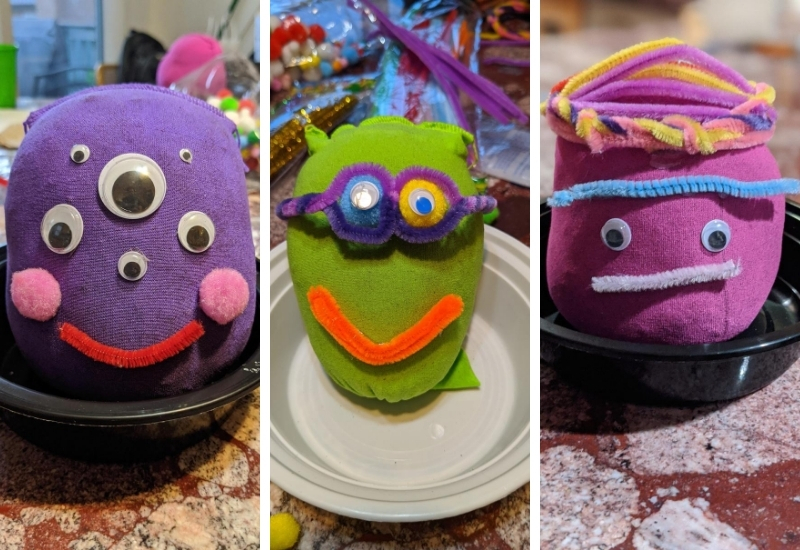
Here are our finished products! I went for a more monstery, out-of-this-world look with my purple pet, complete with hands. My boyfriend went for a slim, lime green guy. The little dude was itching to include a unibrow in his design. He also made a headpiece for the hair to grow through, though he was skeptical anything could grow through a sock.
Once your chia pets are done, sit them in a dish with water. It'll take a good amount of water, depending on how much soil you used. We also misted the monsters themselves with a spray bottle.
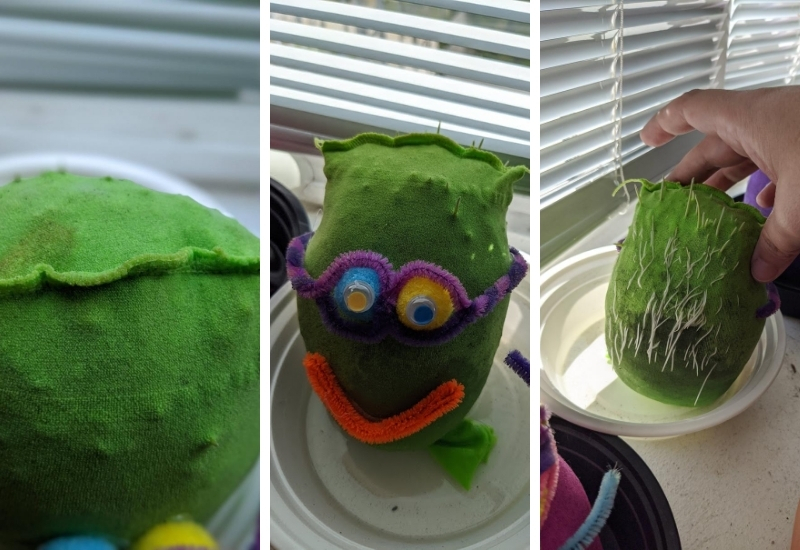
After just 24 hours, the surface of the pets started looking prickly. The next day, we had our first clear signs of growth! Even more surprisingly, the roots started growing out of the back of one pet. I pulled at the stocking to stretch it and tuck them back in as much as possible and made sure to mist the back of the pet when watering.
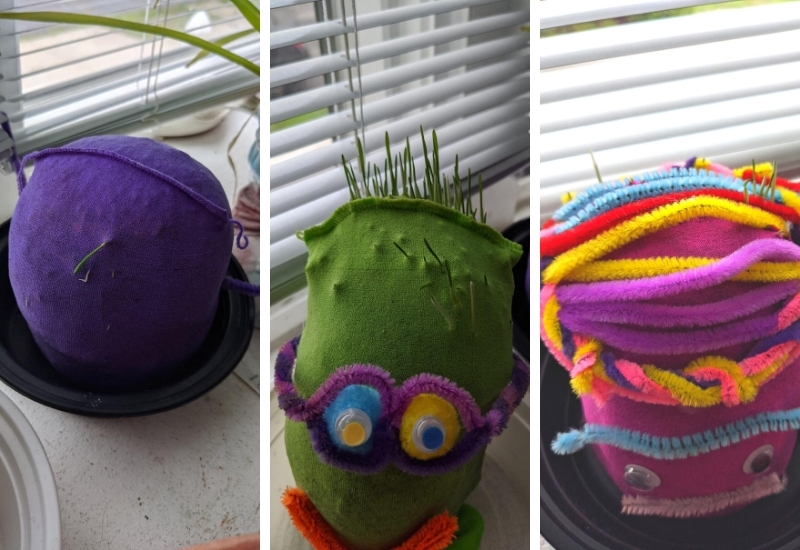
On day three, all three of the pets officially had grass poking through. Mine was struggling the most with just two tiny hairs. I was hoping for a sunny day to help my pet catch up to the other two, but thunderstorms had other plans.
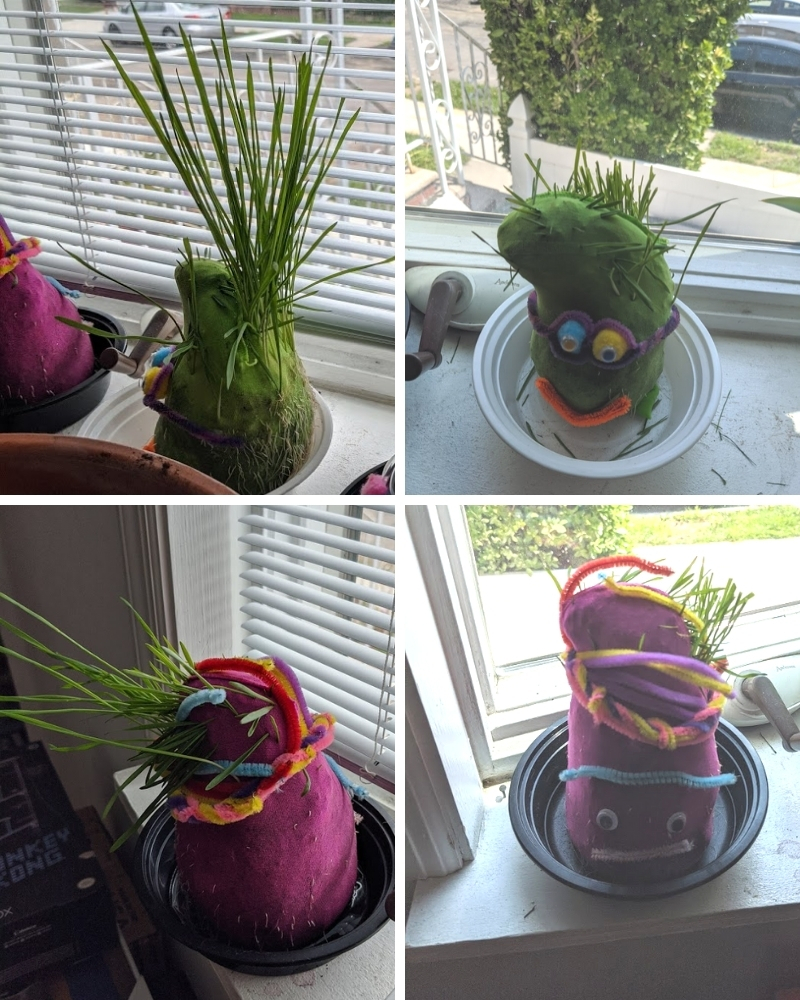
By day eight, two of the three chia pets were ready for their first trim. They were growing wildly, and even their little haircuts looked pretty cute. My family adventurously decided to blend up the wheatgrass to see what all the health enthusiasts were talking about. "It tastes like grass," I was told.
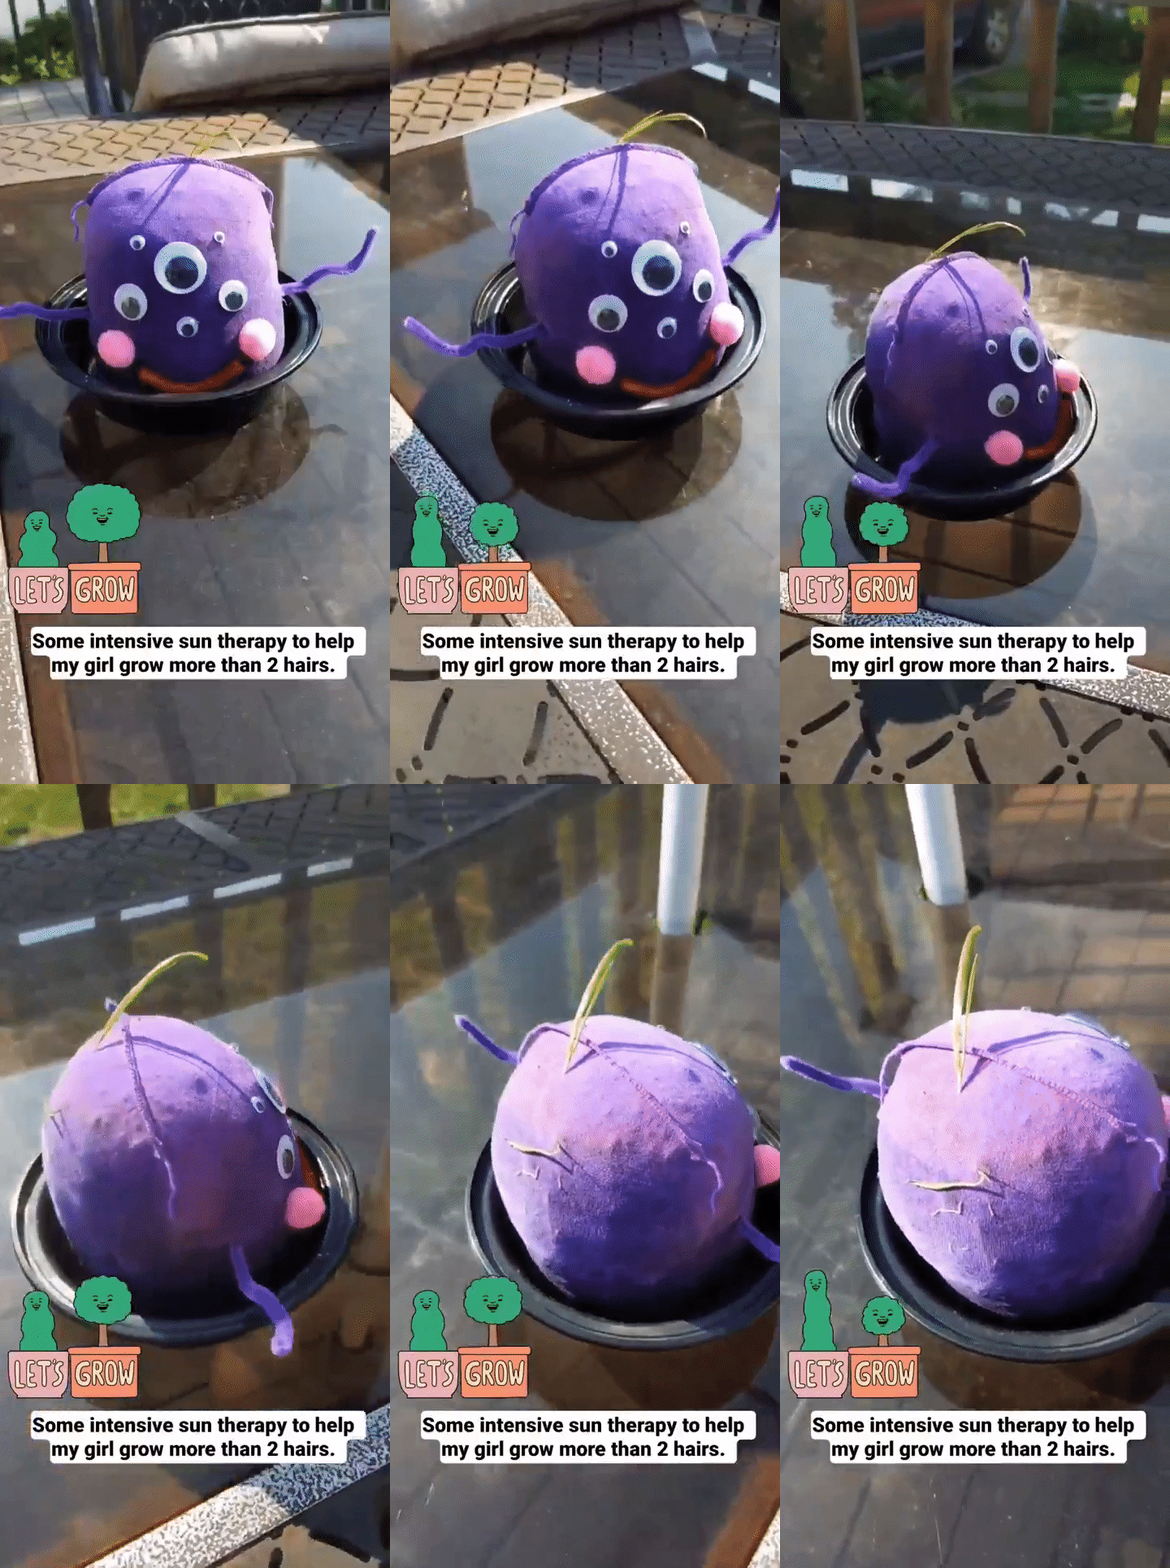
Meanwhile, my chia continued to struggle. Thankfully, the weather started complying better with my growing needs. One day outside on the deck in the full sun got her right back where I needed her to be.
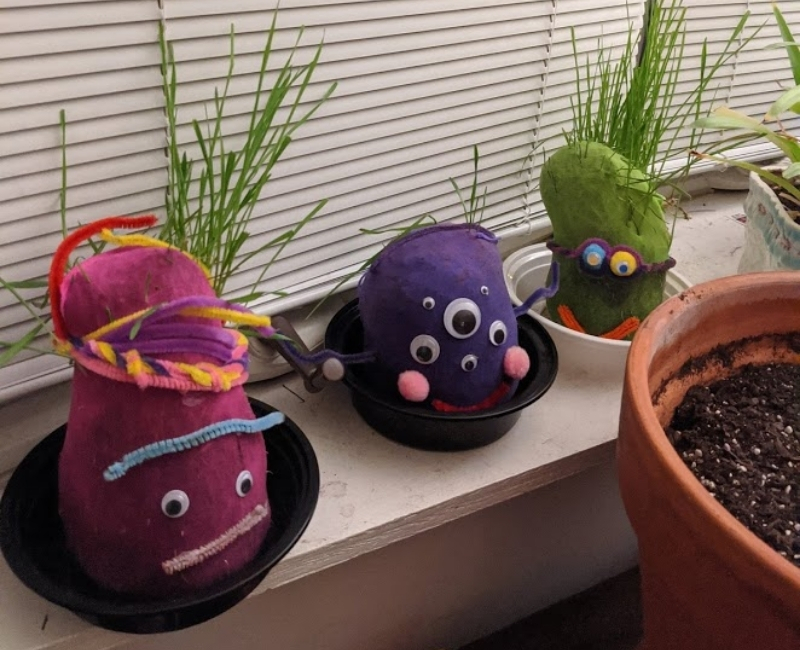
Now all three of our chia pets are thriving. They were so fun to put together and watch grow. It's a great activity because it can be done year-round. You can also put a seasonal spin on them, decorating them for Halloween, Easter, or any other fun family holiday.


