Does your wardrobe need an added touch of summer? Warm weather typically means people are shedding their winter colors for warmer vibrant ones.
Getting creative with colorful designs of your own isn't as difficult as you may think. There are plenty of DIY projects online to help you through the process of adding a touch of color to anything you'd like!
Adding a bit of color can turn any item from drab to fab, just like this awesome DIY rainbow lamp project — it completely transforms any room.
We found one project on Instructables by user sevendaysky that we know you're going to like! With just a few materials, this DIY-er was able to transform a plain old black T-shirt into a colorful work of art.
If you've ever thought of dabbling in the art of screen printing, check out this DIY and give it a try!
Do you plan on getting creative with your summer wardrobe this year just like this DIY-er did? Let us know in the comments.
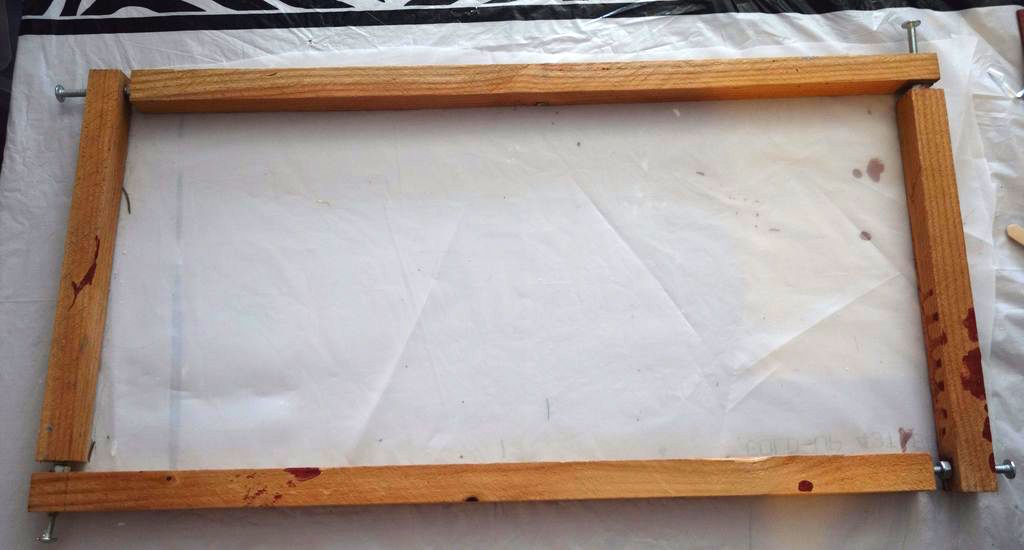
The first step to making your own rainbow shirt screen print is to assemble your frame.
Whether you made it yourself or purchased it, you must make sure to attach the mesh nice and tight.
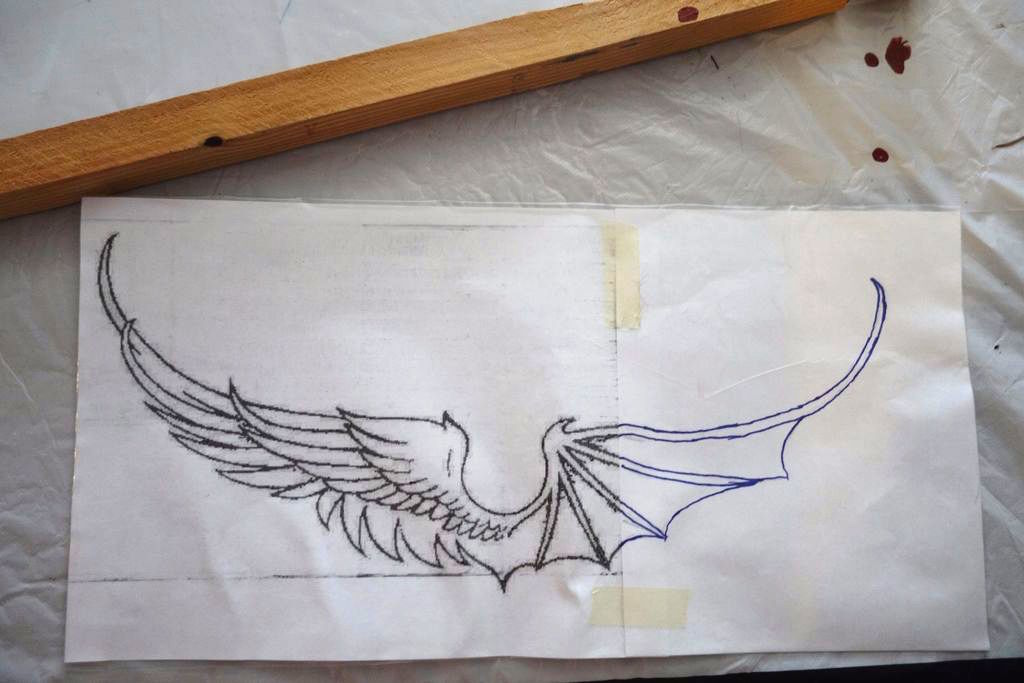
Next, plan out your design!
If you're not gifted artistically, you can always pull something off of the internet and trace.
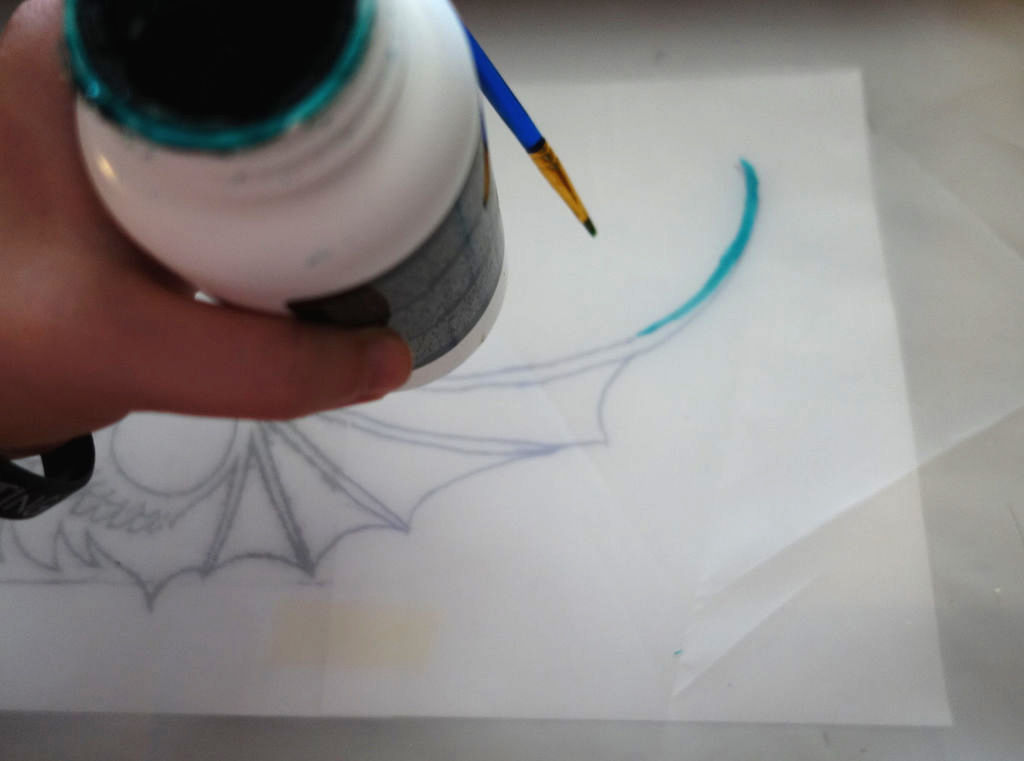
After laying your design on a flat surface, place the frame on top of it.
Begin to paint over areas that you want the ink to clearly show.
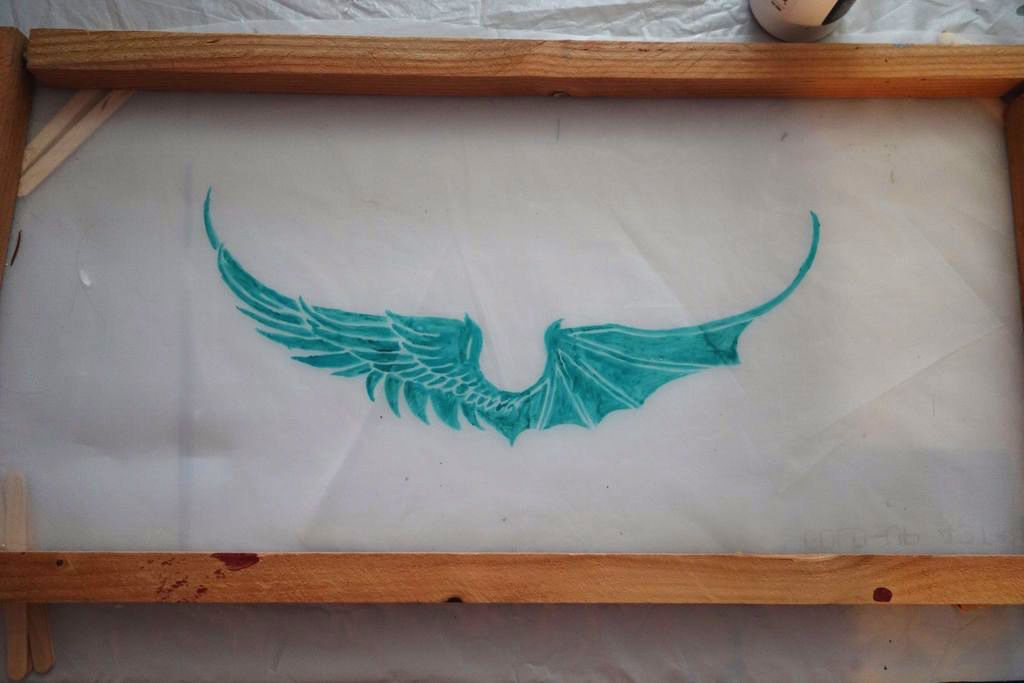
This DIY-er used Speedball brand drawing fluid for this winged design.
Thick coverage isn't necessary, but the coverage should be noticeable.
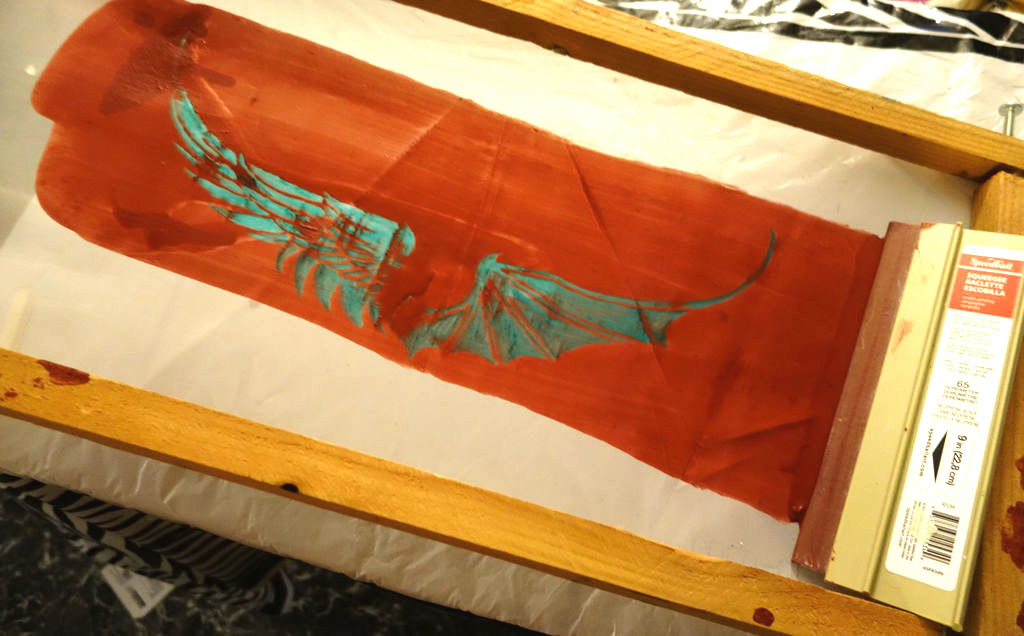
Once the drawing fluid dries, it's time to cover the design with a nice layer of screen filler from top to bottom.
One or two passes with a squeegee should do.
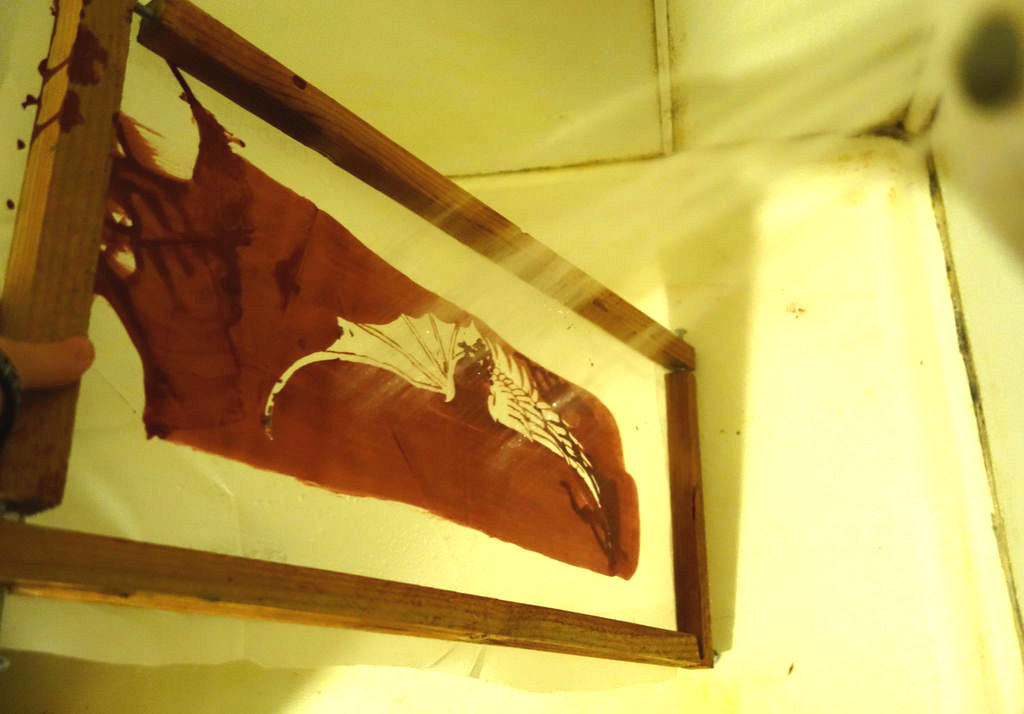
Now it's time to wash out the screen.
You can either do this in the shower or outside with a hose.
Ideally, the areas that you painted over with drawing fluid should wash out.
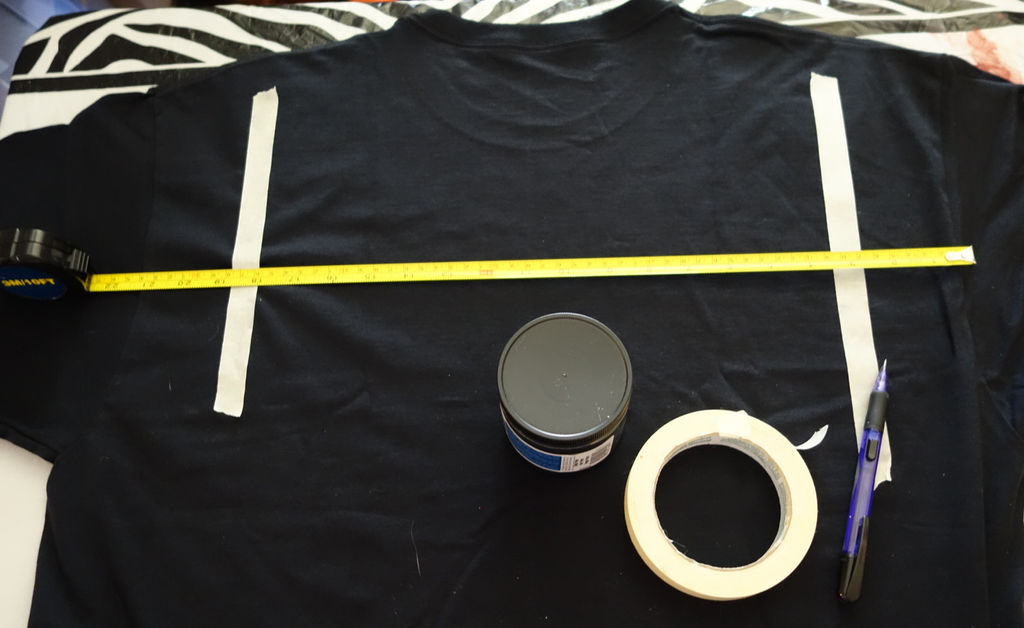
Make sure the surface that you plan on adding your design is clean and flat.
Make sure to de-fuzz or de-fur if you're planning on printing your design on a shirt!
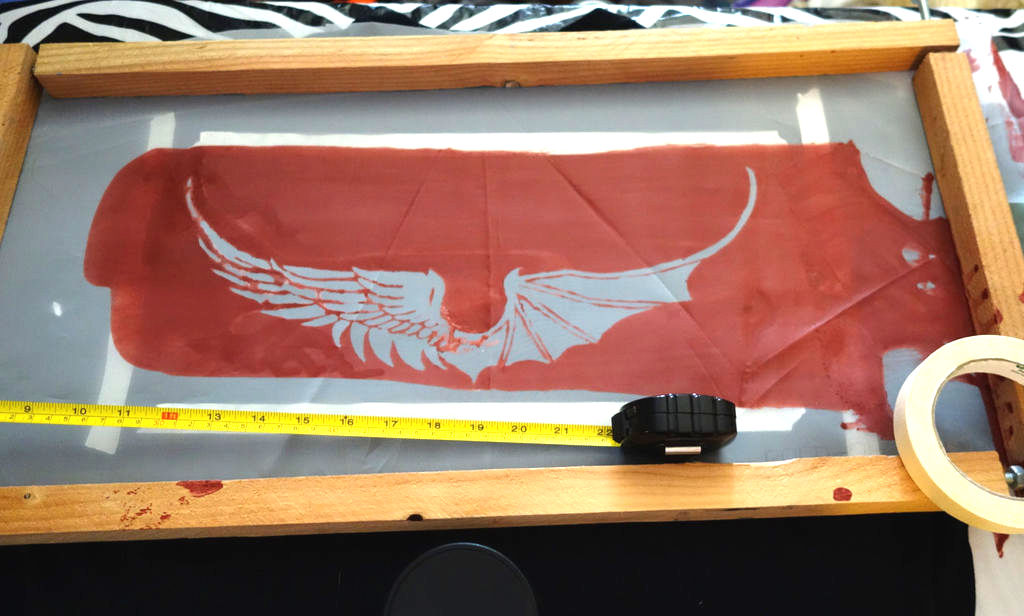
Line up your frame over the print surface.
Using bits of tape will help keep the frame aligned.
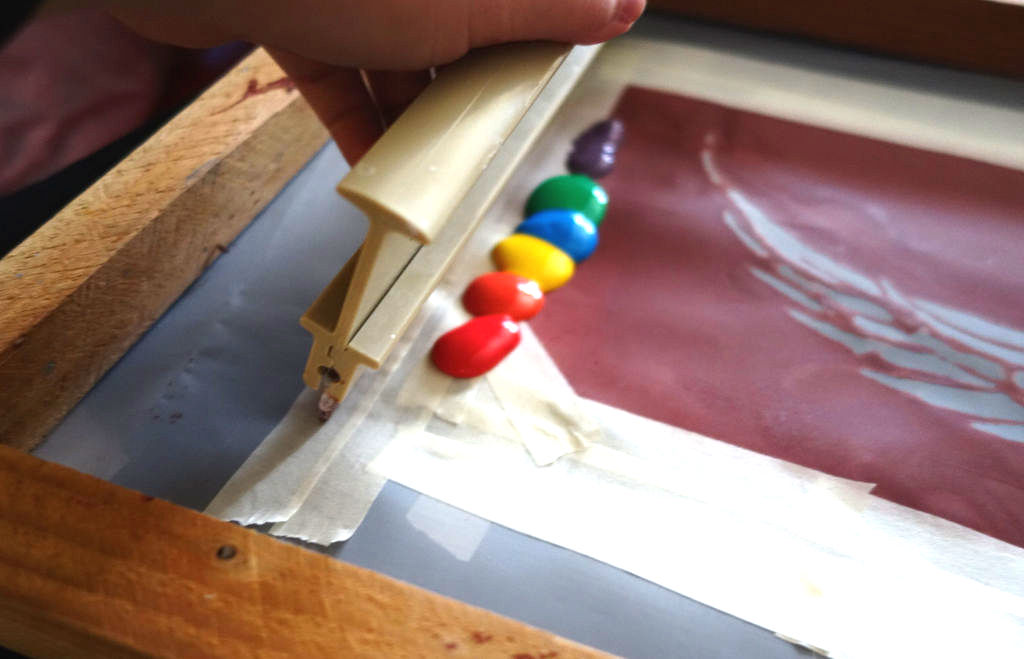
Now it's time for the fun and colorful part!
Choose the ink colors you like best and distribute them in a row.
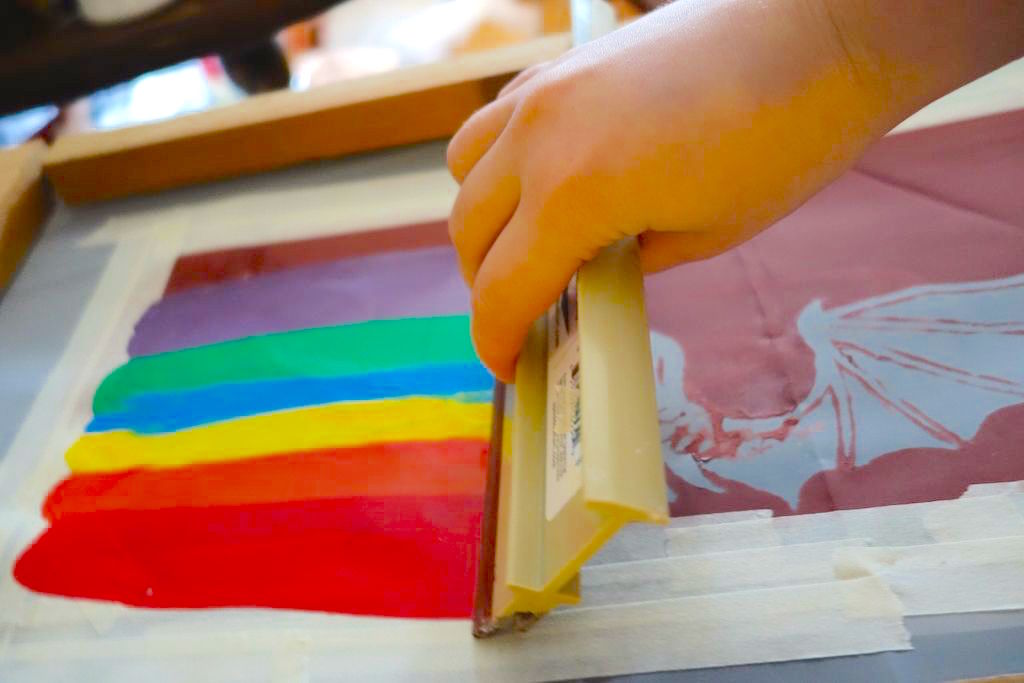
Lay the screen down on top of your design and pull the colors across!
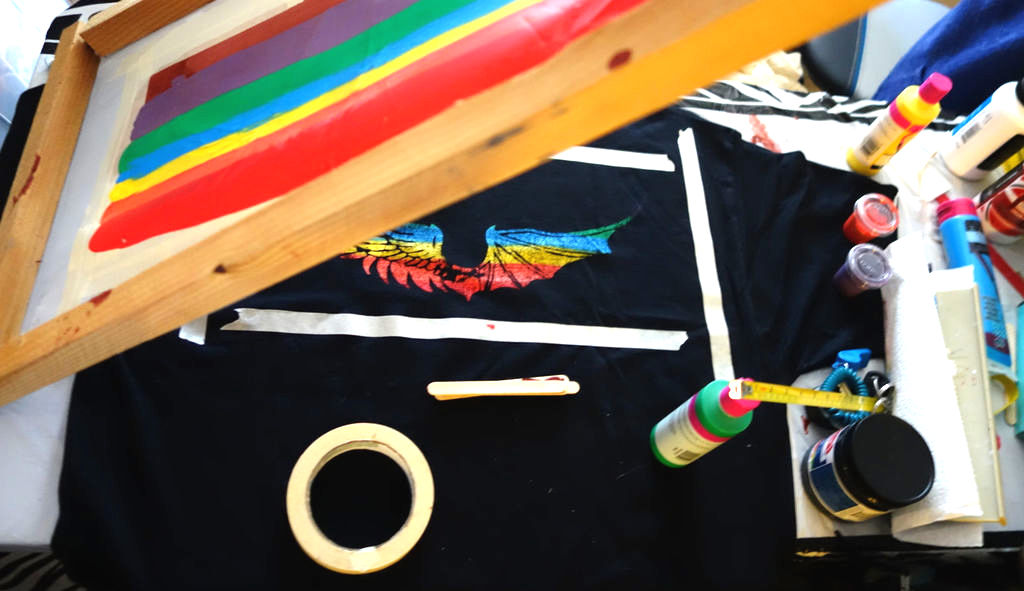
Keep pressure and speed even to make sure the color remains consistent across the design.
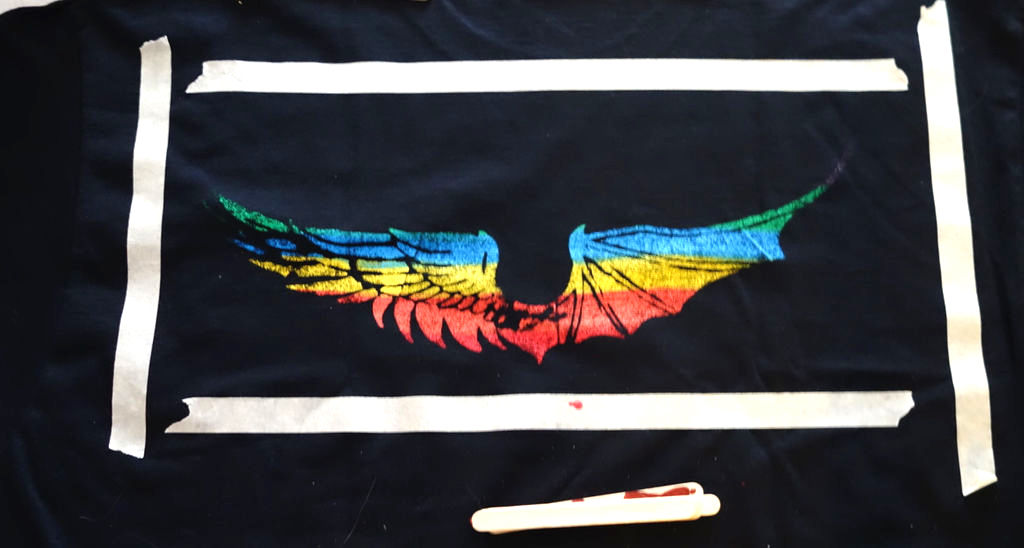
Lastly, while you wait for your image to dry, reclaim any ink leftover with a popsicle stick or spatula. After that, enjoy your new and colorful design!
Have you ever done any screen printing of your own? Let us know in the comments, and don't forget to SHARE with anyone who likes getting creative with their clothing designs!


