Whether you’re into eco-friendly options or like to be careful when it comes to the products you use around your home, there’s more than one good reason to consider making your own household cleaners. And thanks to the internet, it’s incredibly easy to find directions on how to whip up some simple yet awesome DIY alternatives to the choices that are available on the grocery store shelves.
I recently came across Mom 4 Real’s instructions for how to make DIY scented cleaning vinegar, and I couldn’t resist trying it out. As the post explains, “Vinegar is one of the best natural solutions on the planet, but most people don’t love the smell. It’s really easy to take plain old white distilled vinegar and turn it into scented cleaning vinegars that make this already amazing cleaner even more powerful as well as more pleasant to the nose.”
More from LittleThings: Glue Pebbles And Moss To Old Terra Cotta Pot To Transform It Into A Quirky Fairy House
And there wasn’t just one vinegar option; there were four! Not only do these options offer a lovely range of smells and attractive outcomes, but they’re also good for different aspects of cleaning. The orange vinegar is apparently good for cutting through grease and getting rid of stains. The lemon vinegar is a handy-dandy disinfectant that you can use in both the bathroom and the kitchen (think sinks, countertops, etc.). You can use the rosemary vinegar as an antibacterial cleaner, while the pine vinegar works on wood surfaces (tables, cutting boards, and more).
I decided to try making my own DIY cleaning vinegar, and not only was the process ridiculously easy, but I was also thrilled with the result. On top of being more environmentally friendly than other options, these cleaning vinegars also look great, and there are plenty of other ingredients you could try if you wanted a different scent or cleaning aspect. These would also make super-cute (and incredibly affordable) housewarming gifts for your eco-conscious friends.
If your interest is piqued, read on to find out how to make your own DIY scented cleaning solution.
What You’ll Need
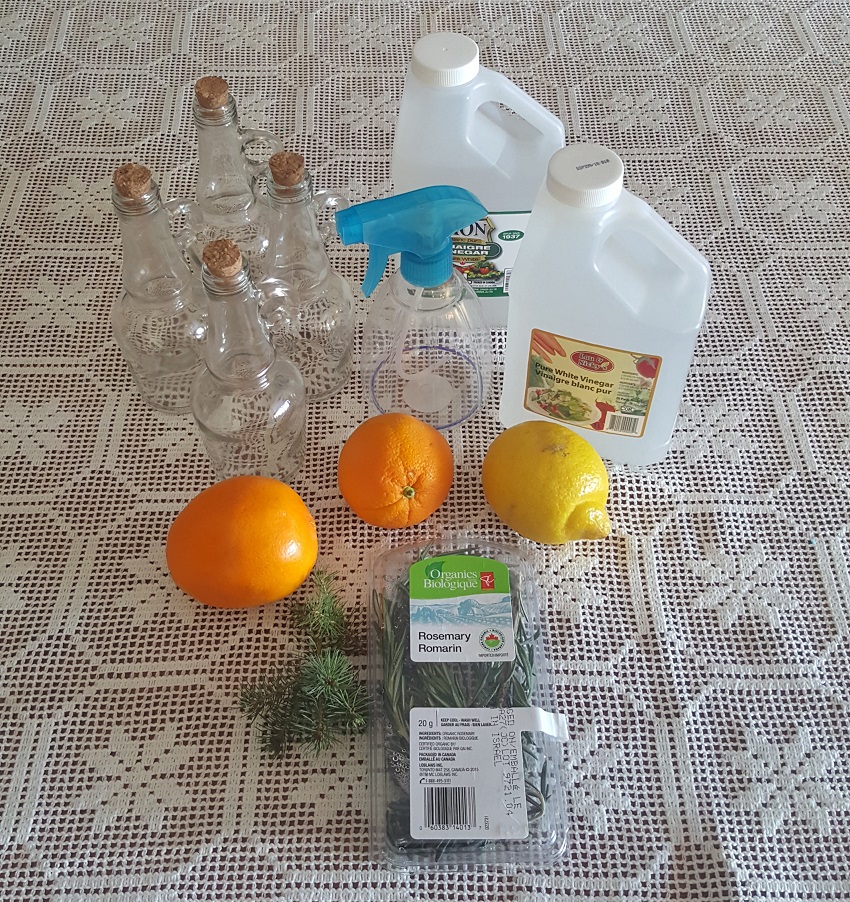
- Vinegar
- 1 cup orange peels
- 1 cup lemon peels
- 4 to 8 sprigs of fresh rosemary
- A few clippings from a pine tree or bush
- Mason jars (or any reusable jars)
- Spritz bottles
- Colander/strainer (optional)
- Funnel (optional)
- Labels (optional)
Option 1: Orange Vinegar
Before mixing your vinegar solutions, prep each of your options with the scented herbal ingredients.
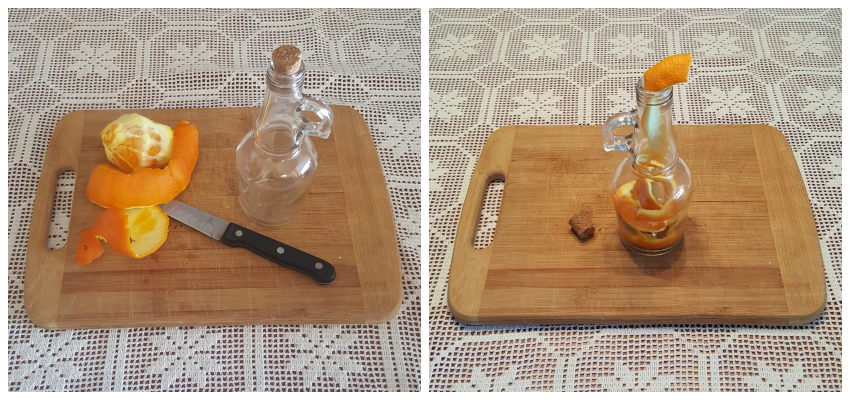
For the orange vinegar, you’ll need to peel your fruit. To get the orange peel off, I used a regular knife and started working from the top down to the bottom in a circular pattern (I thought leaving the peel in a long twisty piece would look good in the clear bottle, and I was not disappointed). A fruit peeler or a zester would do the trick as well.
The peel was a little thick, so I ran the knife down the middle of it to create two thinner strips. I then put 1 cup of orange peels into the jar — or in my case, funky glass bottles that I found at the dollar store.
Option 2: Lemon Vinegar
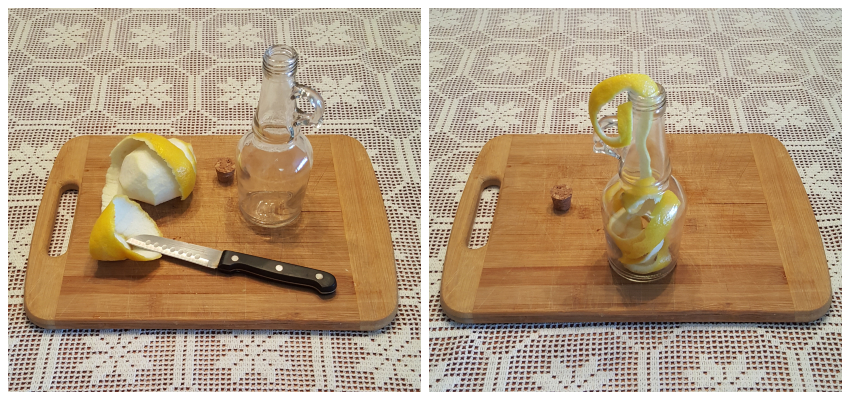
I used the same process to peel the lemon as I did with the orange. I peeled off a nice, long piece and was able to easily slip it into the bottle. Such a simple and easy step, but it was incredibly enjoyable due to the lovely citrus smell that filled the air.
Option 3: Rosemary Vinegar
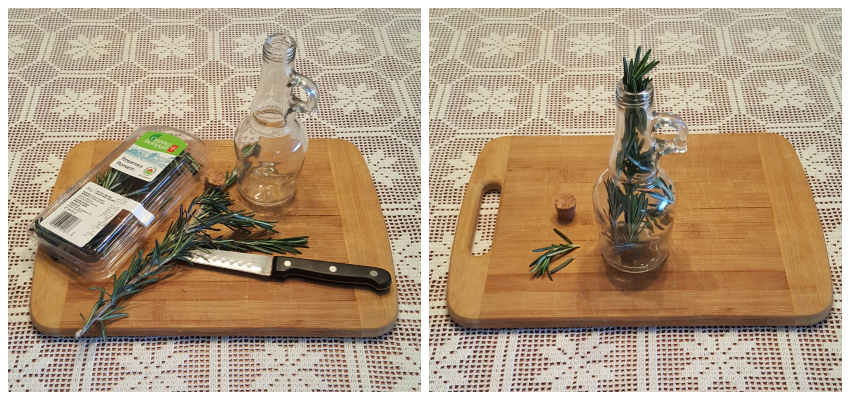
The fresh rosemary was so fragrant, I couldn’t wait to try it out. I cut off a few longer sprigs and popped them into the bottle, working with the flow of the needles so I didn't loosen them and cause them to fall off. I also tried to arrange the sprigs so that it looked like they were climbing out of the bottle.
Option 4: Pine Vinegar
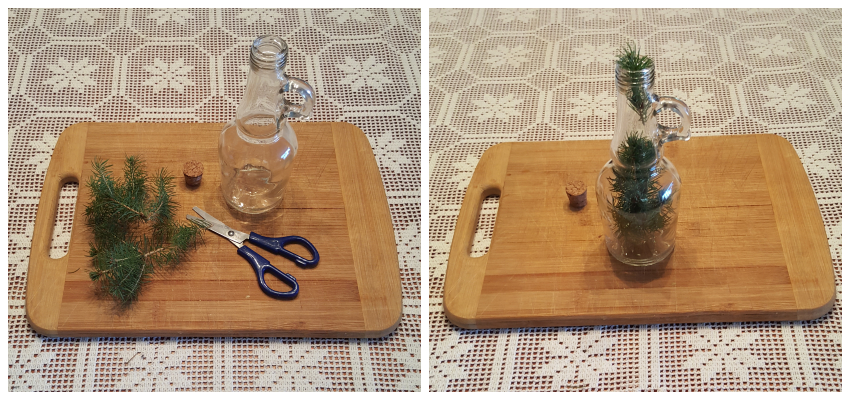
To get the pine needles, I simply took a pair of scissors and gave my pine bush in the front yard a little trim. The needles had a subtle pine smell to them, and I was hoping the vinegar would help to release the scent a bit more.
Step 1: Fill the Jars With Vinegar
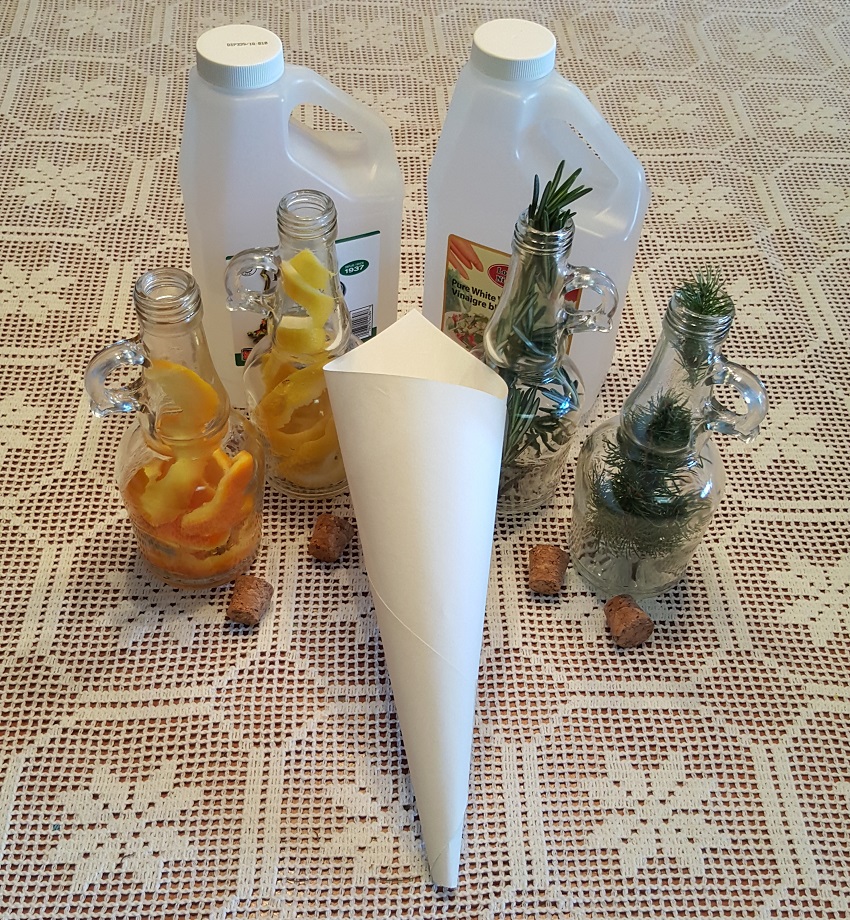
Once your scent ingredients are added to the bottles, you can mix up your vinegar solutions!
After I'd filled my bottles with their wonderful-smelling ingredients, some quick physics and a history of spilling things told me that using a funnel would be a smart choice. If you have a funnel on hand, perfect! I didn’t, so I rolled up a piece of paper and taped the seam with Scotch tape to make a homemade funnel. I then slowly poured vinegar into each bottle until the liquid was about ½ inch from the top.
Step 2: Seal the Jars
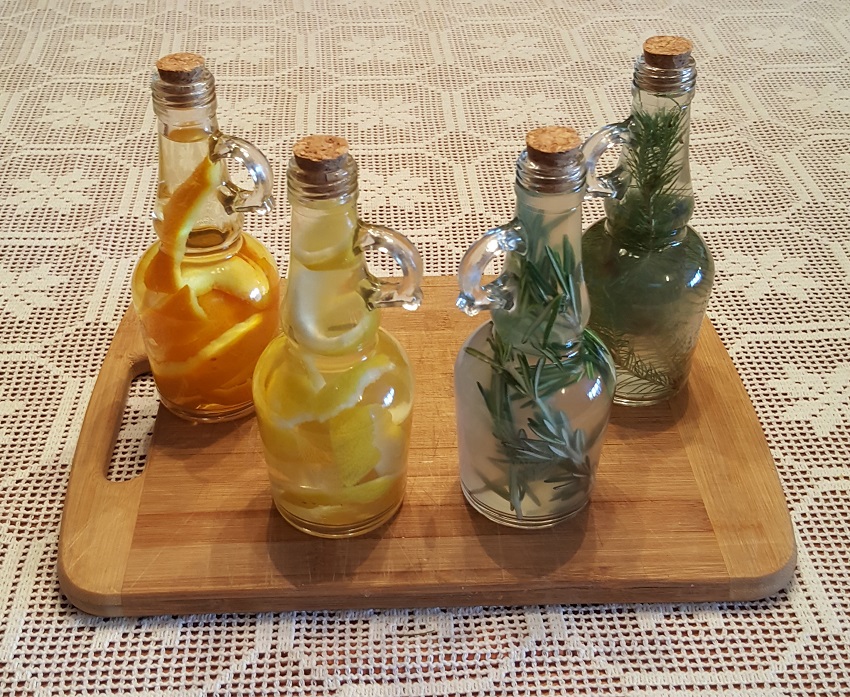
It was then time to seal things up. The bottles I used came with cute little cork stoppers, so sealing them was just a matter of popping in the cork and pushing them firmly down. If you are using a Mason jar, make sure to seal the lid tightly.
Step 3: Allow the Cleaning Vinegar to Sit for 12 to 24 Hours
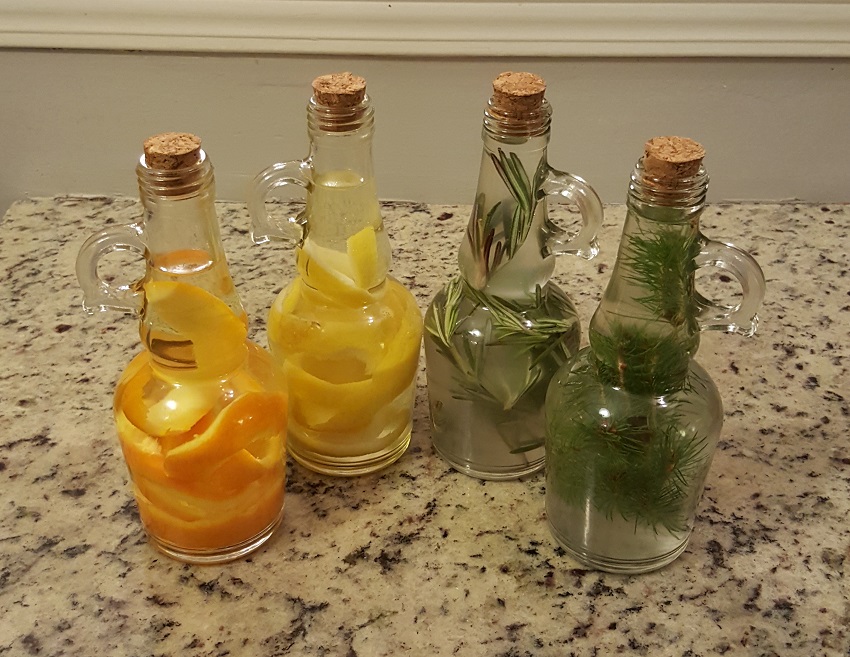
At this point, I set the bottles aside. I decided to wait a full 24 hours to really allow the fragrance of all the ingredients to infuse the vinegar.
Step 4: Prepare Spritz Bottles
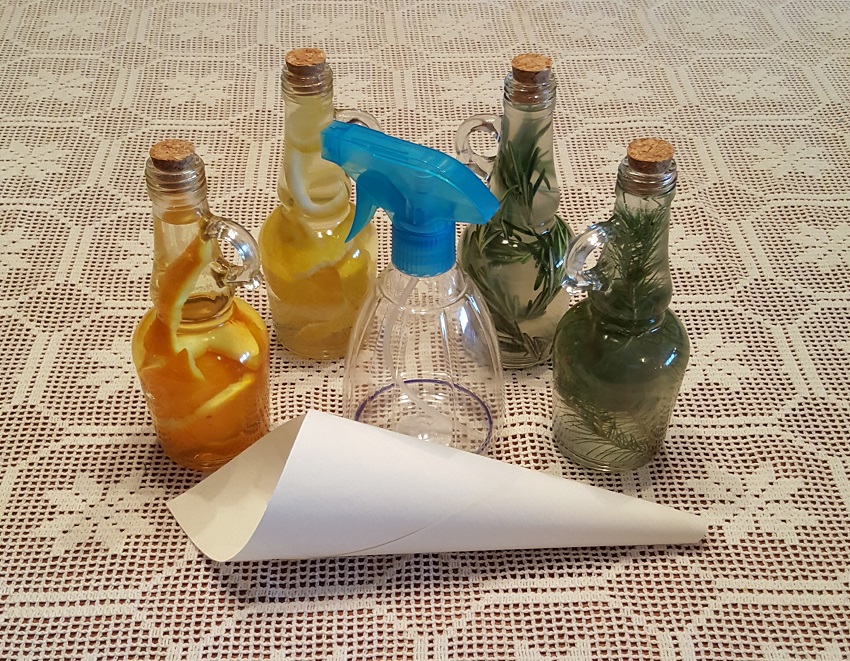
Once the vinegar was ready to use, I intended to transfer it into spritz bottles, again using a funnel to prevent spillage. However, it turned out that the spritz bottle top fit perfectly onto each of my new bottles! Instead of pouring the mixture into the spritz bottle, I simply screwed the spritz top to my new bottles and I was ready to test it out.
Step 5: Add Labels to Your Jars
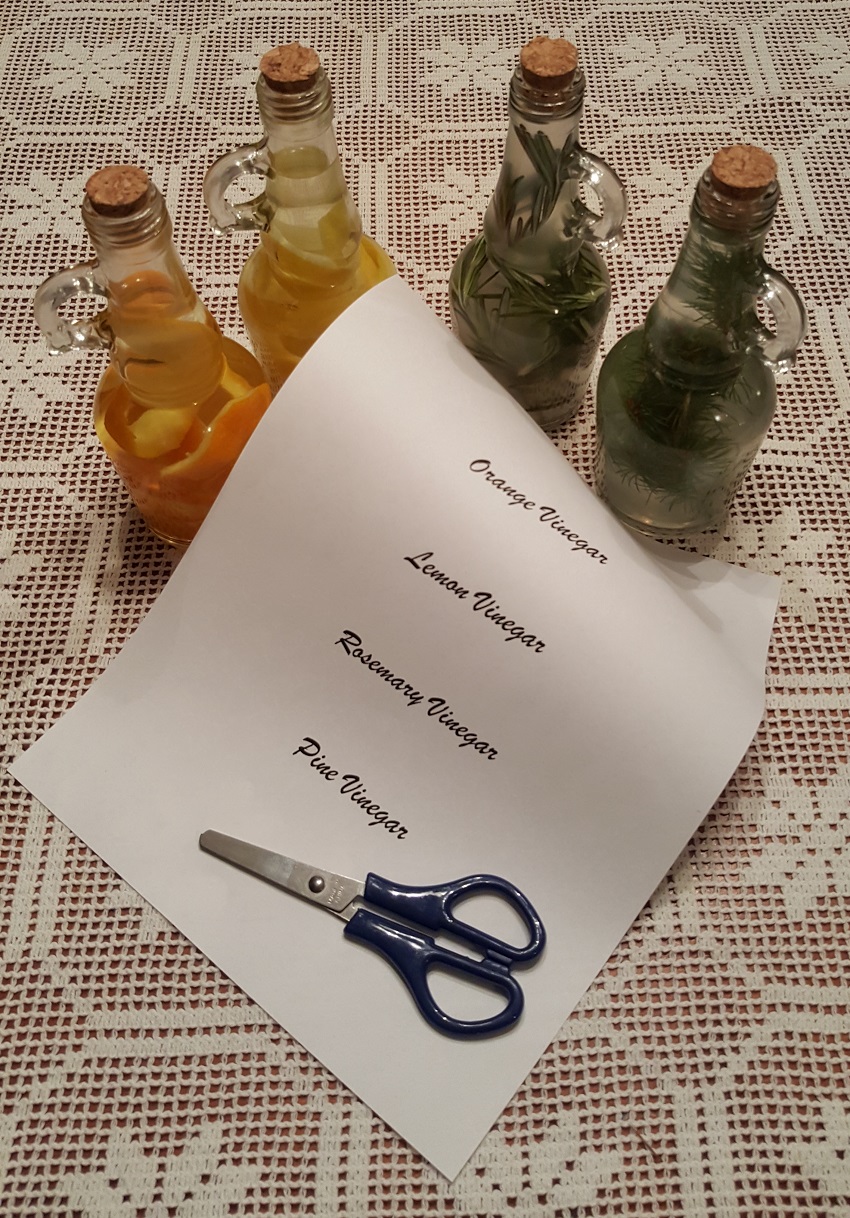
You can add labels to your jars to remind you of what’s in each and to give it a more personal touch. If you are working with Mason jars, you can sometimes find labels that work specifically with them, or you can do it yourself. I printed out some DIY labels with a fancy font, but in the end, I decided not to use them. I really liked the look of the clear bottles and felt that a label would take away from that. But how cute would a little Mason jar with a nice handwritten label on it be? So cute!
Testing the Orange Vinegar
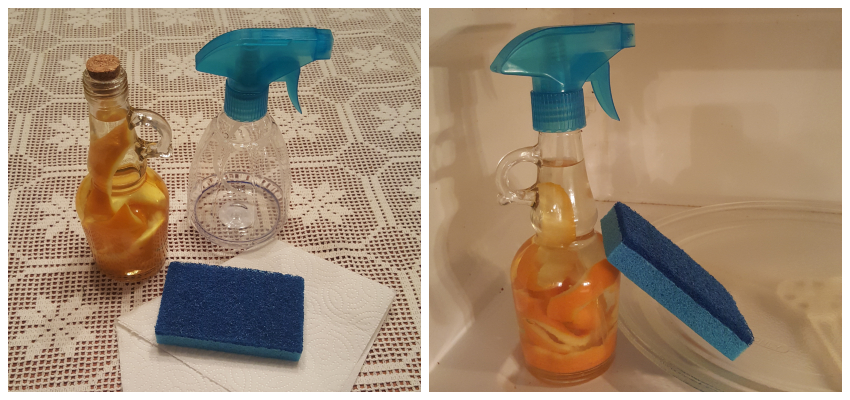
The scented vinegar had been sitting for 24 hours, and it was finally time to put it to work. As soon as I pulled the stopper off the bottle, I could smell the sweet-and-sour orange zest and vinegar combo. Orange can be an effective light degreaser and can be used to get out tough stains, so I decided to try it on my microwave. I spritzed some of the mixture inside and let it sit for about five minutes, then wiped down the surfaces. The vinegar cleaner helped to blast through all the gunk and made it really easy to wipe clean.
Testing the Lemon Vinegar
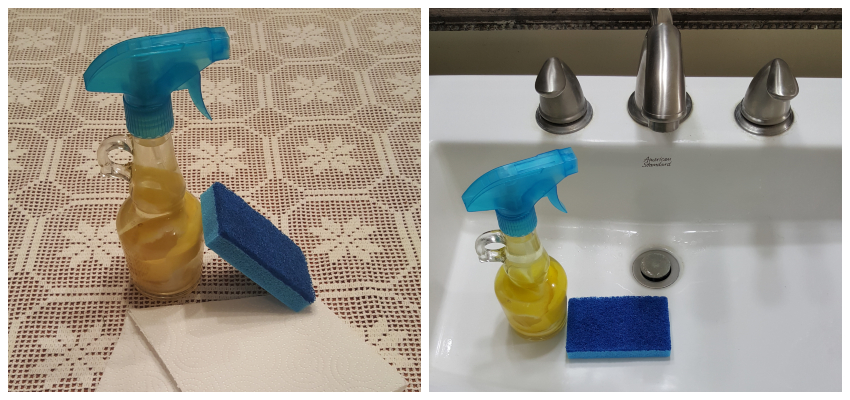
The lemon adds more of an antibacterial quality to cleaning, so I decided to use it in my bathroom. I really saturated the sink and loved the lemonade-like citrus smell that gave the bathroom a fresh feel. After wiping down the sink and faucet, things definitely looked nice and shiny.
Testing the Rosemary Vinegar
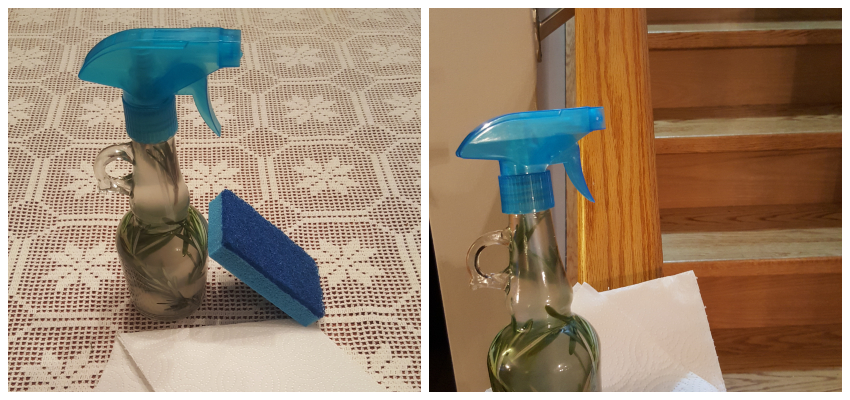
Rosemary is also great to use as an antibacterial cleaner, so I spritzed some along the wooden handrails in my home. It certainly helped to wipe away the ickiness, and a faint, herby scent was left behind.
Testing the Pine Vinegar
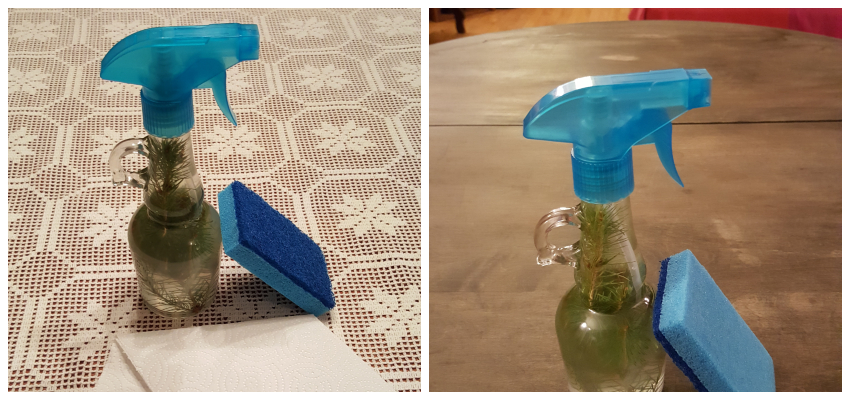
Pine can be used on wood surfaces, so I tried spraying it on my coffee table. The pine scent came to life a little more after spending 24 hours in the vinegar, and I felt like it did a good job of cleaning my old table.
Overall, I was thrilled with how the vinegar cleaners looked, smelled, and performed. Thumbs up for this DIY alternative!


