If you enjoy gardening — or if you’re trying to get into gardening — then you’ll appreciate anything that adds a little extra pizzazz to the process. That’s why I was so thrilled when I came across flower seed bombs over on Natural Beach Living.
The blogger explains, "Gardening with children is such a joy; children love to make DIY seed bombs as well as plant them and watch them grow!" While there’s surely no doubt that little ones would love flower bombs, making them seems like the perfect activity for anyone who likes simple and adorable ways to liven up their flower-planting routine. They would also be a sweet little gift for friends or family who like to spend time outside digging in the dirt or who might have moved into a new home with a garden that could use a personal touch.
More from LittleThings: From Snacks To Hacks: Useful Travel Tips For Taking Kids On A Plane
With that in mind, and with the weather getting warmer outside, I gathered up everything I needed to make my own flower seed bombs — read on to see the results!
What You’ll Need
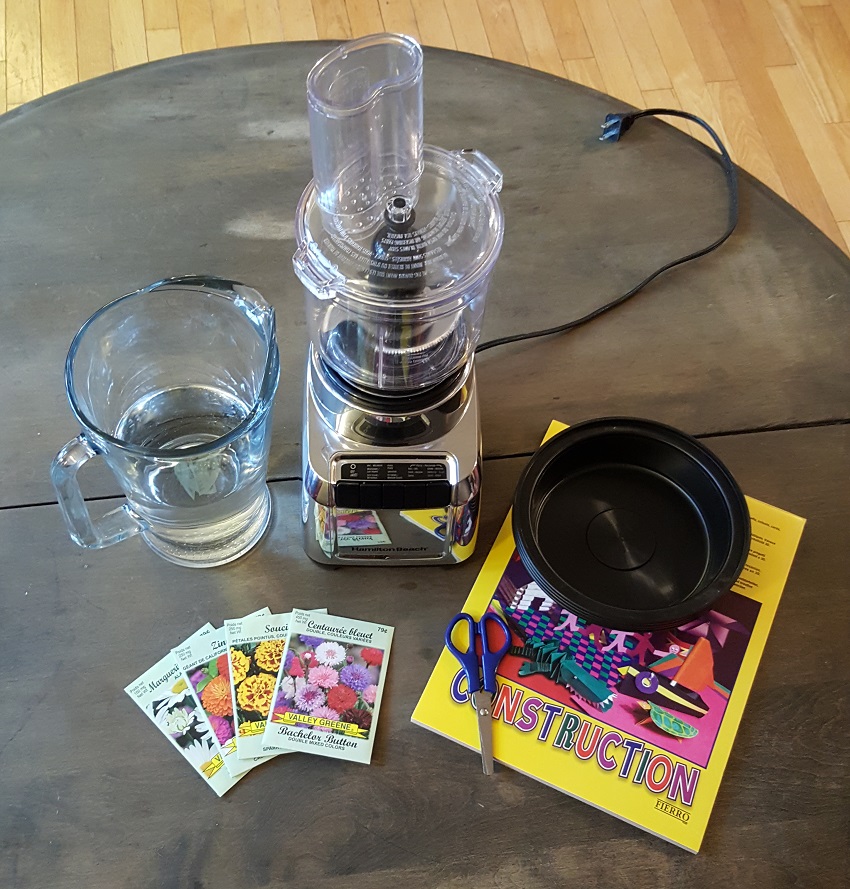
- Construction paper, assorted colors (preferably recycled)
- 3 to 5 packages of flower seeds
- Scissors
- Bowls or containers
- Food processor
Prep the Paper
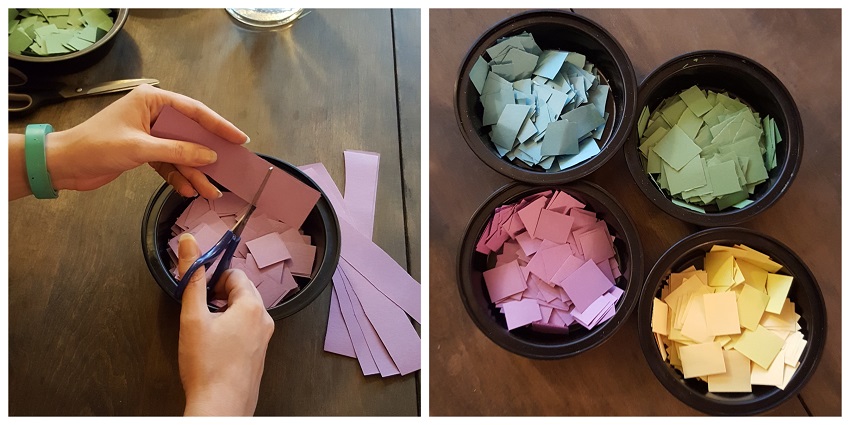
First, I chose four different colors of paper — blue, green, purple, and yellow — and grabbed two pieces of each shade (the more balls you make, the more paper you'll need). I then cut the paper into 1-inch squares. I kept the different colors of paper separate from each other in four different containers.
Add Water
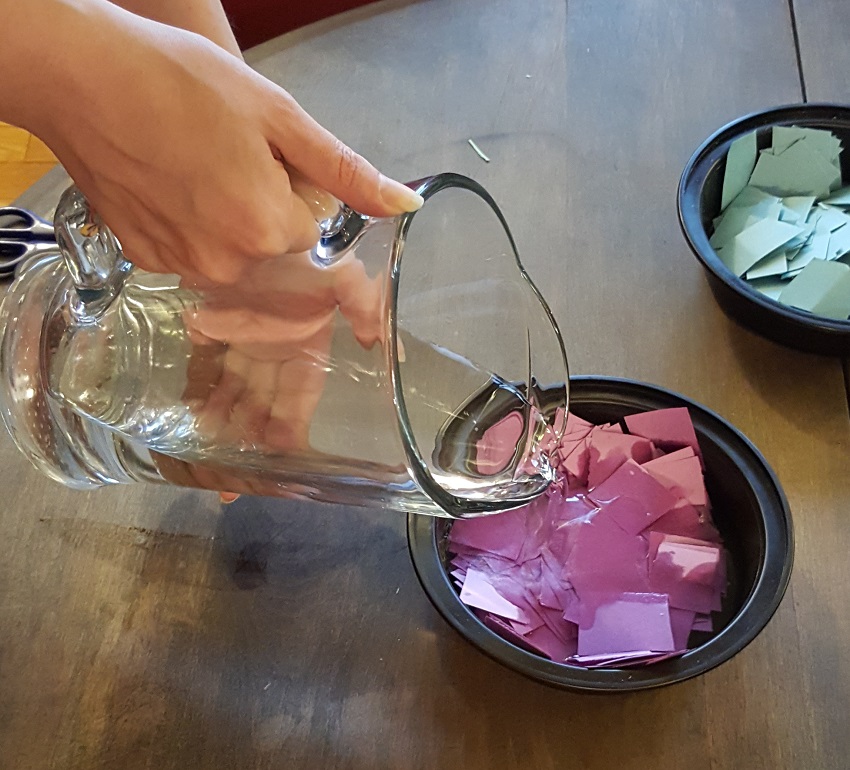
I then filled each container with water, making sure that the paper was totally covered and submerged. A few pieces were stuck together, so I pulled them apart to ensure that everything was completely wet.
Soak the Paper
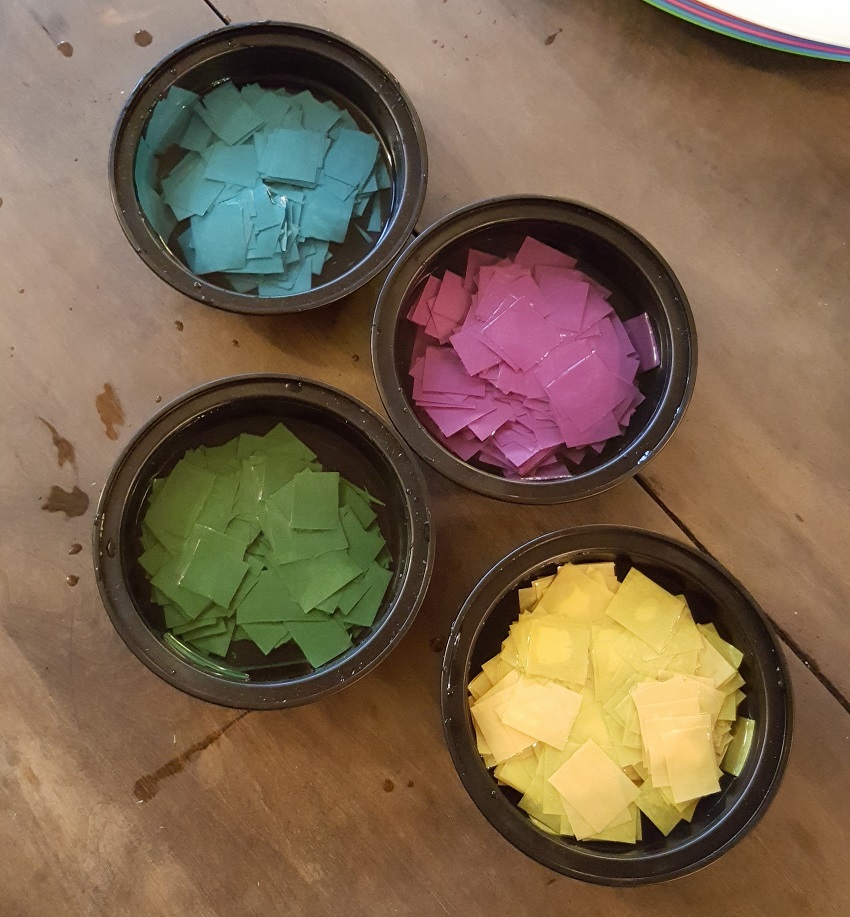
Once I was sure that all the paper pieces were thoroughly wet, I set the containers aside to soak. I left them for around 20 minutes so that the paper would get nice and soft. When the time was up, I checked on the paper and found that it was pretty mushy, which I figured was what I was looking for.
Get Rid of the Water
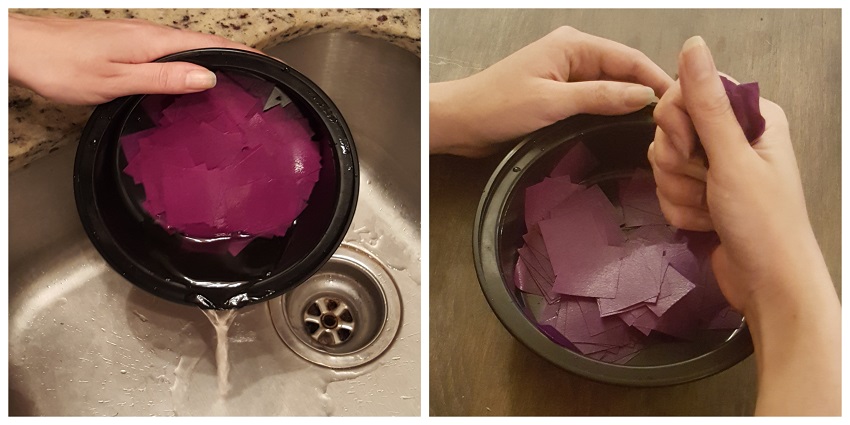
Next, I poured the water out of the containers. The paper was dripping, and the instructions said to wring it out about halfway. So that’s what I did while still keeping the different colors of paper separated.
Turn the Paper Into Pulp
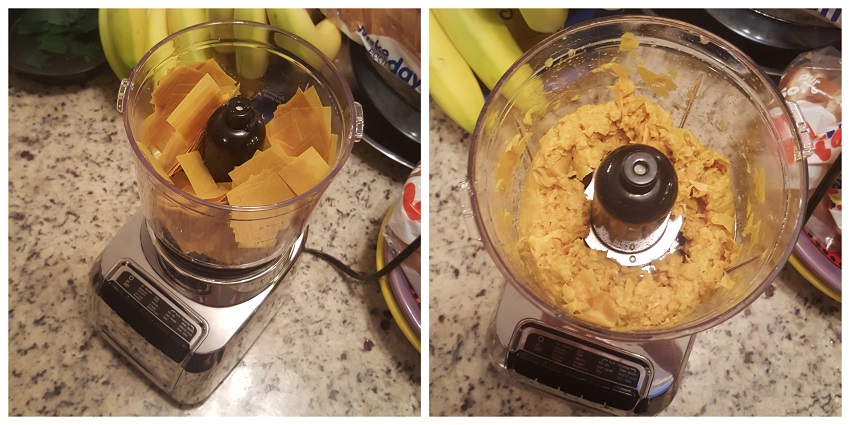
I started with the yellow paper and threw it into my food processor. However, when I turned on the processor, nothing happened to the paper. After trying out a few different settings, I figured that the paper might be too dry, so I added some more water. That did the trick, and the paper quickly turned into a wet pulp.
Repeat With the Rest of the Paper

I did the same with the other colors of paper, and each time I needed to add water to make sure it was wet enough to turn into pulp. I made sure to rinse out the food processor before I put in new paper so that the colors didn’t mix together. After each batch was blended to pulp, I kept it separated from the other colors in its own container.
Sprinkle in the Seeds

With the paper now turned into pulp, it was time to add the seeds. I sprinkled them into the containers. I put bachelor button seeds in the purple pulp, marigolds in the blue pulp, zinnias in the yellow pulp, and Shasta daisy seeds in the green pulp.
Press the Pulp Into Balls
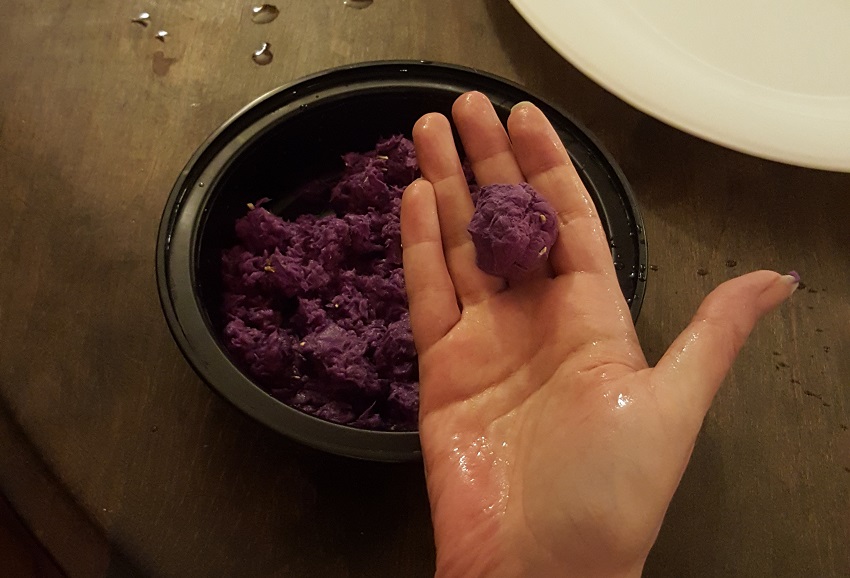
While you could obviously use all of the paper in each color to make one big seed bomb, I decided to make a few smaller balls in various sizes so that I could plant them in different spots in my garden or give a few away to friends as gifts.
Add More Water as Needed
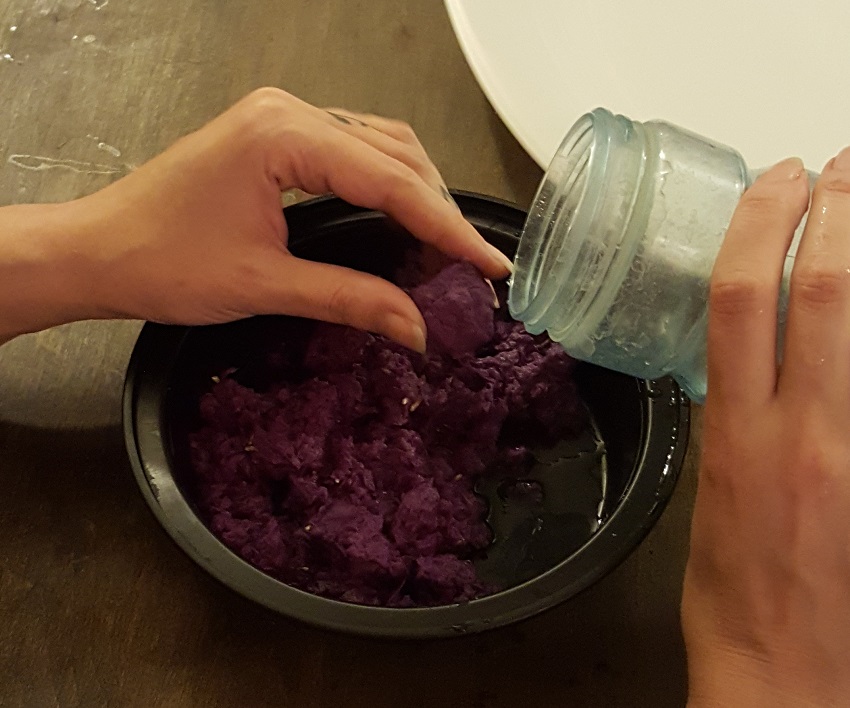
The pulp was again a little dry, which was making it hard to form the balls while keeping the seeds from falling out. I added a little more water to the pulp. That made it much easier to form the balls while making sure that the seeds stayed inside.
Let the Seed Balls Dry
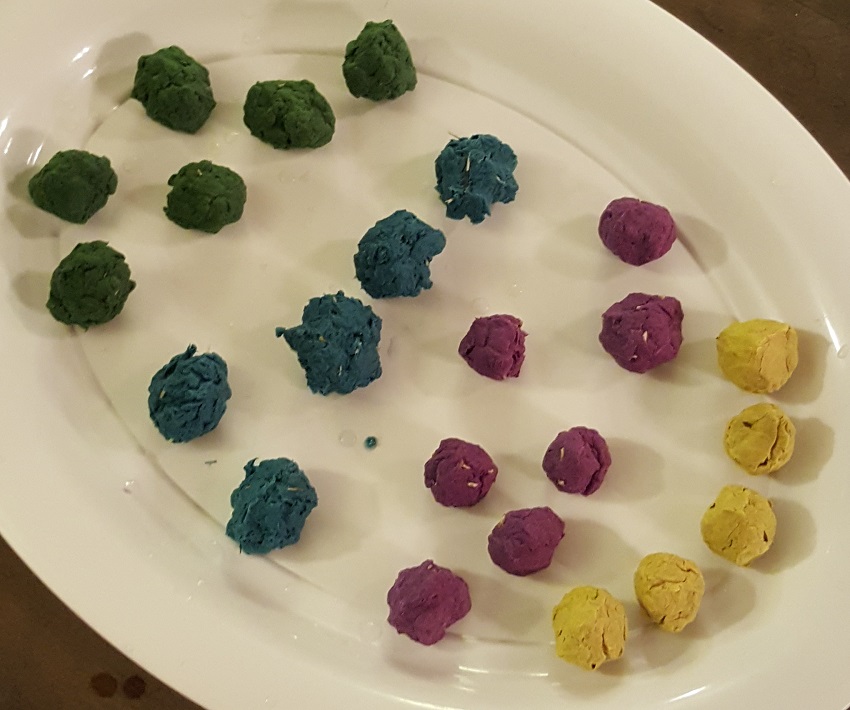
I then placed the balls on a big plate and set them aside to dry. I wasn’t sure how long it would be until they were ready, but since I made sure there wasn’t too much water left in the balls, I figured it wouldn’t take too long. I decided to leave them overnight. Obviously, the larger you make your seed bombs, the longer they’ll take to dry.
Final Seed Bombs
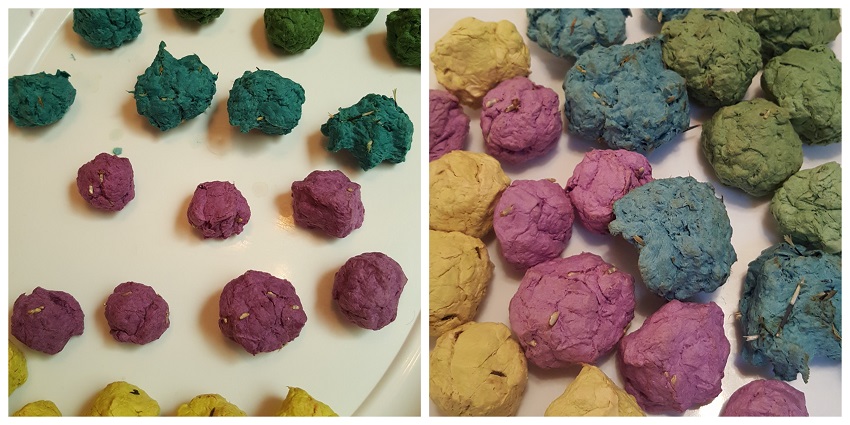
The next day, I checked in on the seed bombs, and they were still a little bit damp (see left photo), so I decided to let them dry for another 24 hours (see right photo).
However, I was already pleased with how well they had turned out. Each ball had kept its shape, no matter how big or small I had made it. And while most of the seeds were safely tucked inside, even the ones that were on the outside of the balls were firmly stuck in place. I was also surprised that the color in the paper hadn’t faded!
Planting the Seed Bombs

It was then time to try out a few of my seed bombs. Out in my garden, I made a few small holes in the dirt and placed a ball into each spot, one of each color. I then covered them with dirt. Since it was about to rain, I didn’t bother to water them.
When I planted the seed bombs, I noticed how much easier it was to simply pop them in the dirt instead of sprinkling in loose seeds, which can get lost or stolen by critters and birds.
Final Thoughts
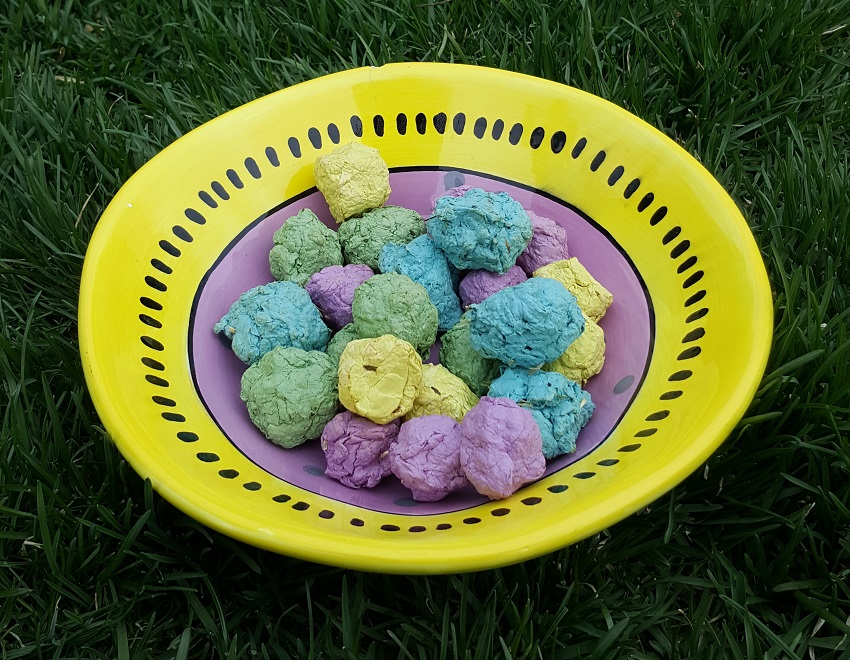
This was such a simple activity, and I was thrilled with the result. Although I needed to make a few adjustments along the way when it came to things like adding water while mushing up the paper in the food processor and needing an extra 24 hours to allow the balls to dry out, the project overall worked out exactly the way it was supposed to.
I would be happy to give these away as little gifts. Now that I’ve planted a few of the seed bombs in my own garden, I’m looking forward to flowers popping up over the coming weeks!


