One of the most satisfying things you can do in your home is to truly make it your own, turning it into a reflection of your personality, values, interests, and individuality.
You can paint a room in your favorite color, hang artwork that speaks to you, or set up your furniture in a way that suits your needs.
And if you're like Reddit user thepassionofthechris (who we'll call Chris for short), you want to bring color and flavor into your home in a way that no one who visits will ever forget.
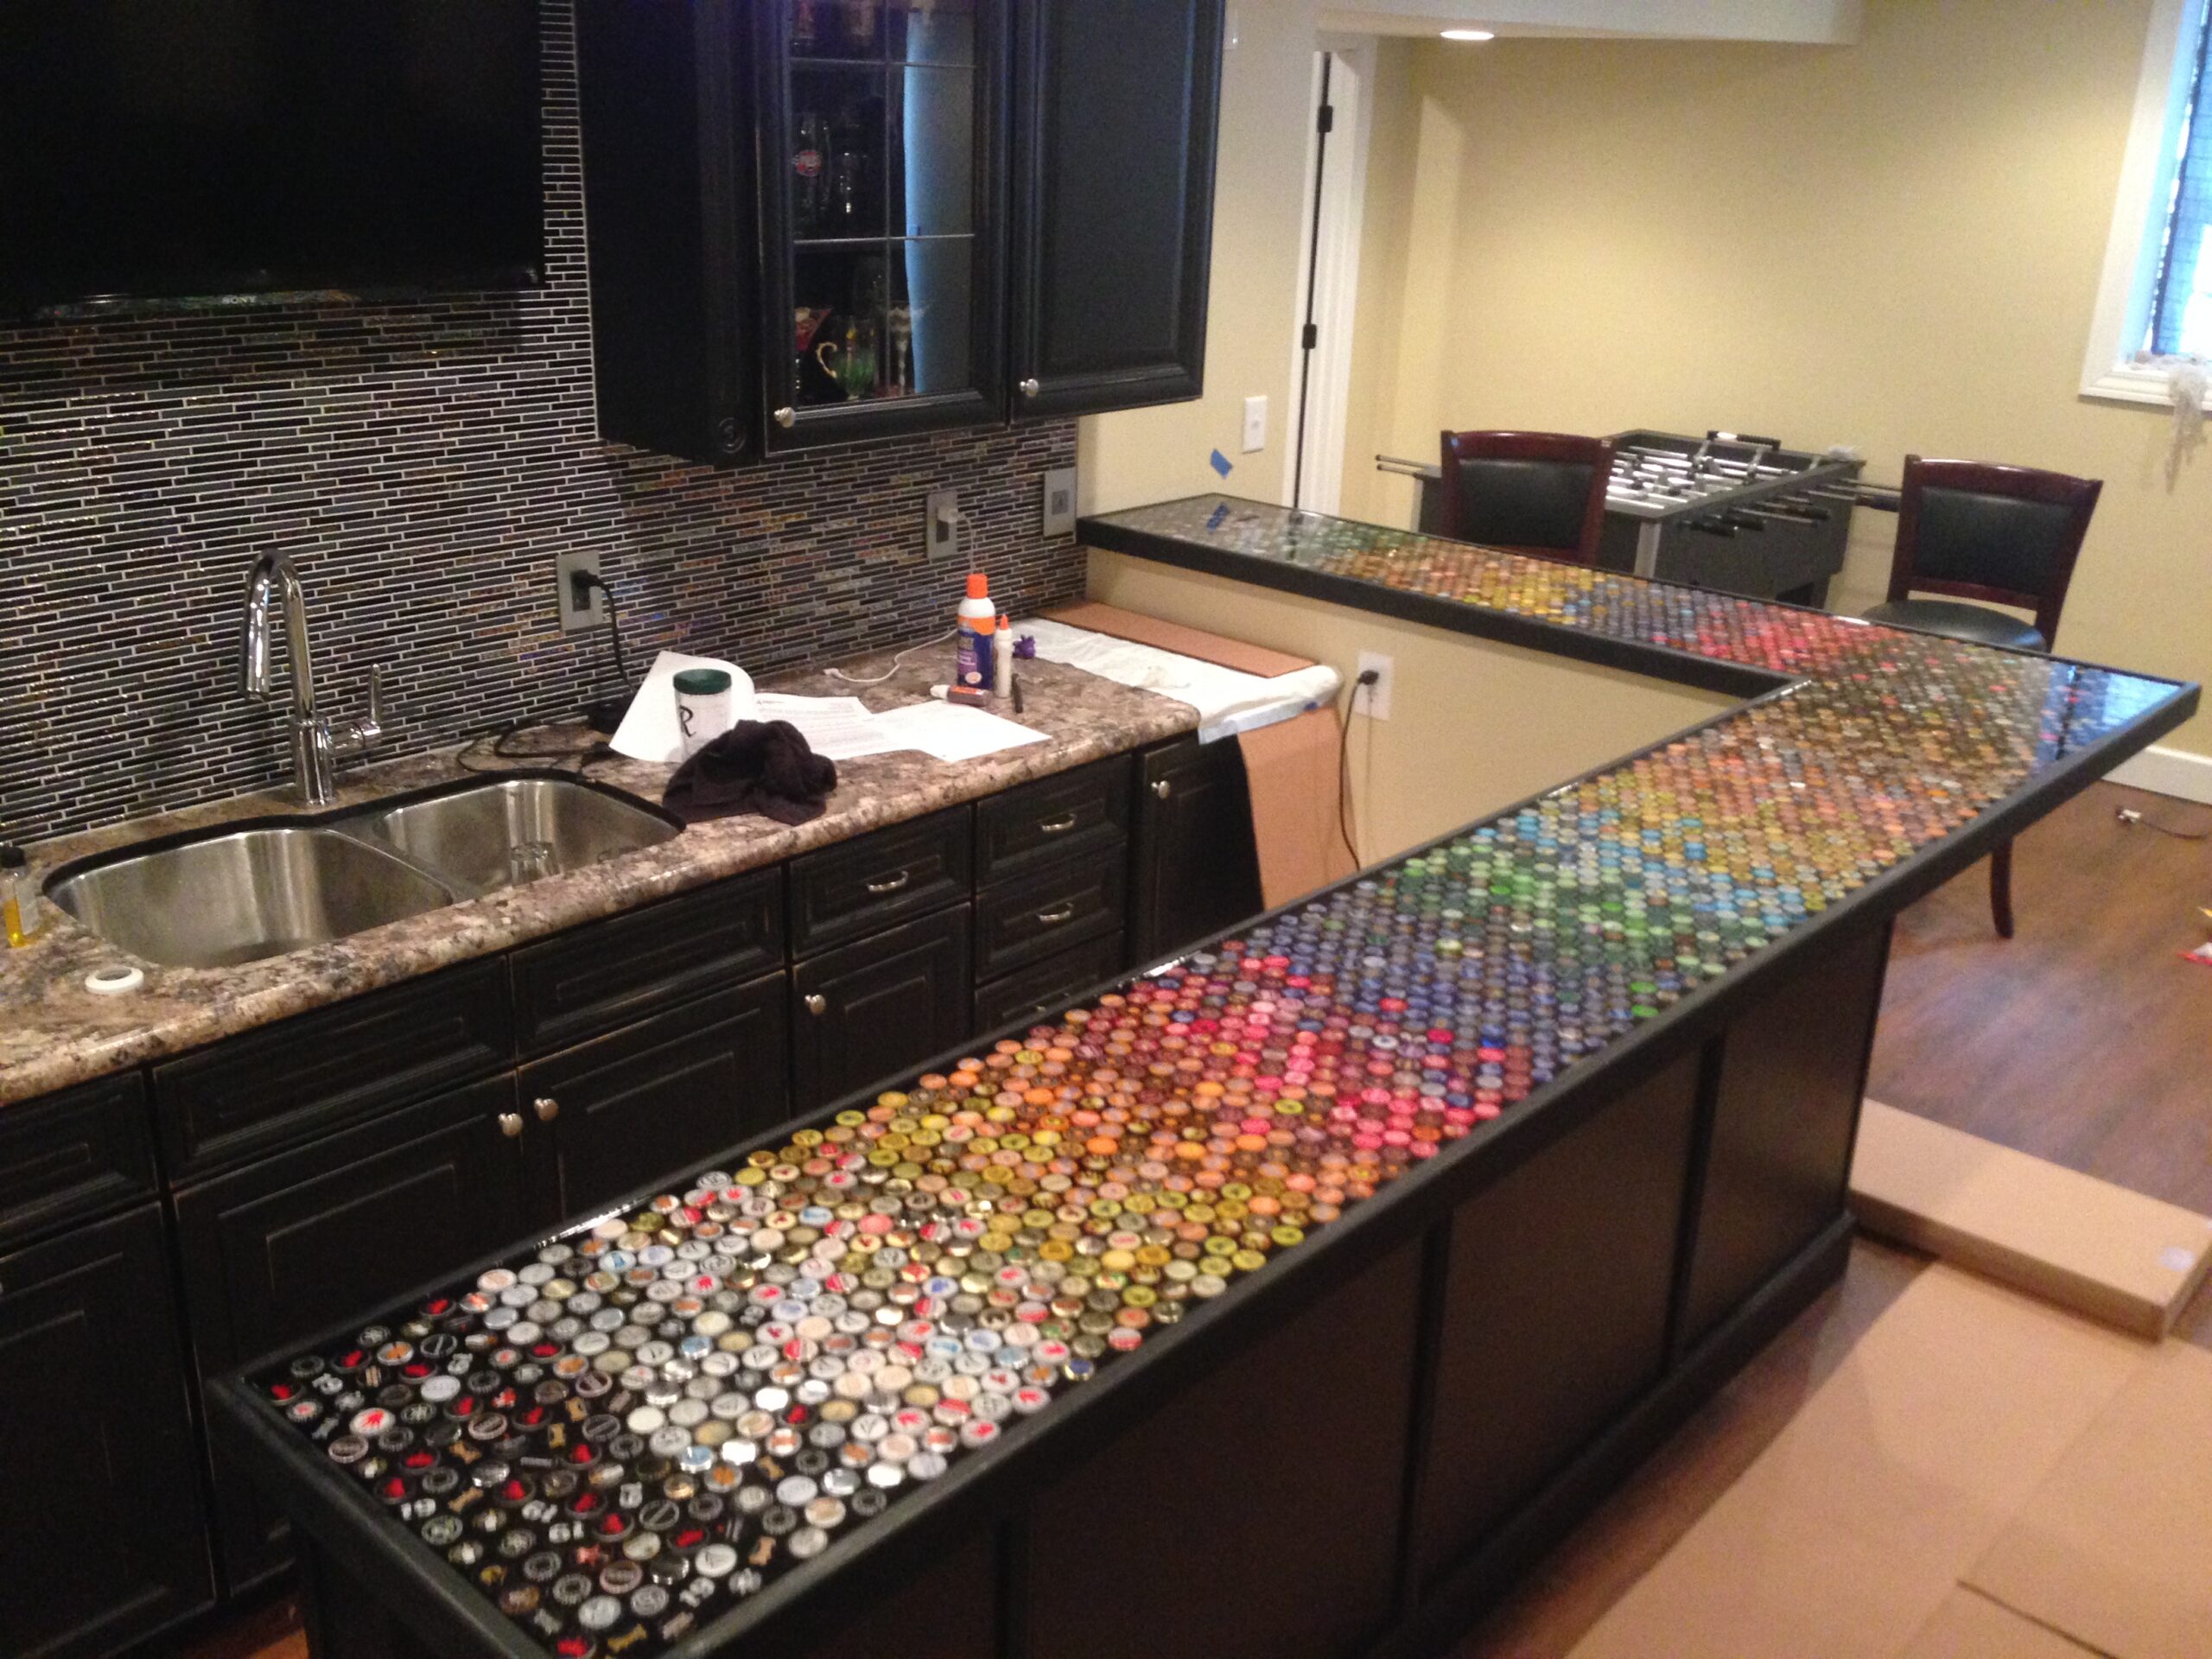
Chris wanted to spice up his kitchen with a splash of color. The look in the kitchen was clean and modern, with lots of tile and granite, but was a mainly neutral color palette with grays, browns, and blacks. He wanted the color to be front and center.
He opted to make a centerpiece to the room that would instantly grab people's attention, but also make it food related.
And luckily, he happened to have quite an extensive collection of bottle caps at his disposal, as well as a brand new kitchen bar top that was ready to be installed.
Bottle caps have been a favorite material of crafters and upcyclers for a long time, and have been used to create almost quilt-like tabletops and countertops. The caps often get overlooked, but they're actually tiny little works of art in their own rights.
The bottle cap countertop took a lot of very careful sorting, planning, and arranging, as well as a few mistakes. But in the end, Chris ended up with a truly unique piece that adds a pop of color and personality to his kitchen.
[H/T: Reddit]
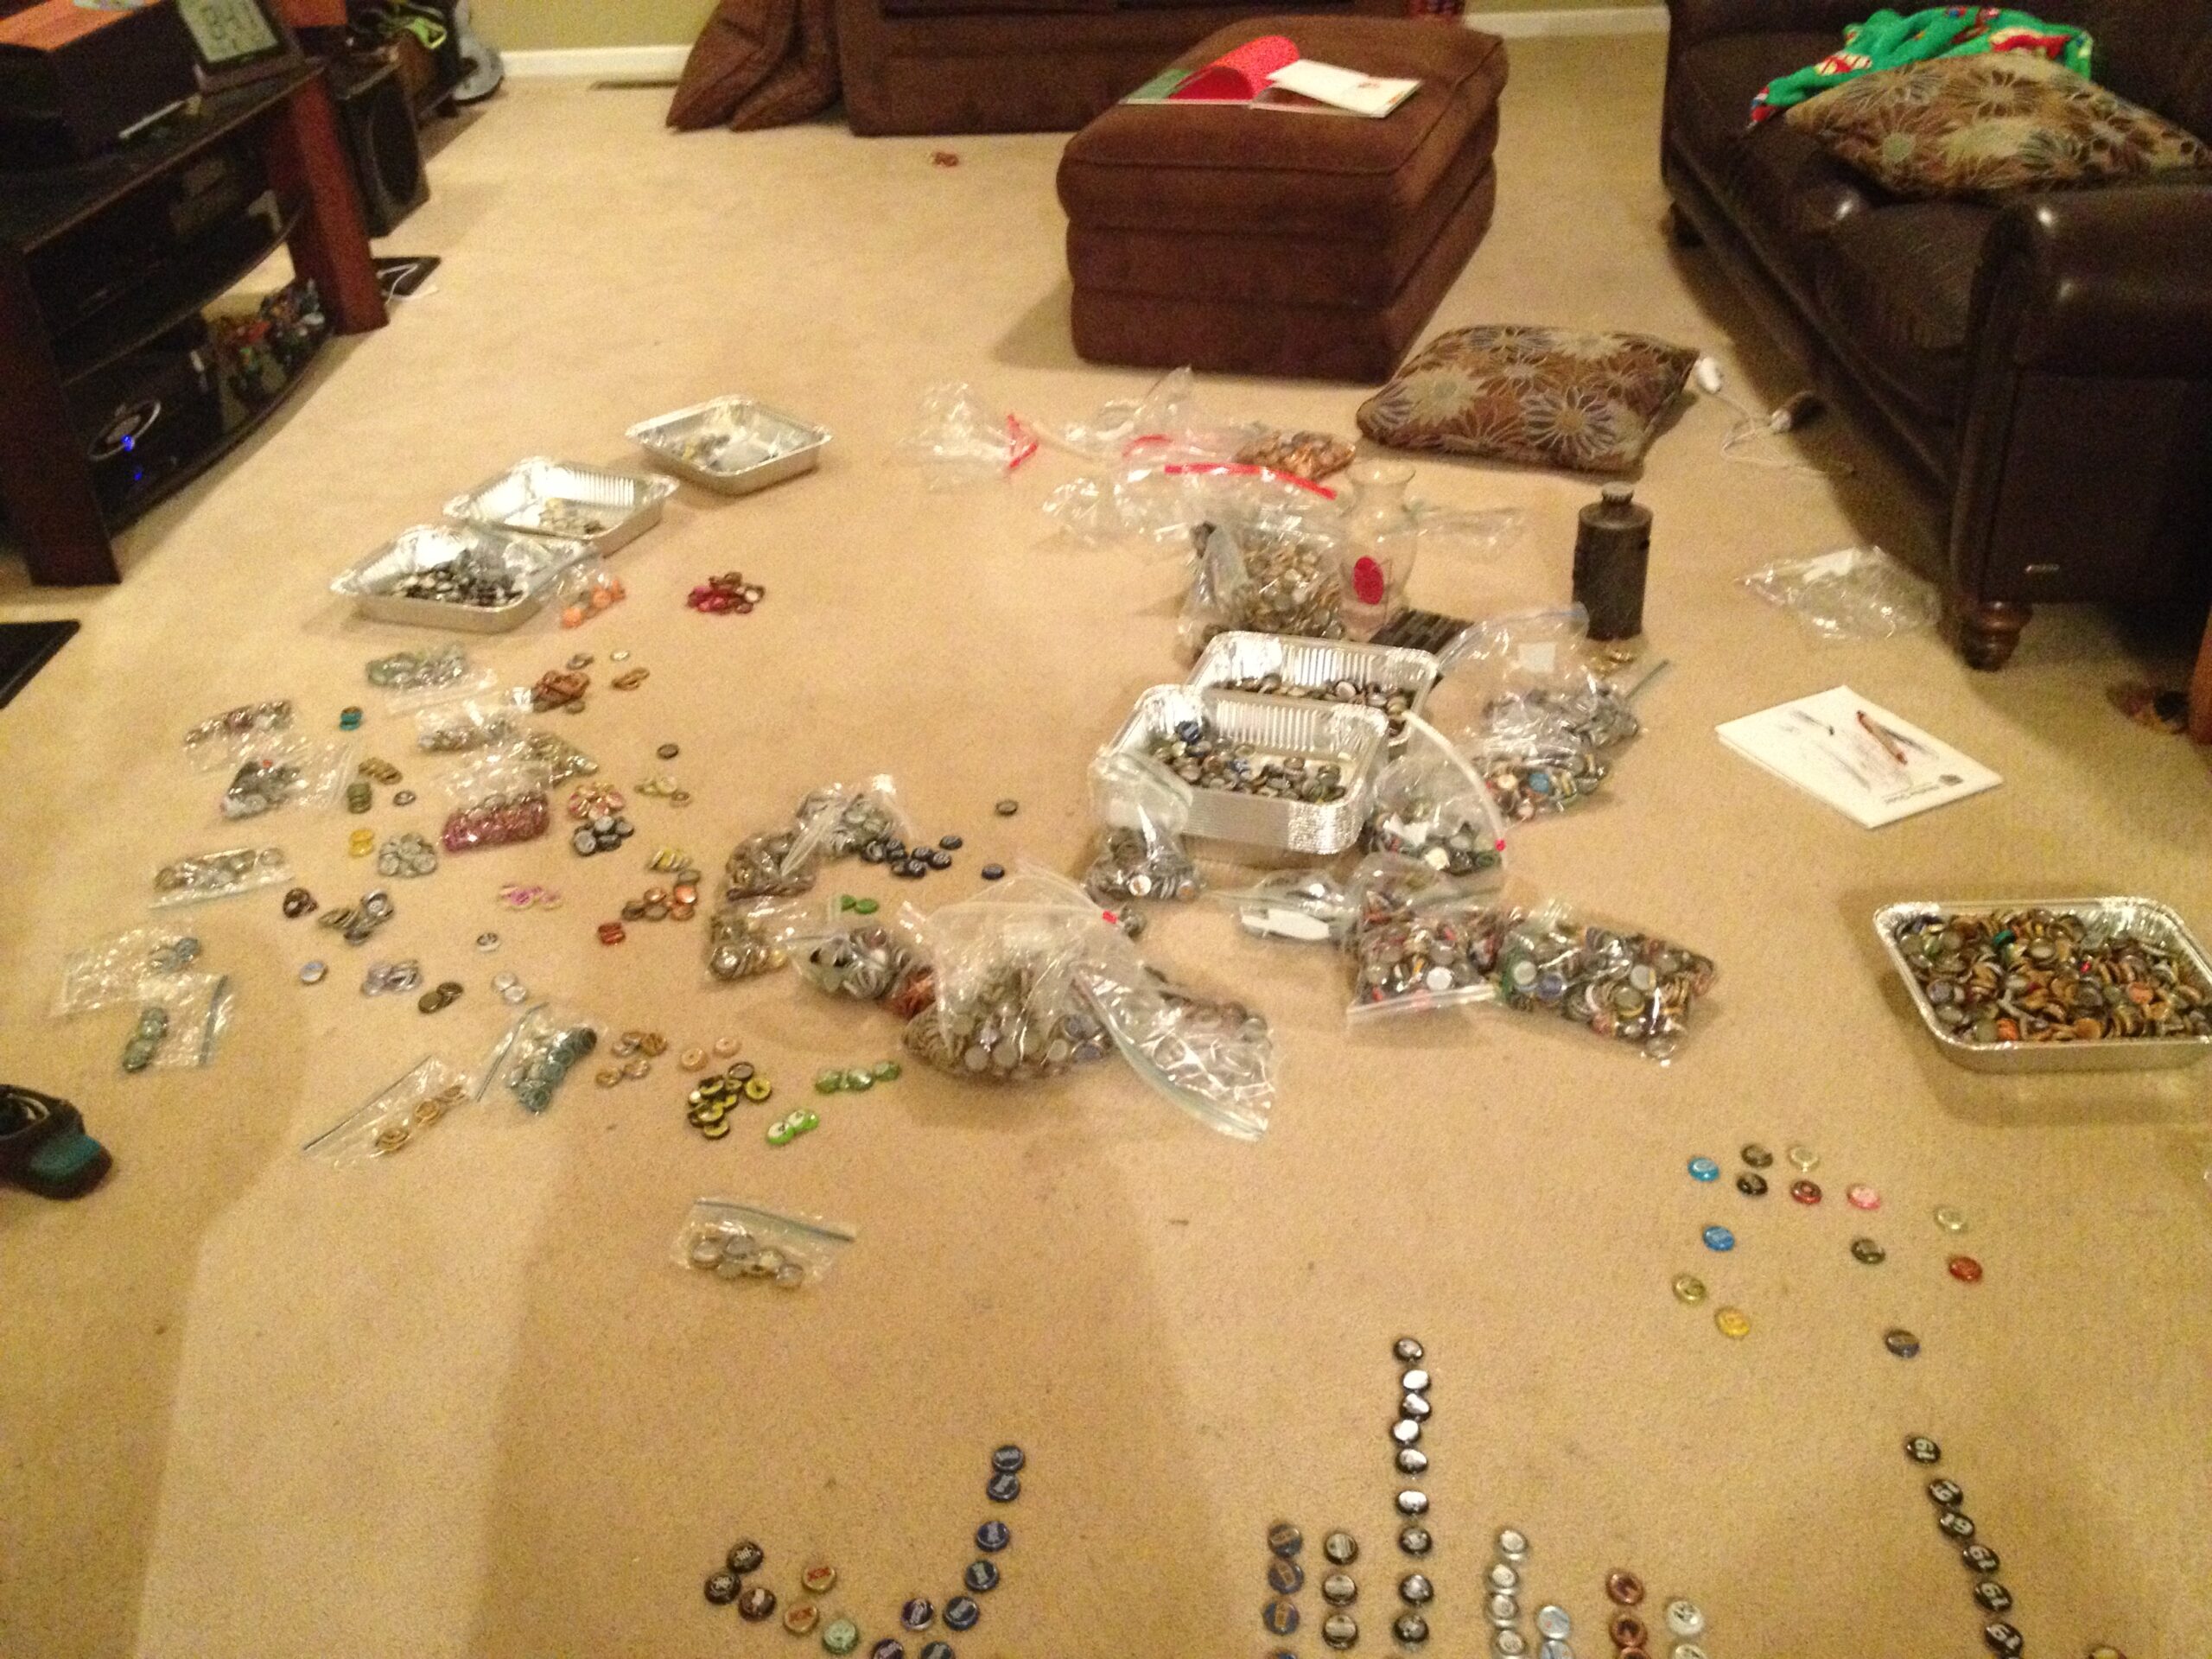
When Reddit user thepassionofthechris decided that his kitchen needed a little color, he started with a lot of bottle caps.
In fact, he had this plan in the works for more than five years, and during that time, had collected saved bottle caps from friends and family until he had hundreds of them.
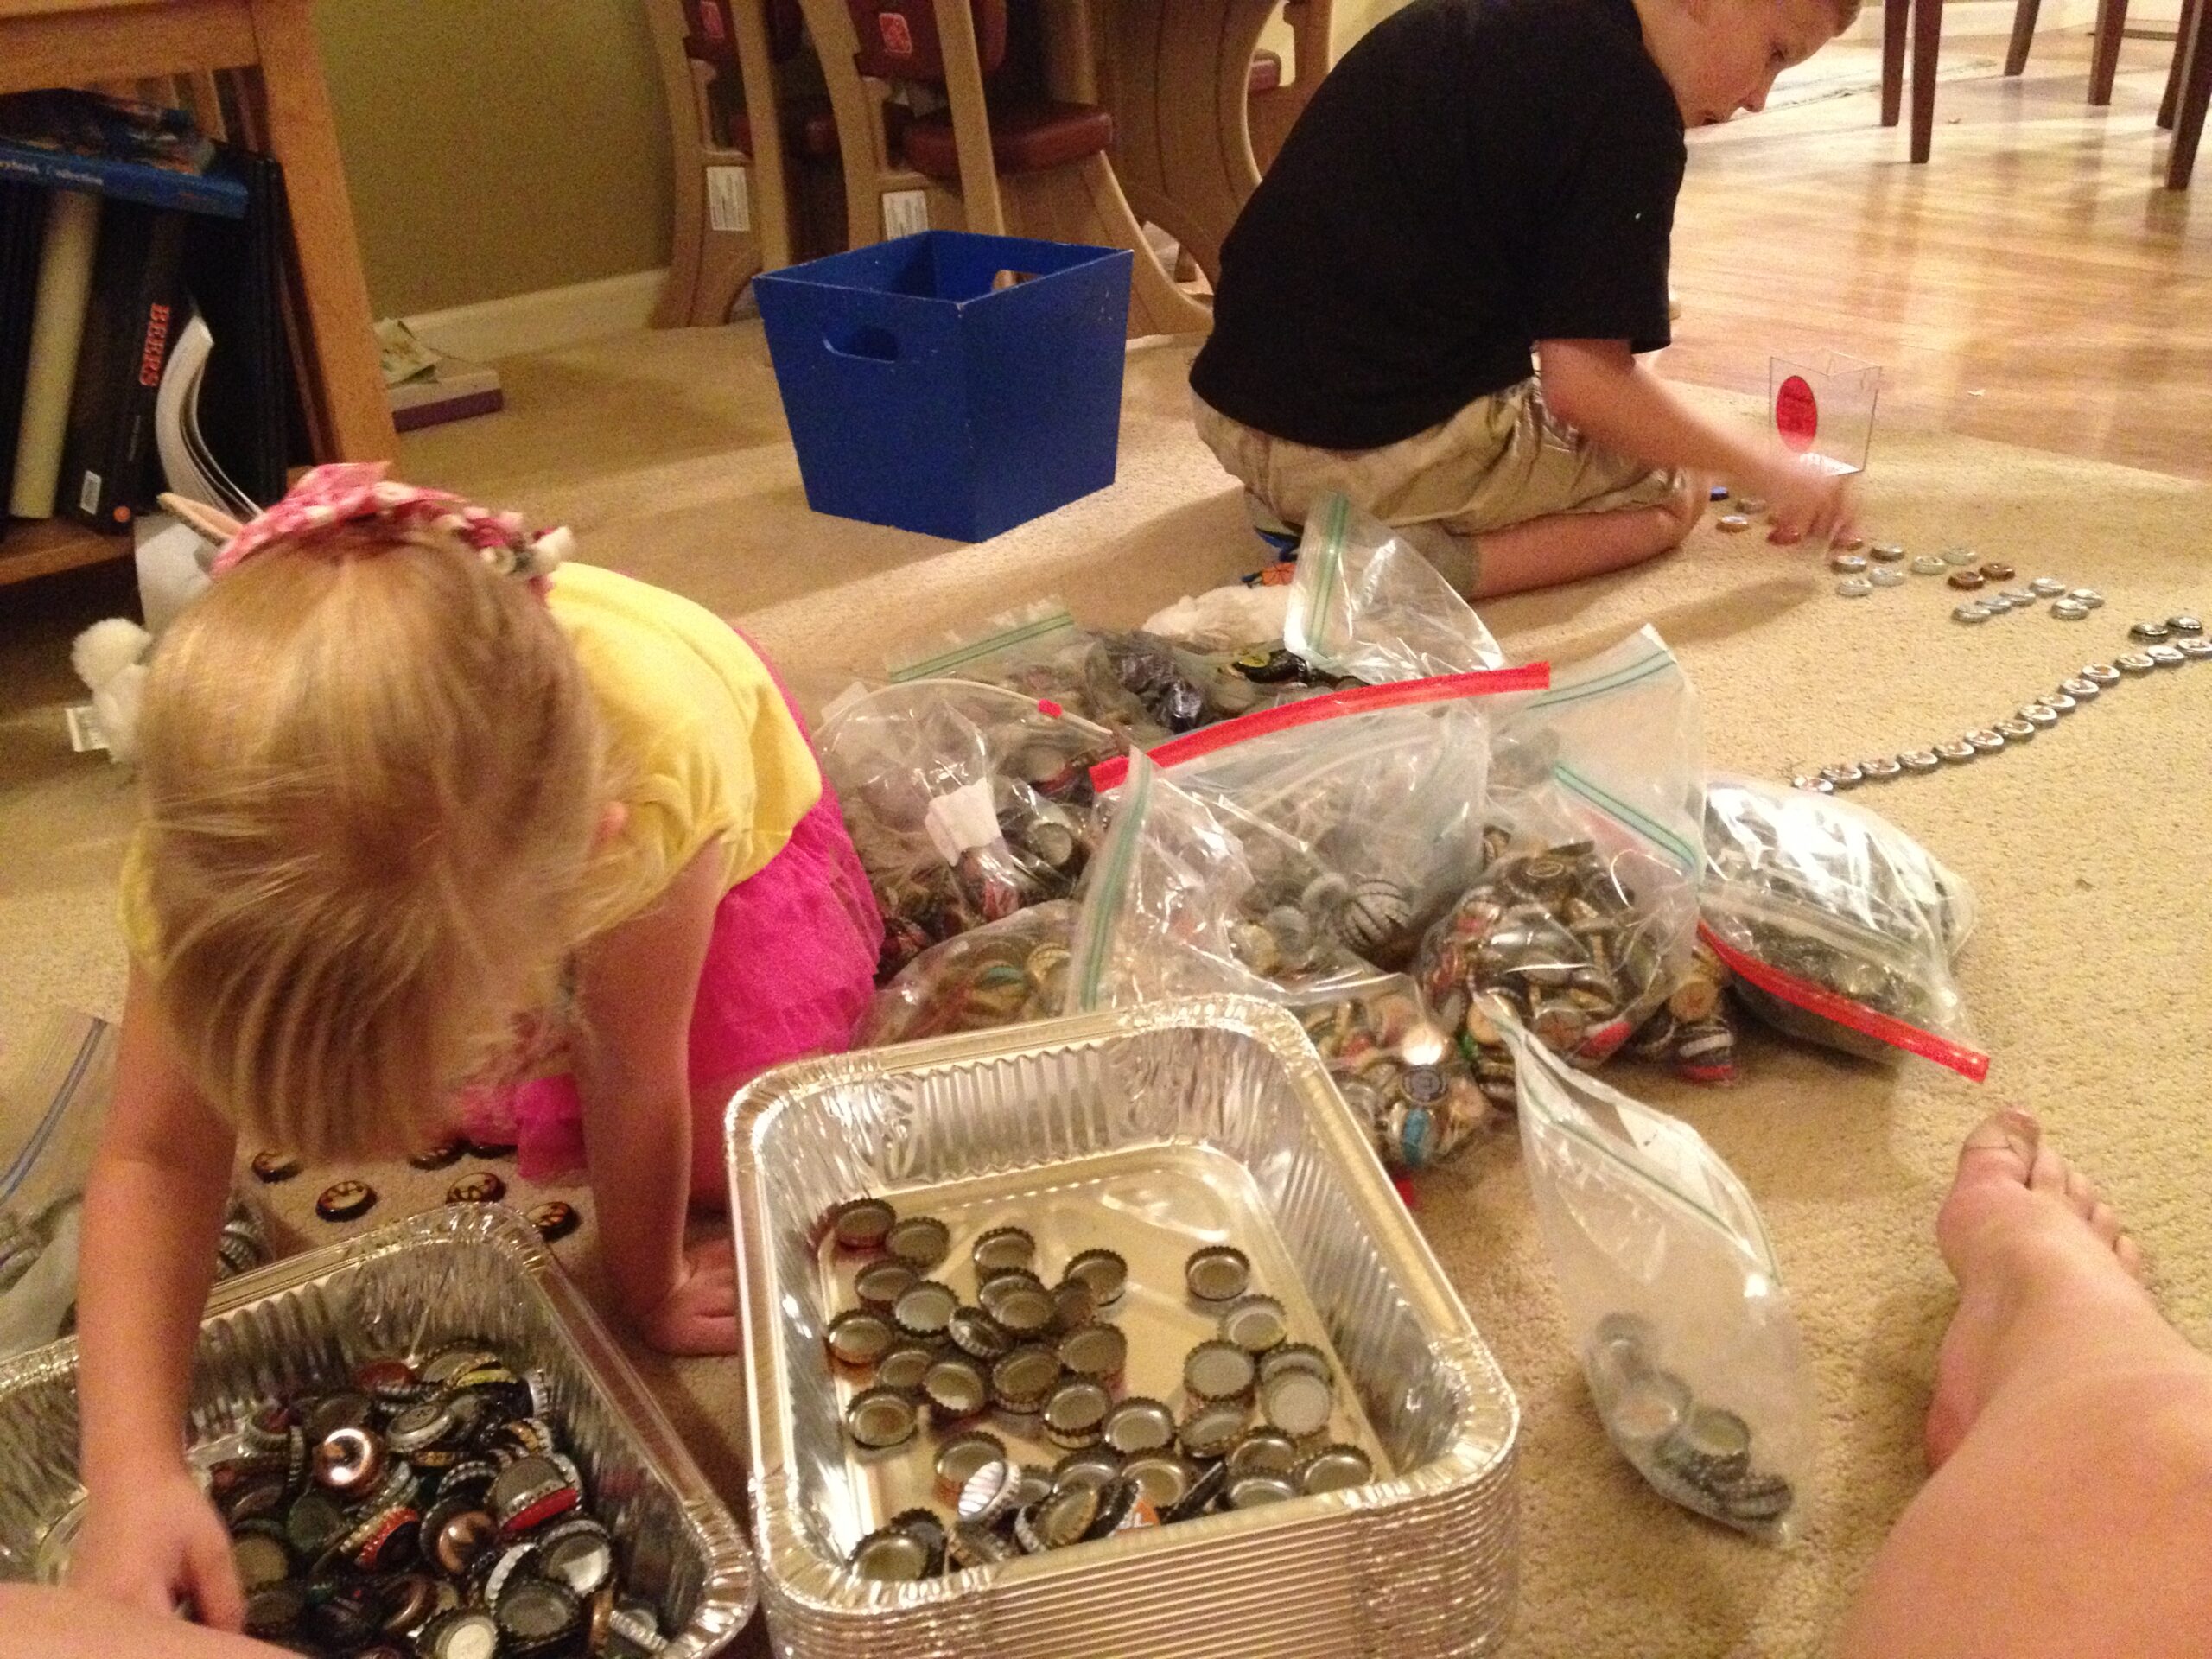
He sorted them all by color, which, needless to say, took a lot of time. Luckily, he had some interns on hand.
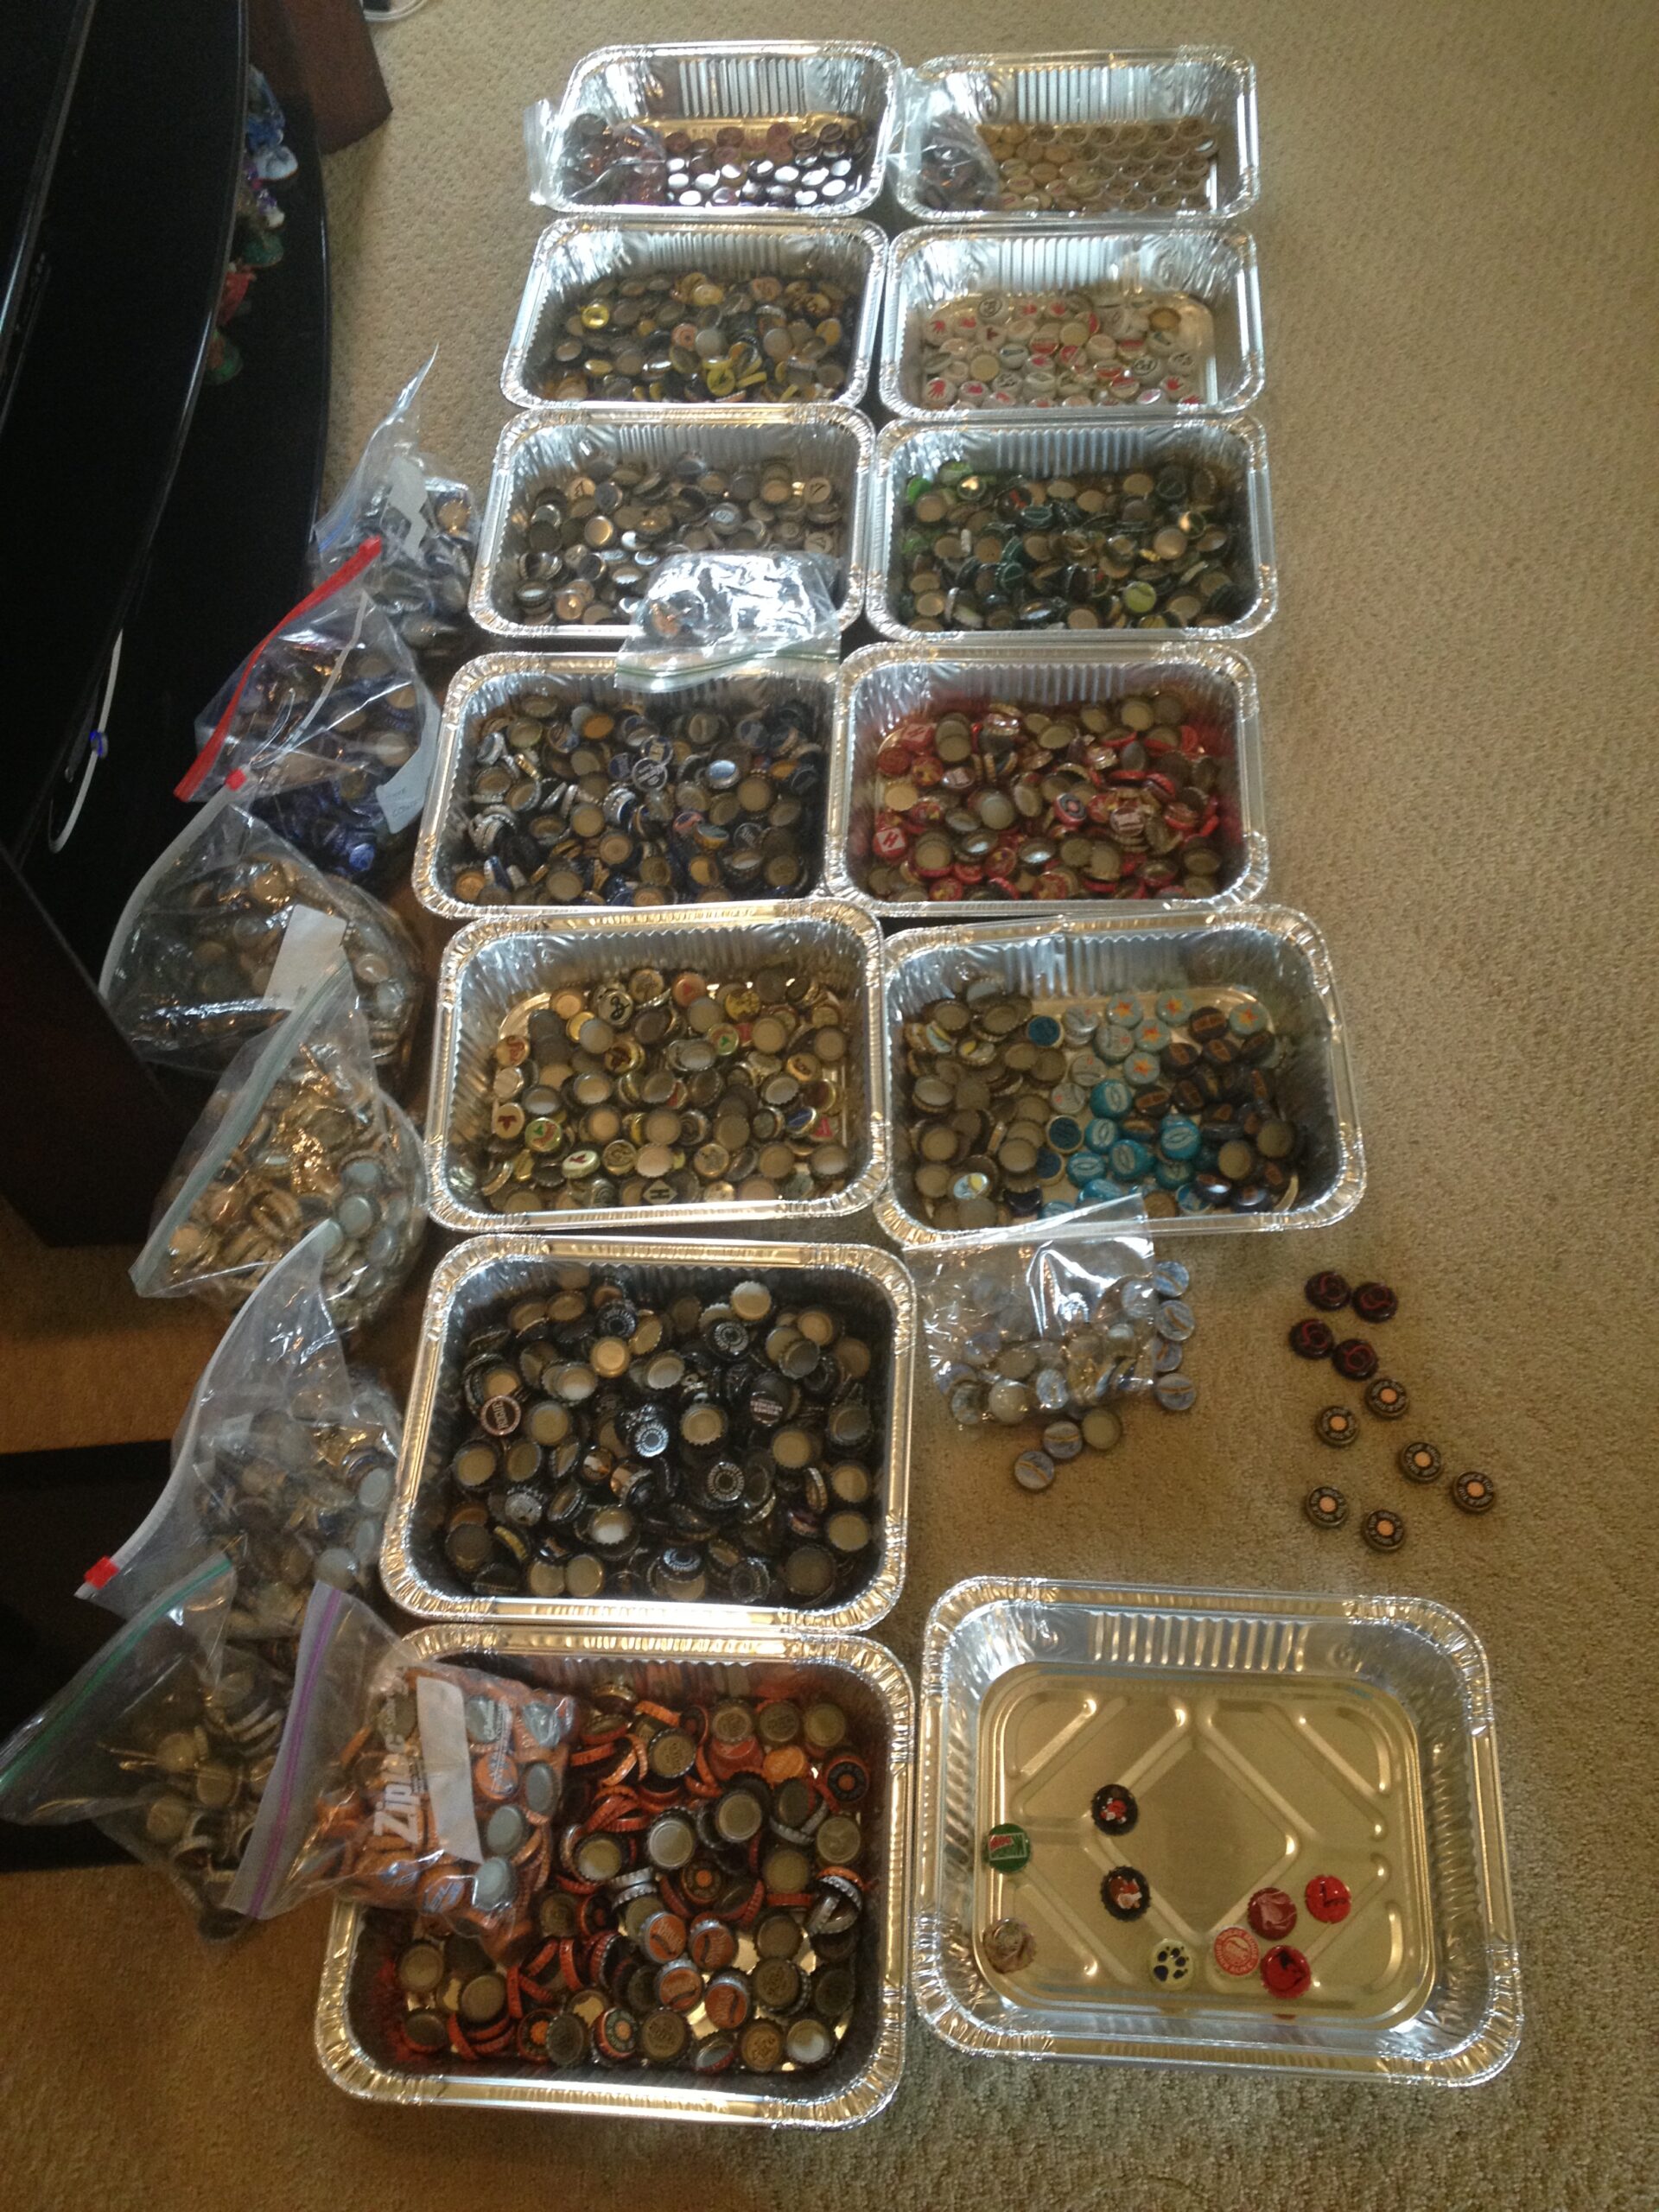
The caps were sorted by color and the bins were arranged in rainbow order, so he roughly knew how much of each color he had.
As for the actual, specific number, he's not sure, but suffice to say there are a lot of bottle caps.
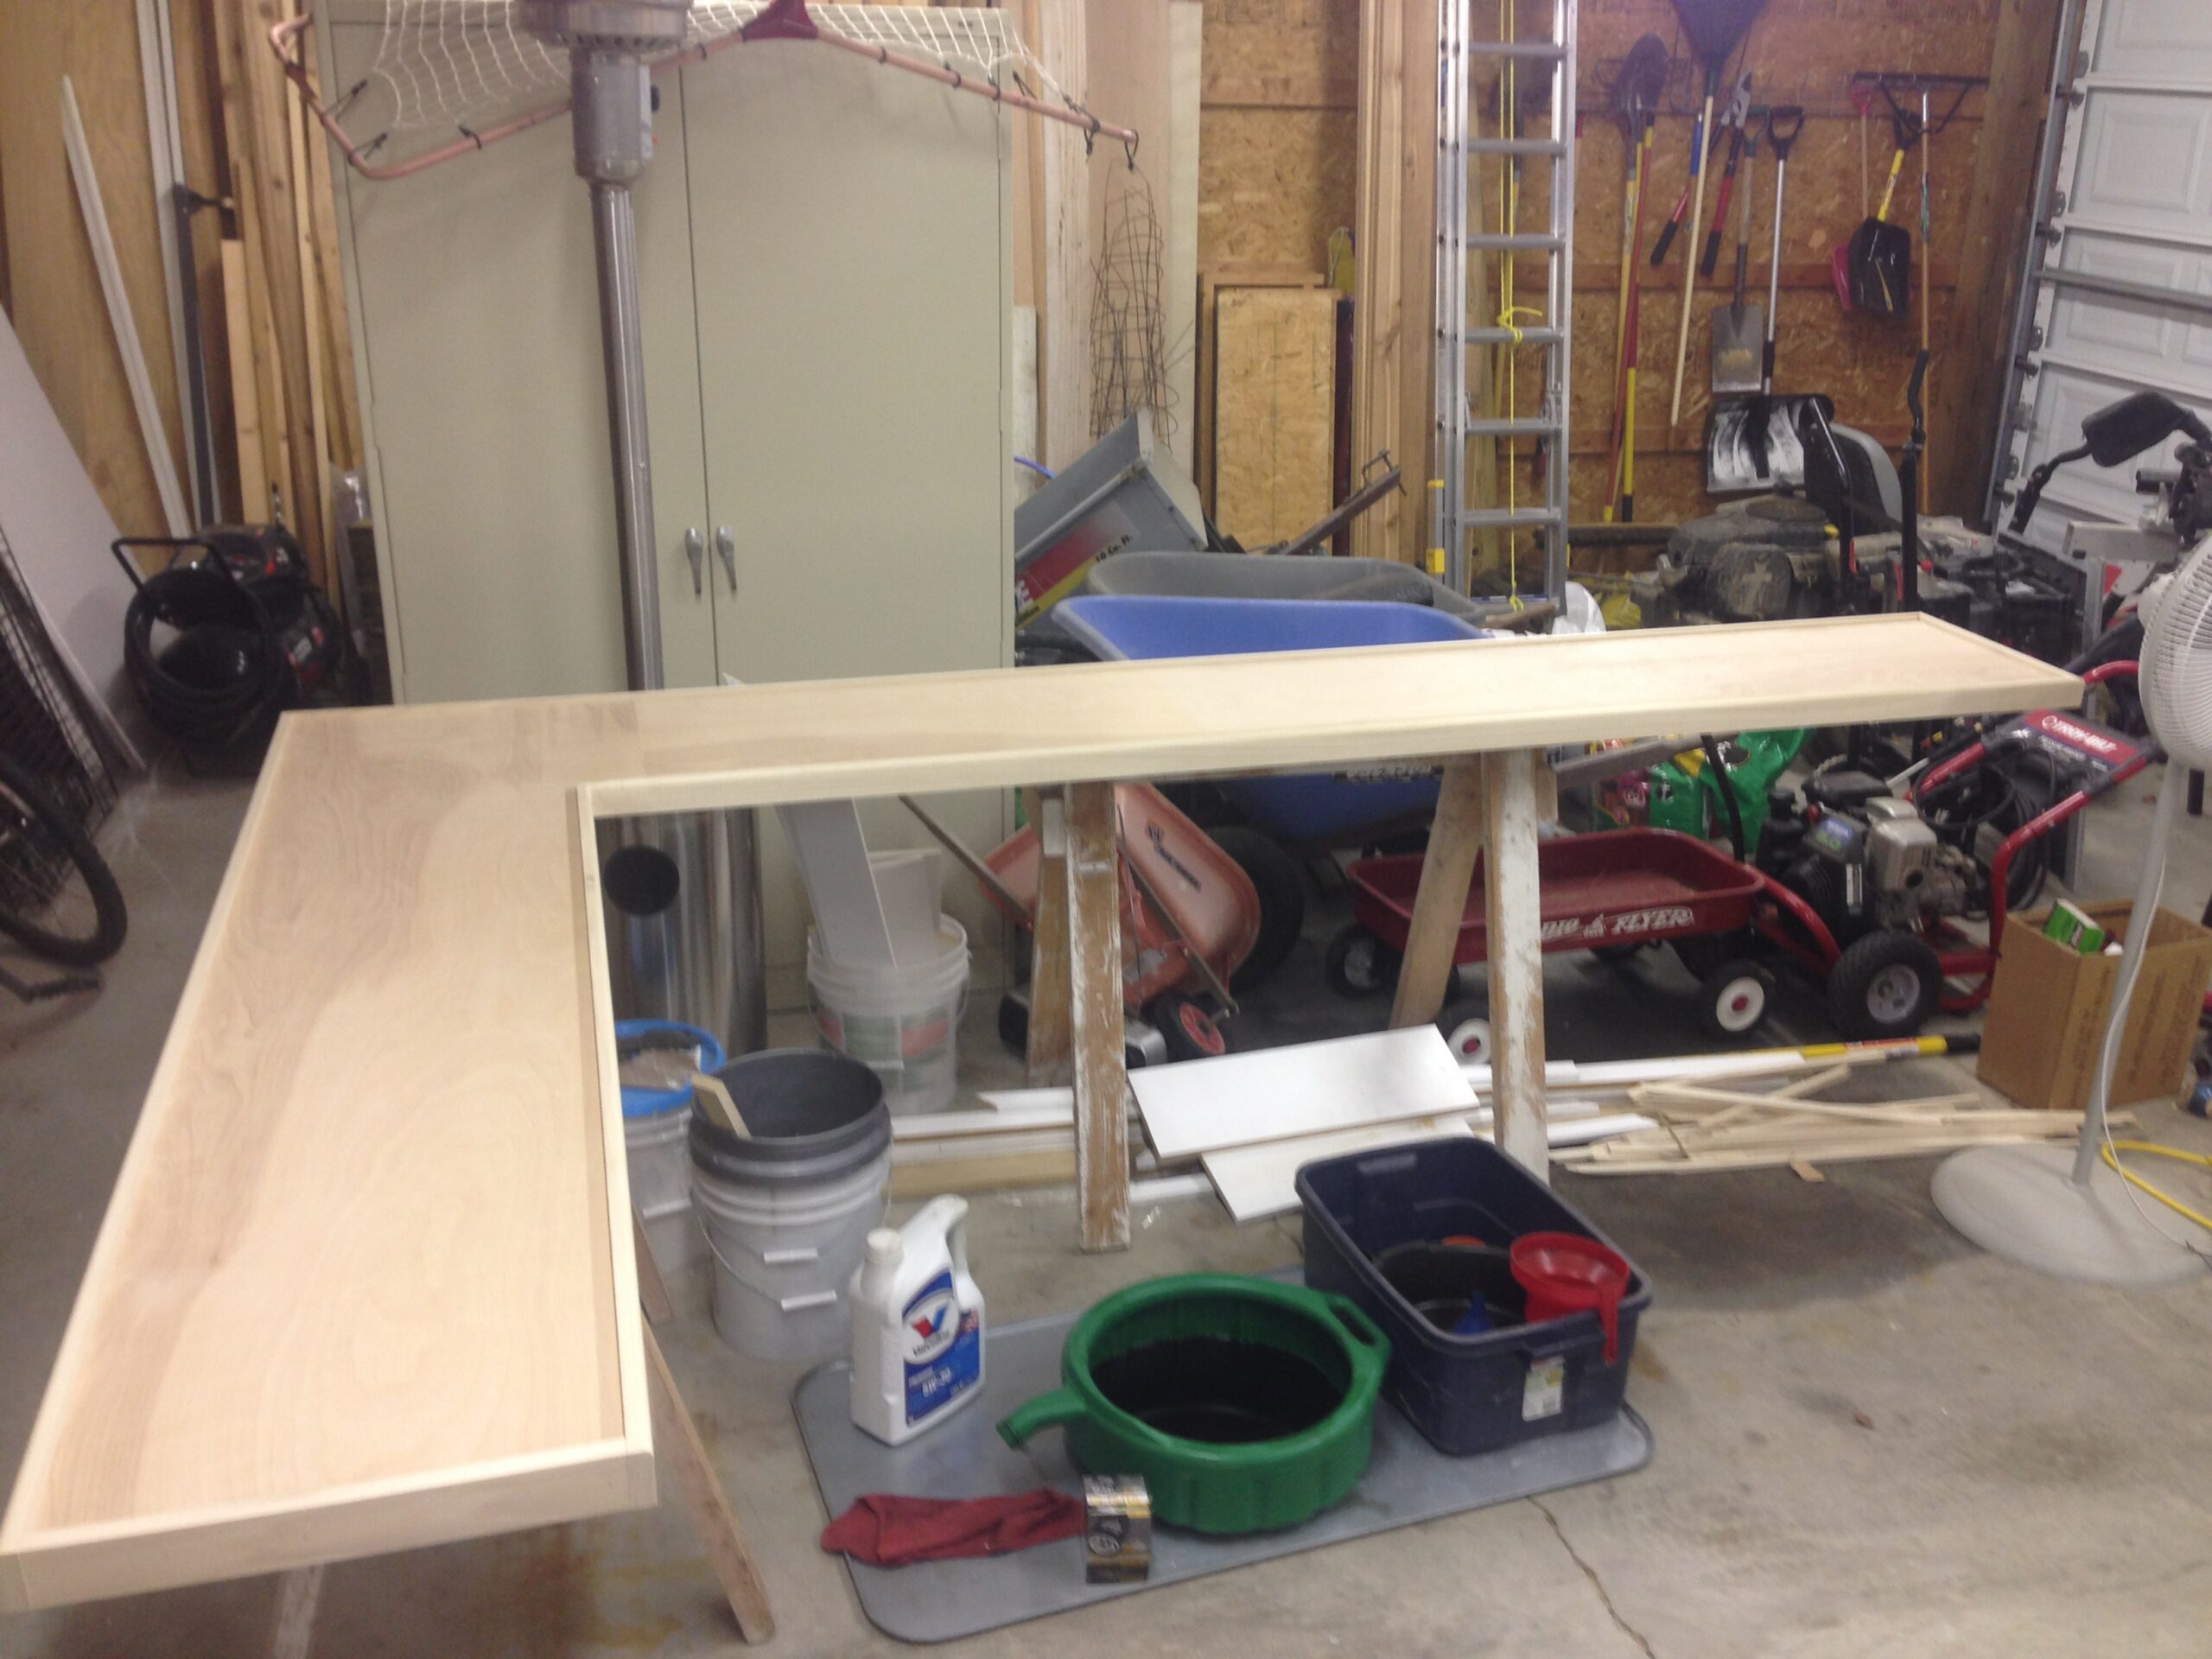
Meanwhile, the custom-made countertop was waiting for its decoration.
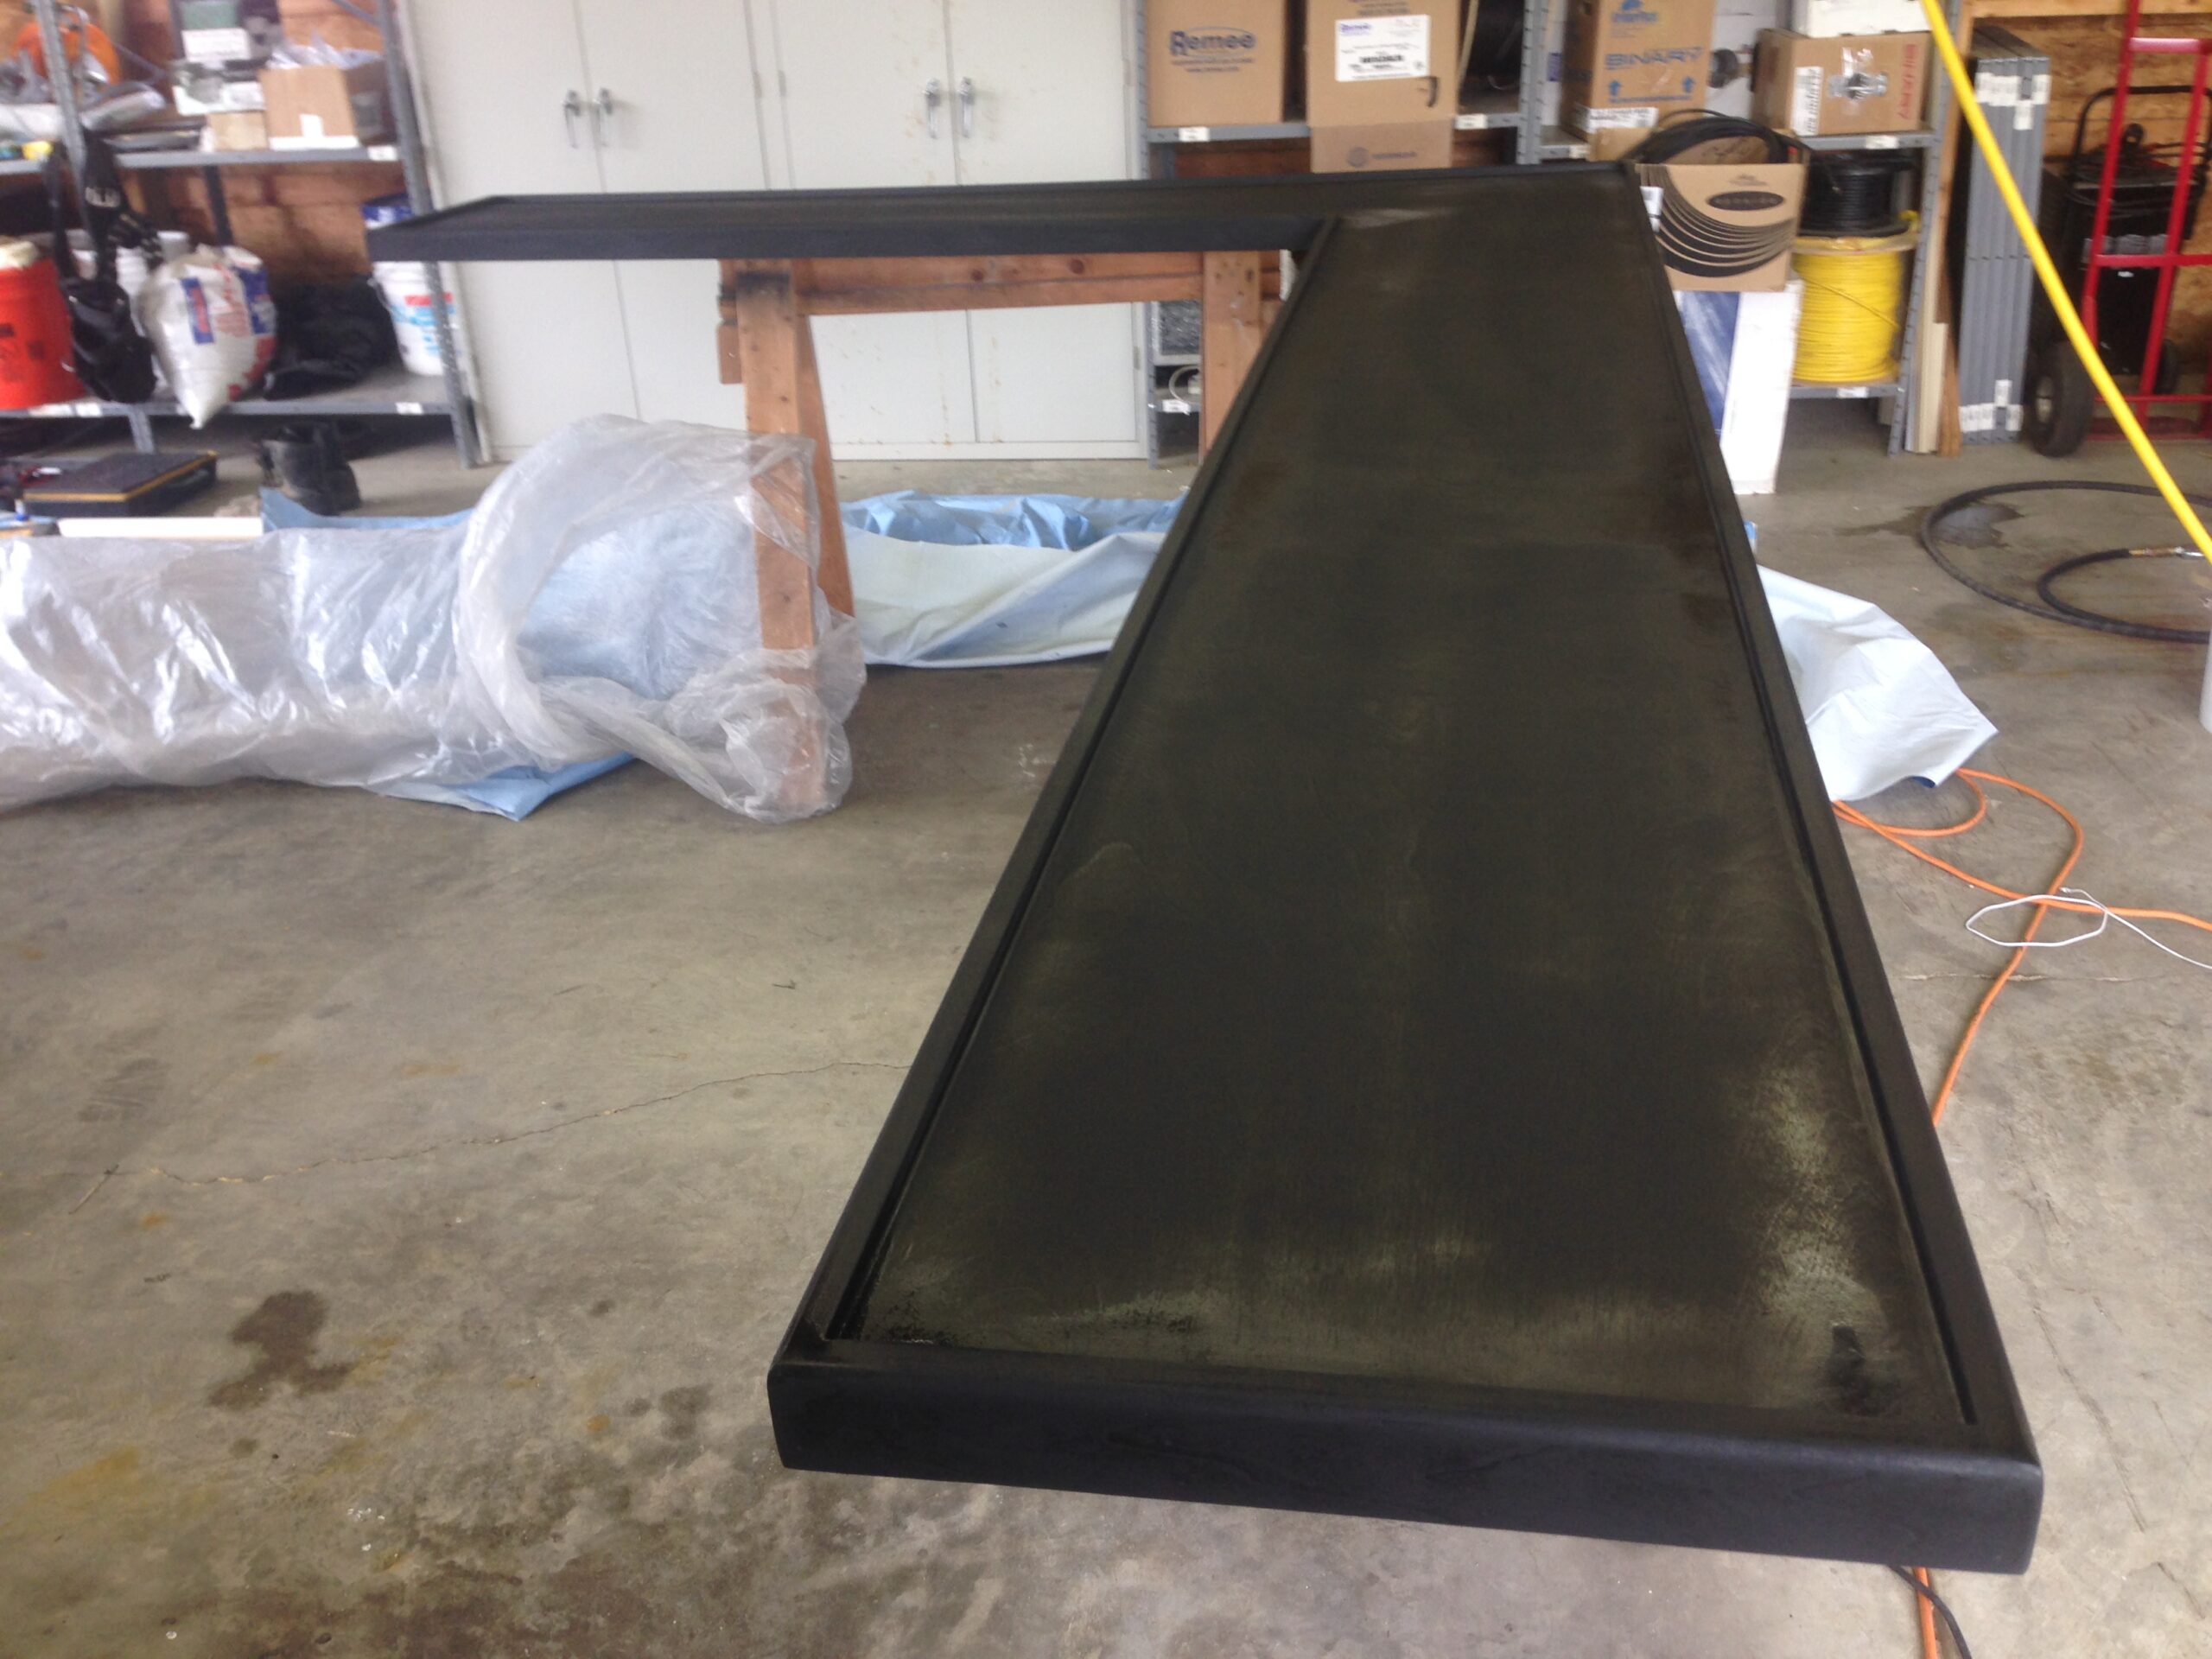
The first step was to paint it black. The paint didn't have to be perfect, since it was going to be covered, but the black would give it a finished look.
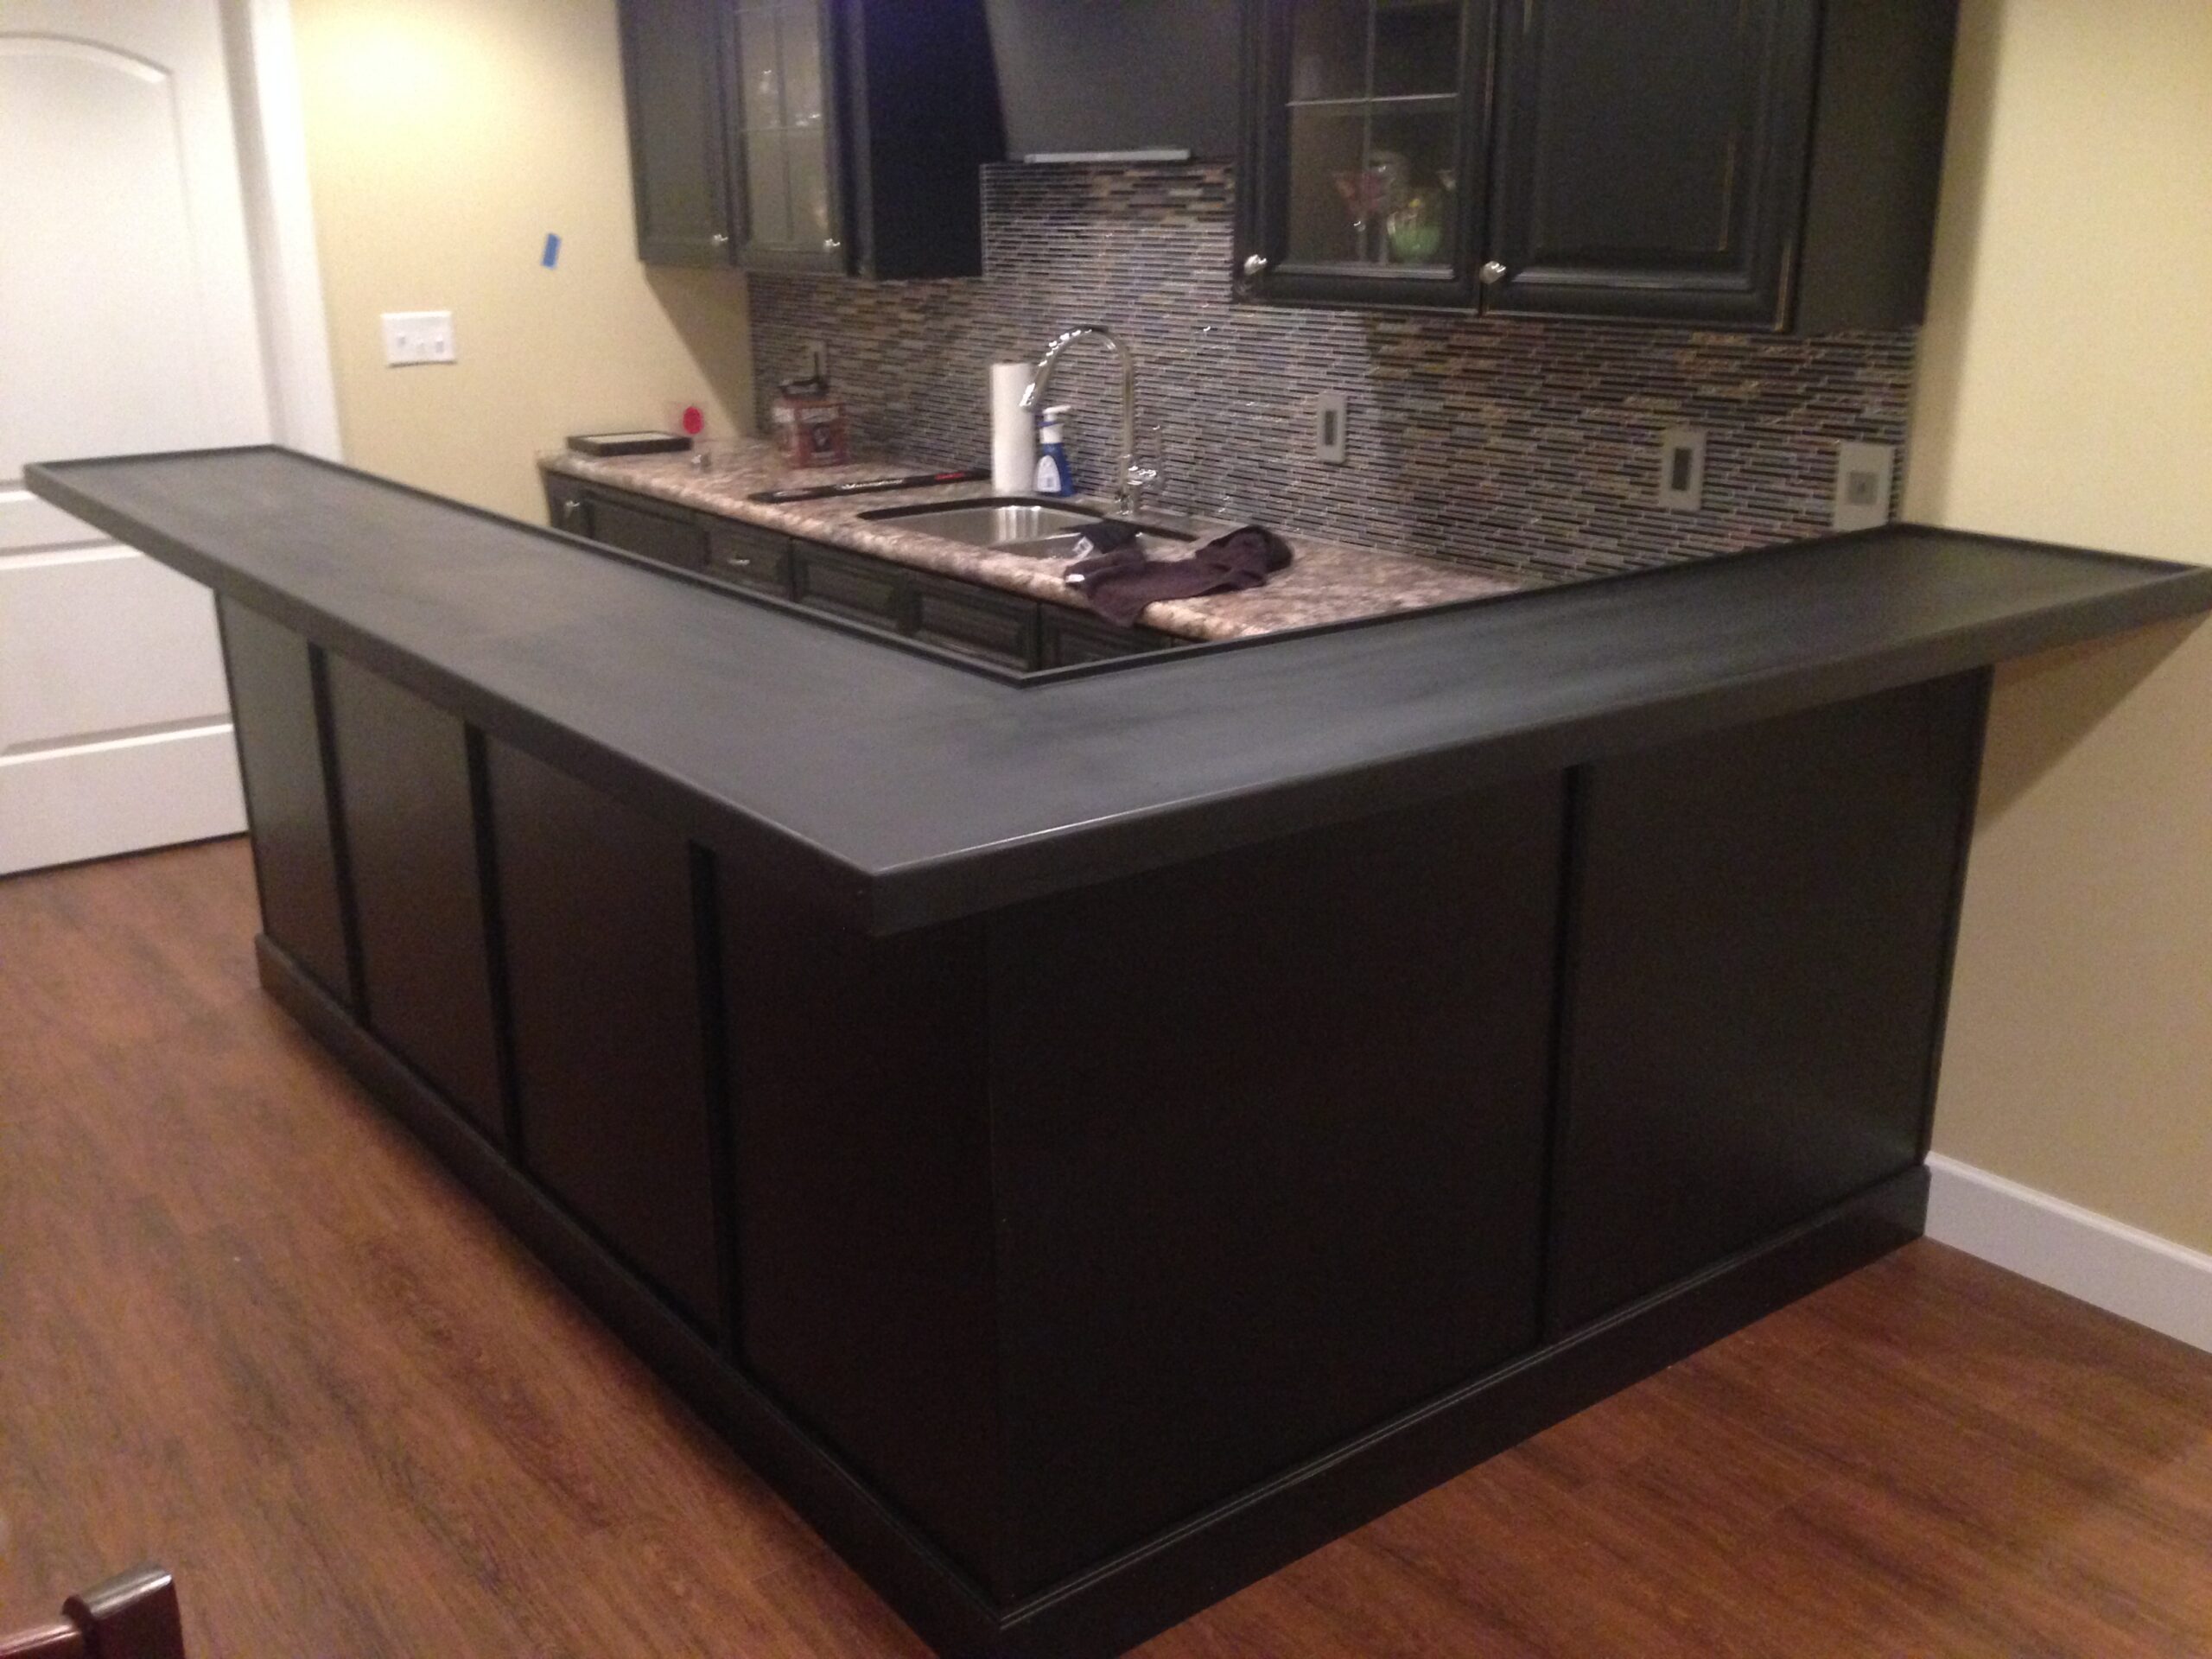
The countertop was installed in the kitchen, with extra care taken to make sure it's as perfectly leveled as possible.
This is because it would end up being covered with epoxy, and a tilted surface would cause the epoxy to pool unevenly.
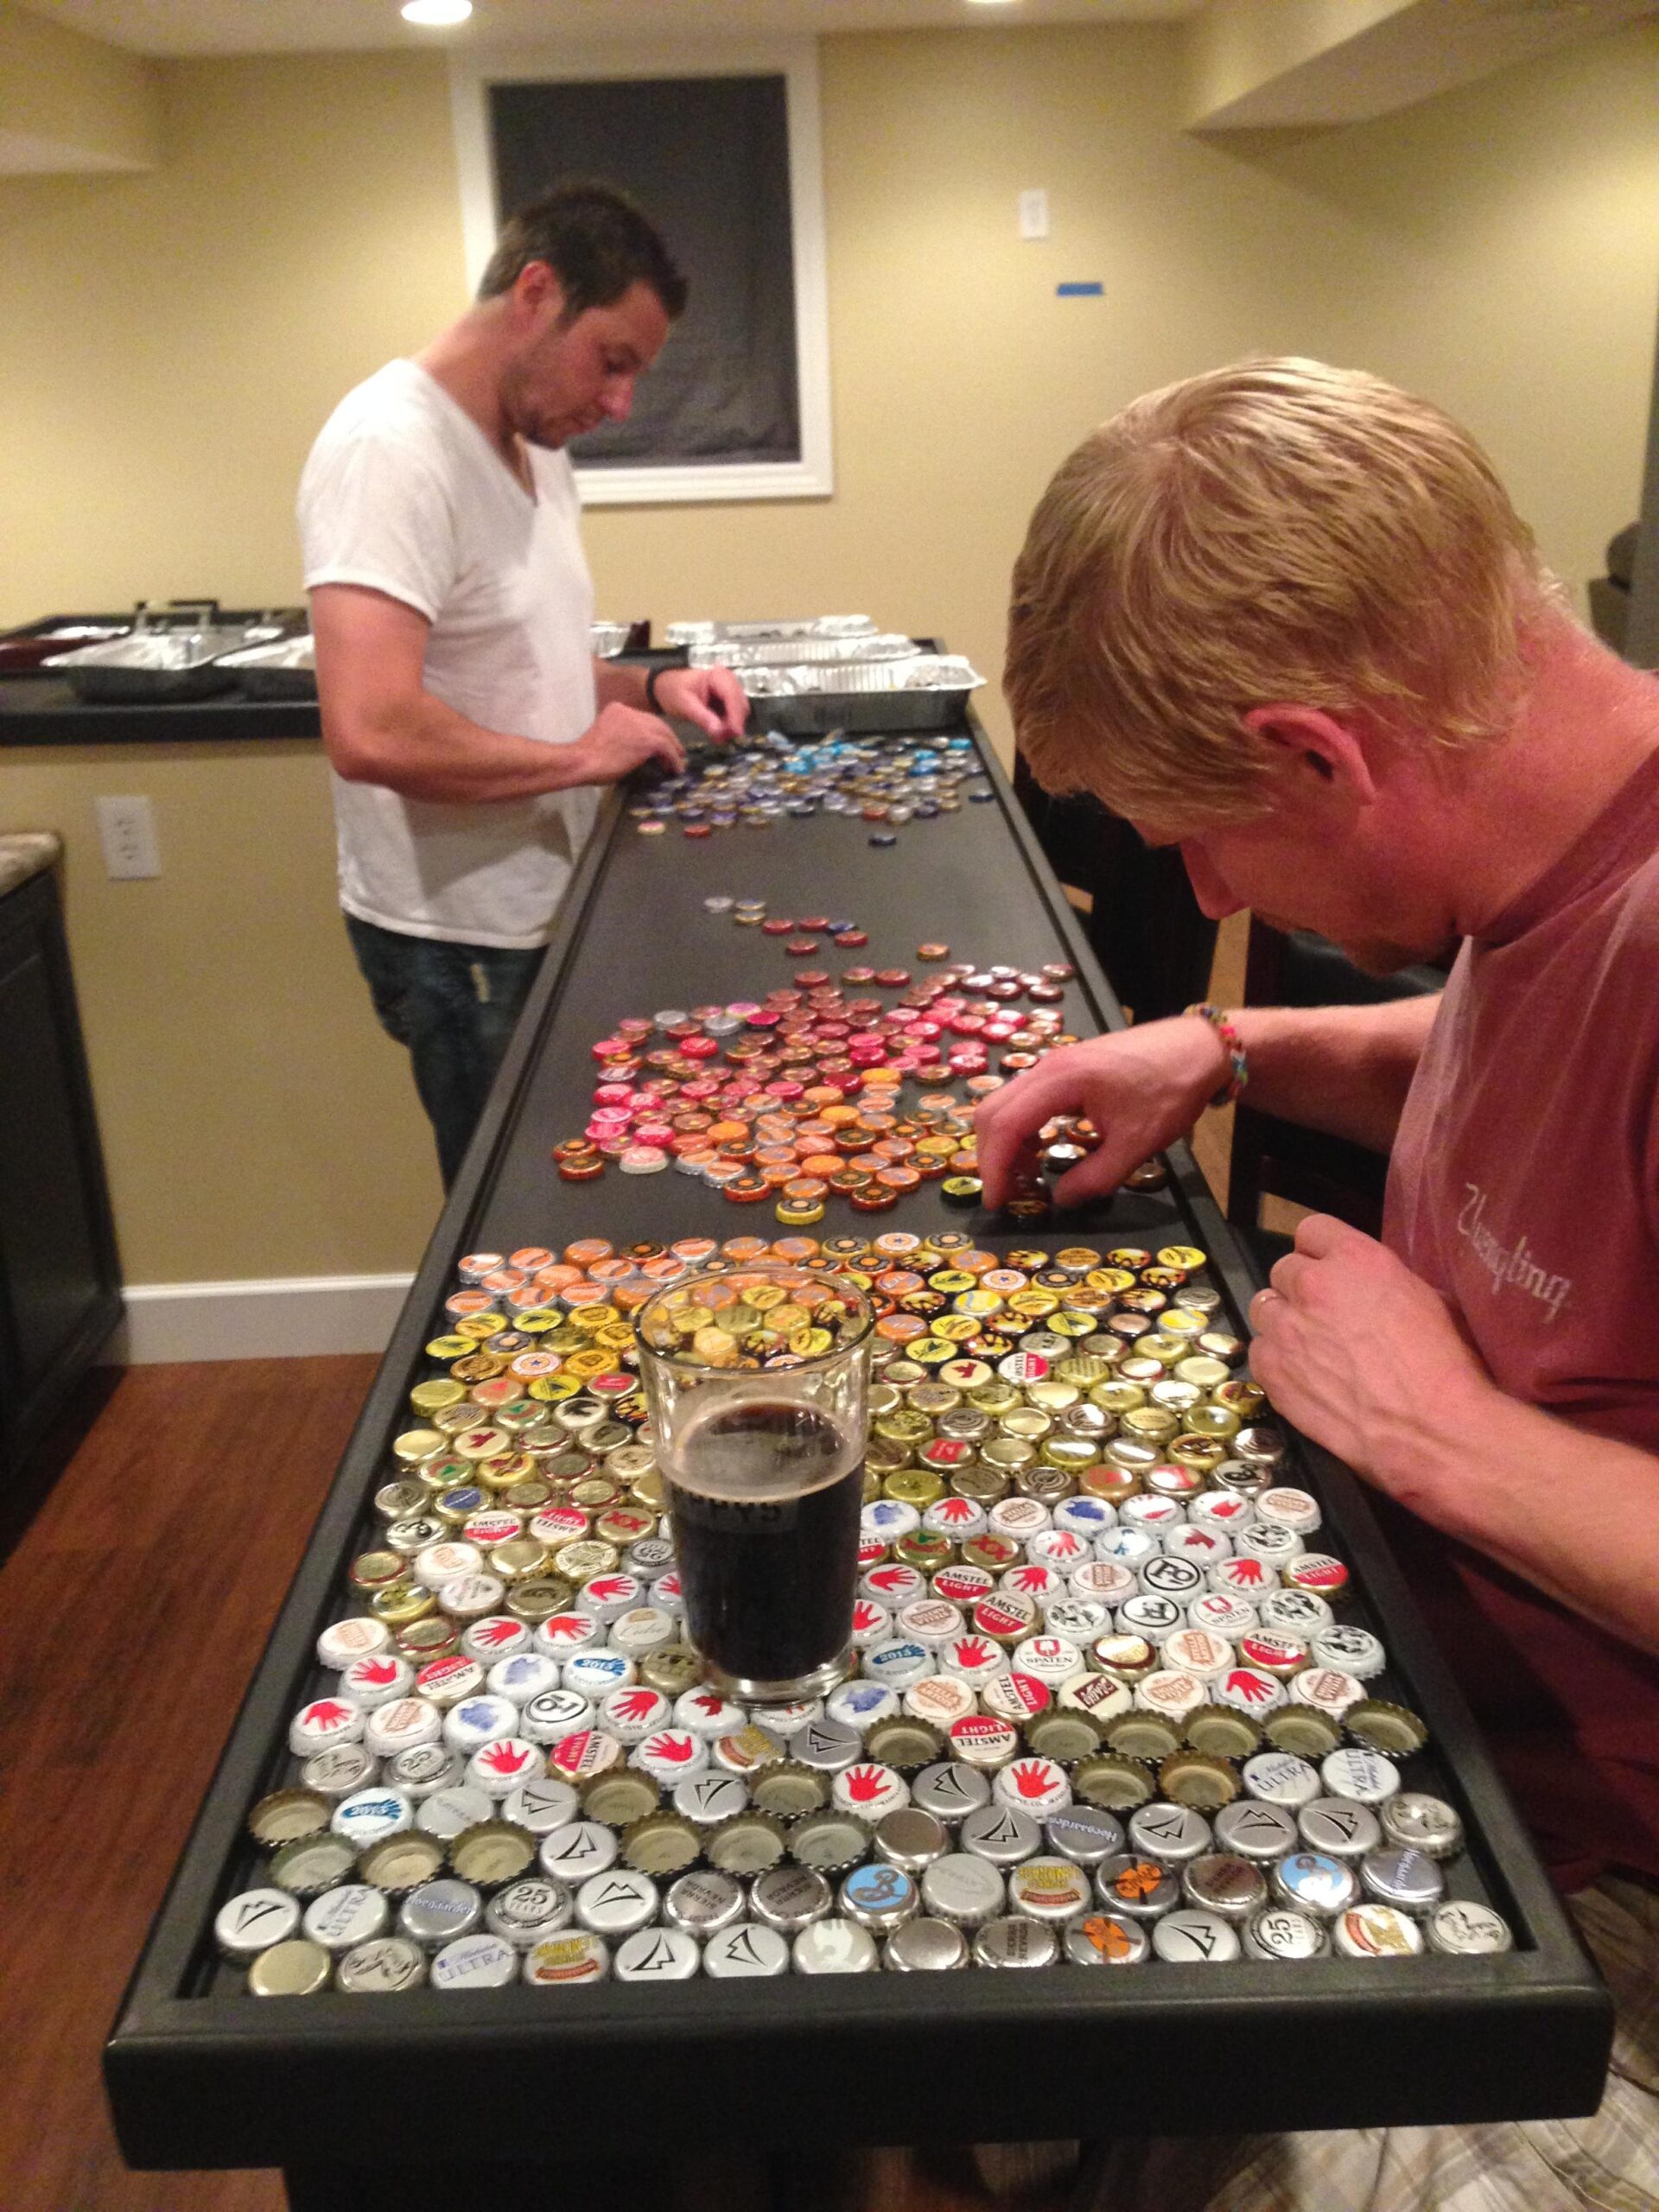
Then came the fun part — kind of.
Originally, Chris had been planning on creating a design with the bottle caps, but it proved too difficult because they had uneven amounts of different colors, like a lot of black and very little blue.
So instead, they opted for a simple color gradient.
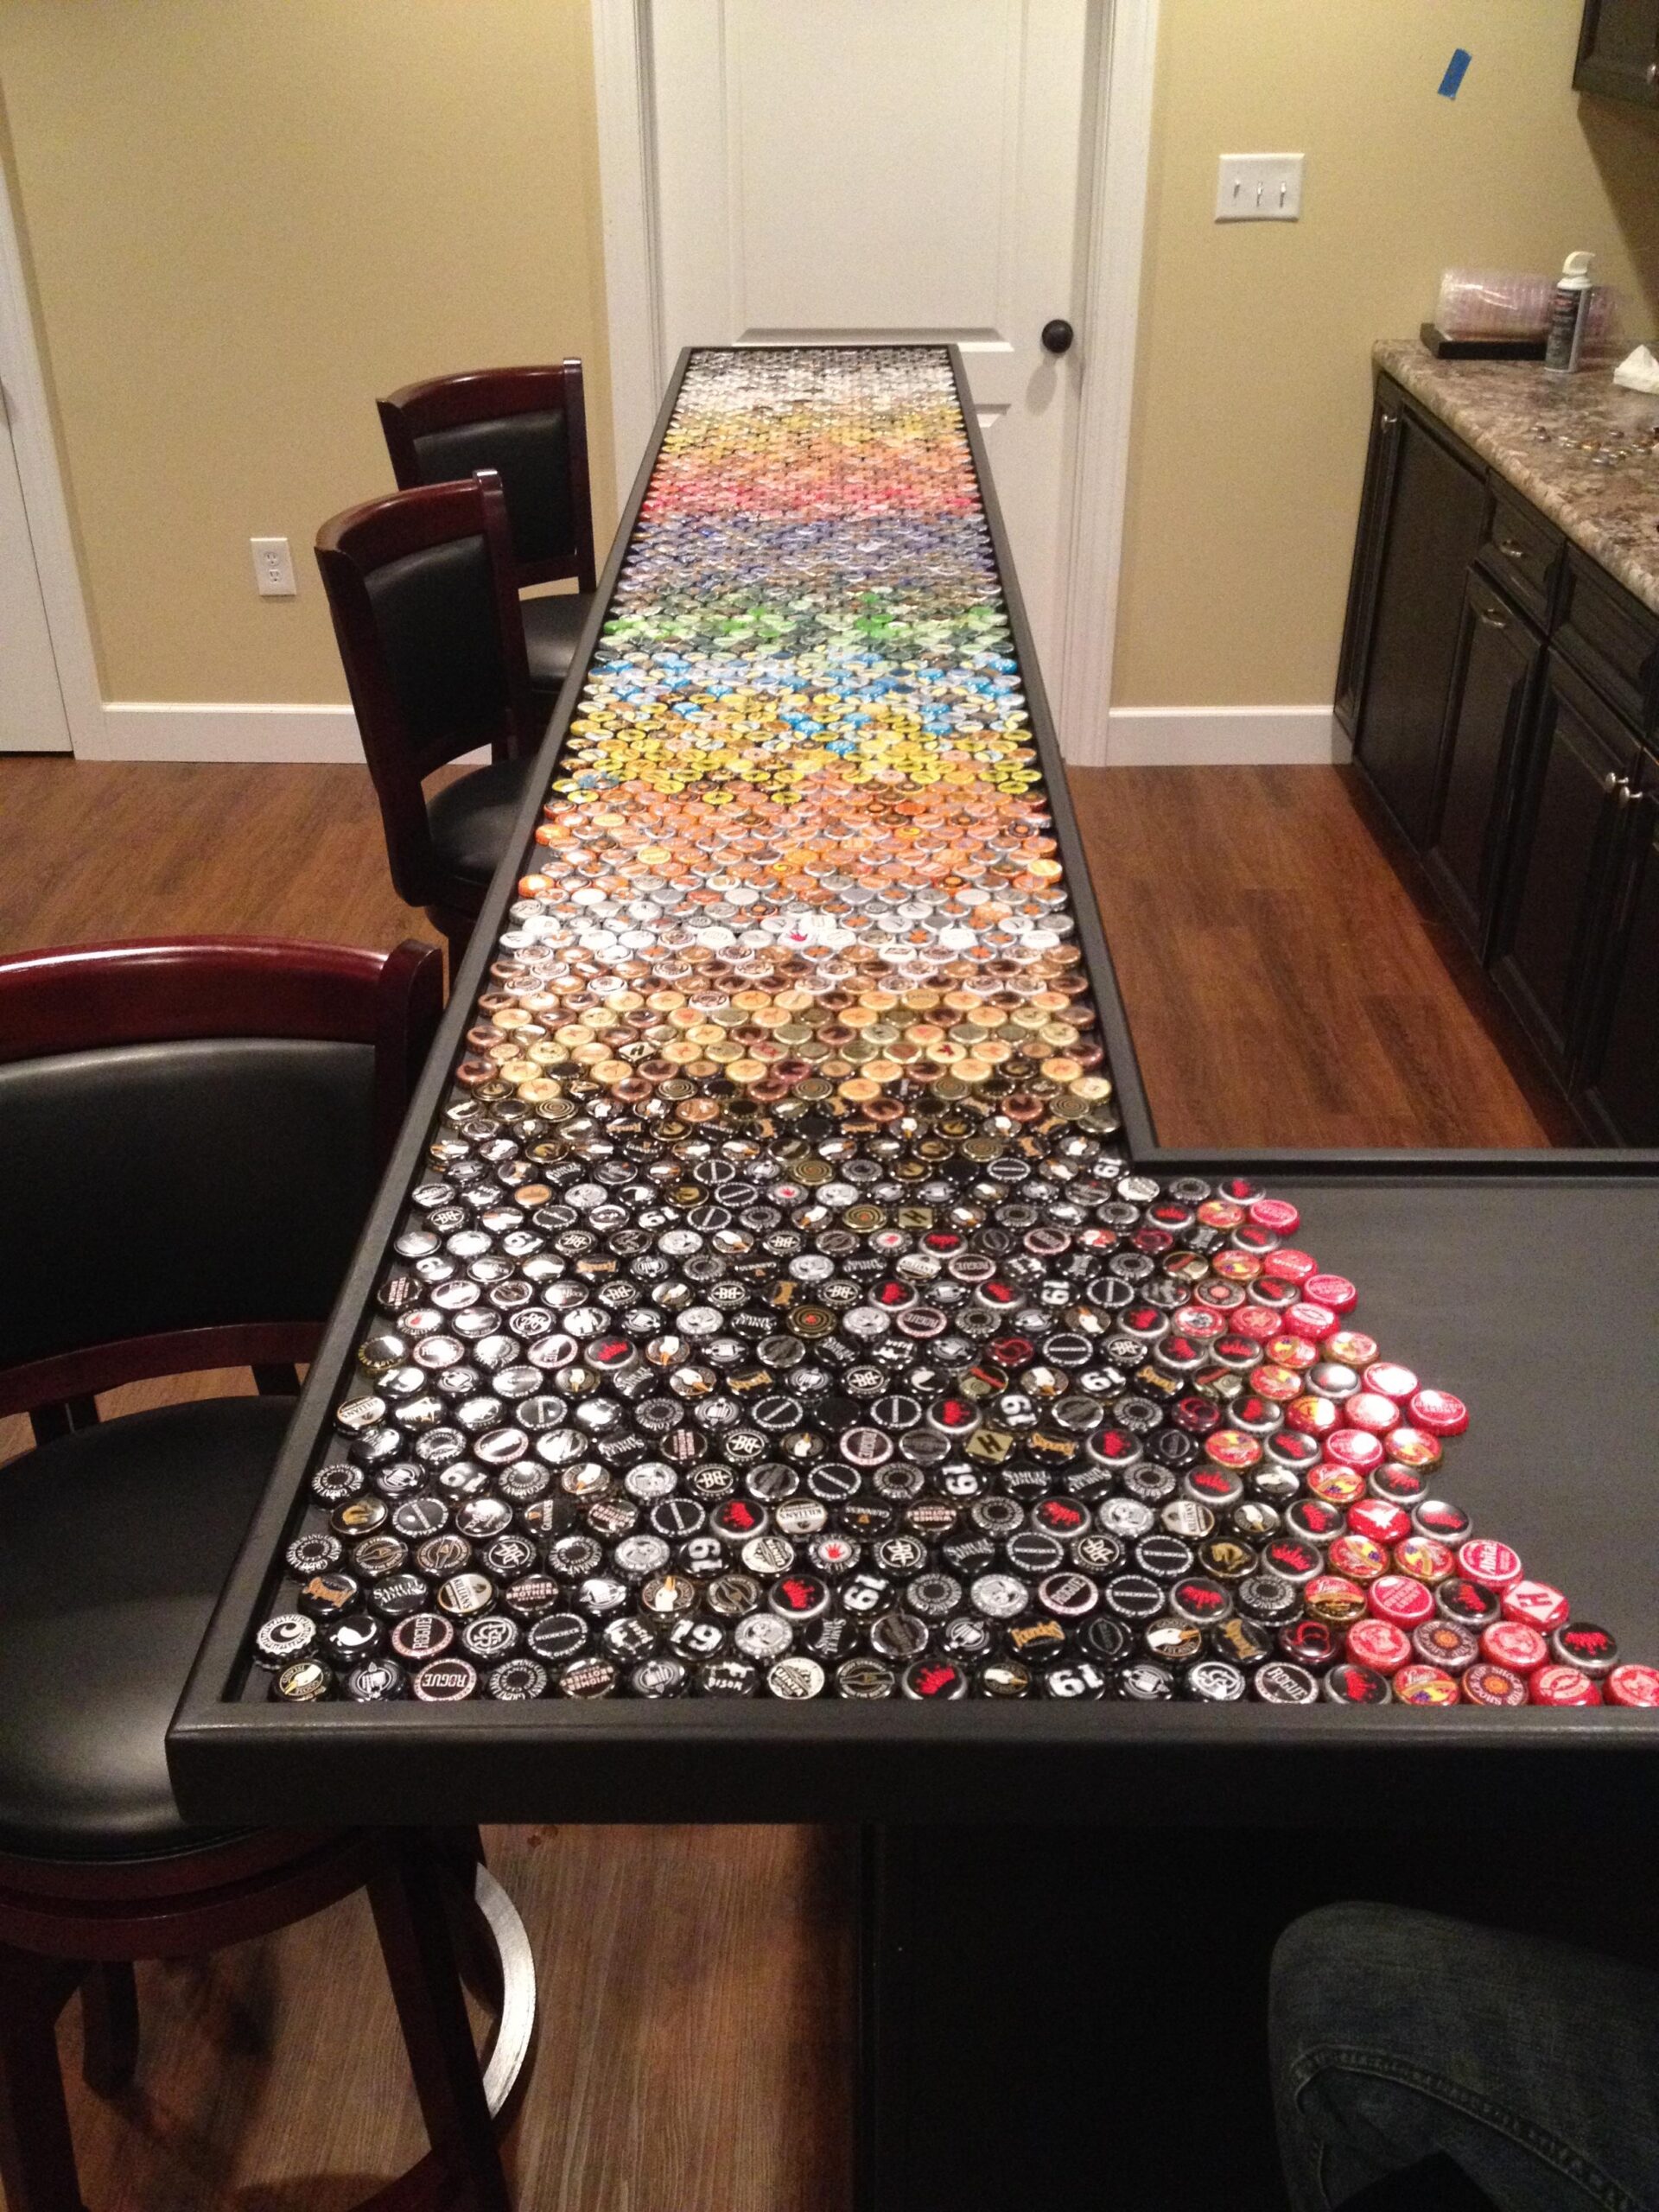
The caps were lined up by color, and carefully arranged so it appeared that the colors were “blending” into one another.
It was harder work than you might think, as the caps liked to slide around and overlap instead of laying side by side.
It took a bit of trial and error, including a messy experience with some spray adhesive, but they finally got the hang of it.
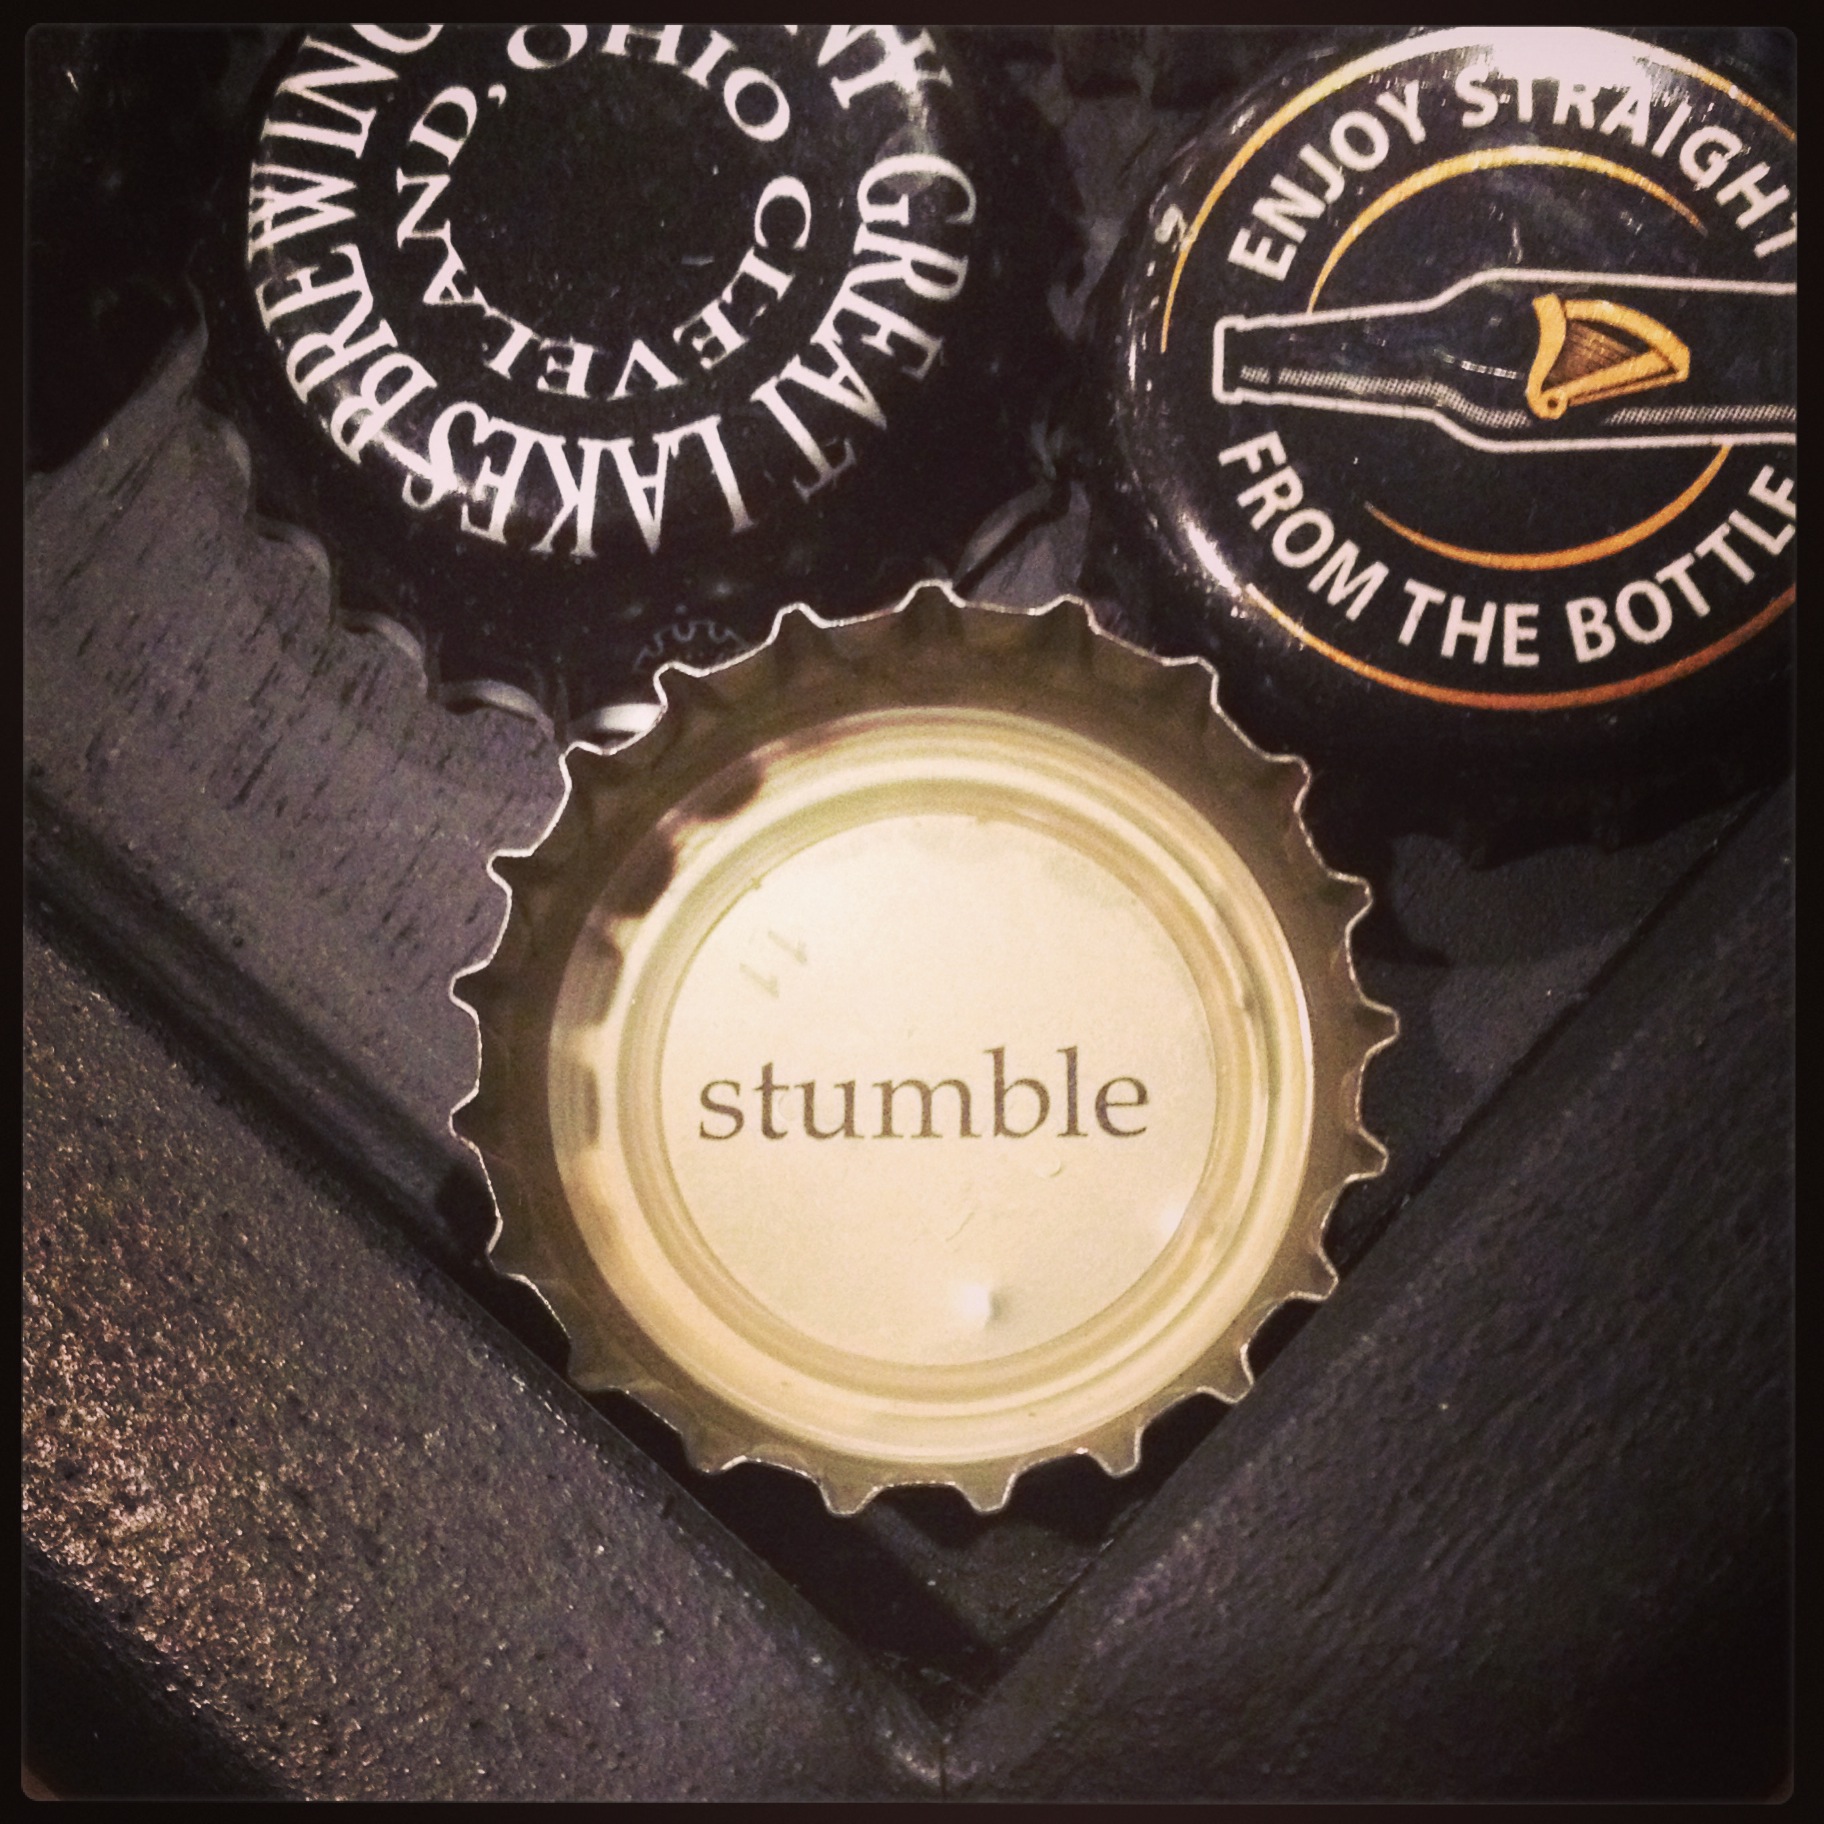
Some of the caps, like the ones with messages printed on the inside, were flipped over so the messages could be read.
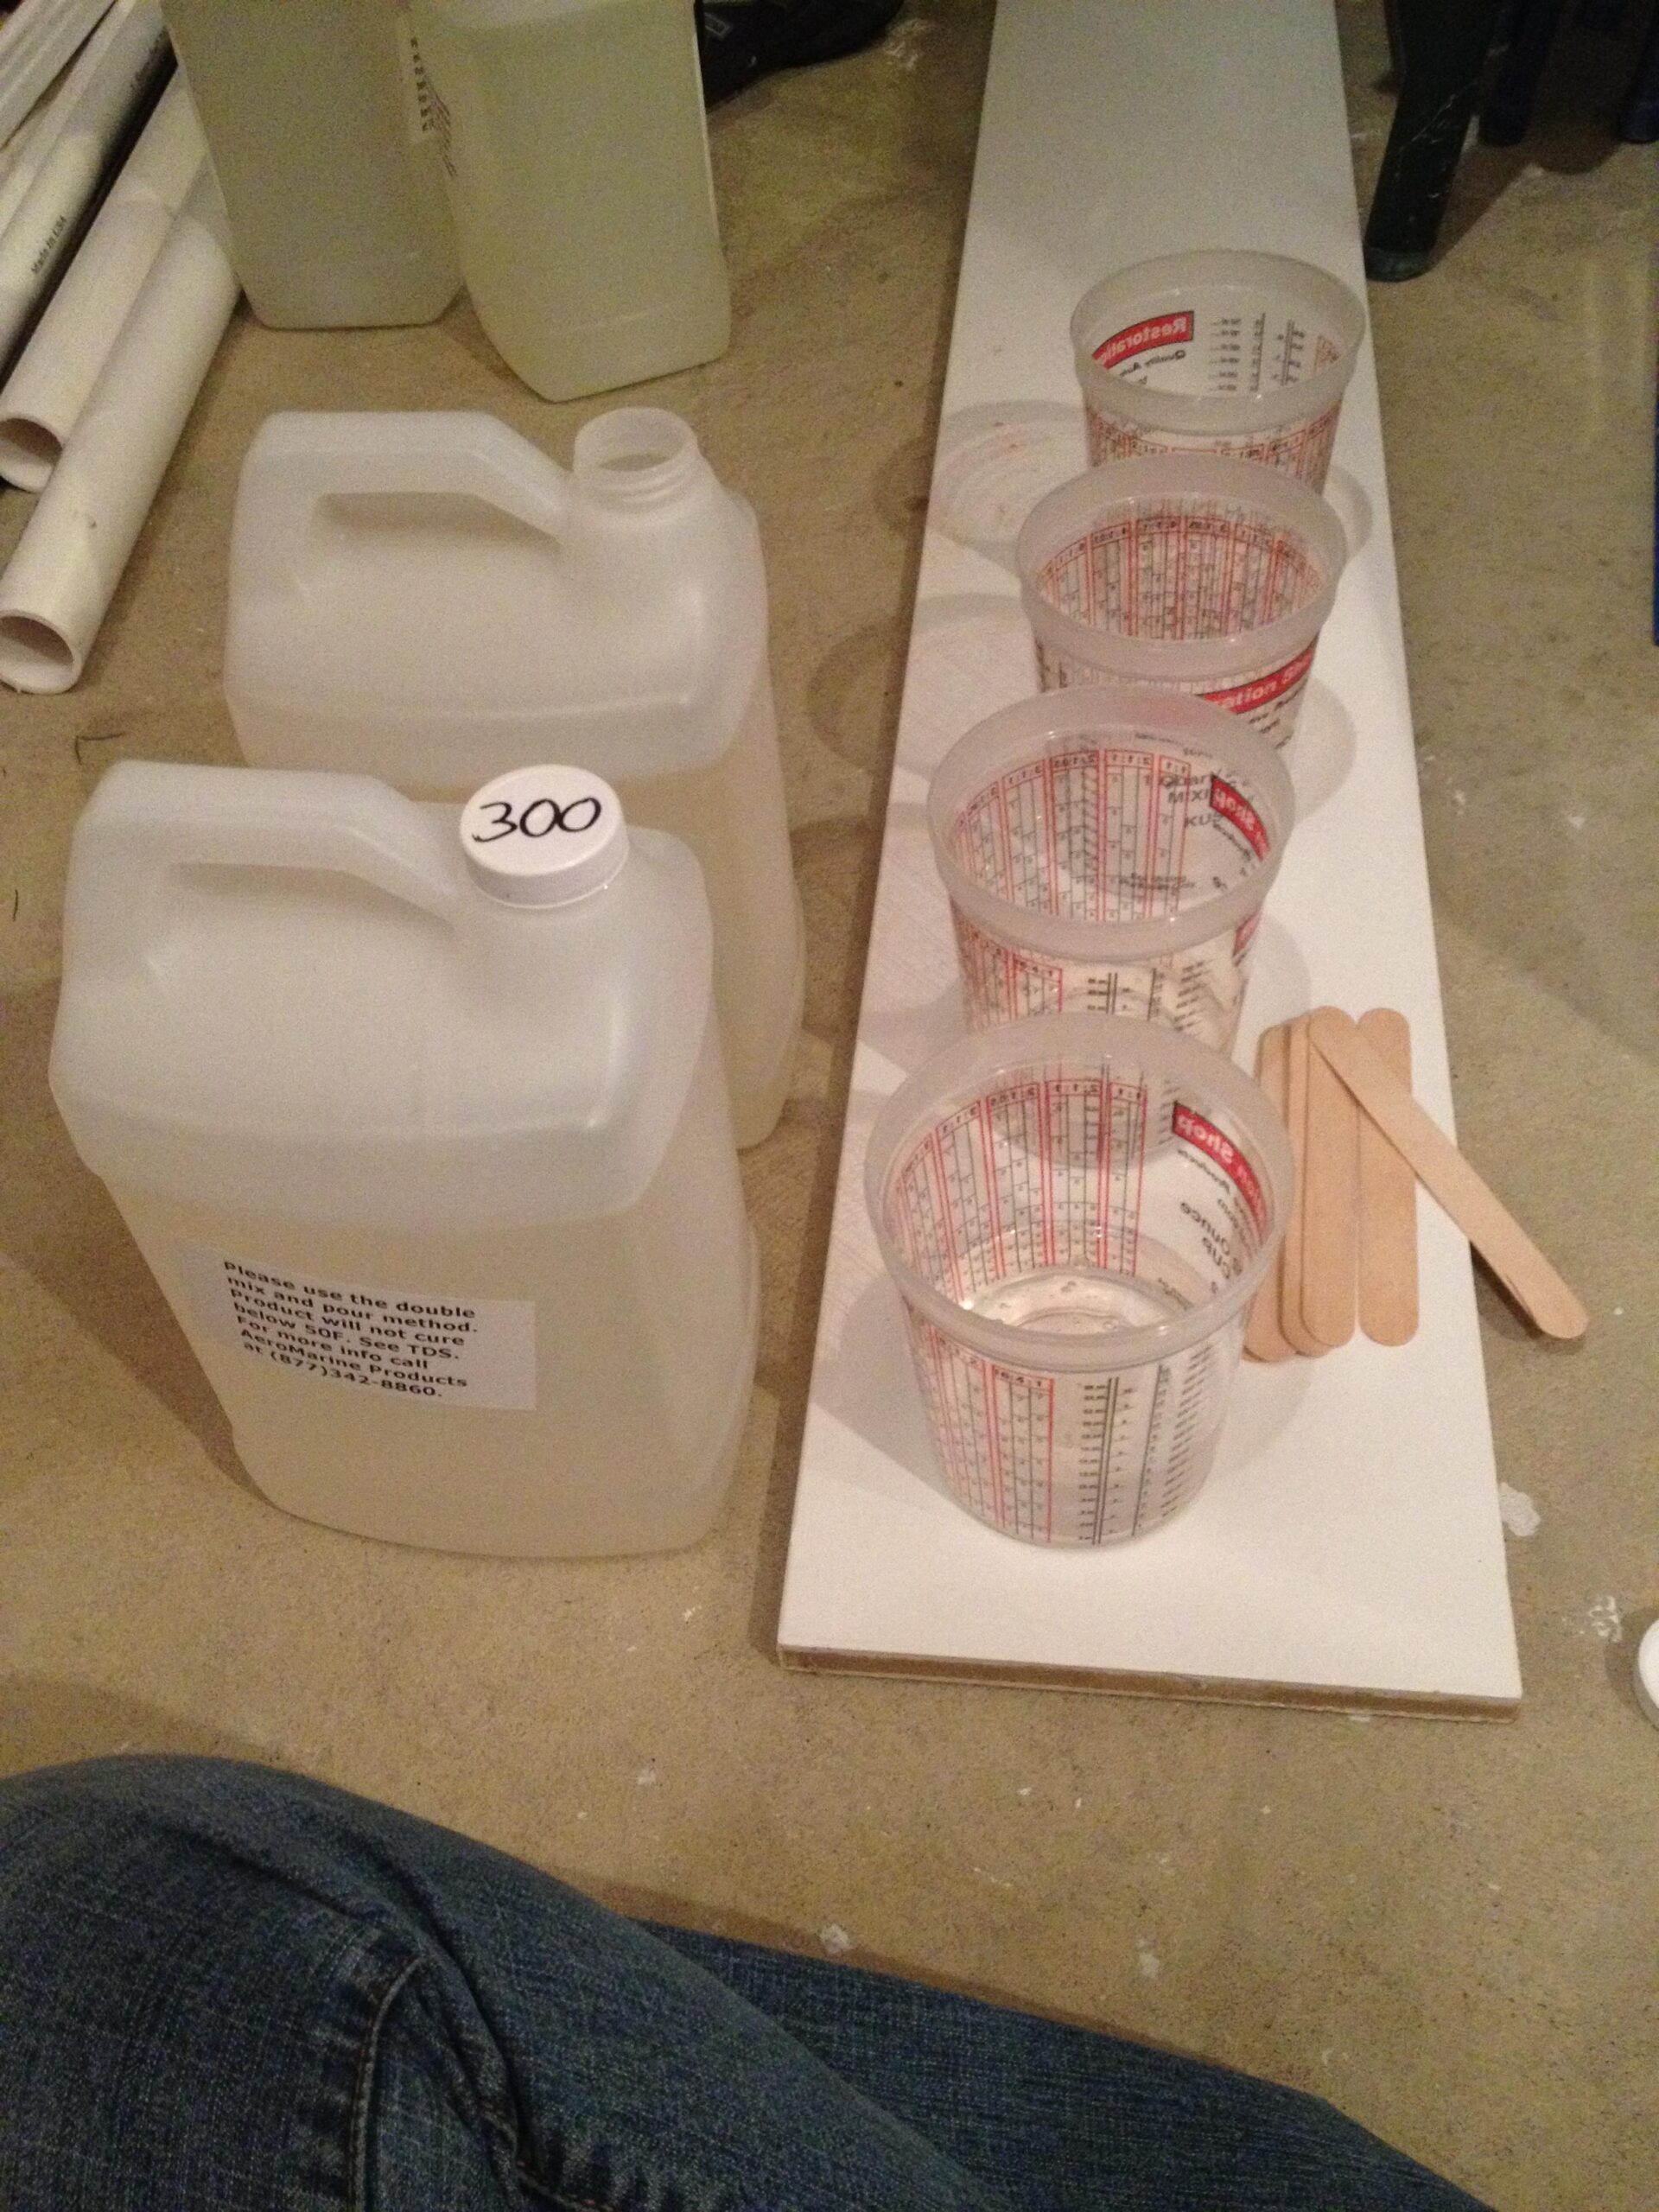
Then it was time for the epoxy — quite a bit of it, too!
Before mixing the epoxy with the activator, they were sure to lay out drop cloths and cardboard to catch any drips, which is the last thing you want ruining your floor.
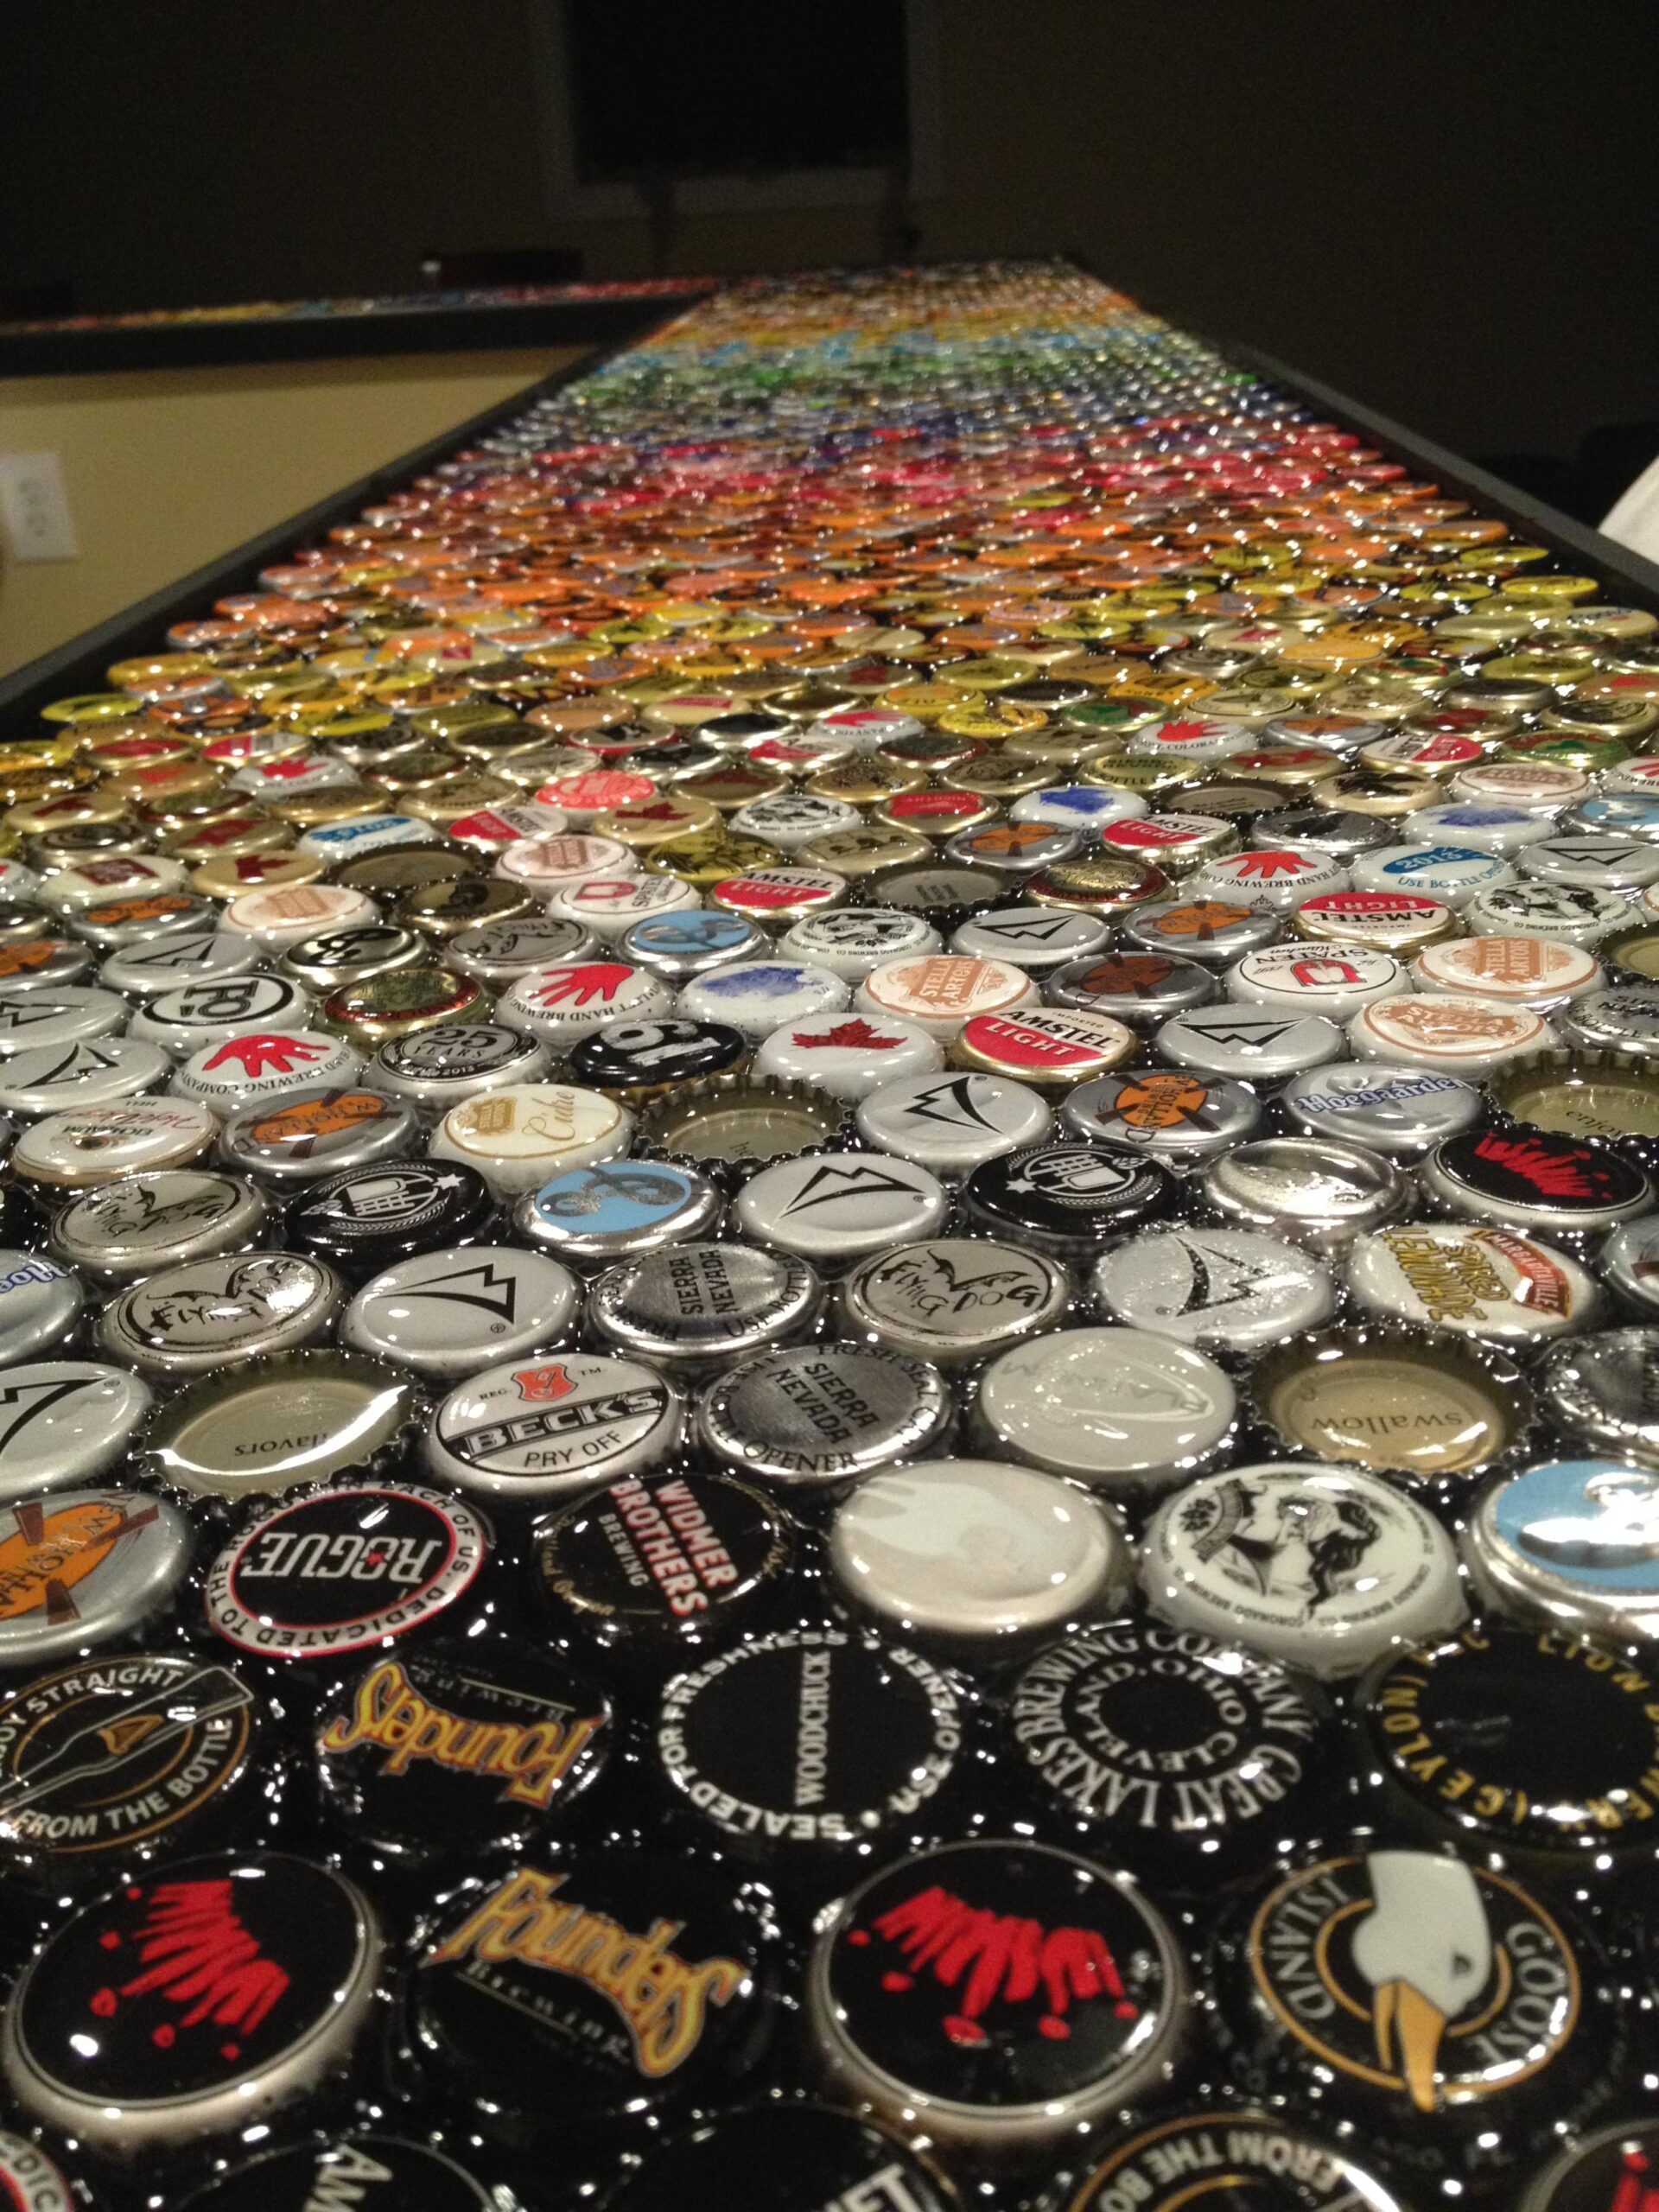
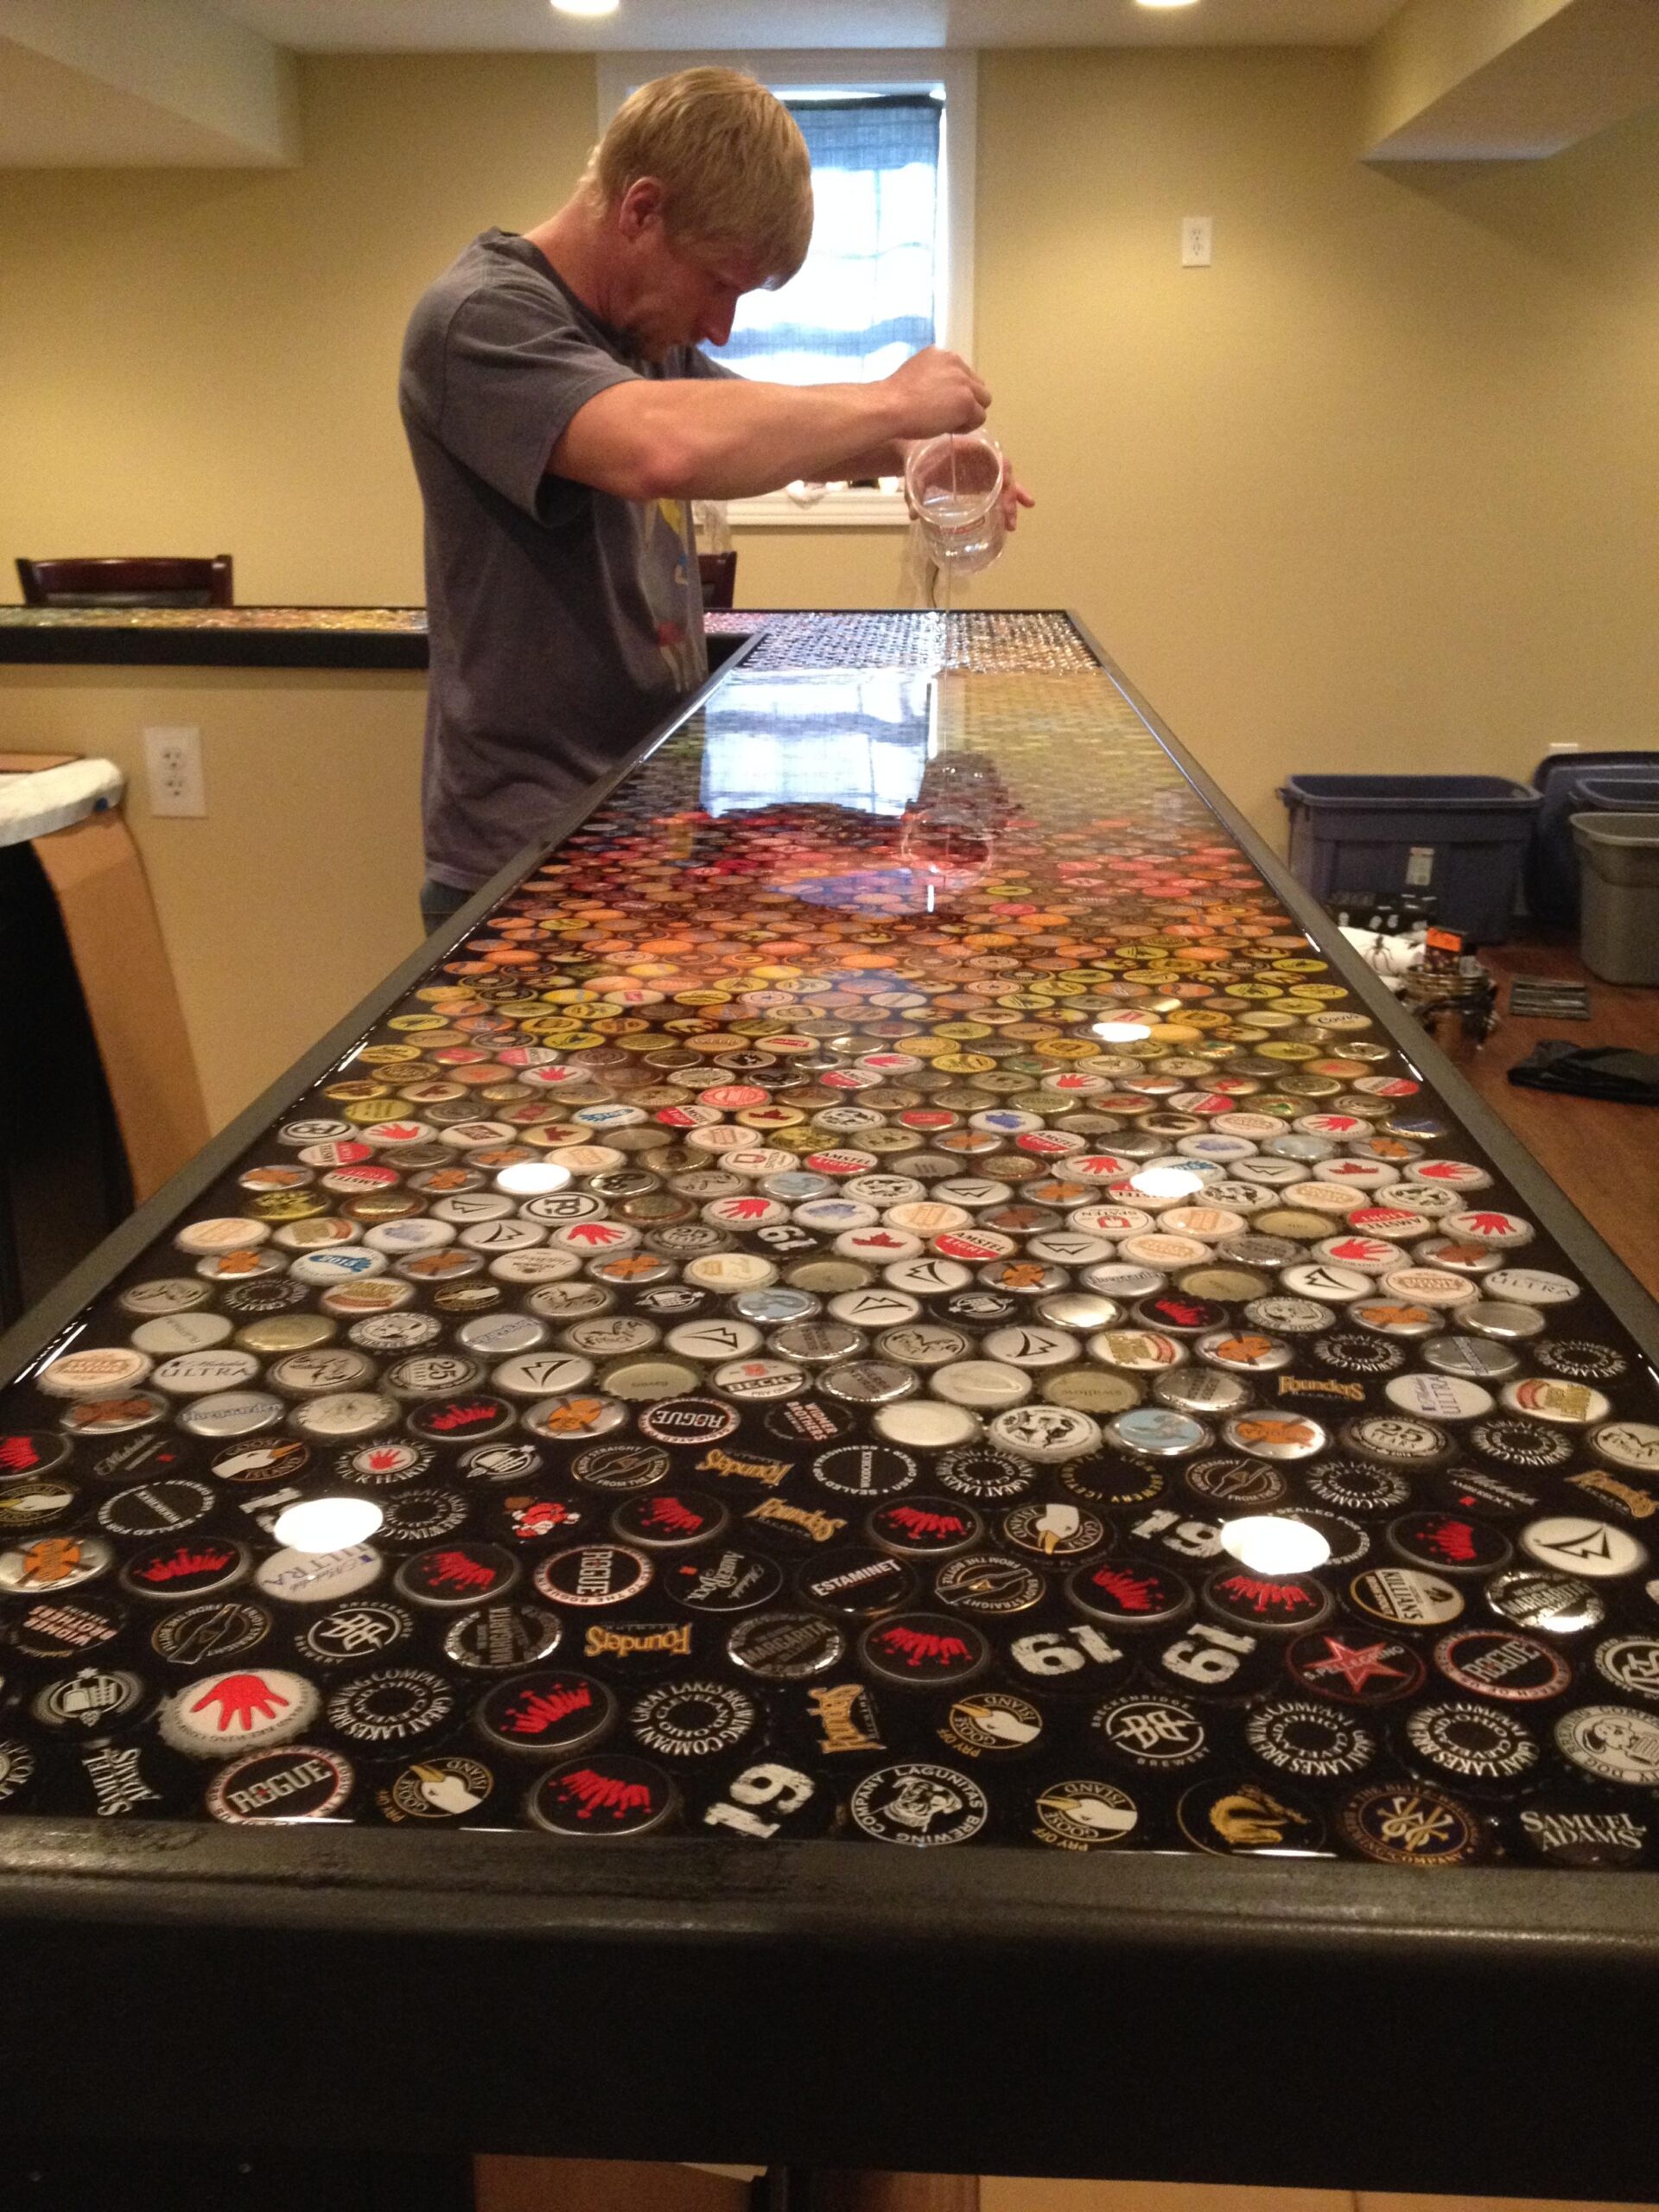
The epoxy was applied in several thin layers, rather than a thick one.
This ensured a more even coat and less air bubbles, plus it prevented the caps from floating on top of the epoxy, which would ruin the whole project!
After five or so coats of epoxy, the caps were finally covered. You can see how shiny and satisfying it looks!
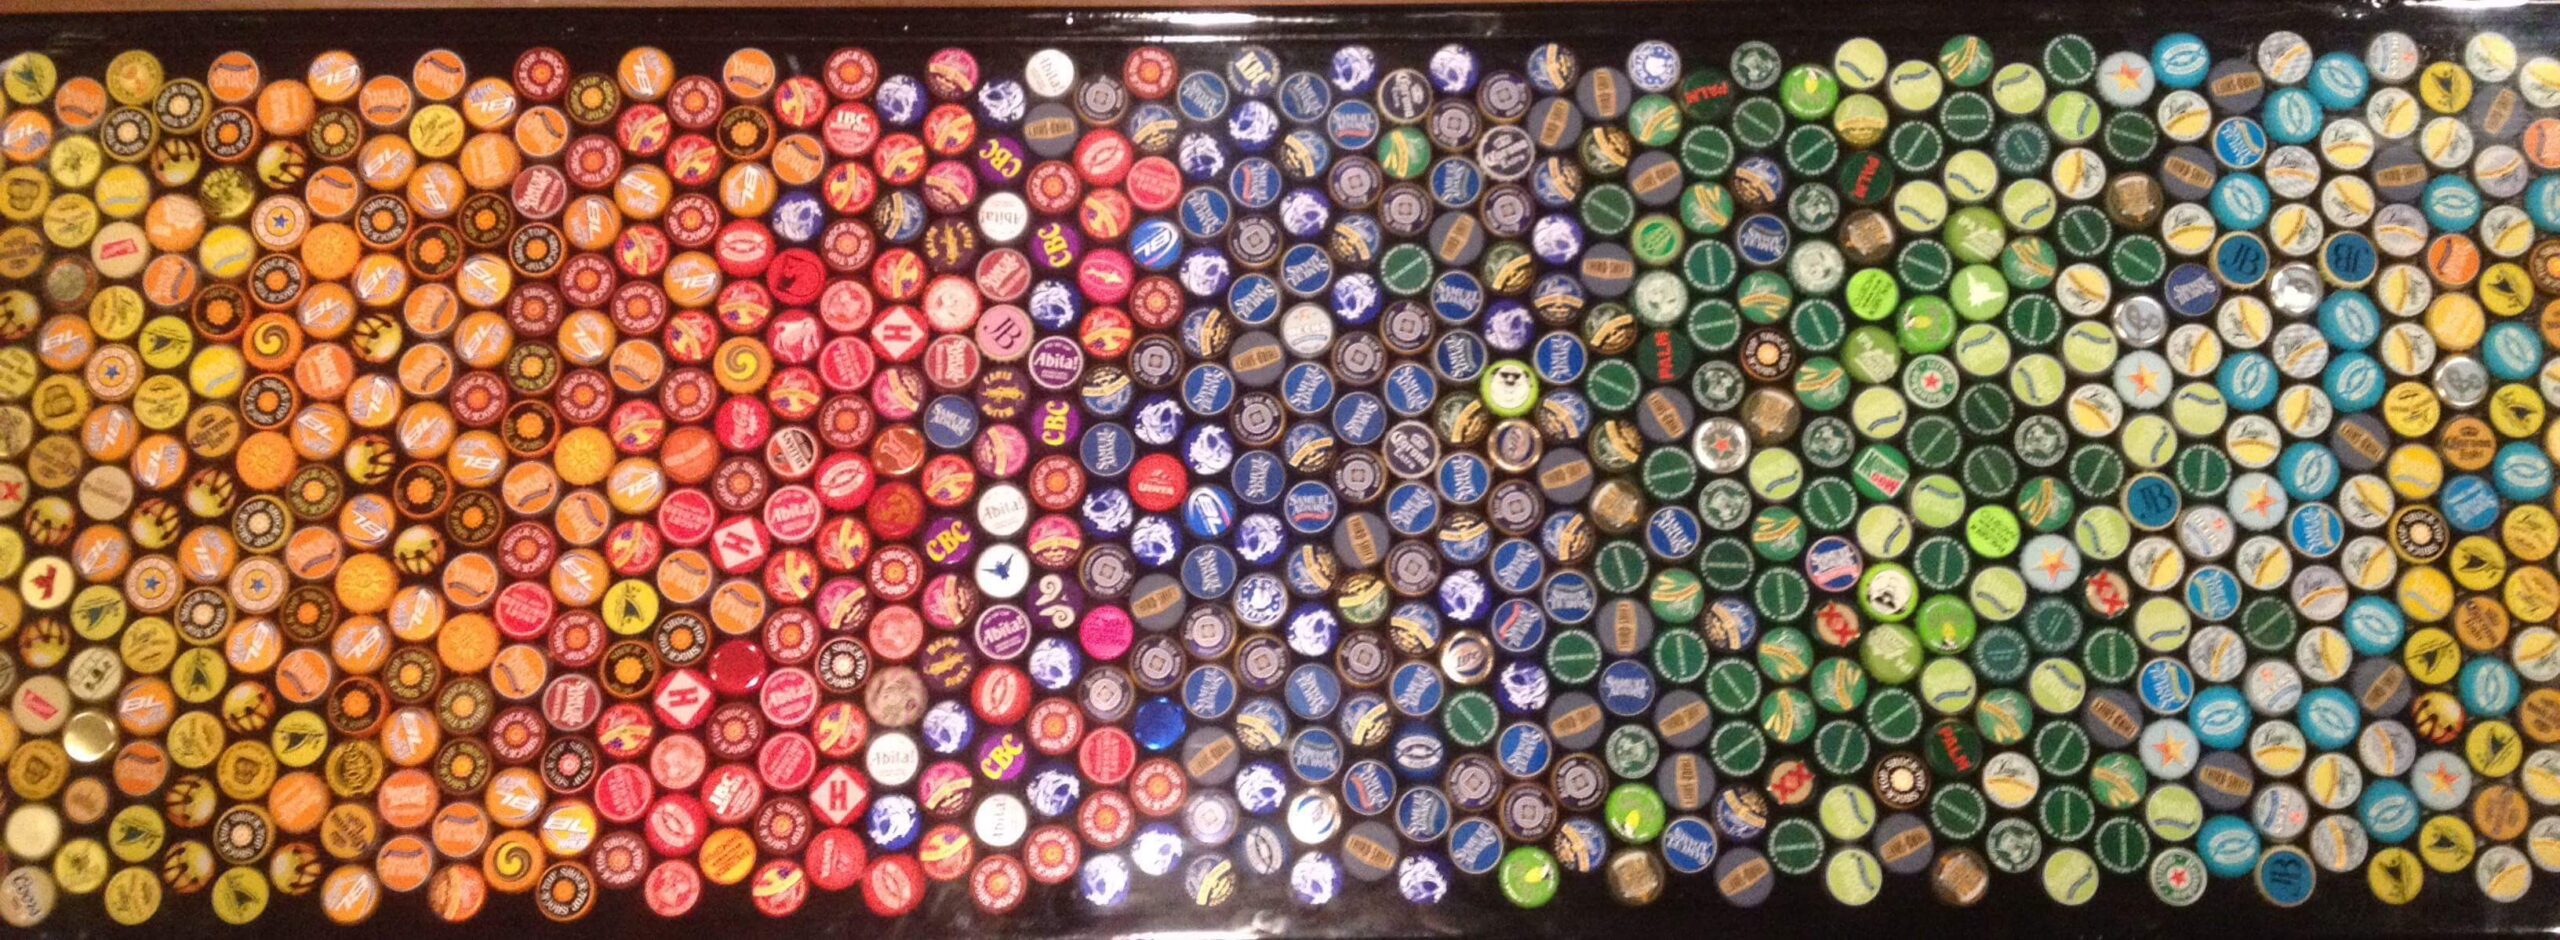
The design, seen here from above, has the illusion of the colors “flowing” into one another.
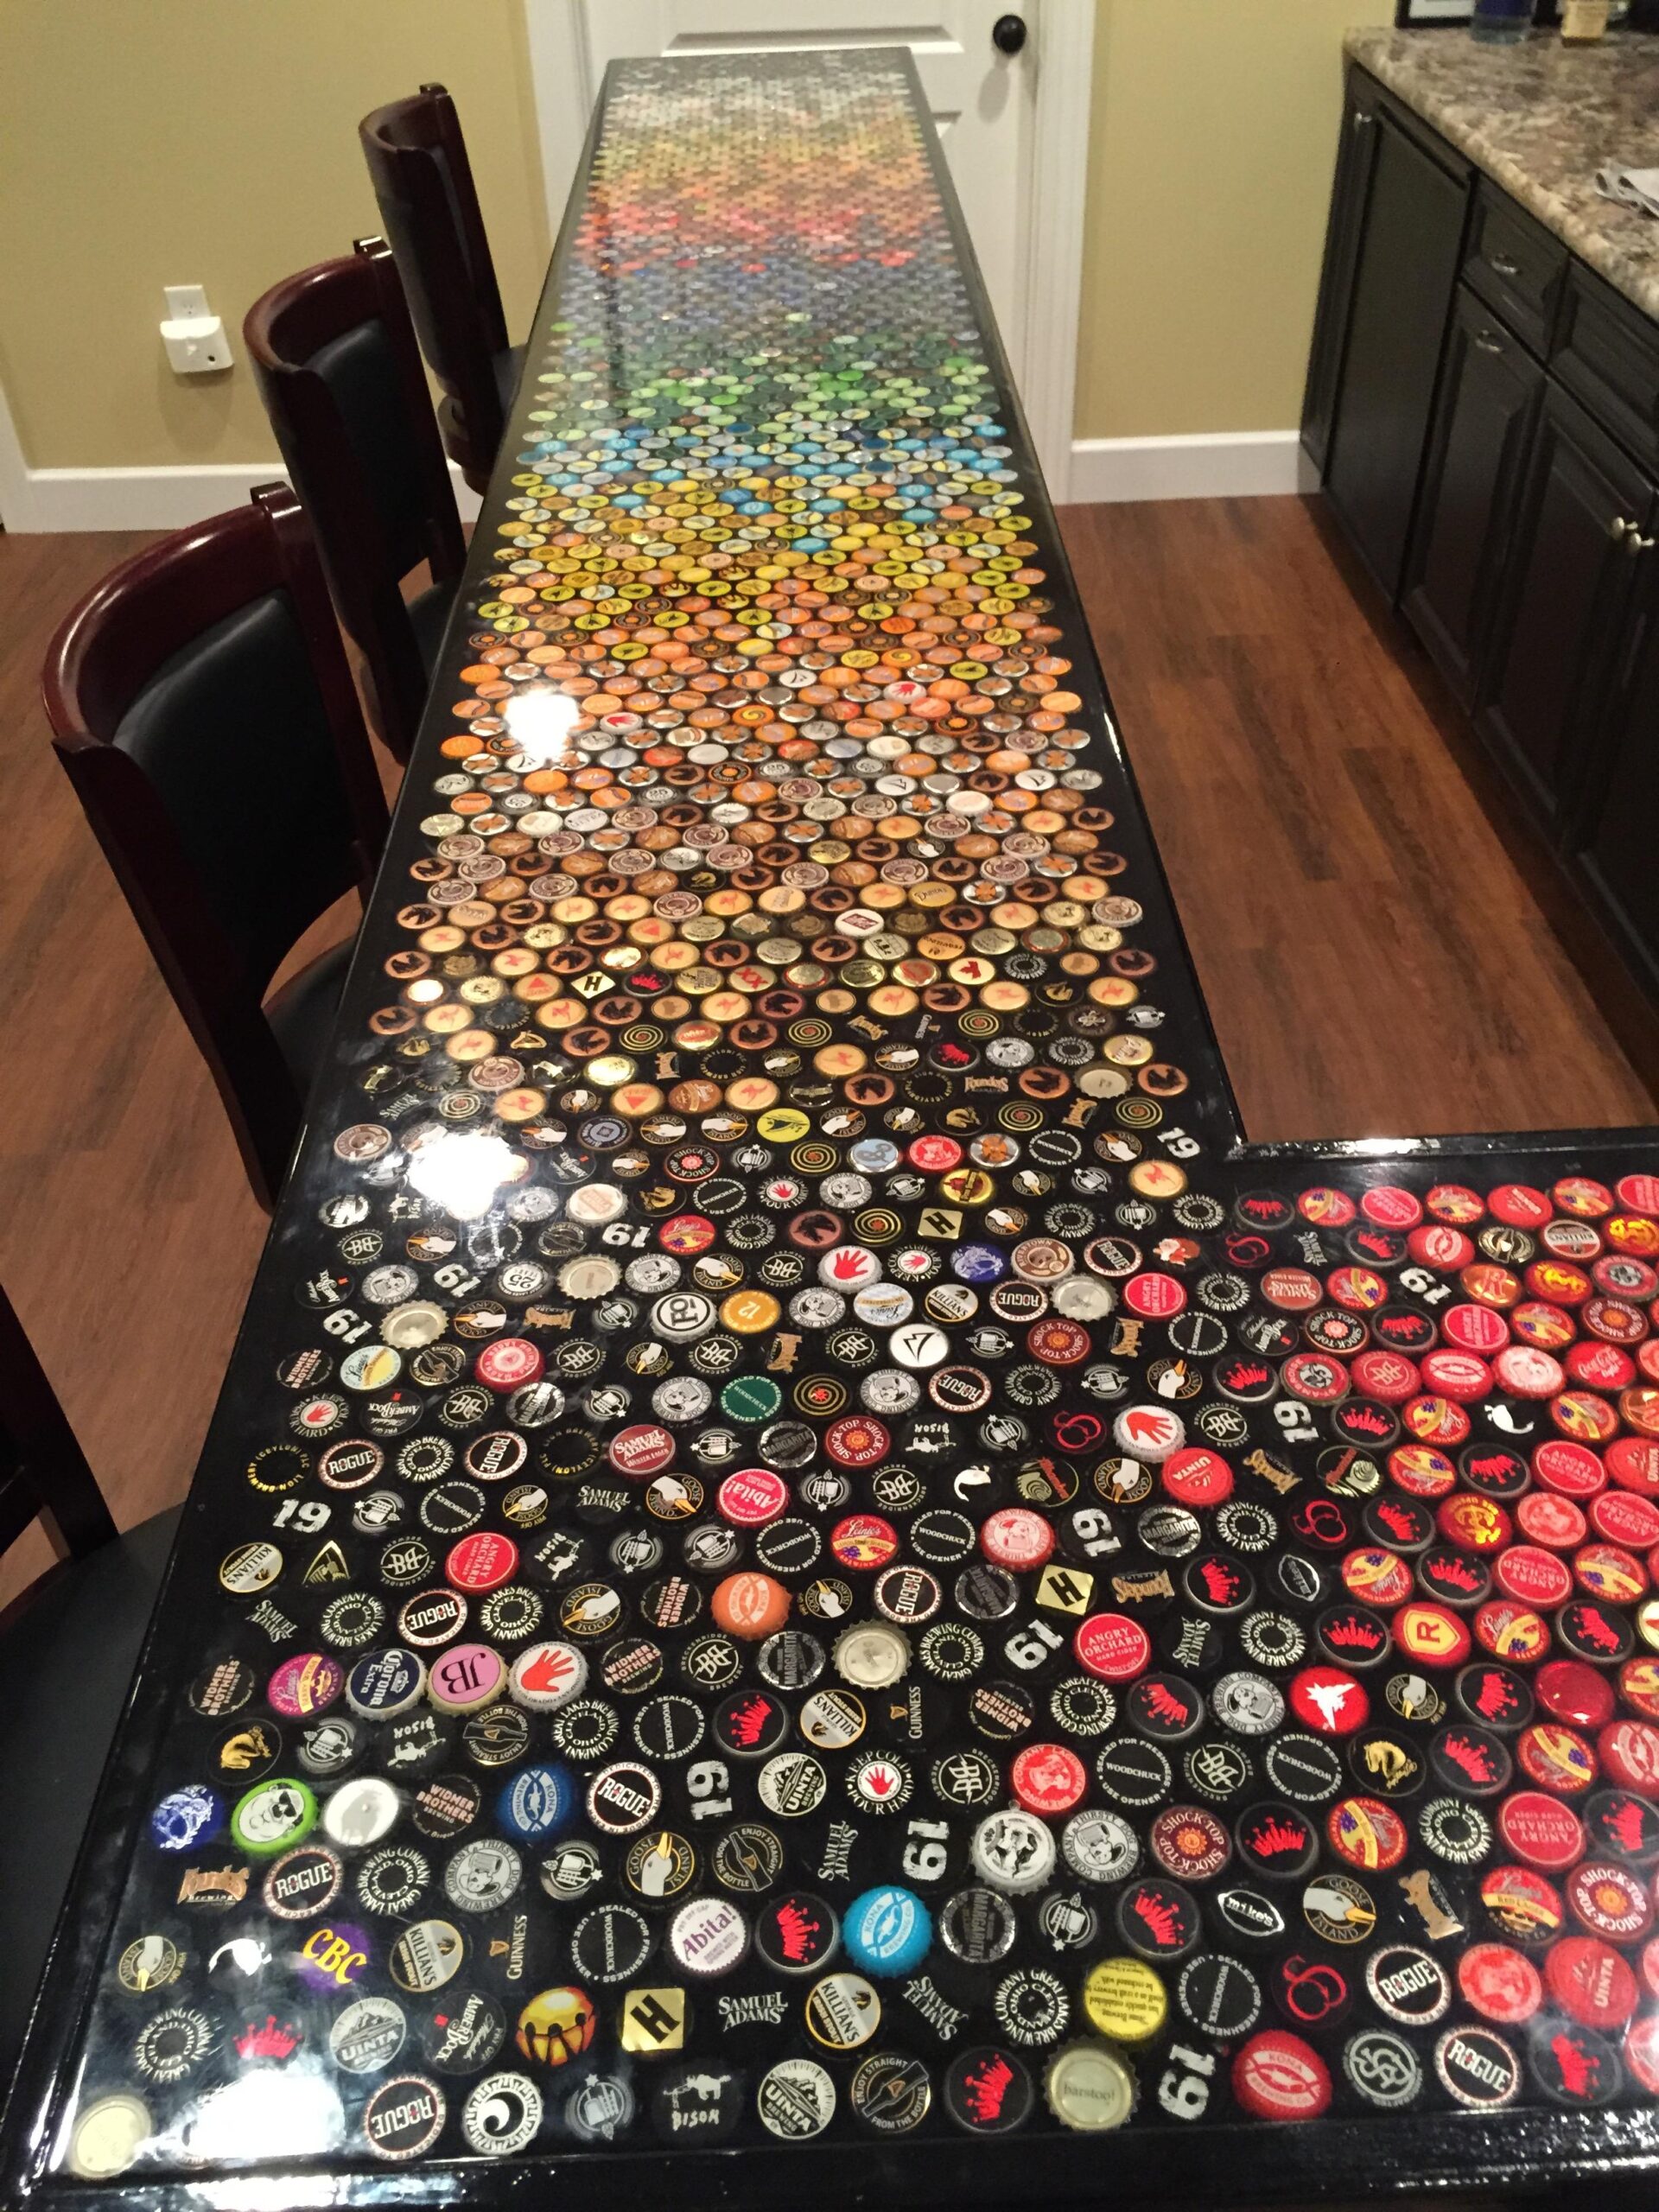
They also switched up the corners, which were originally all black caps. Some pops of color made things a little more interesting.
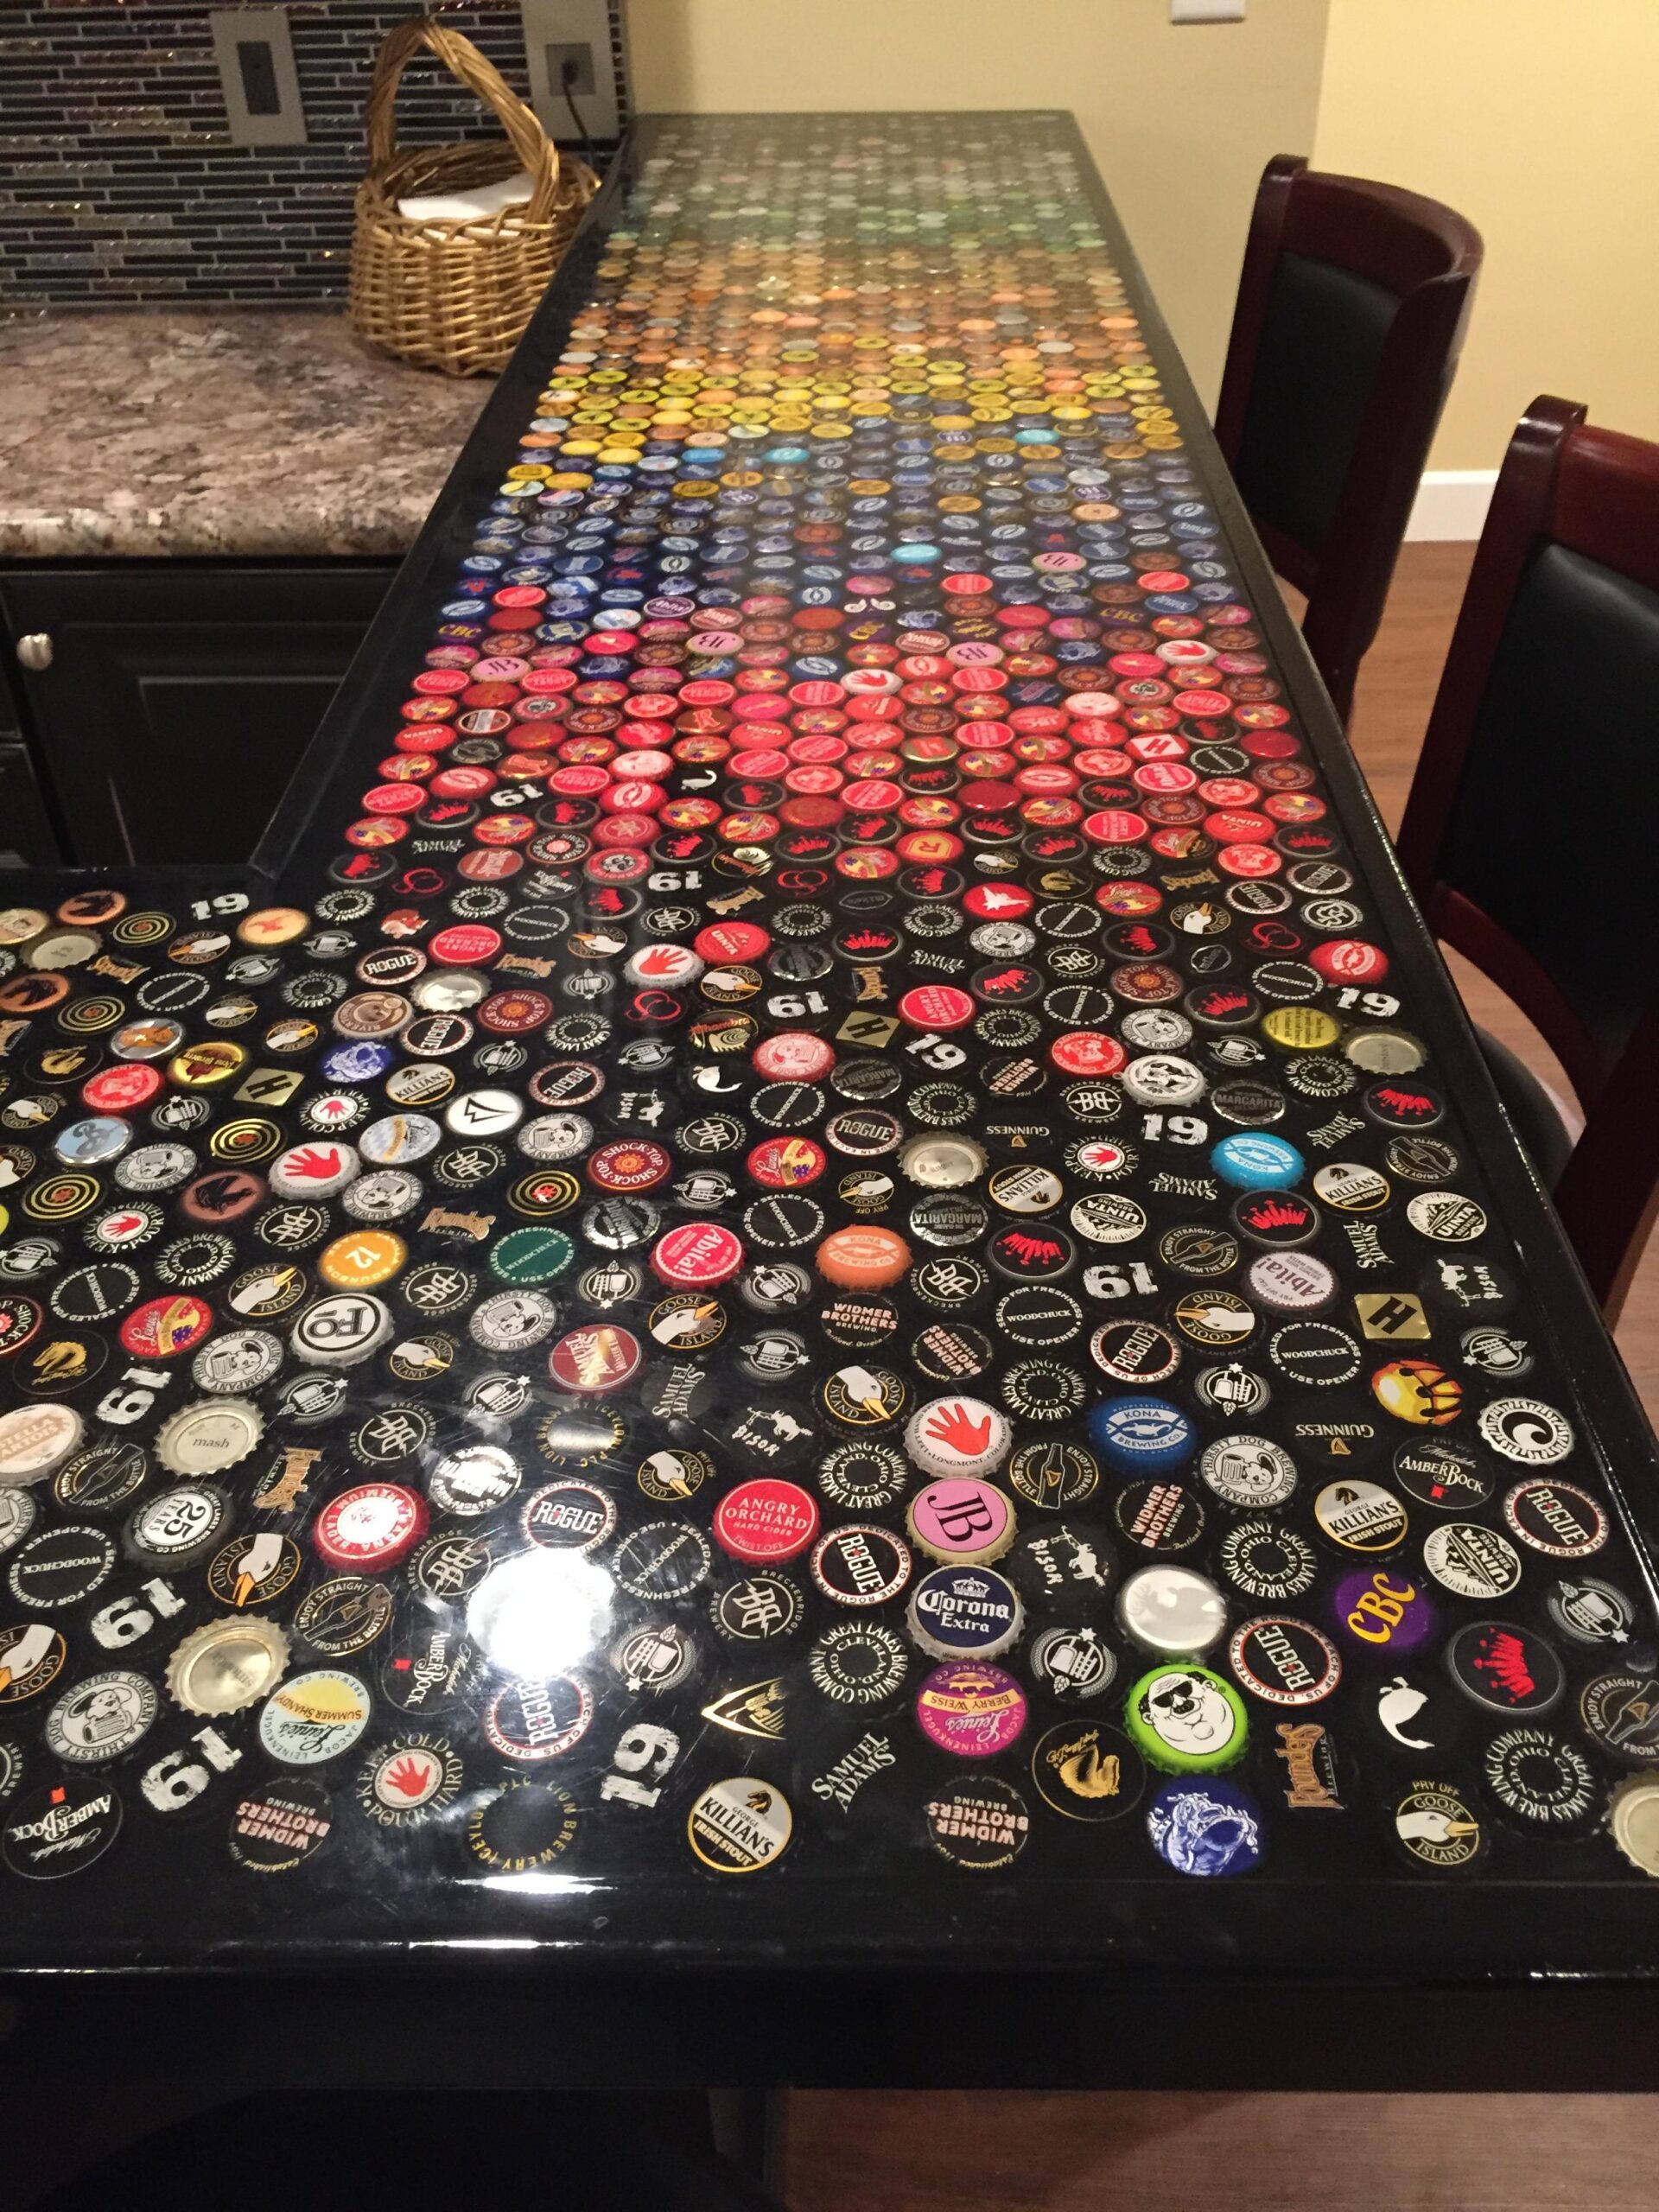
And it does make you appreciate their designs a little more!
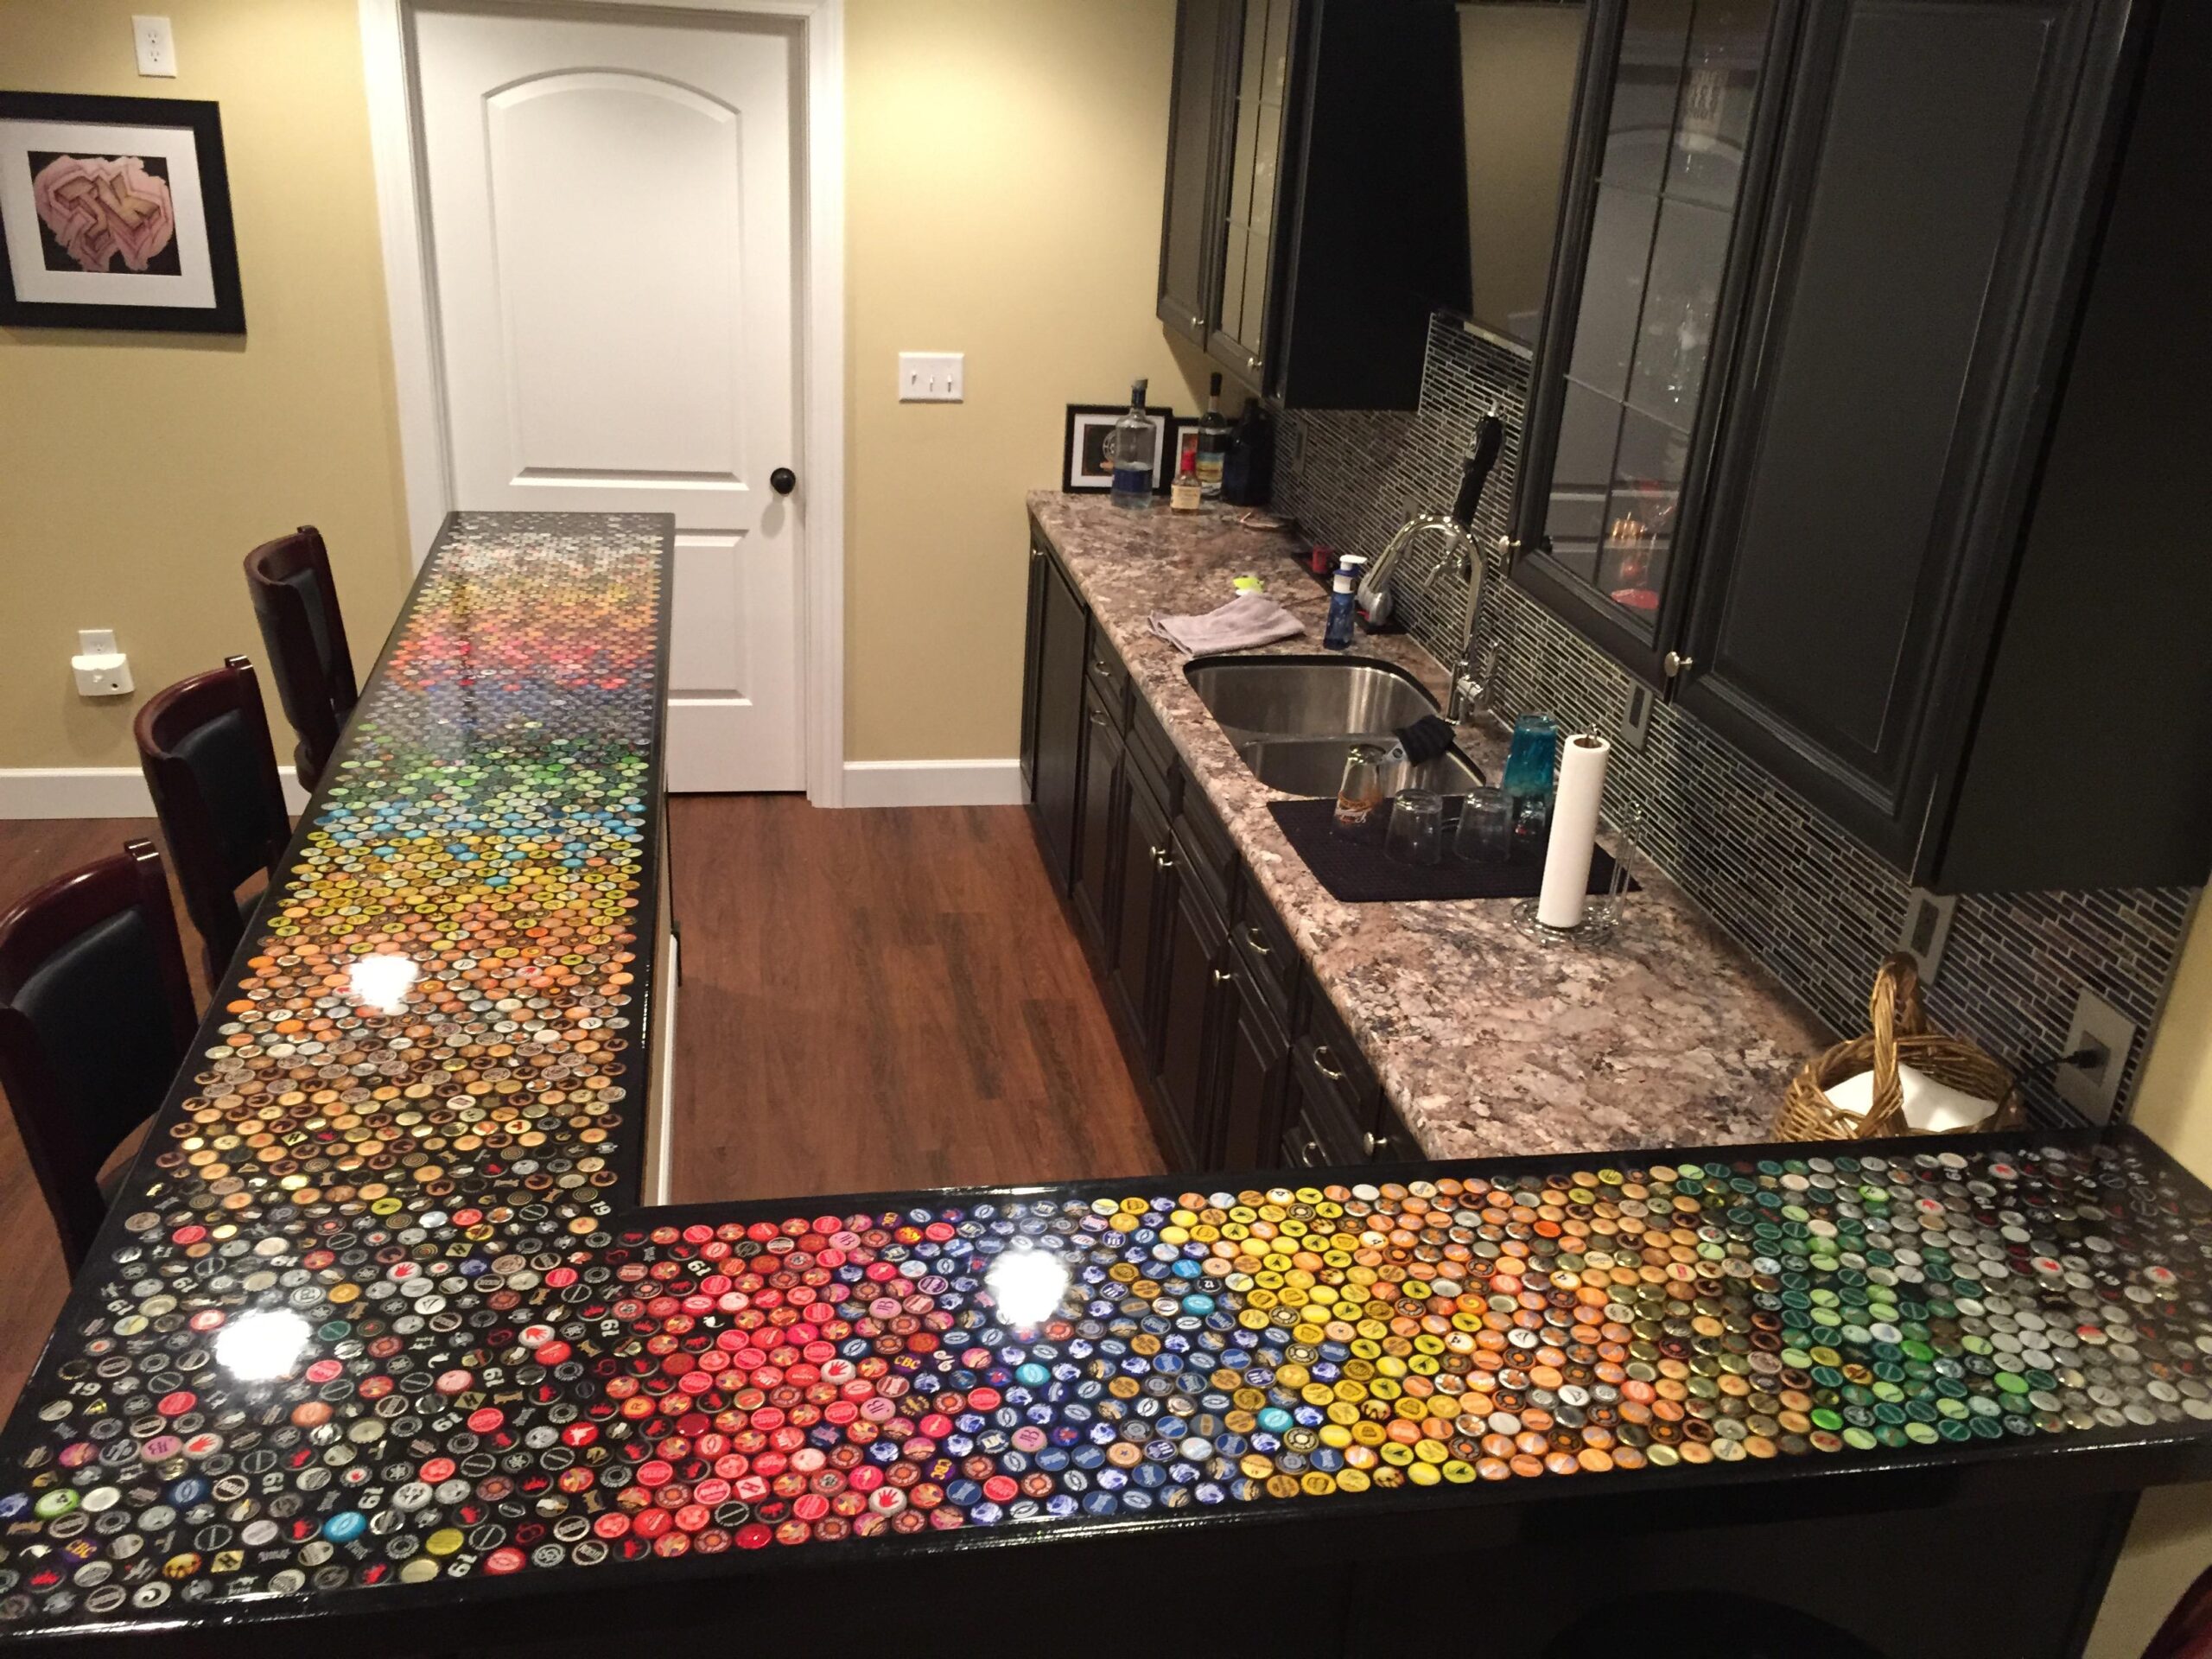
When the epoxy dried and cured, the counter was ready to use, and it added so much color and personality to the room.
Plus, looking at all those bottle caps provides a lot of entertainment!
Would you do something like this in your home? Or would you prefer something smaller?
Let us know what you think in the comments, and SHARE this neat DIY with anyone who loves to do things a little differently around the house!


