I am the kind of person who likes to be prepared for anything. Extra socks, a pair of sneakers, bottled water, cash — I like to keep lots of extra supplies on-hand in case I ever get in a jam.
But until today, I had never thought to carry a stove around with me! Sure, this won't be able to cook big, delicious meals — but in a pinch, this little stove would be perfect!
Who knew an empty soda can could do so much? Now that I know this, I feel so relieved; if I'm ever in an emergency situation, at least I'll know how to boil water in a jiffy.
But even if you're not prepping for emergencies or evacuations, this little can trick is perfect for the great outdoors. I know plenty of campers who'll love this quick and easy stove tutorial.
Can you see this coming in handy? Let us know what you think in the comments below — and please SHARE!
Step 1: To make a quick and easy emergency mini-stove, first gather your supplies. You'll need two soda cans, a blade, a Sharpie, a thumbtack, a book, needle nose pliers, and rubbing alcohol. Insulation is optional.

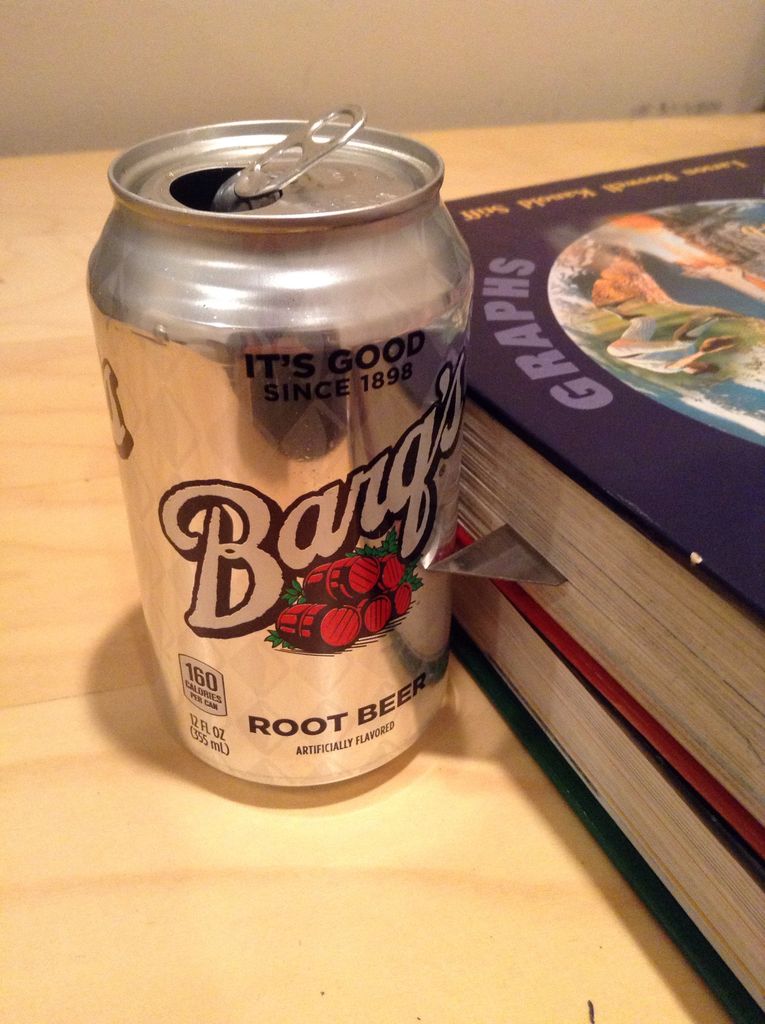
Step 2: Using a book and a blade, score your cans. One inch of can equals about 10–15 minutes of burn time. This can has been scored at 2.5" high. To puncture the can, press it against the blade and rotate a few times. Do this to both cans — but make sure one can's score is about a centimeter higher than the other.
Step 3: Separate your can along the score lines.

You should now have two halves of your can. Note that one half is taller than the other.

Step 4: Grab your shorter can. Using your Sharpie, plan out your jet holes. When you're ready, take your thumb tack and puncture the marks. Make several holes in the center, as this is where your fuel will be added.
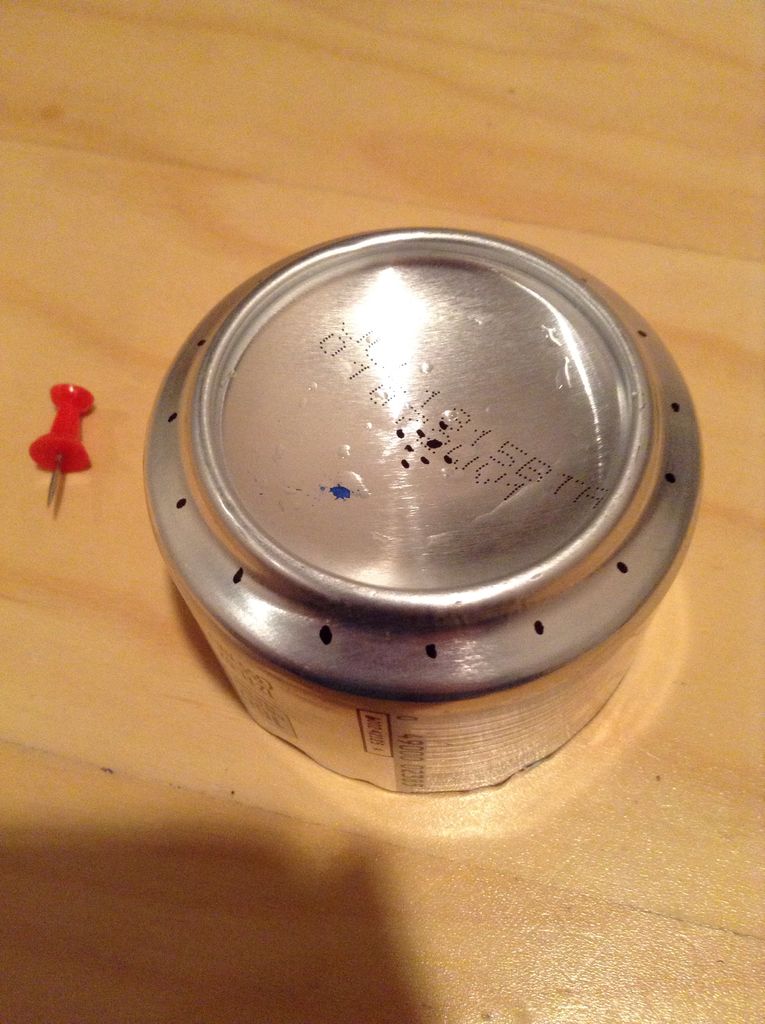
Step 5: Grab your taller can. Using your pliers, crimp the sides.
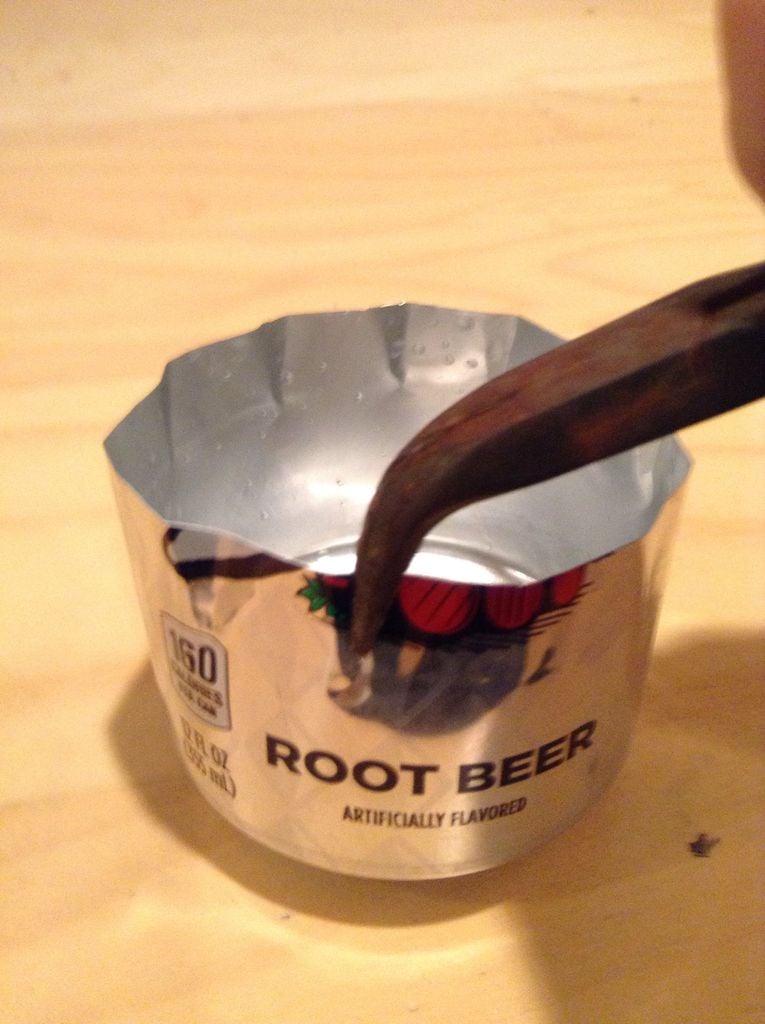
Step 6 (optional): If you choose to use fiberglass insulation in your mini-stove, insert it into your taller can. The insulation will help the jets to burn more evenly — but it is not required.
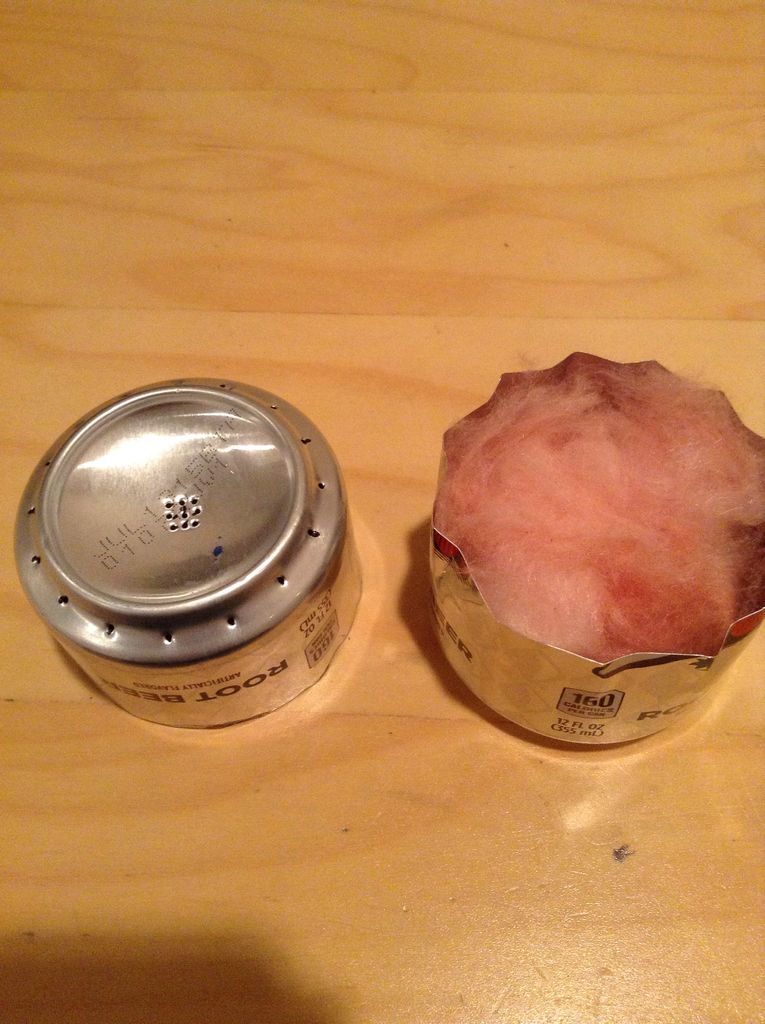
Step 7: Merge the two cans. The half with the jet holes should be on top of the crimped half. Pour your rubbing alcohol into the top holes.
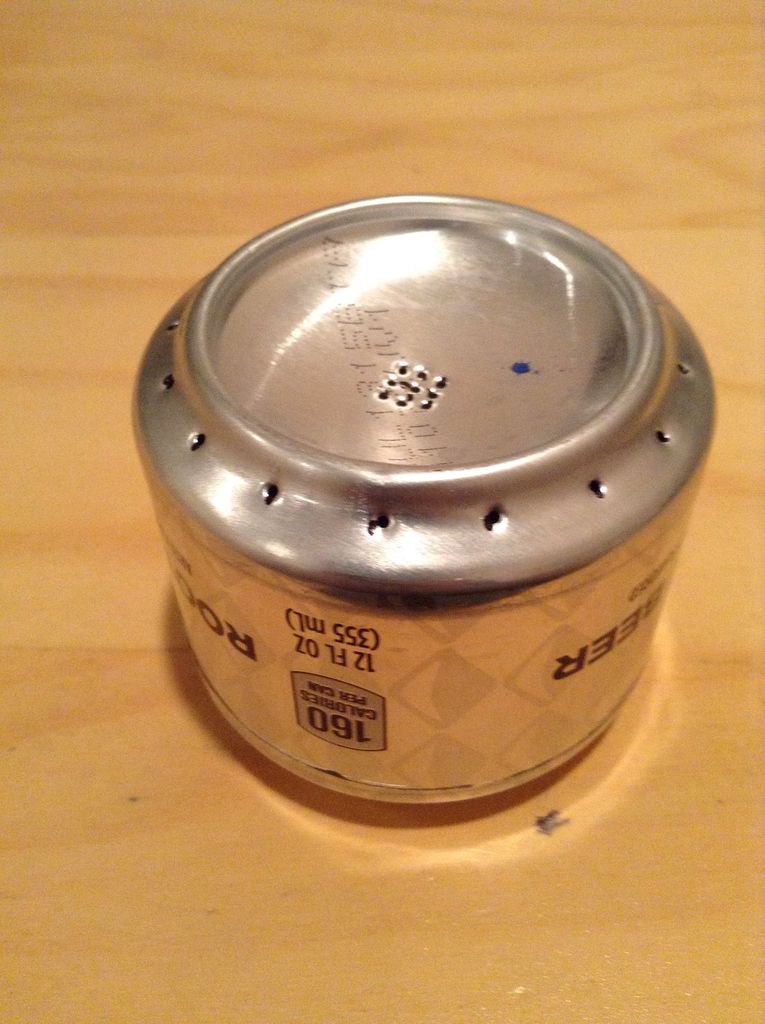
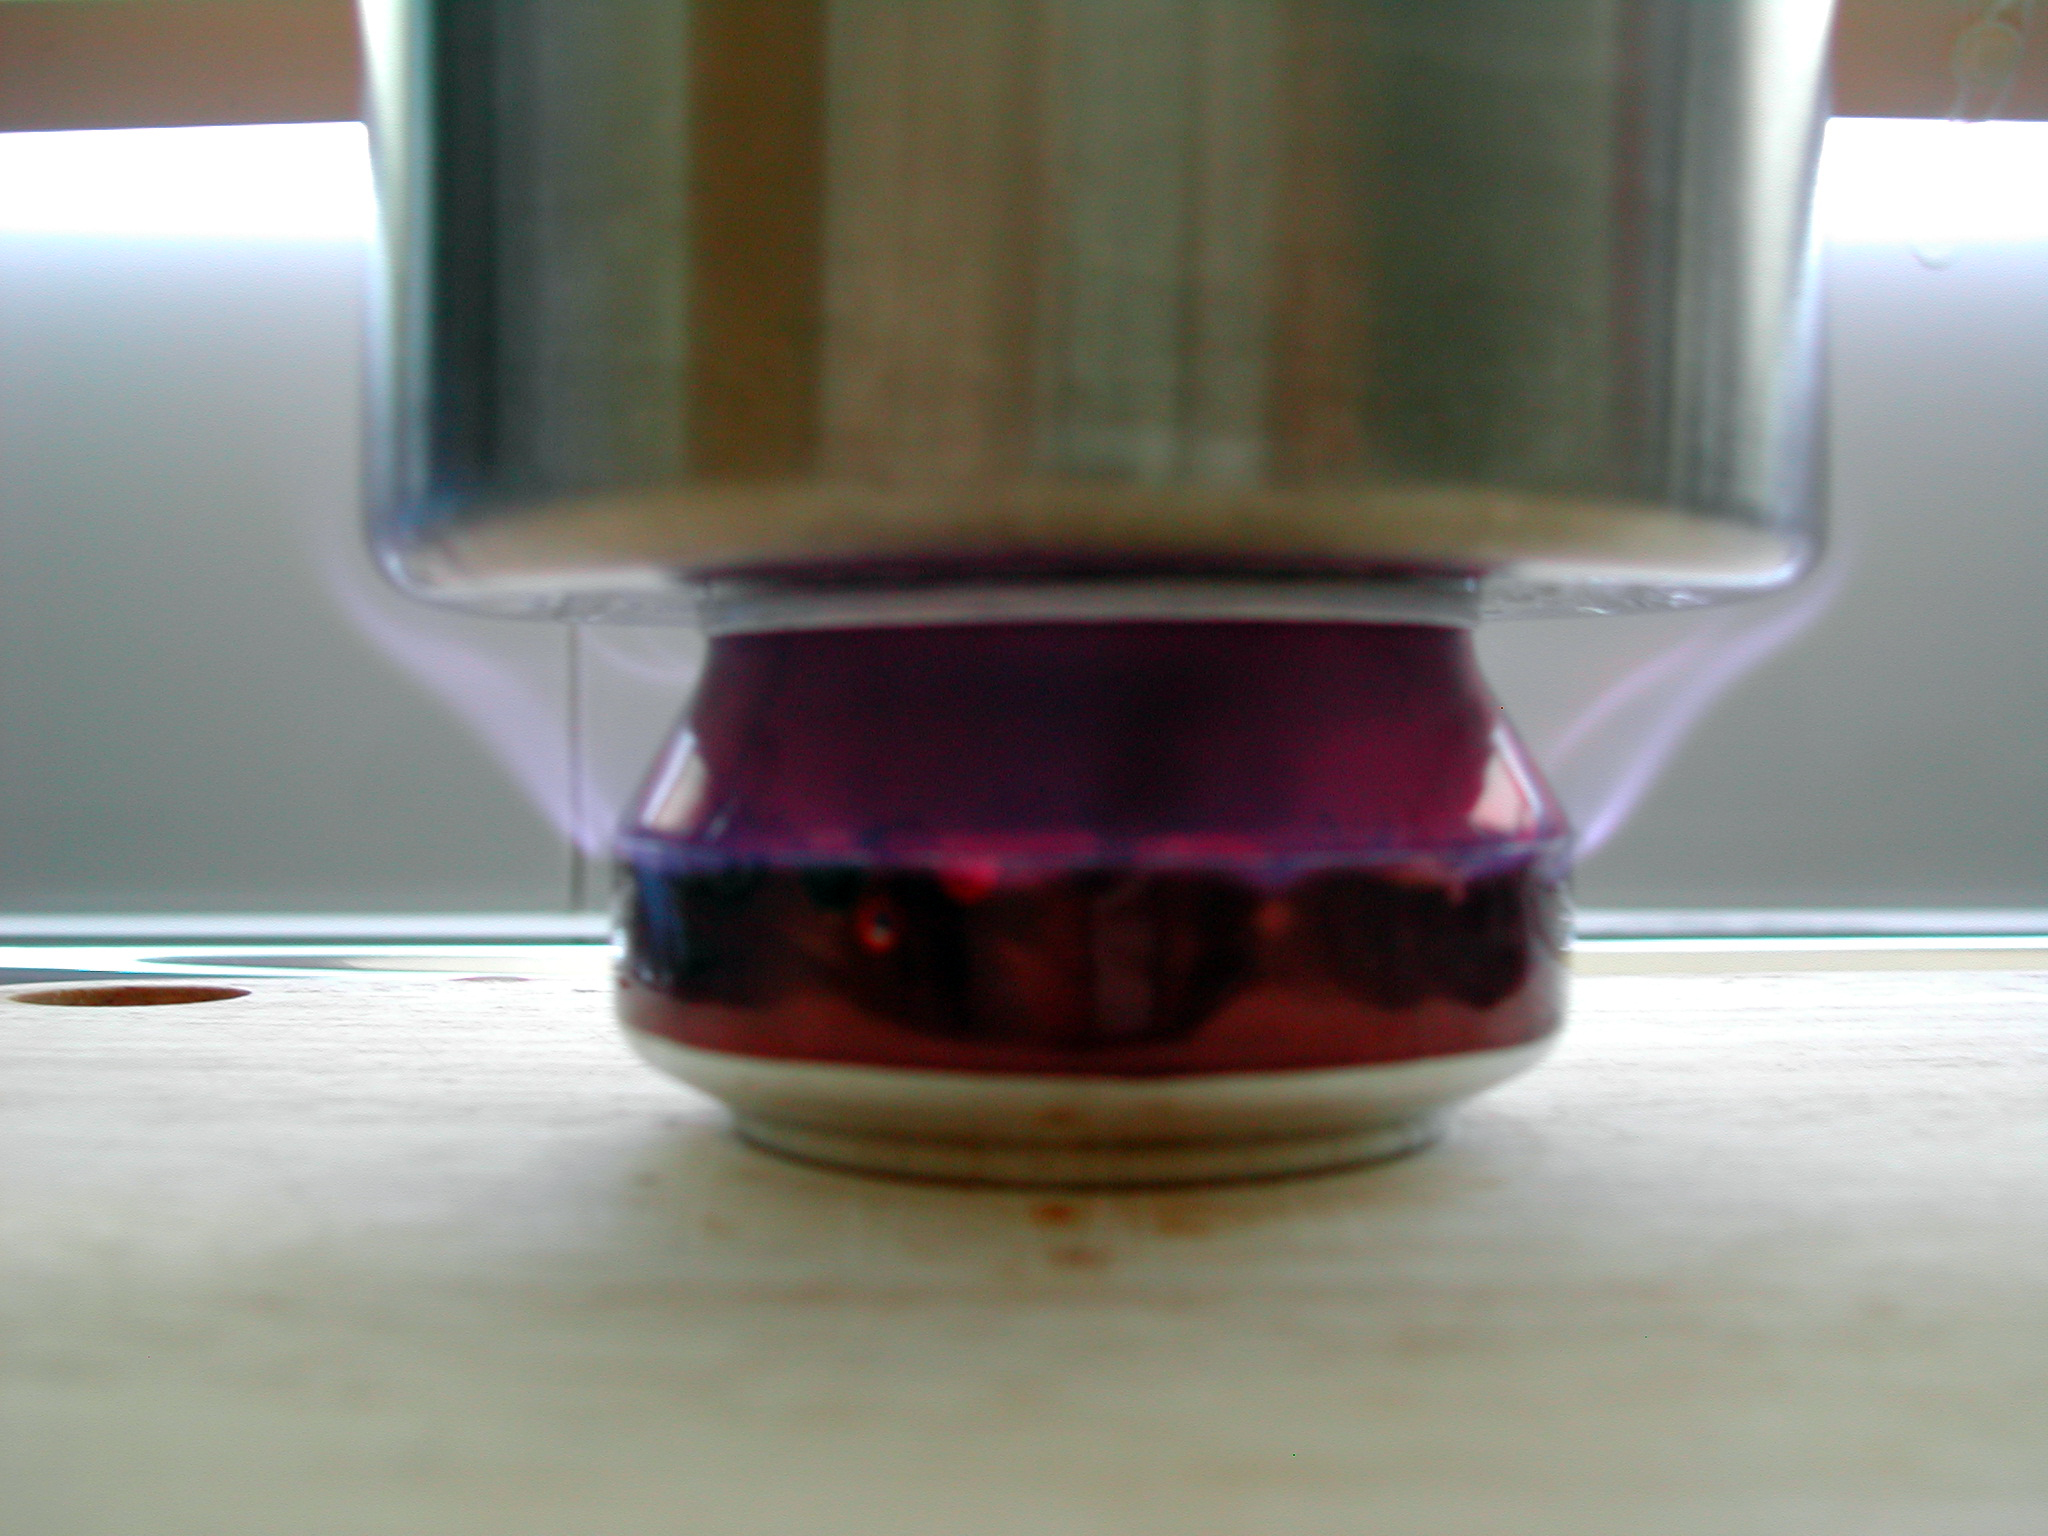
Though this is not the same root beer can as above, your mini-stove should burn like so. This is perfect for camping, power outages, or emergency situations. Could you see this coming in handy? Let us know in the comments below! (Note: Use extreme
Please SHARE if you love this quick and easy survival tool!


