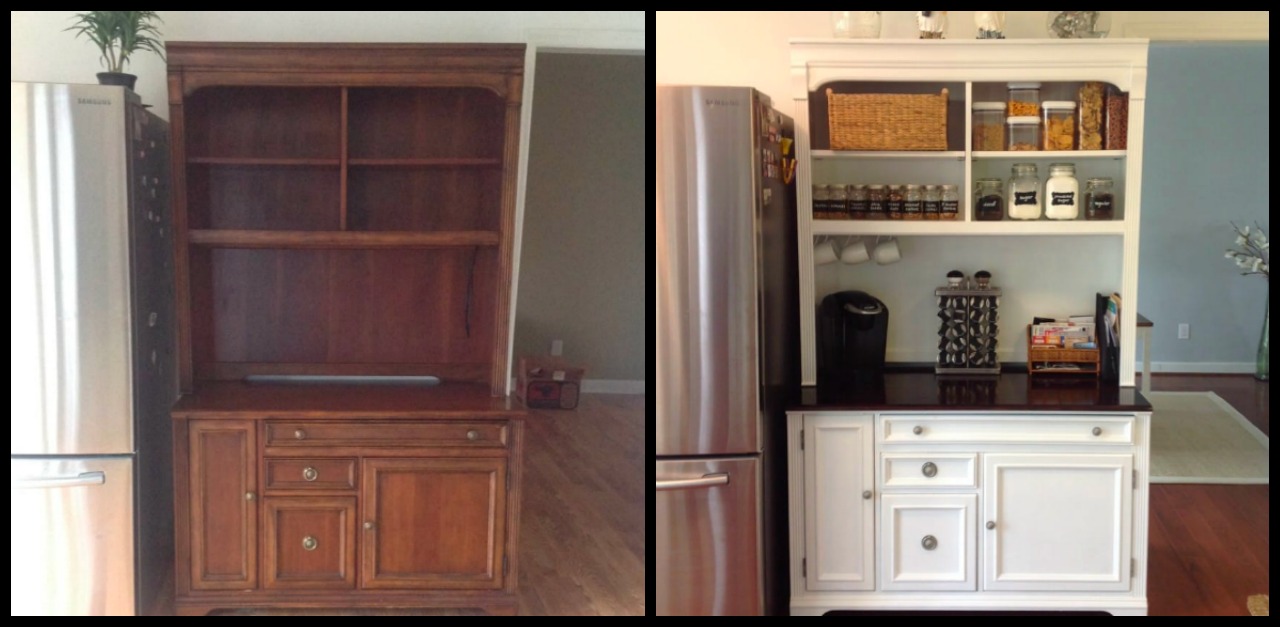
If you're a fan of DIY projects, you know thrift shops are great places to go — they can give you fantastic ideas and they're wonderful places to buy cheap furniture.
Thrift stores are full of inspiring pieces of history that other people don't have use for anymore, like this old cabinet that someone turned into a litter-box hider.
One mom, Grier, loves thrift shopping and crafting, so it's almost a guarantee that every time she goes shopping, she finds some incredible project to start working on.
Recently, she went to a Habitat for Humanity ReStore and found a piece of furniture that she knew she needed for her home.
As soon as she saw this beautiful wooden hutch cabinet, she imagined it in her home — it was perfect for an open space in her kitchen, and would provide additional storage (which everyone always needs).
Although the original hutch was beautiful, Grier didn't love the color of the wood, so she decided to make some changes.
[H/T: Craft Crib]
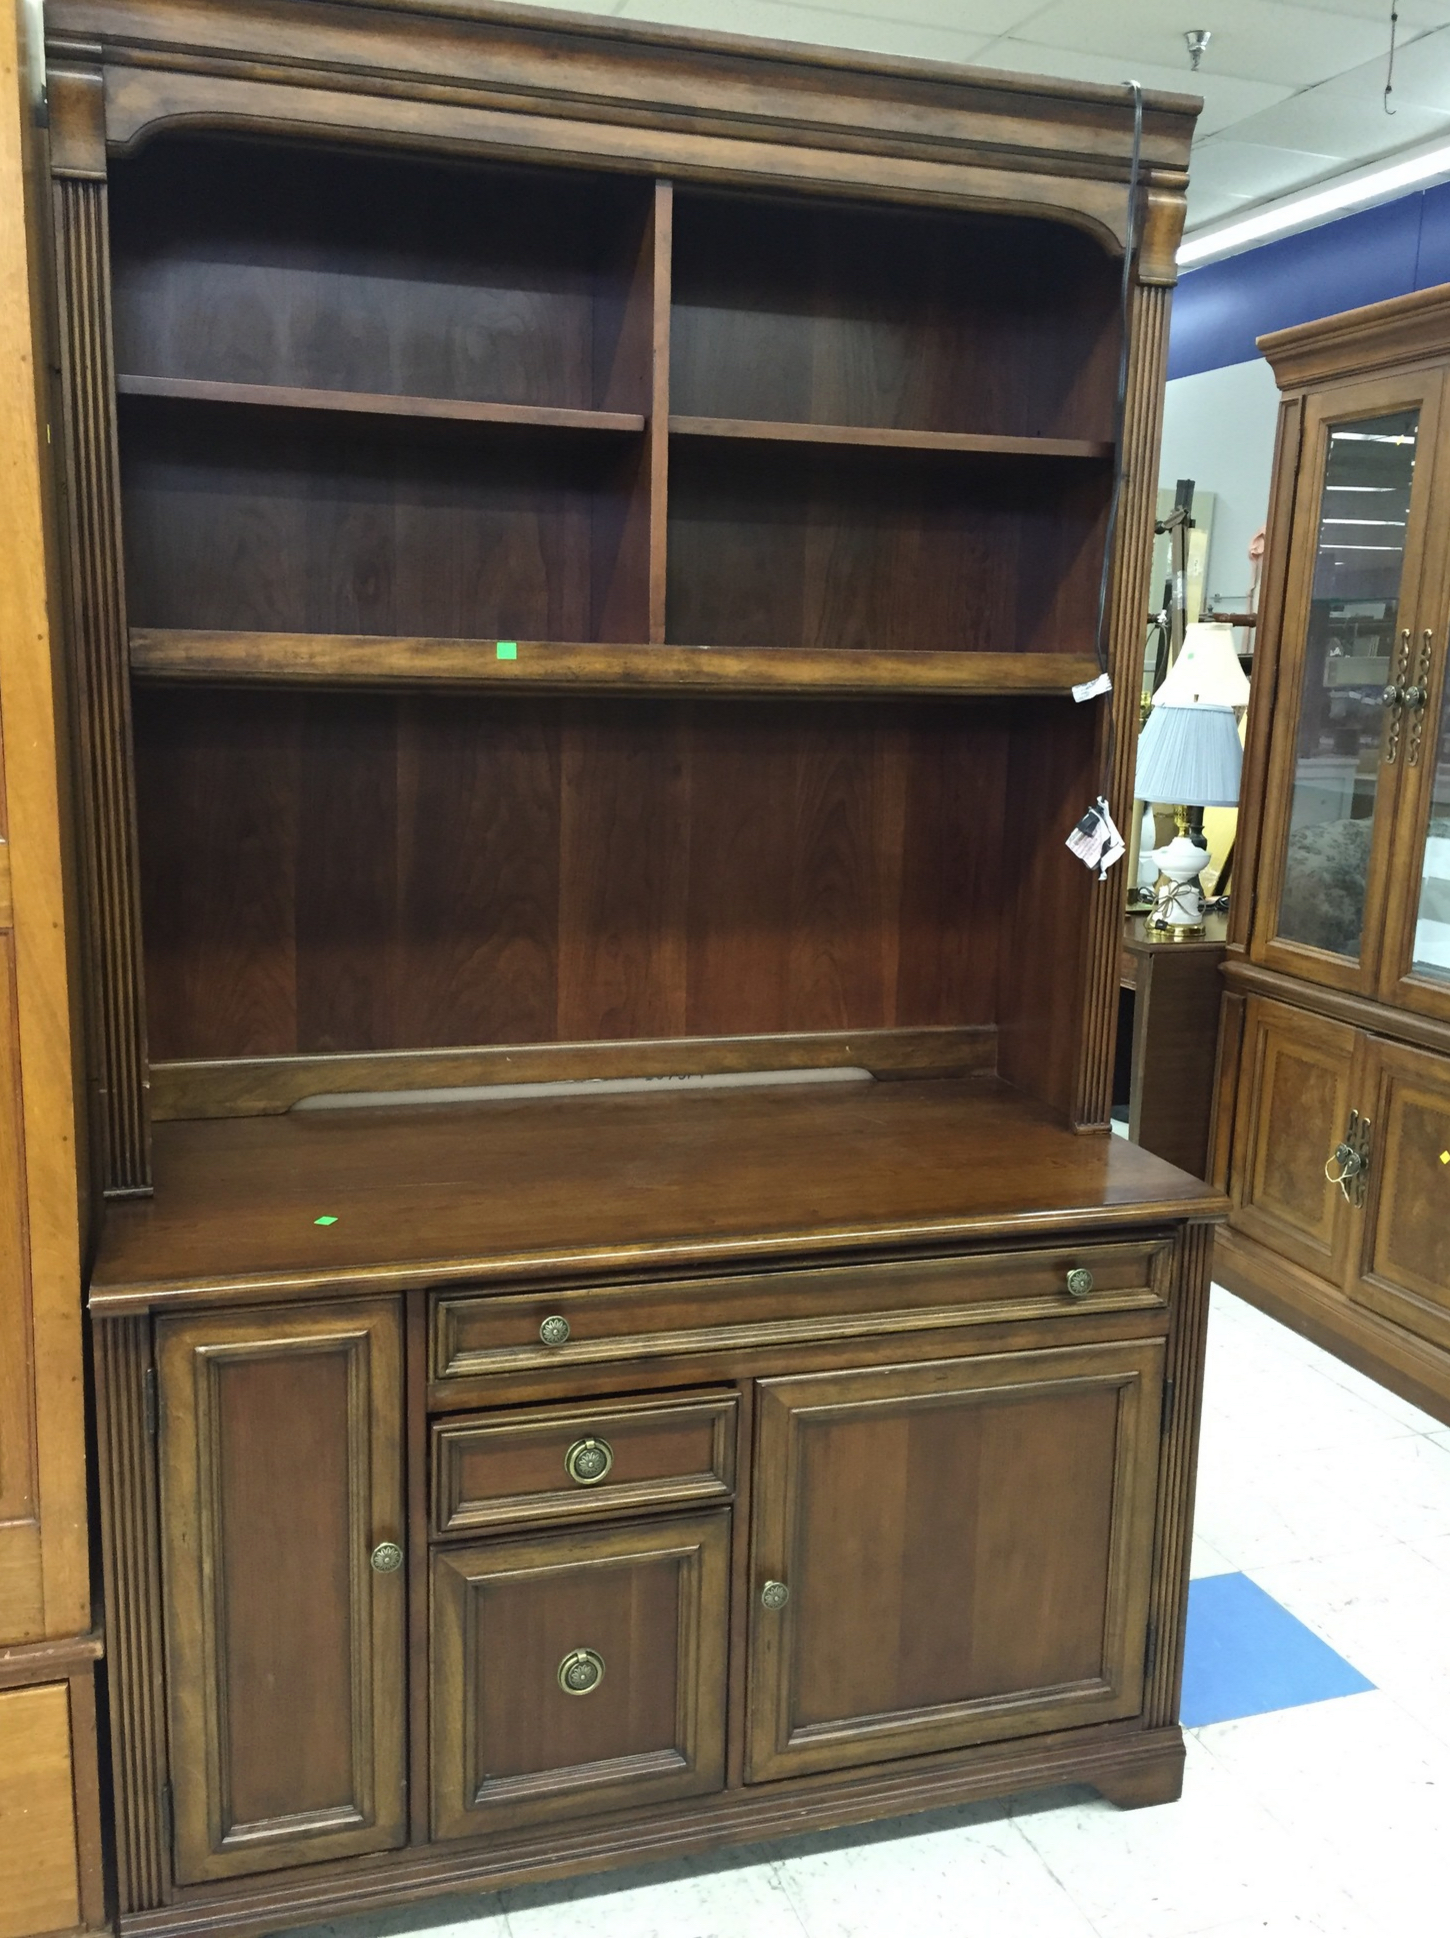
Grier came across this beautiful hutch cabinet at her local Habitat for Humanity ReStore. She loved the bones of it and knew it would be perfect for her kitchen.
She wasn't the biggest fan of the wood color — it wouldn't match with the furniture already in her kitchen.
But being a big crafter, Grier knew she could update it to fit her aesthetic.
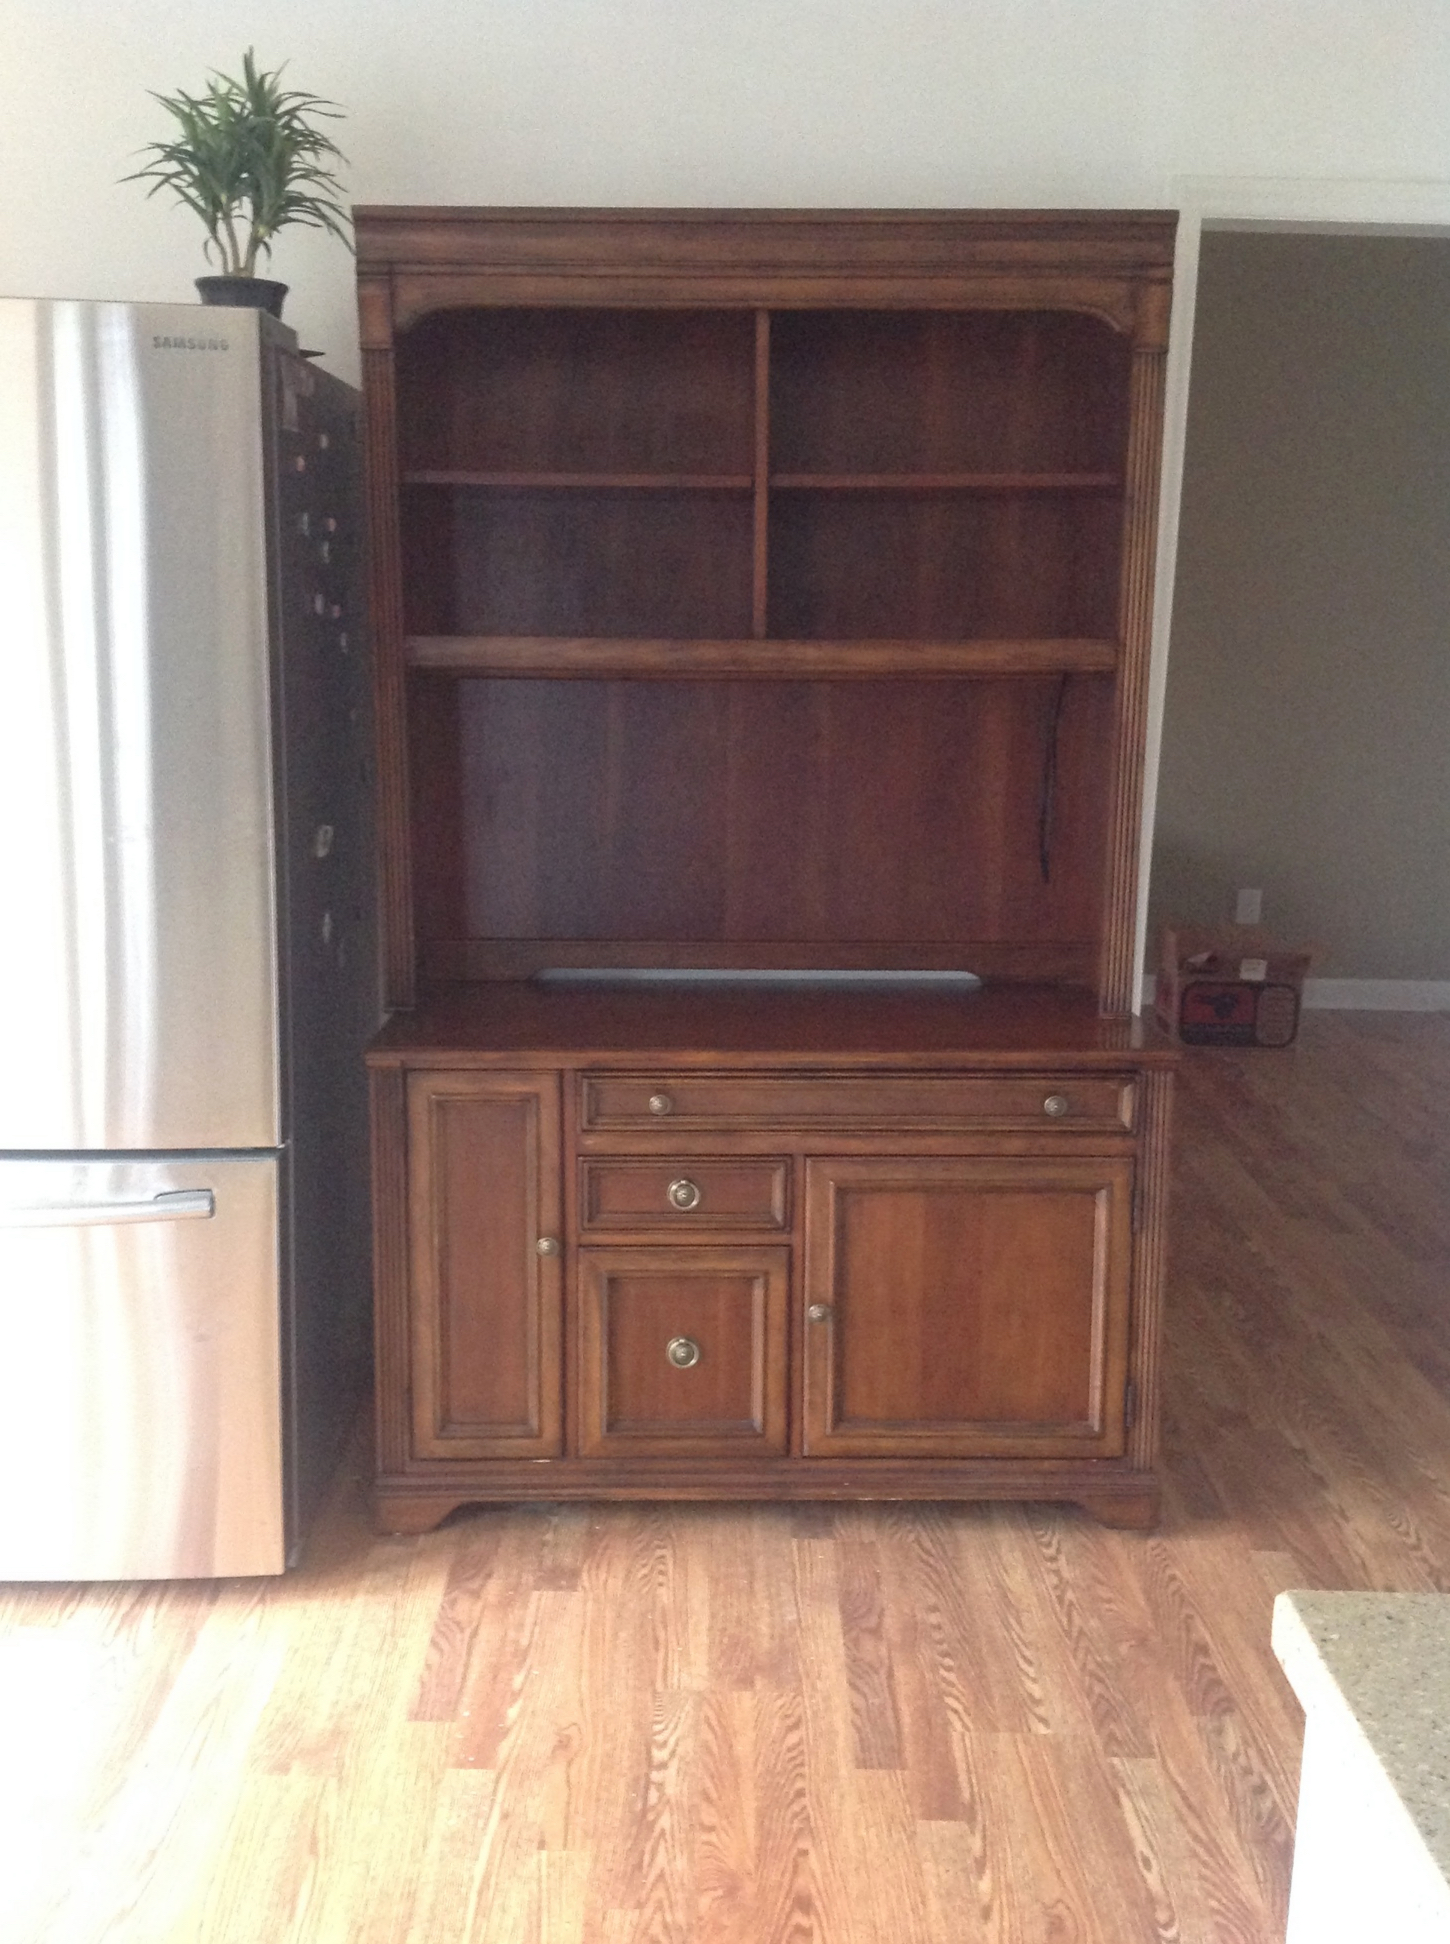
Once she brought the hutch home, Grier put it in her kitchen next to the fridge to make sure it fit well.
After she put it in place, she measured the hutch and all its pieces to make sure it wouldn't cause any problems with the other furniture in her kitchen.
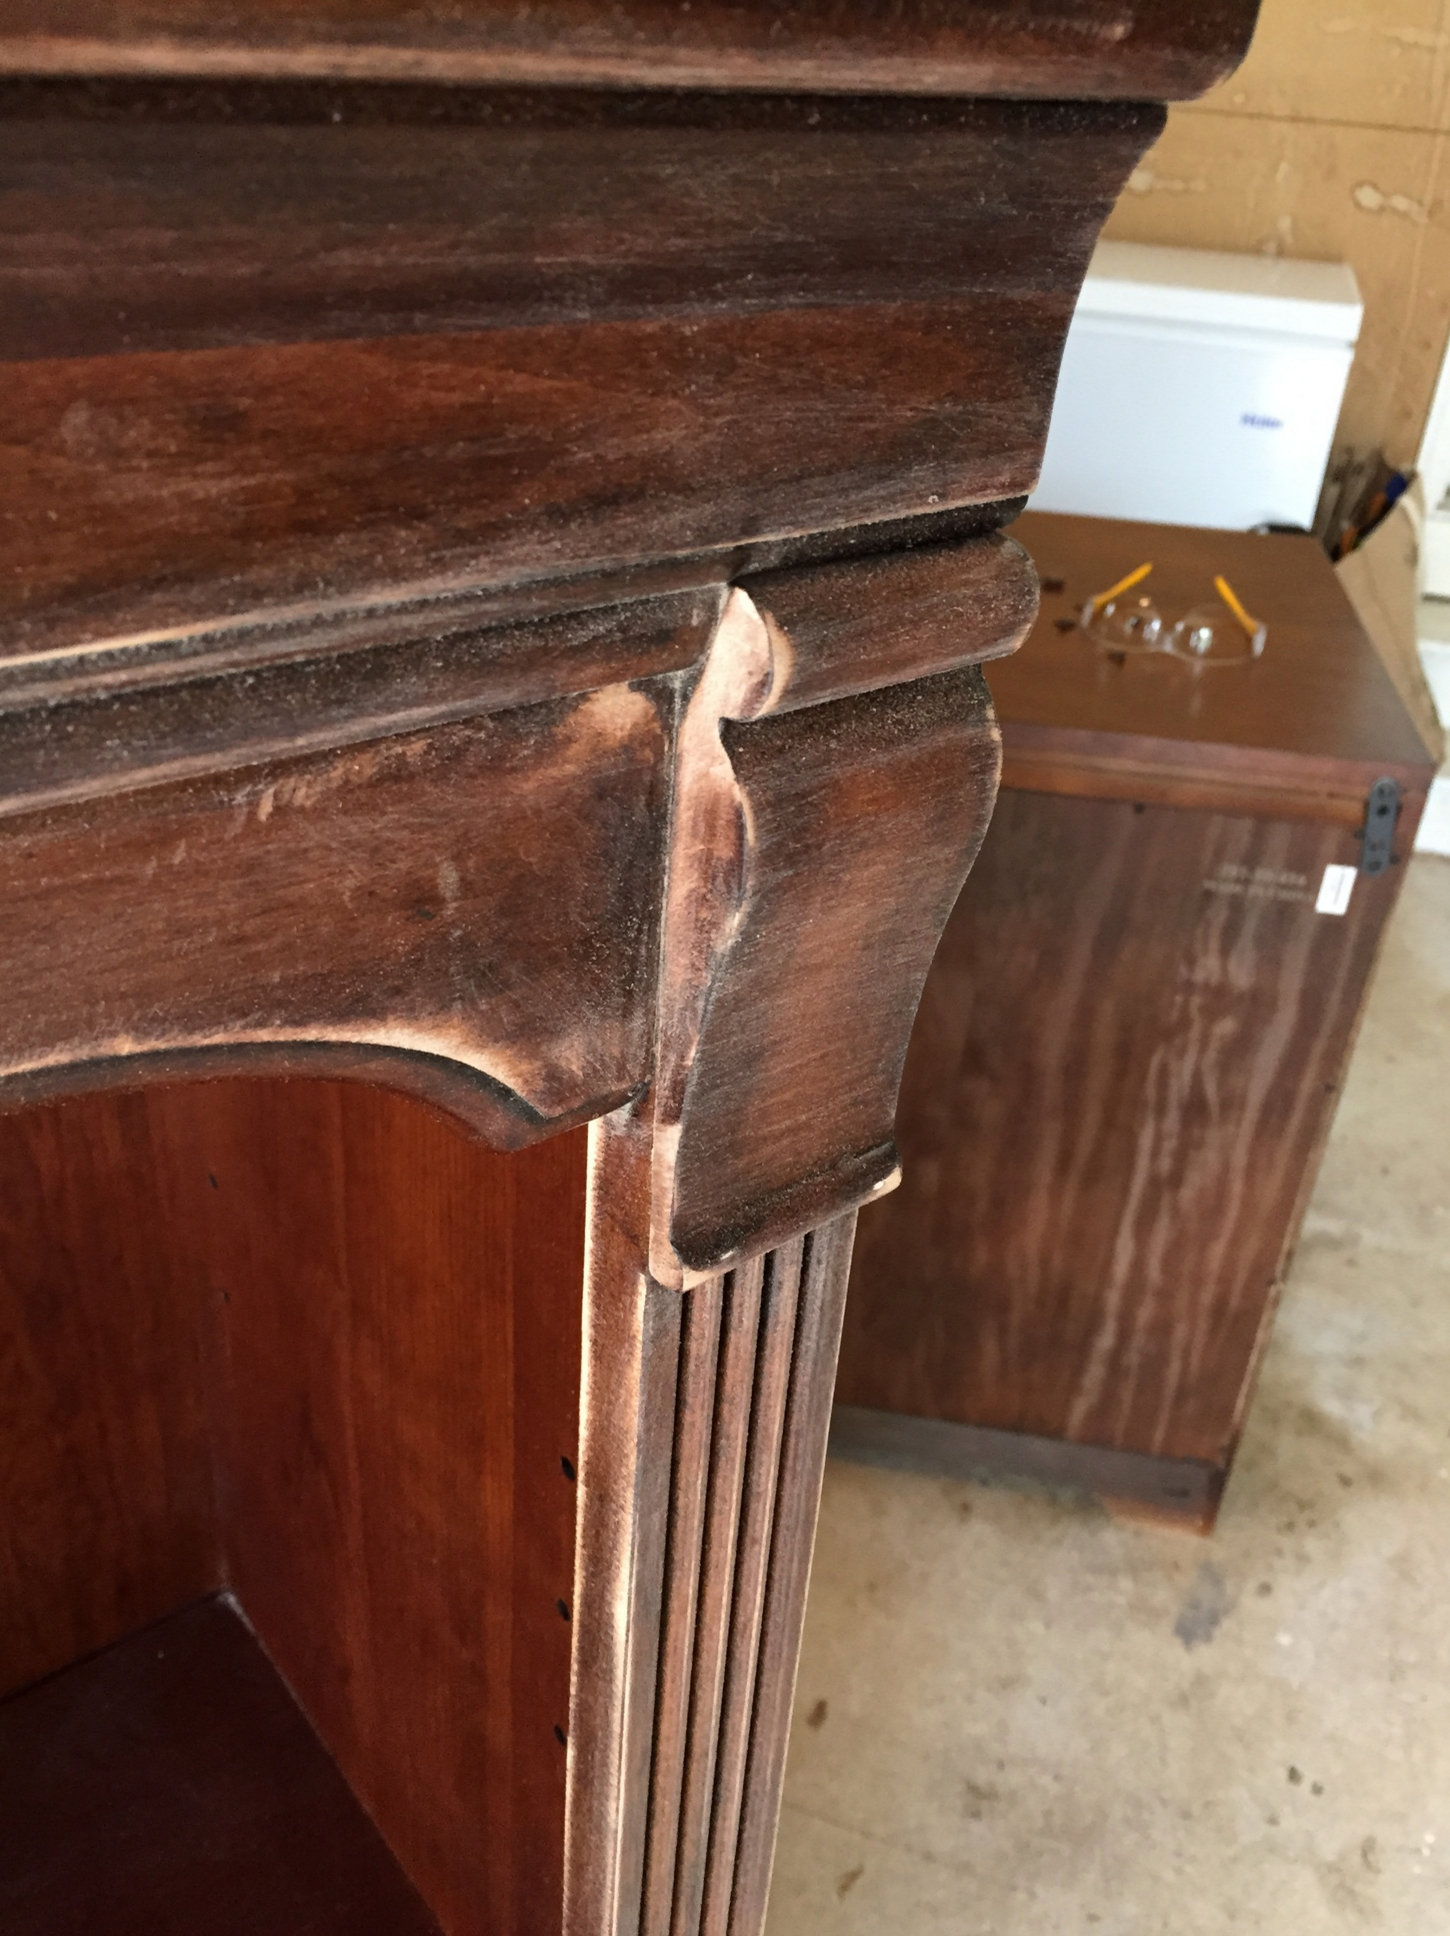
Since the hutch truly did fit perfectly, Grier took it apart and began the makeover process.
The first step was to sand down the entire hutch to make sure the paint and stains would saturate the wood.
Although sanding can be a time-consuming process, it's necessary if you want your furniture to look professional.
"I used a combination of sandpaper and sanding blocks, depending on what suited me on each section," Grier explained on Imgur.
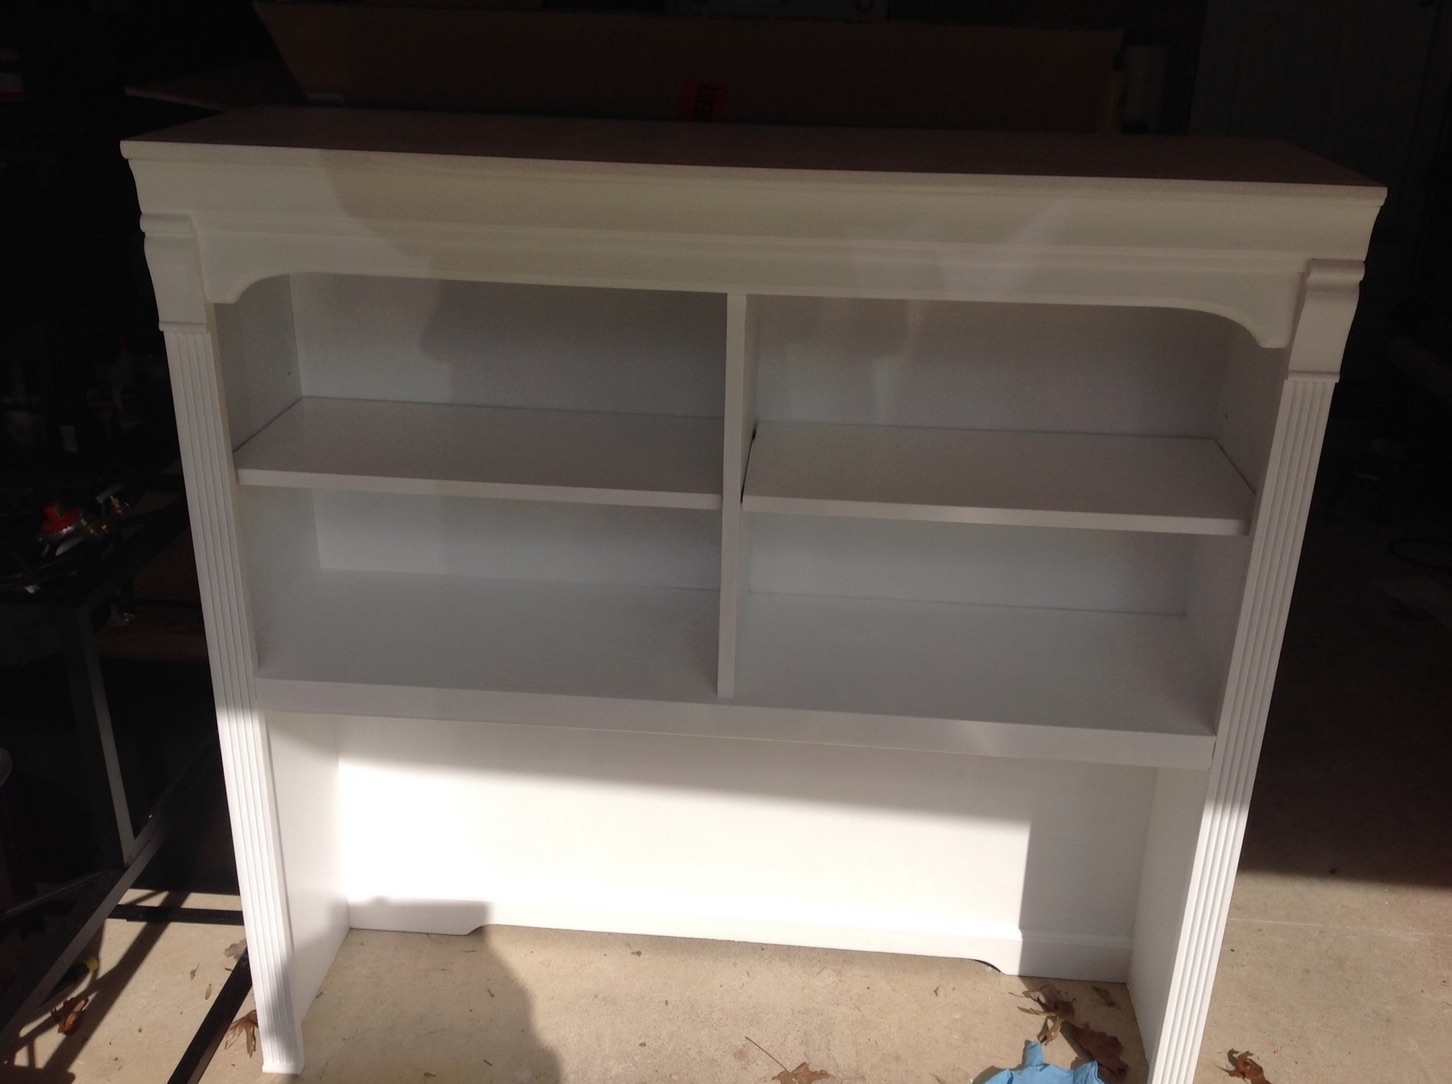
Grier decided to paint the top of the hutch the same color as her kitchen cabinets so it would fit perfectly with her previous design.
"I used a cheap brush to apply two coats of oil-based primer," Grier explained. "Then I used a highly quality brush and a foam roller to apply two coats of white paint. I used the same paint that I used on my kitchen cabinets so that everything would blend. I sanded lightly between each coat."
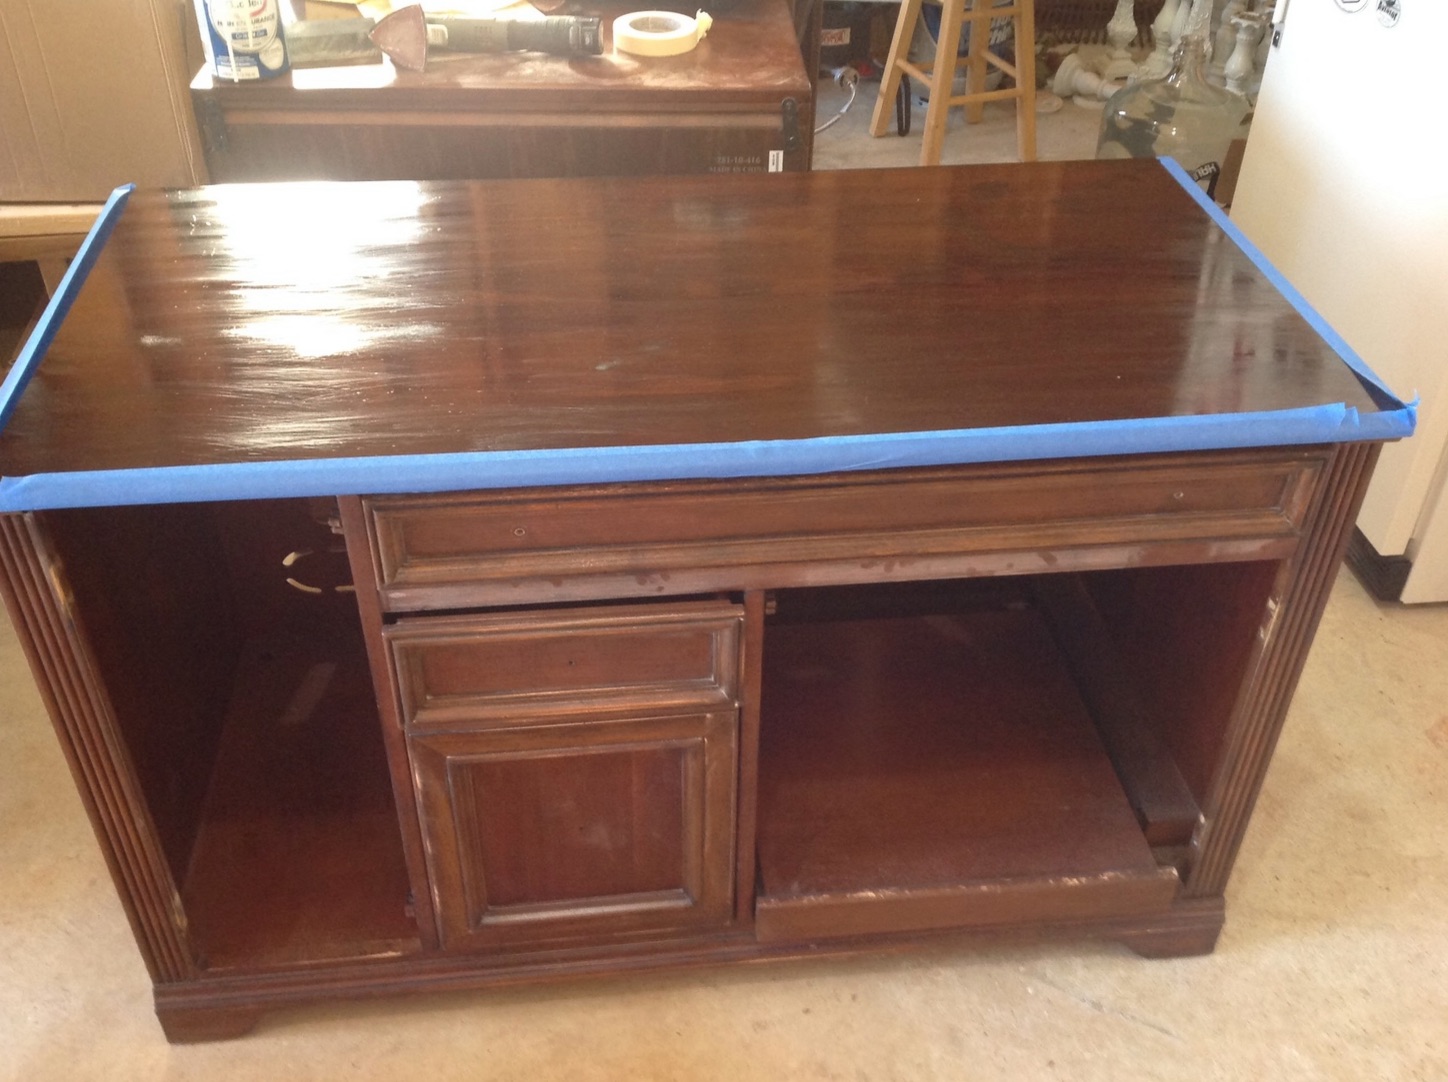
Next, Grier moved on to the bottom of the hutch.
She planned on putting her Keurig on the hutch, so she didn't want to paint it white, in case any coffee spilled on it.
She thought she would like the look of a dark wood with the white cabinets, so she used a dark walnut stain and polyurethane to color and seal the wood.
That treatment of the hutch made it look just like a countertop.
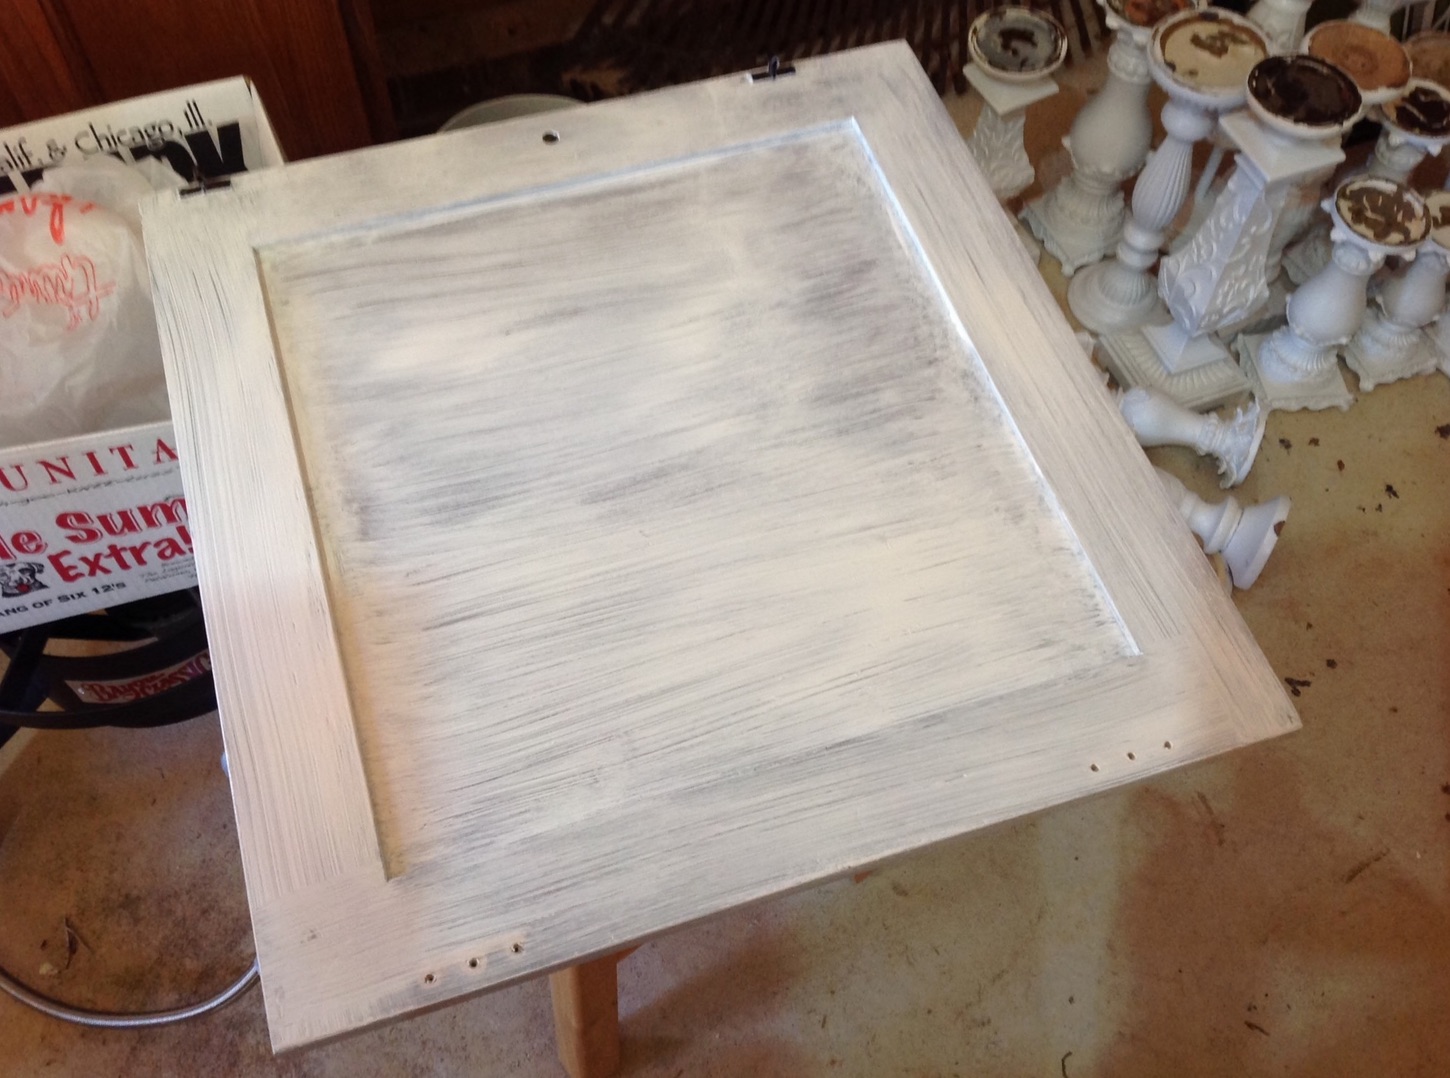
After the countertop part was done, Grier moved on to the rest of the bottom of the hutch.
She painted the rest of it white, using the same method as she used for the top.
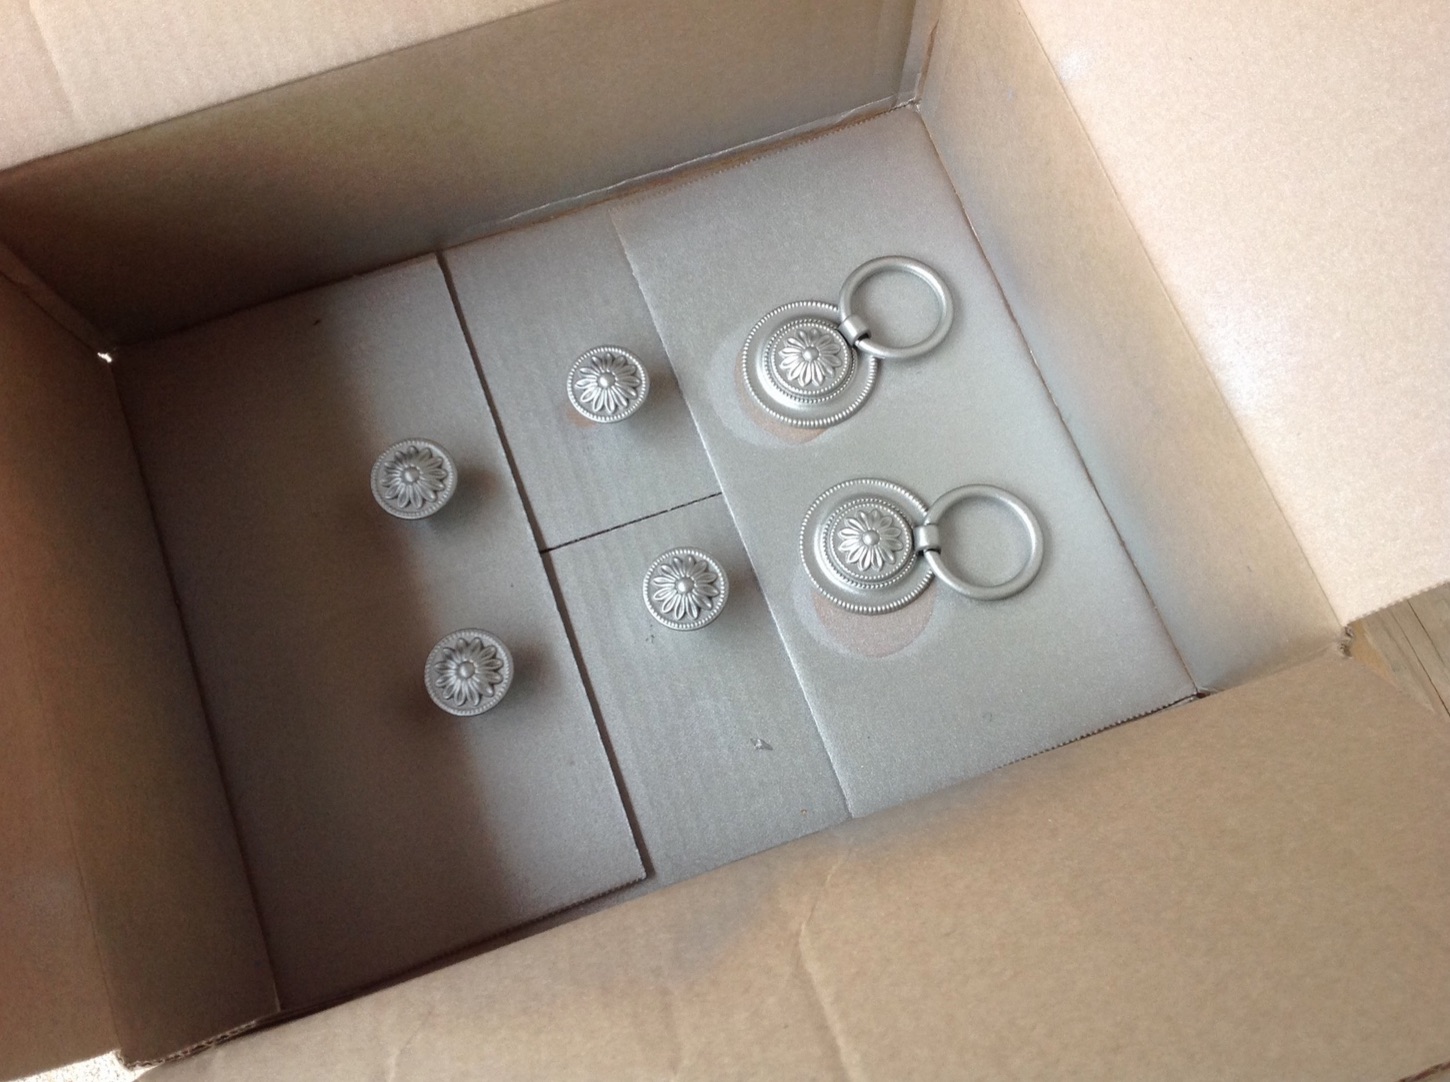
Although Grier could have purchased new hardware to match the rest of her kitchen, she decided to save money by spray-painting the existing hardware.
"The hardware that came on the original hutch was bronze," she wrote. "However, the hardware in my kitchen is nickel. So I decided to paint the hutch hardware instead of replacing it because it was the cheaper option. I placed the pieces in a cardboard box and sprayed them with several layers of nickel colored spray paint. I sprayed the hinges that would be visible on the doors as well."
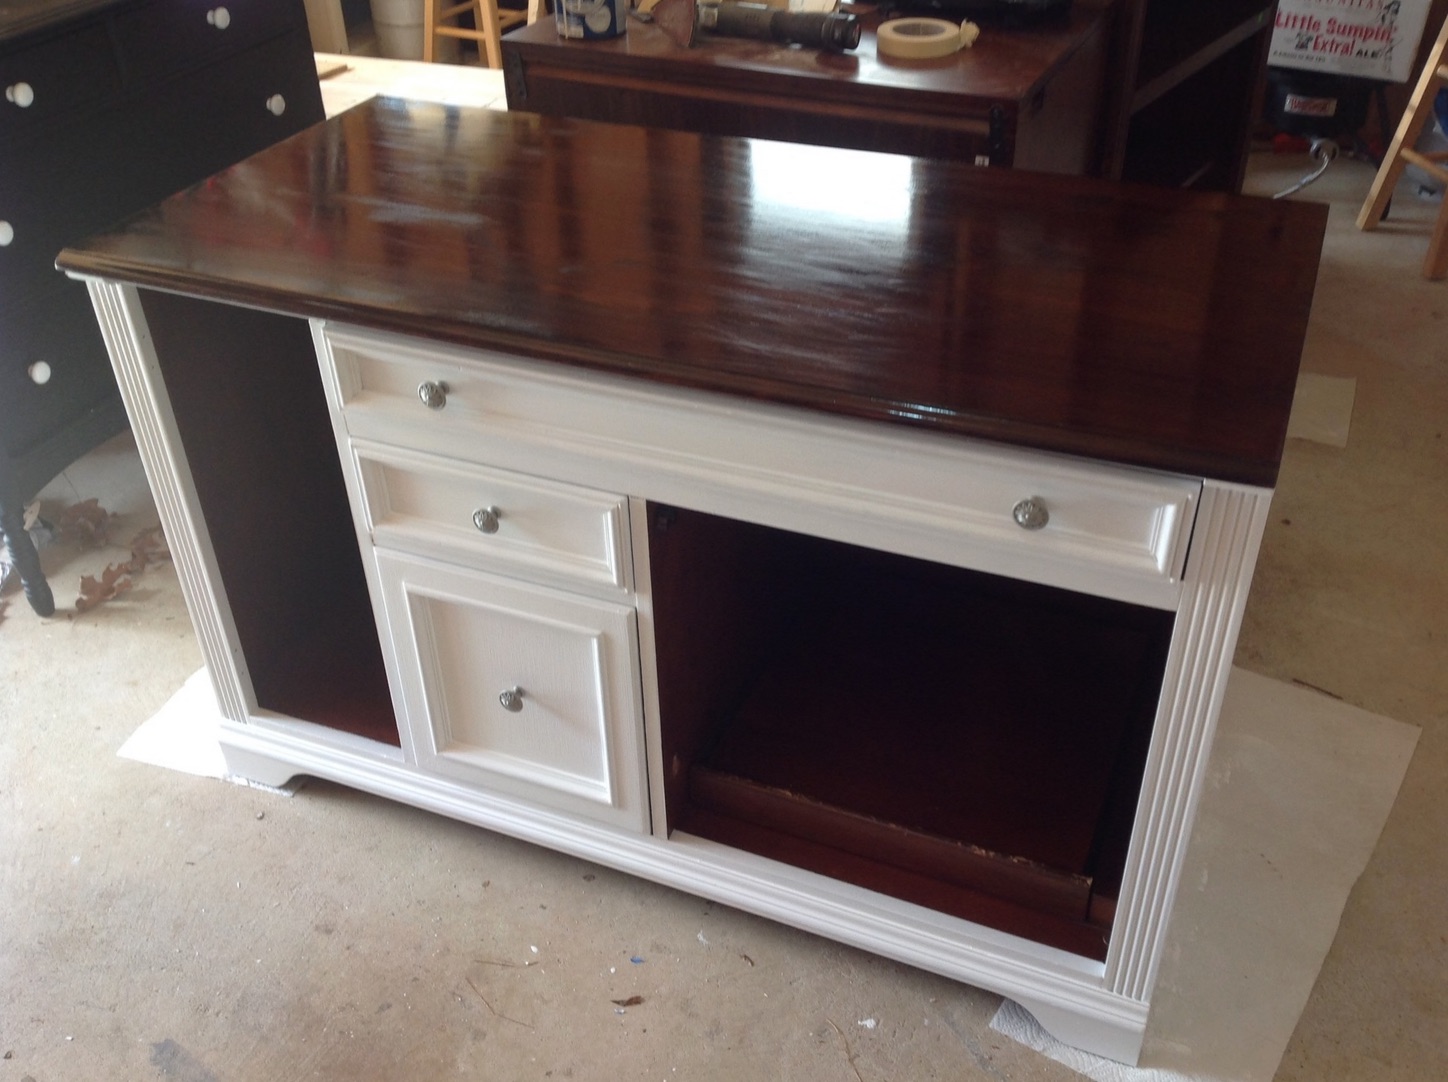
When everything was completely dry, Grier put all the pieces of the hutch together.
She put all the hardware back on and started to see her creation come together.
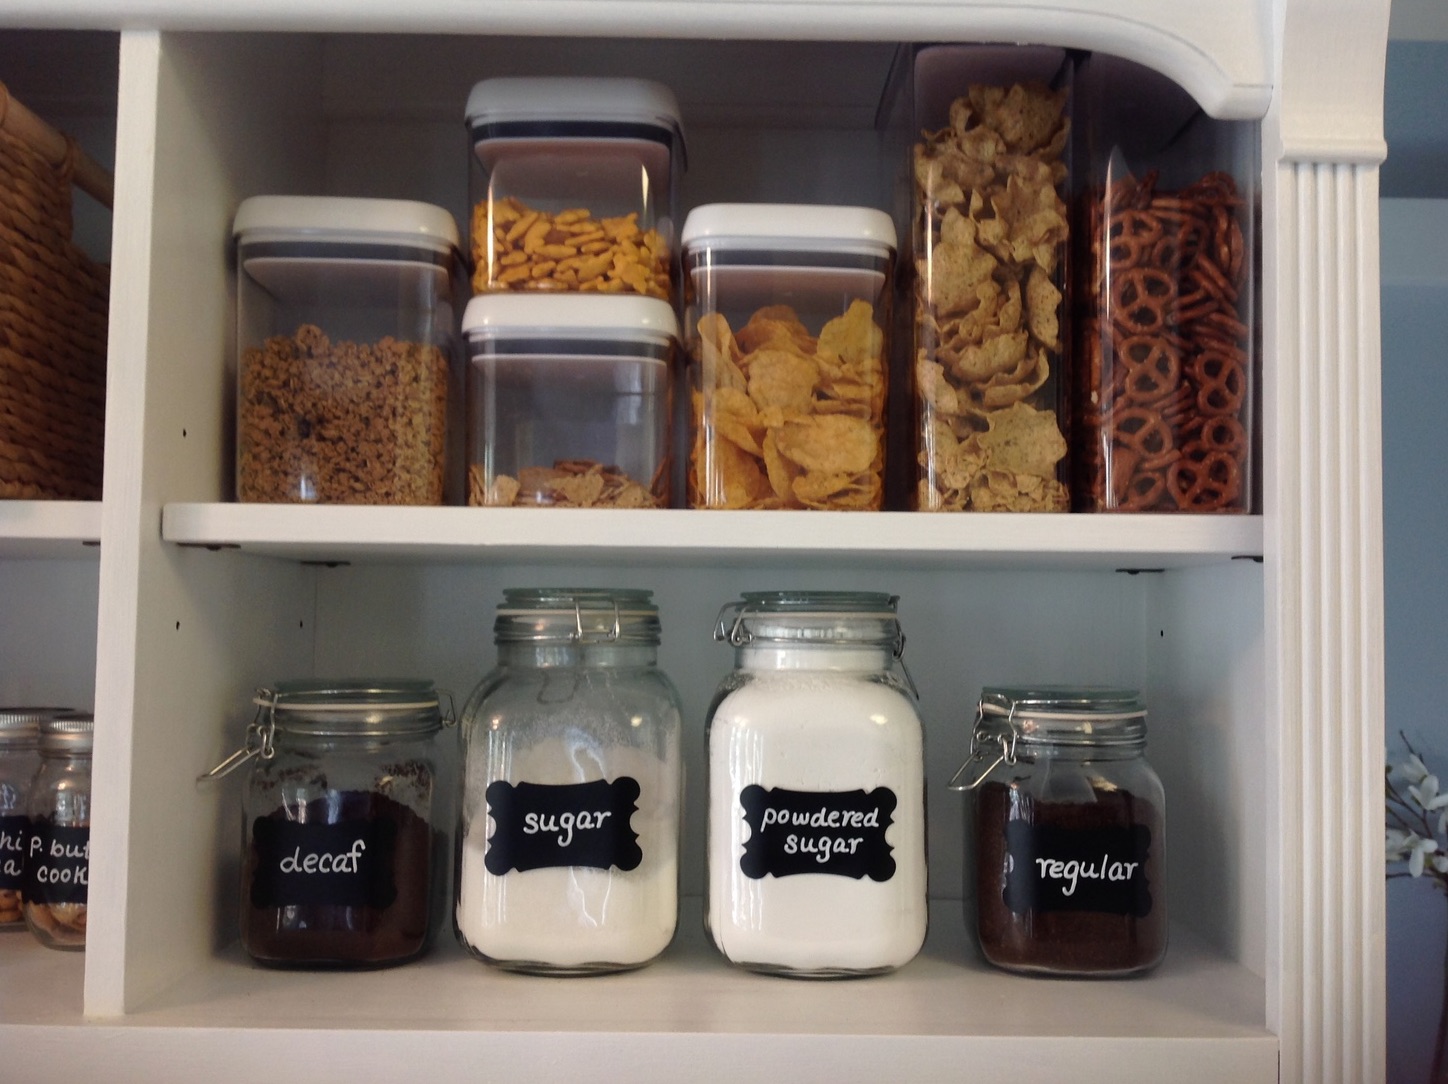
As the hutch came together, Grier decided to make a few final updates.
"The hutch makeover was one of my first major furniture projects," Grier told LittleThings. "It was a big undertaking for me at the time. A lot of my projects don't end up looking anything like I envisioned, but this one turned out just the way I wanted it to."
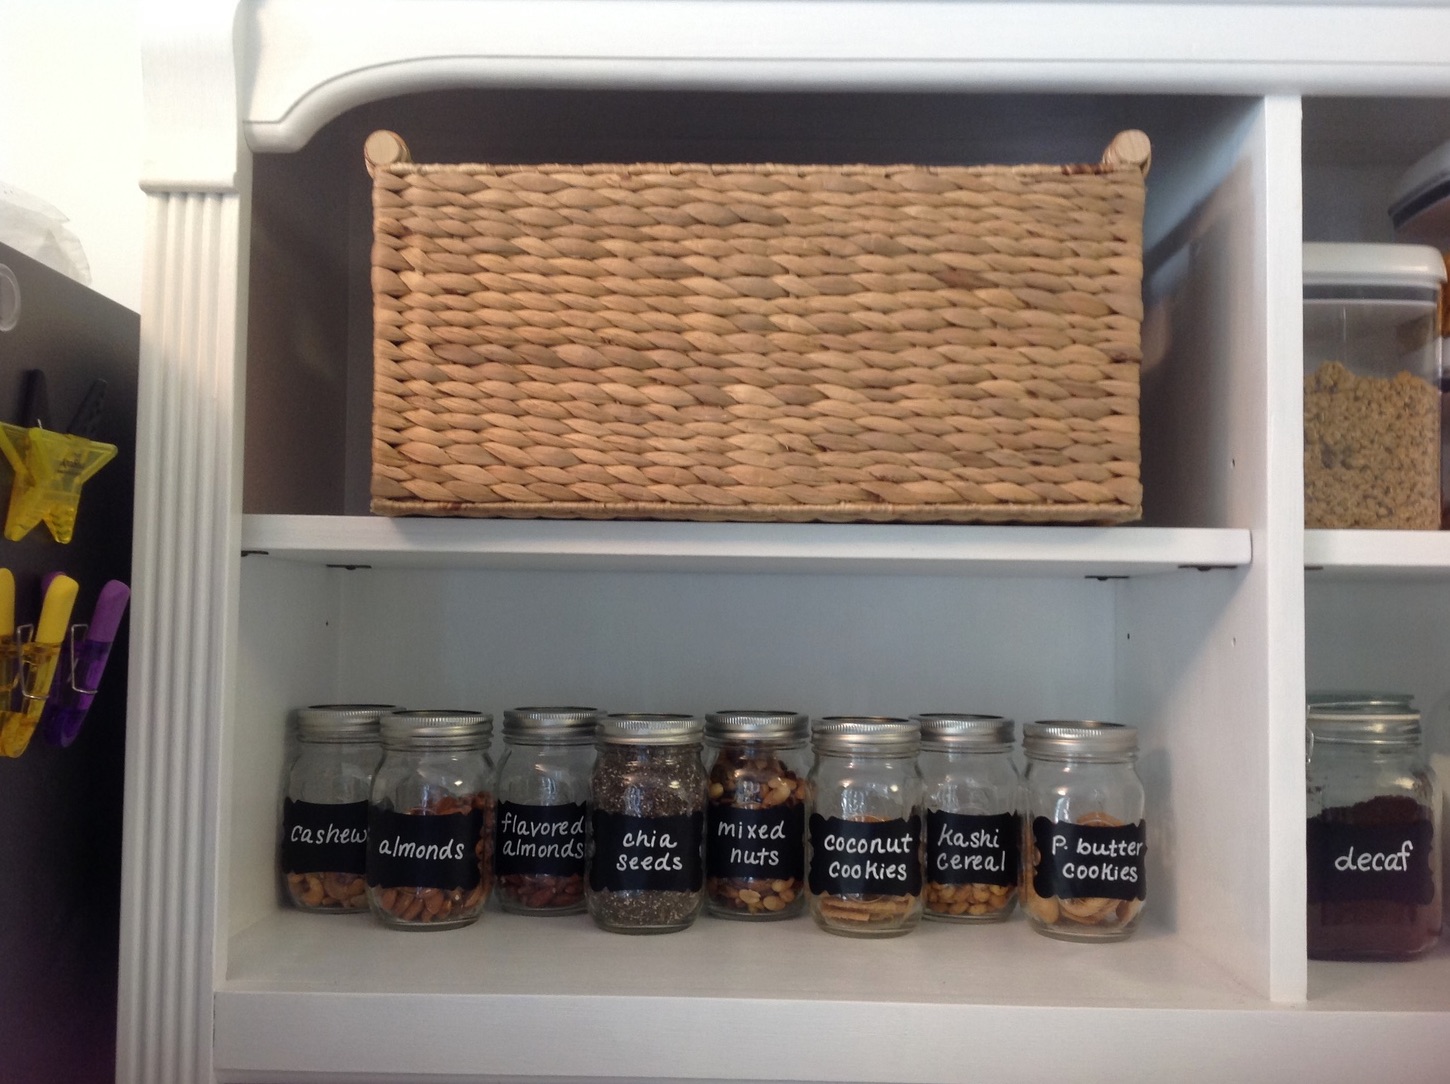
She personalized the hutch even more by installing hooks for mugs, adding some beautiful jars and containers, and displaying her coffee and mail.
Grier's brother-in-law convinced her to post the project online, which she did.
She said: "I posted it sometime in the morning and went about my day. By that evening, I had hundreds of comments. Most of them were encouraging, kind words. It was a big confidence booster. I'd recently started blogging at that point, and some encouraging comments were what I needed."
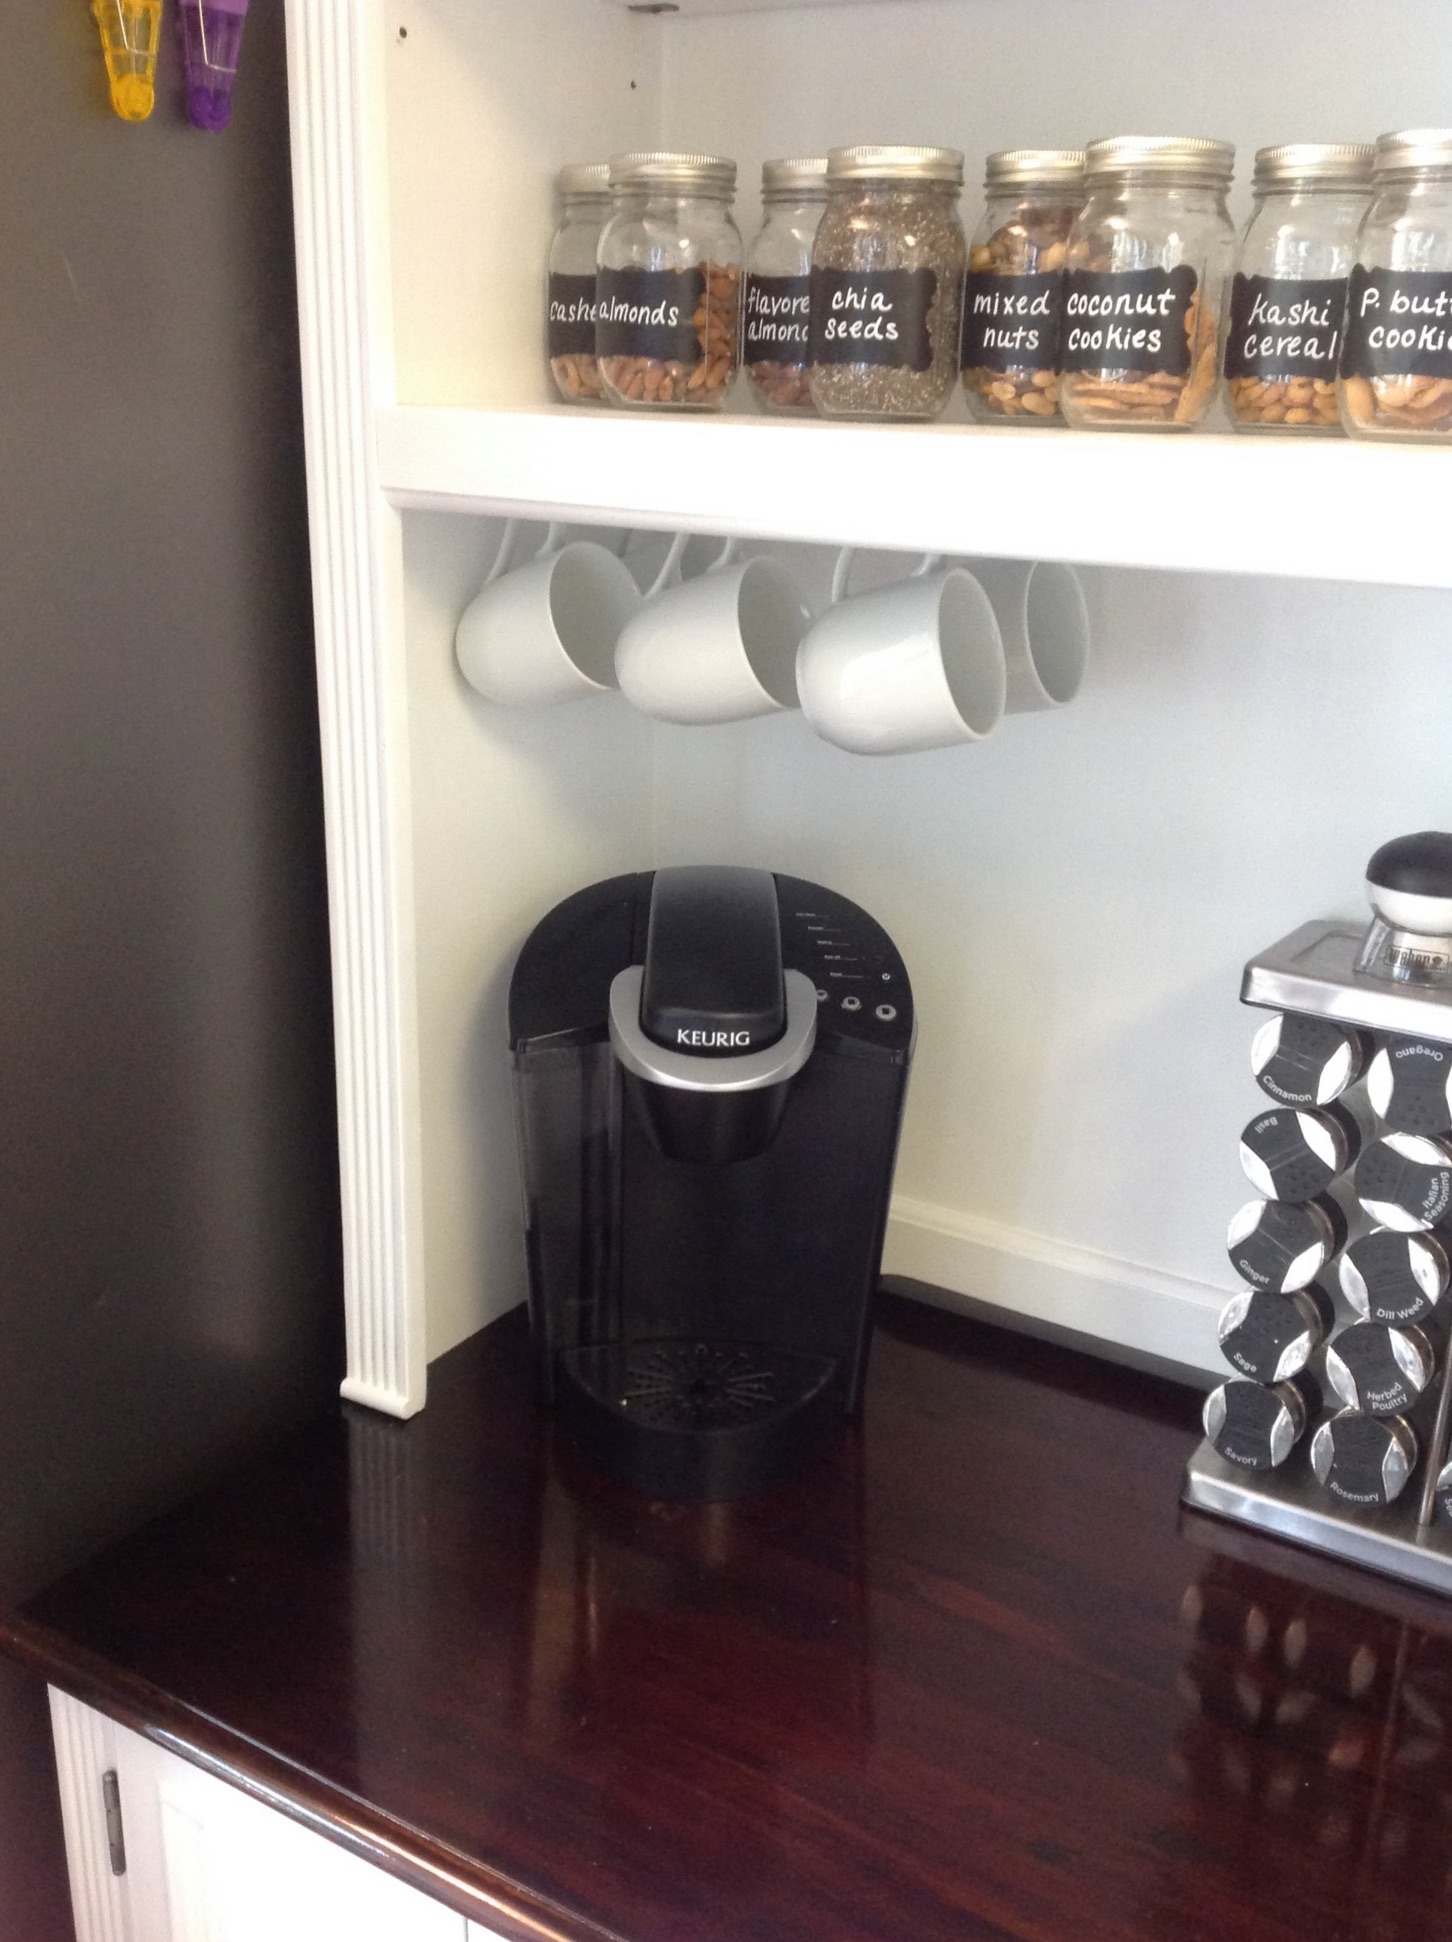
In addition to providing extra kitchen storage, the hutch also acts as a coffee bar.
If you love coffee, you know how incredible a coffee bar in your home would be — it gives you a dedicated space to store all your coffee and mugs.
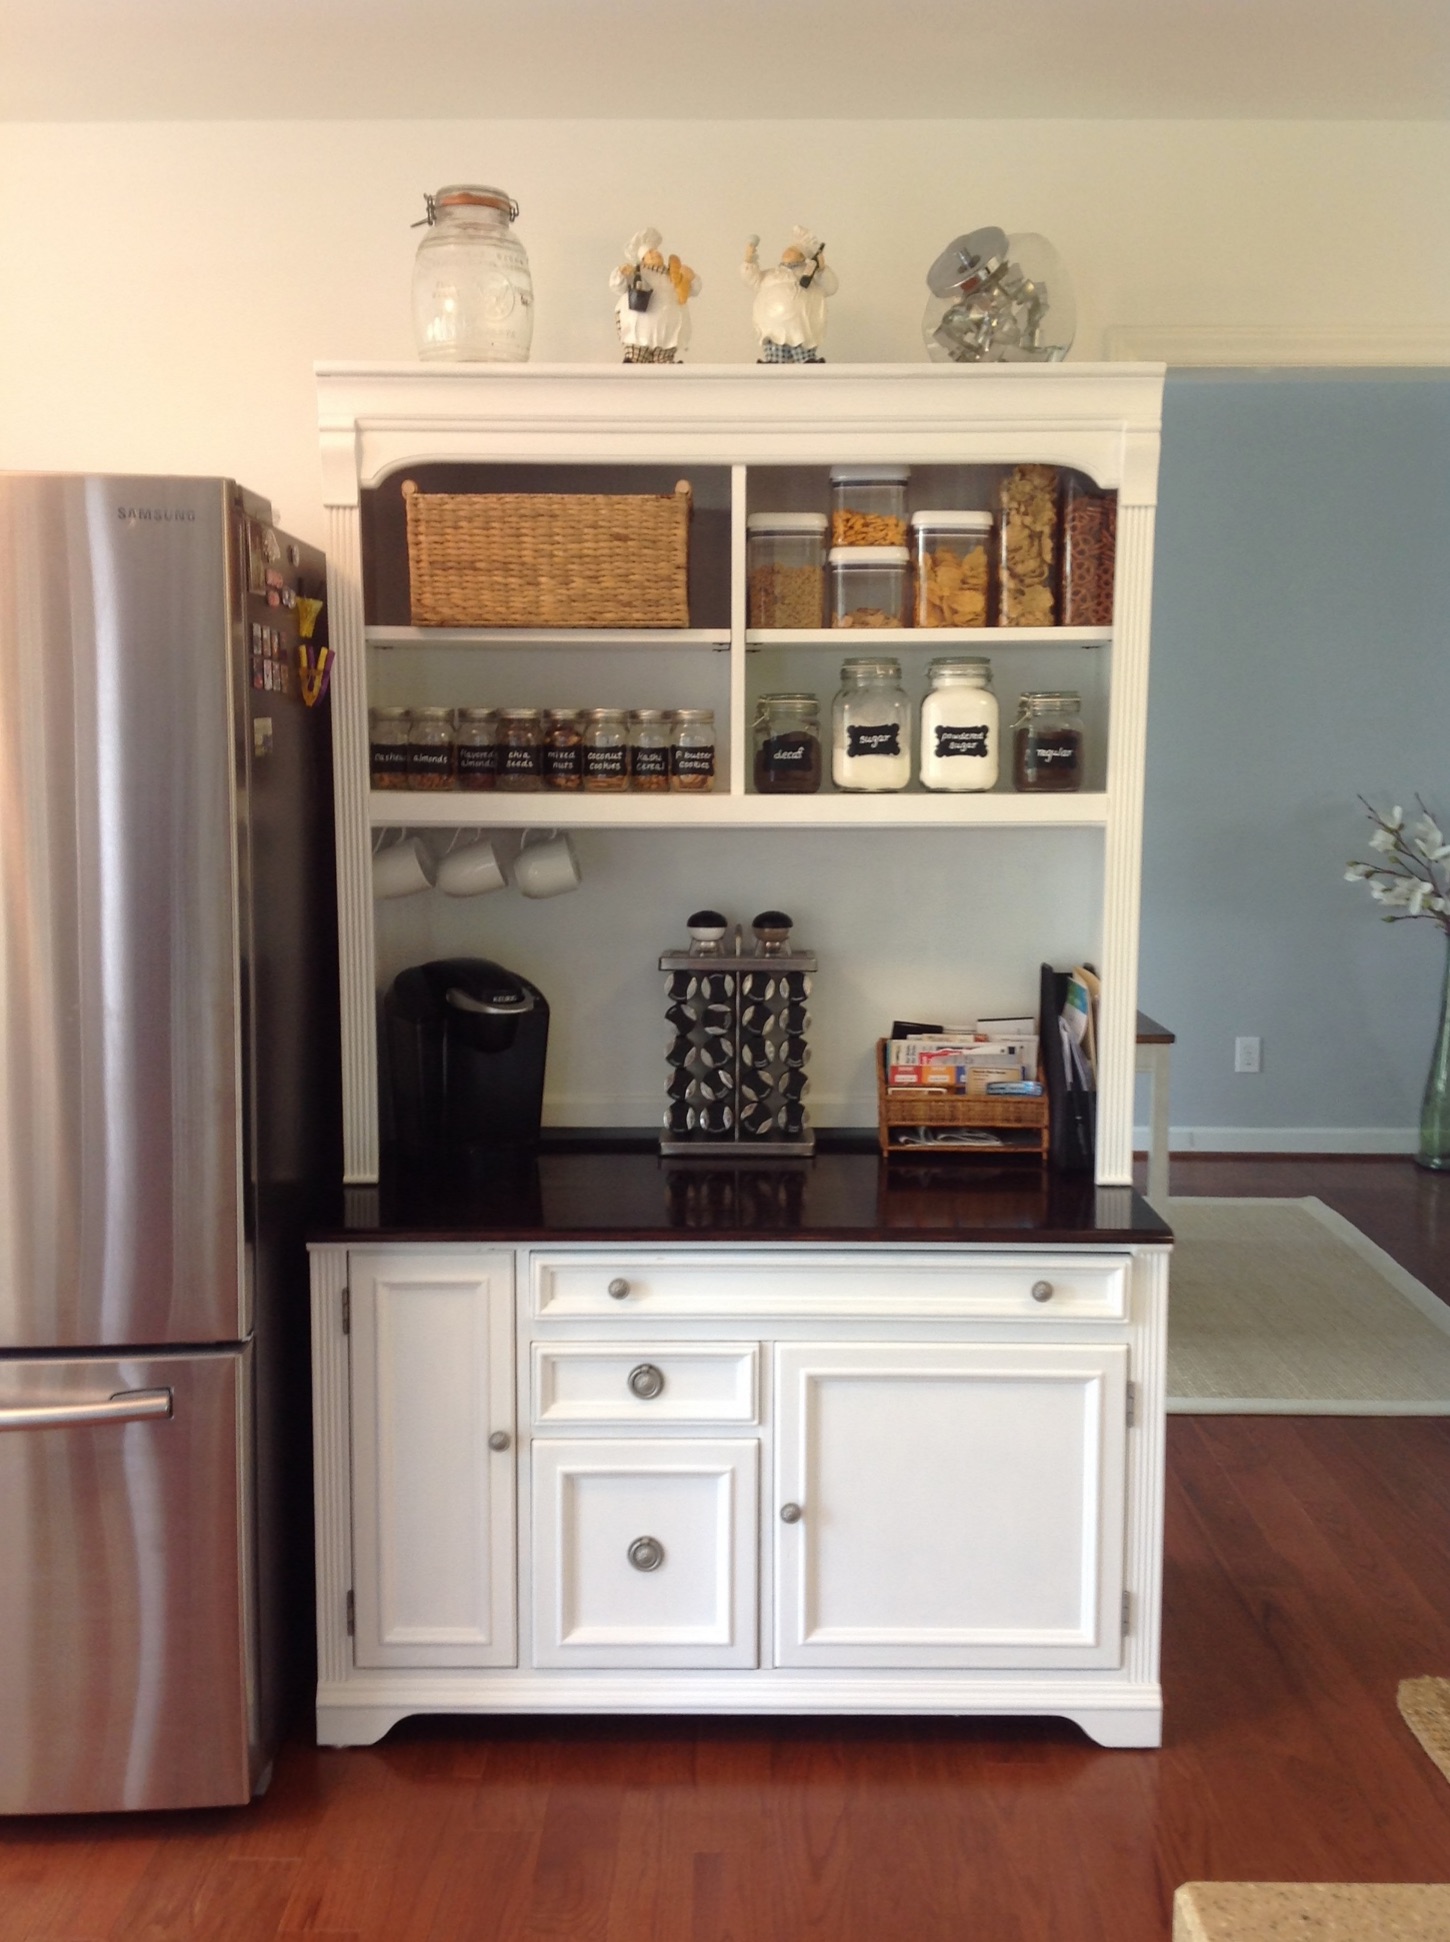
When she finally got to see the finished product, Grier loved it!
Even someone who isn't particularly crafty could definitely pull something like this off!
All you need is some paint and wood stain and you can do a complete makeover on a piece of furniture.
Would you make something like this for your home?
Let us know in the comments below, and please SHARE this article on Facebook!


