In my home, one of the toughest places to keep tidy is our entryway. With all the hustle and bustle of life, it's just so hard to keep organized; when I come home after a long day, all I want to do is kick off my shoes, toss the keys and mail, and let my jacket fall where it may.
But after a week of this bad behavior, my foyer is an absolute disaster. And considering it's the first area I walk into, it's not a very pleasing welcome home…
That's why this rustic do-it-yourself project is such a lifesaver. Not only is it easy, it's also cheap, practical, and adorable. And since my house is filled with rustic odds and ends, this would fit right in.
I also love that it comes right from the backyard, no industrial or offshore factory needed. Now I have the perfect use for all those fallen branches!
Could your foyer or mud room use something like this? Let us know in the comments below!
For another great backyard project, be sure to watch the video below. Then please SHARE if your rustic house needs this!<iframe width="420" height="315" src="https://www.youtube.com/embed/KnN6nQ9rnlA?start=23&;end=178” frameborder="0" allowfullscreen>
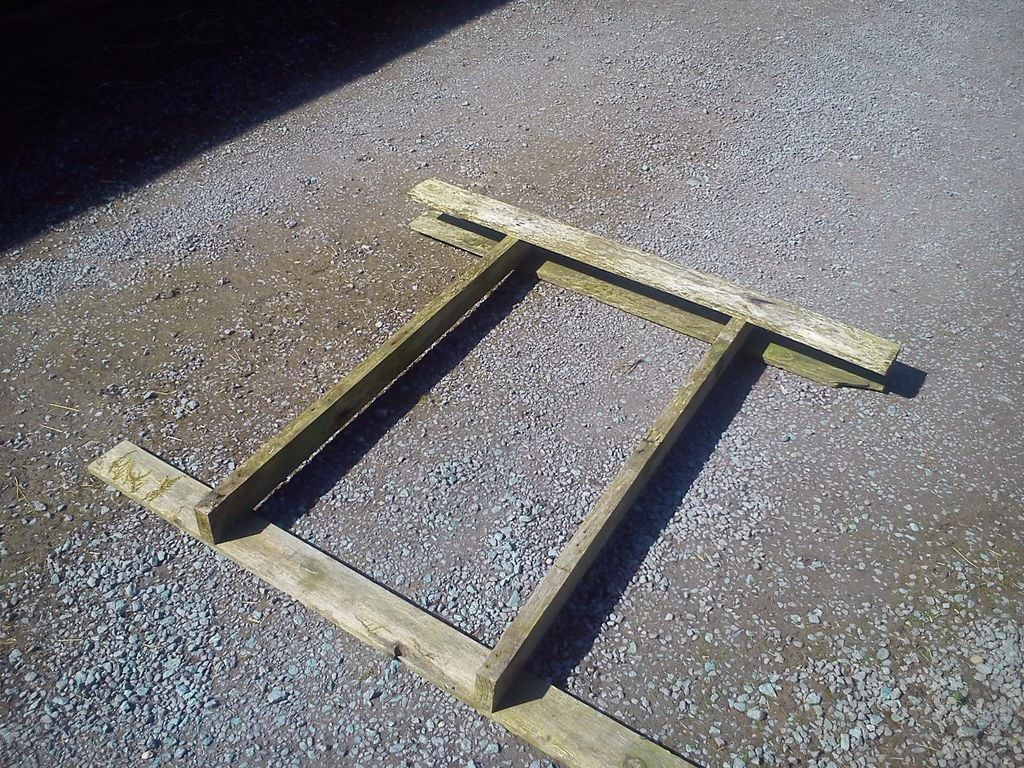
He started off with an old pallet, which he stripped down to its larger beams. These will be used to form the main frame of the project.
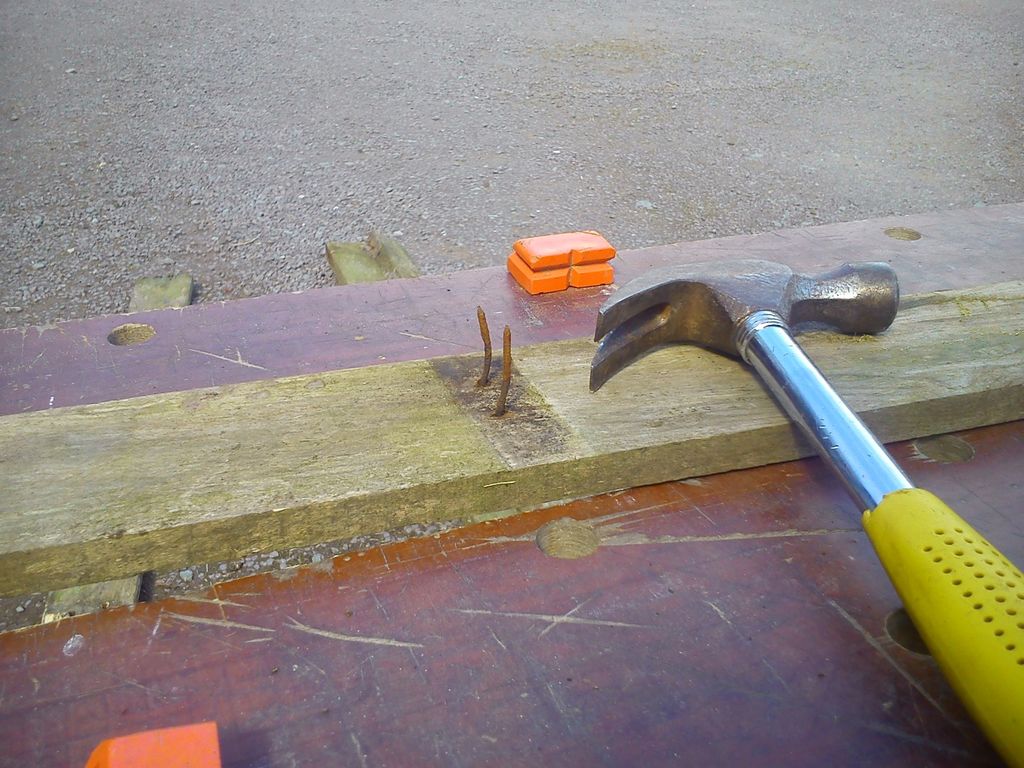
He was careful to remove the rusty nails from each of the beams. (Be sure not to leave these sitting around where they can be stepped on!)
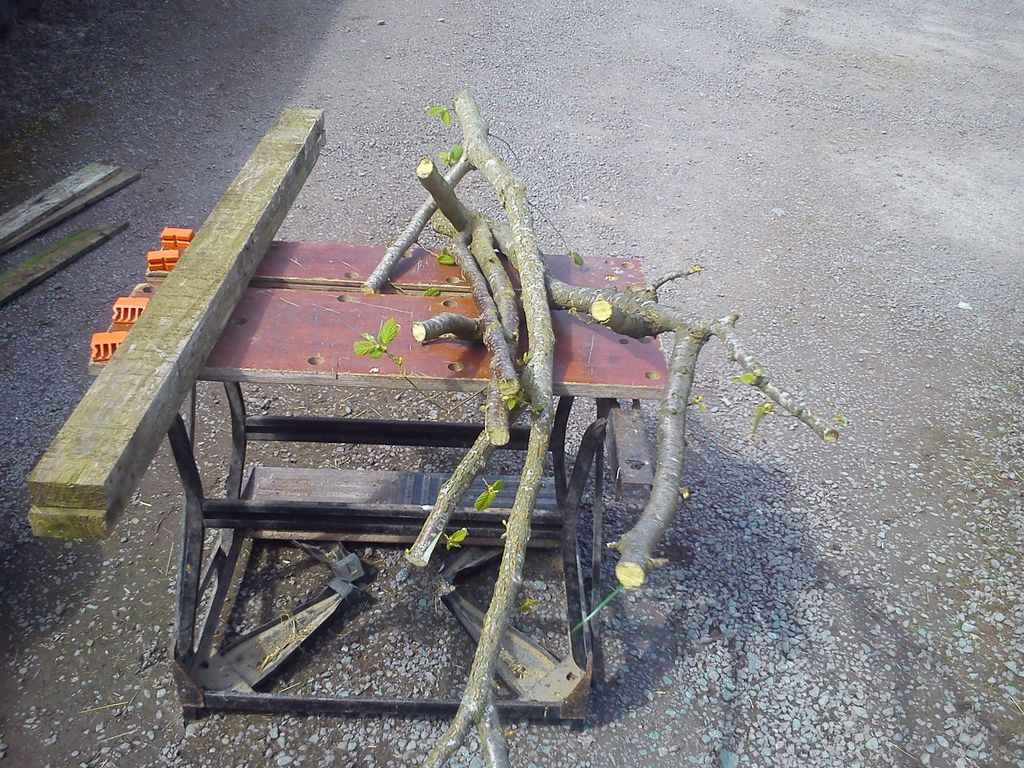
Next, he went into his backyard and started pruning his overgrown trees. He collected the branches and sorted through them.

He collected as many Y-shaped or forked branches as possible. He also tried make sure his branches were varied in shape.
Next, he began to construct the frame. He started by cutting down the pallet beams.
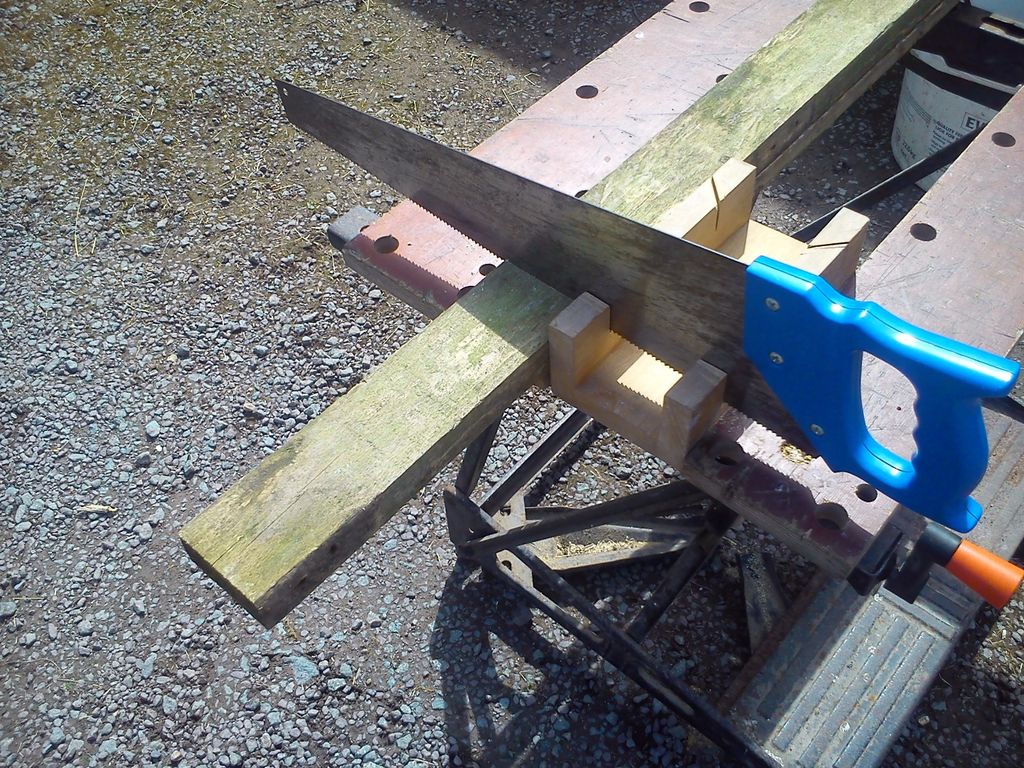
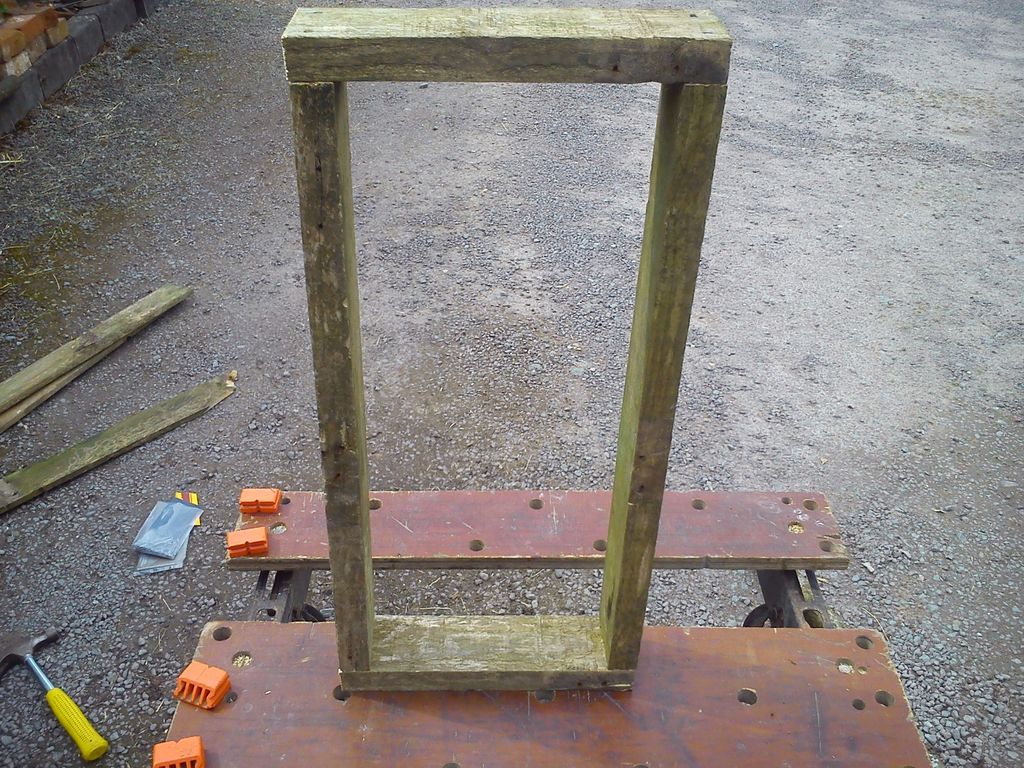
His frame measured 2' x 1', but the measurements can be tailored to suit your needs.
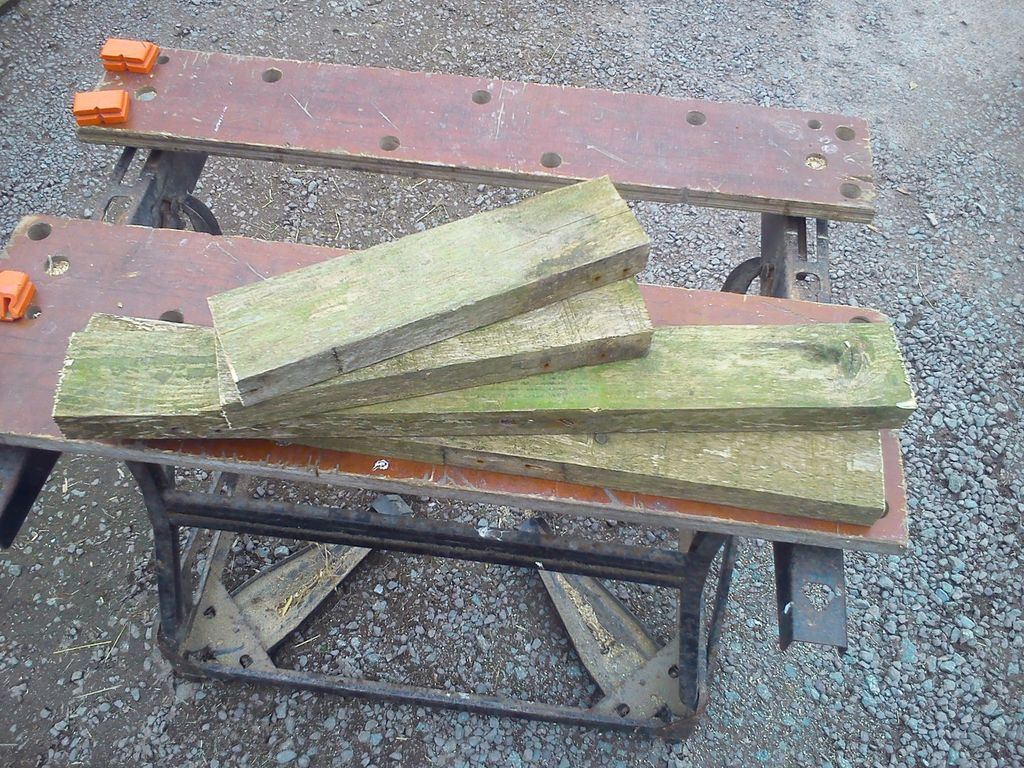
Once his pieces were cut to size, he began to assemble the frame.
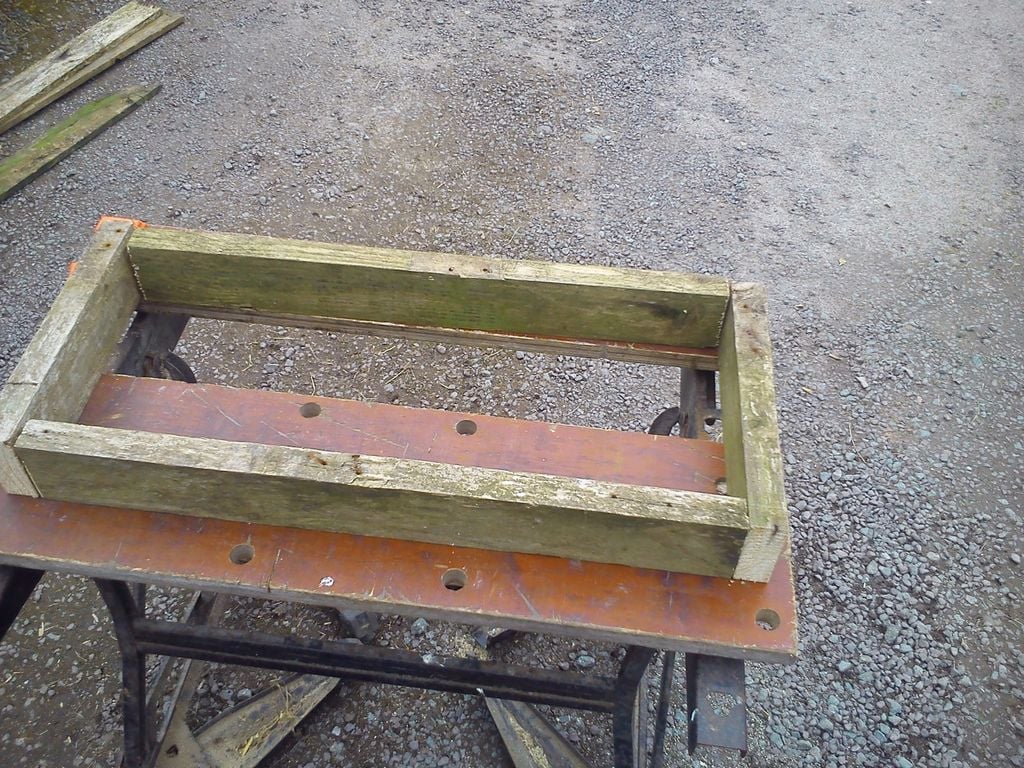
When his frame was nailed together and looked square, he moved to the branches.
He narrowed the branches down to those whose thickness and curvature varied.
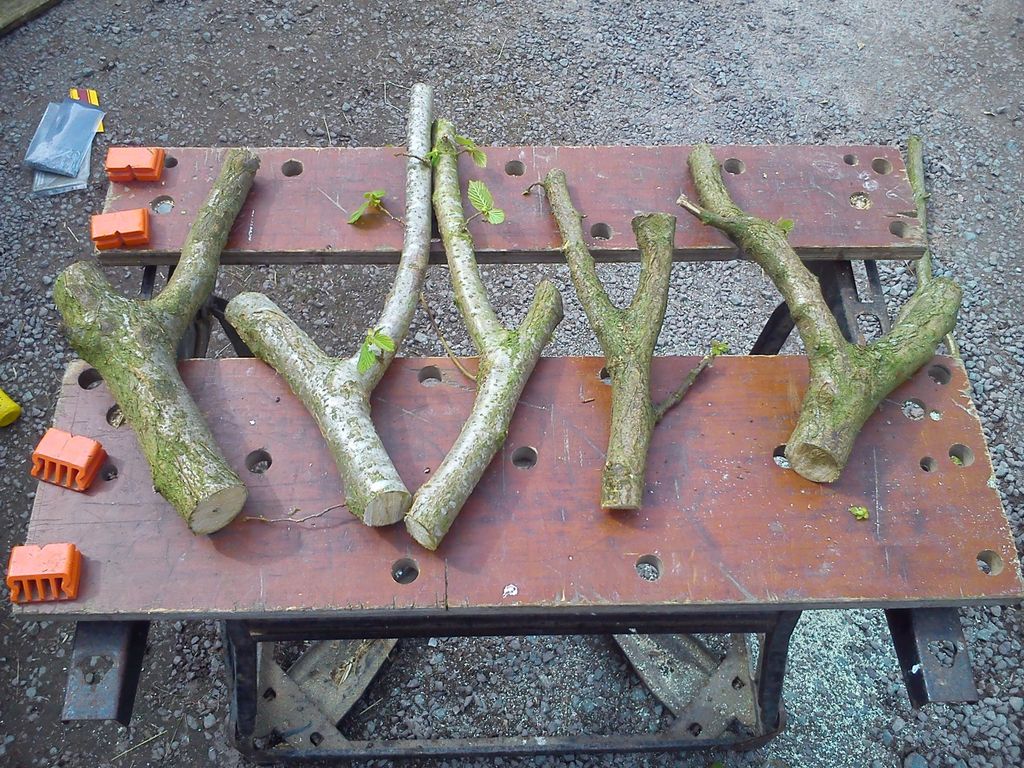
Then, one by one, he laid the branches across the frame to measure what size they should be.
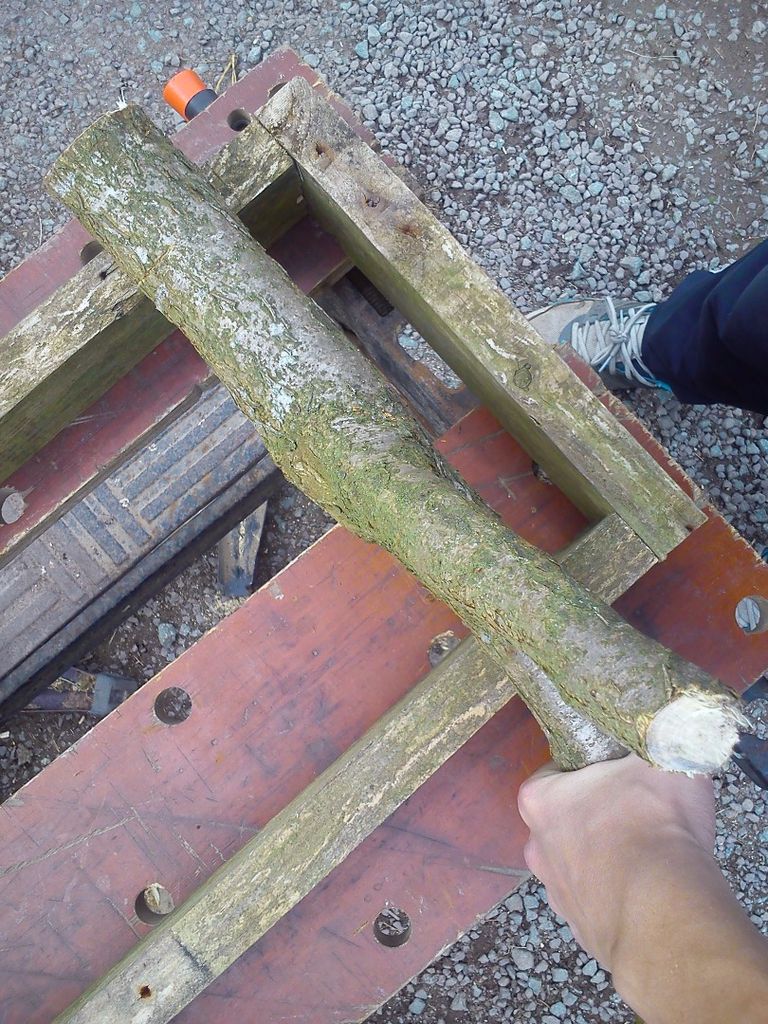
After marking the lengths out, he cut them down.
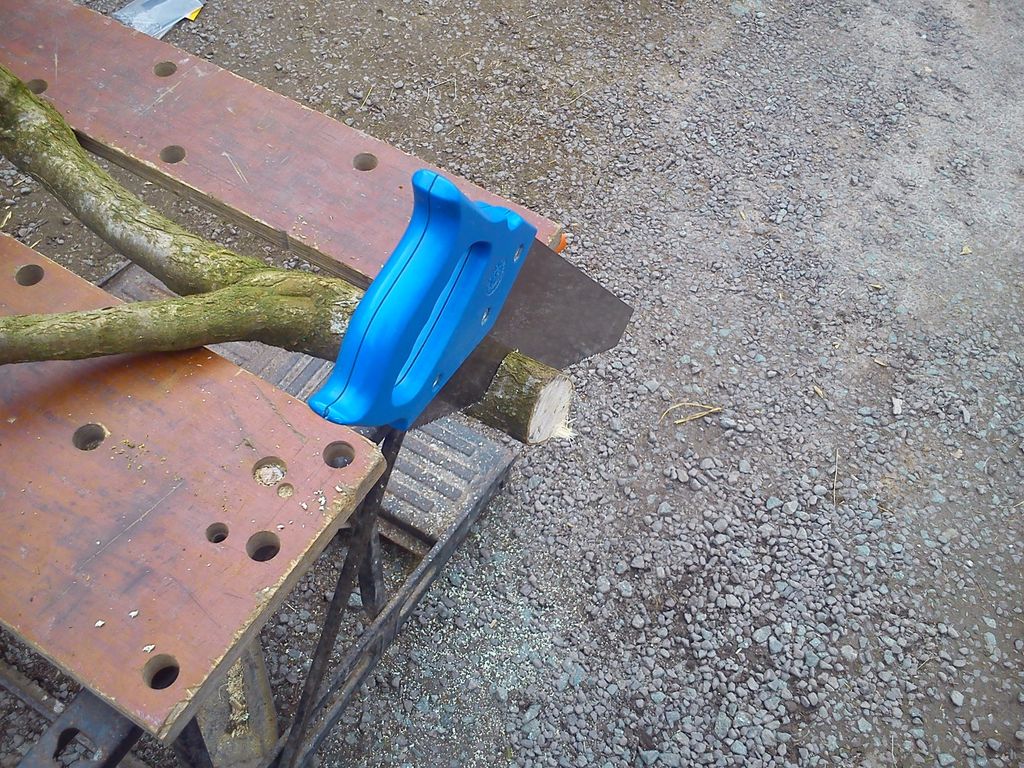
Once the branch fit well, he rotated it so that the Y-shaped fork faced outwards, and then he trimmed it.
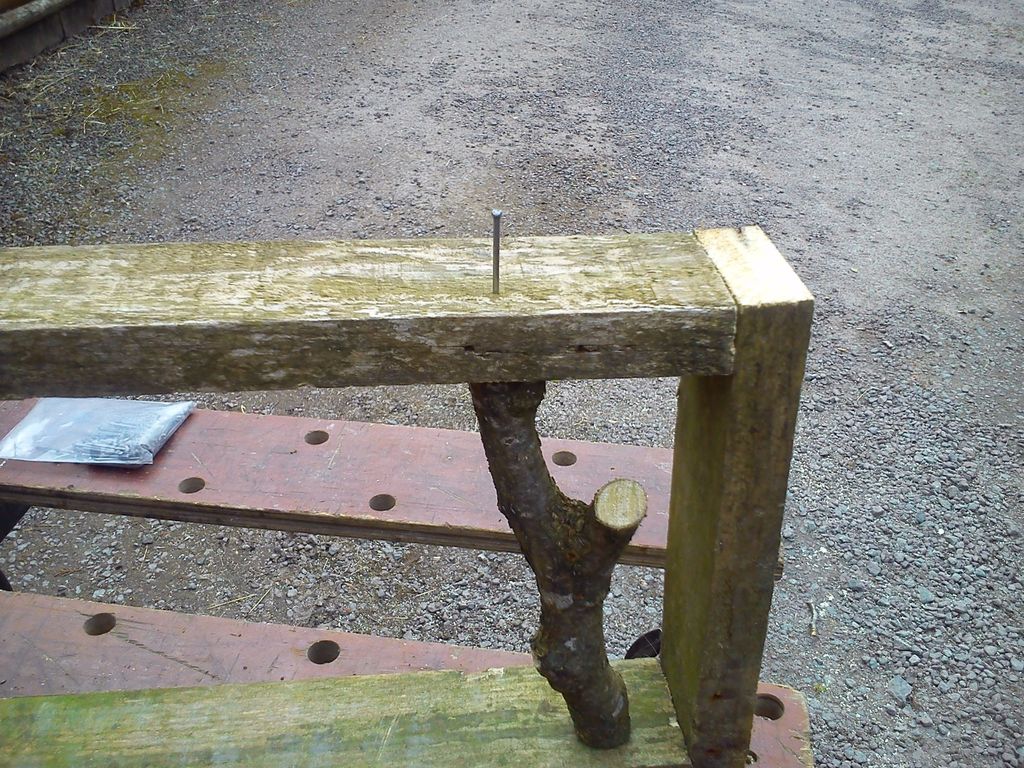
He repeated these steps for all of the branches.
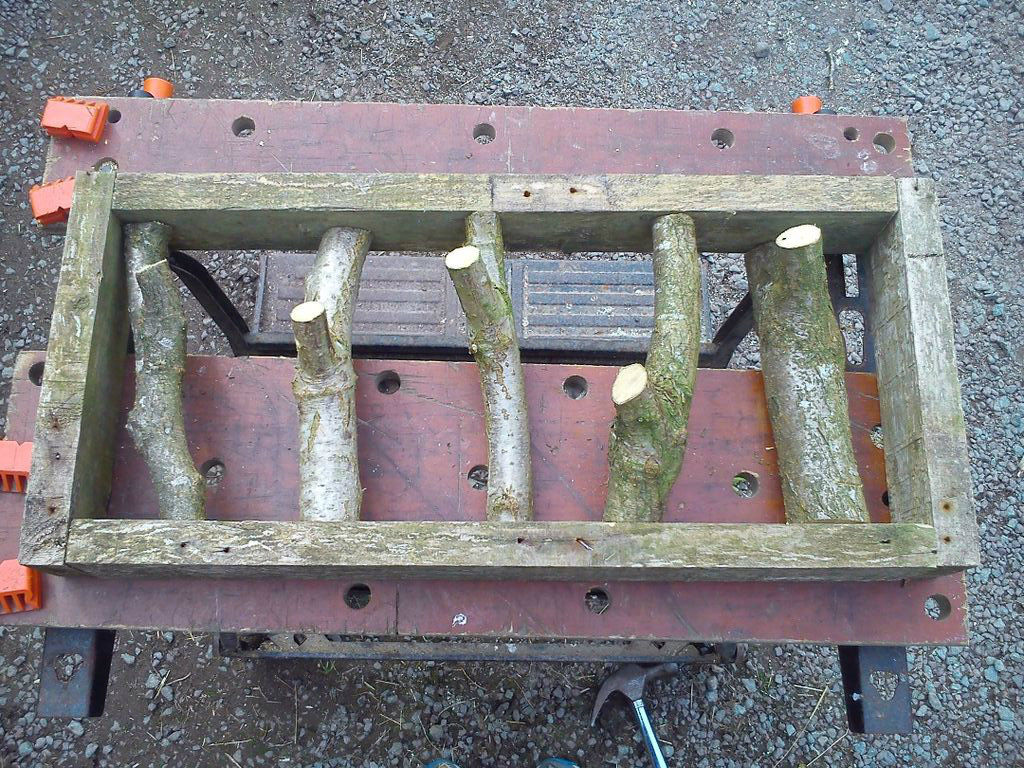
After the branches were snugly in place, he stepped back to admire his work. Almost done!
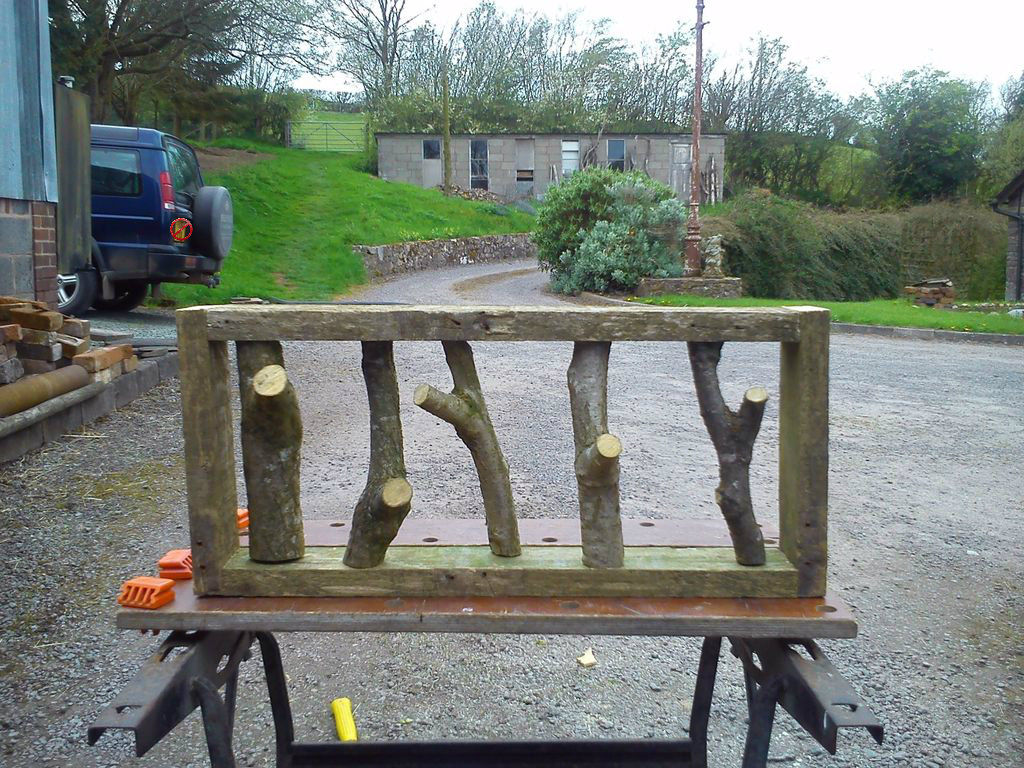
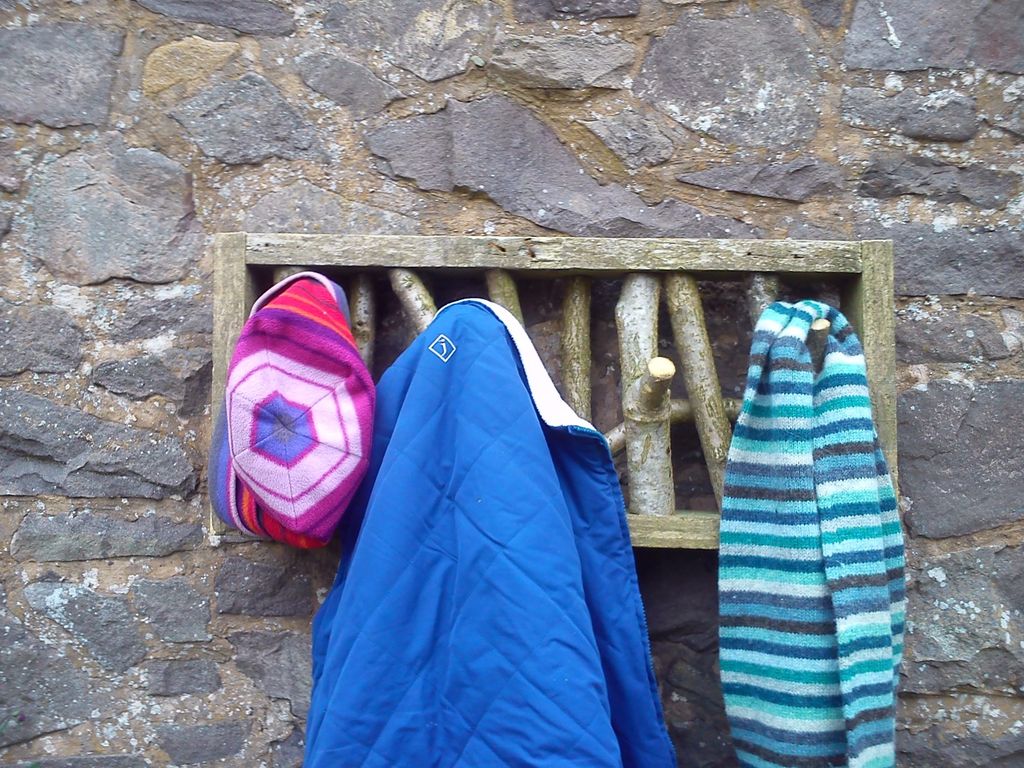
Finally, after choosing the perfect spot, he hung it up. His new rustic coat hanger looks great! Would you have something like this in your foyer?
For another rustic project, be sure to watch the video below! Please SHARE if you love this country look!


