A few weeks ago, we were standing around our yard looking at different things and pretending we might one day become low-key small-time farmers when my husband said we should just build a few planter boxes and be done with it. I was surprised: Building planter boxes would take all our idle chatter to the next level of actually growing food. But I was intrigued: Could we … do that?
It turns out we can! And with little previous knowledge and skills to boot. We decided to plant three foods we really like: beets, peas, and corn. But where? Our yard has a giant hill in the front, and the dogs turn it into a mud pool in the back, so there aren't a lot of prime gardening locations. Plus our soil is not ideal, and we don't own our home, so we couldn't just rip up the yard and go for it.
After milling around some more, we chose a spot right in front of our house. It gets a lot of light and isn't too muddy when it rains. And, to be totally honest, it's easy to look out of our front windows and monitor the progress of anything growing. We already have two cement planters where we grow pollinator-friendly flowers each year right there, so vegetables were a likely progression. I think.
Once we decided on a spot, we hemmed and hawed for a few more days and discussed where we would get wood for the project. Obviously we could go to our nearby hardware store, but it would be expensive. We also are super into using reclaimed and salvaged materials whenever we can.
Of course, we, like many people across the country, have suddenly found ourselves spending a lot more time at home. We watched our neighbor rip up his deck one day, and my husband asked if we could have the leftover wood. He said yes, so we carried it over. Suddenly, we had our wood source problem solved — and a whole lot of extra time on our hands. And thus our DIY planters were born!
Here's the step-by-step process, plus an update on our progress!
1. Get your materials.
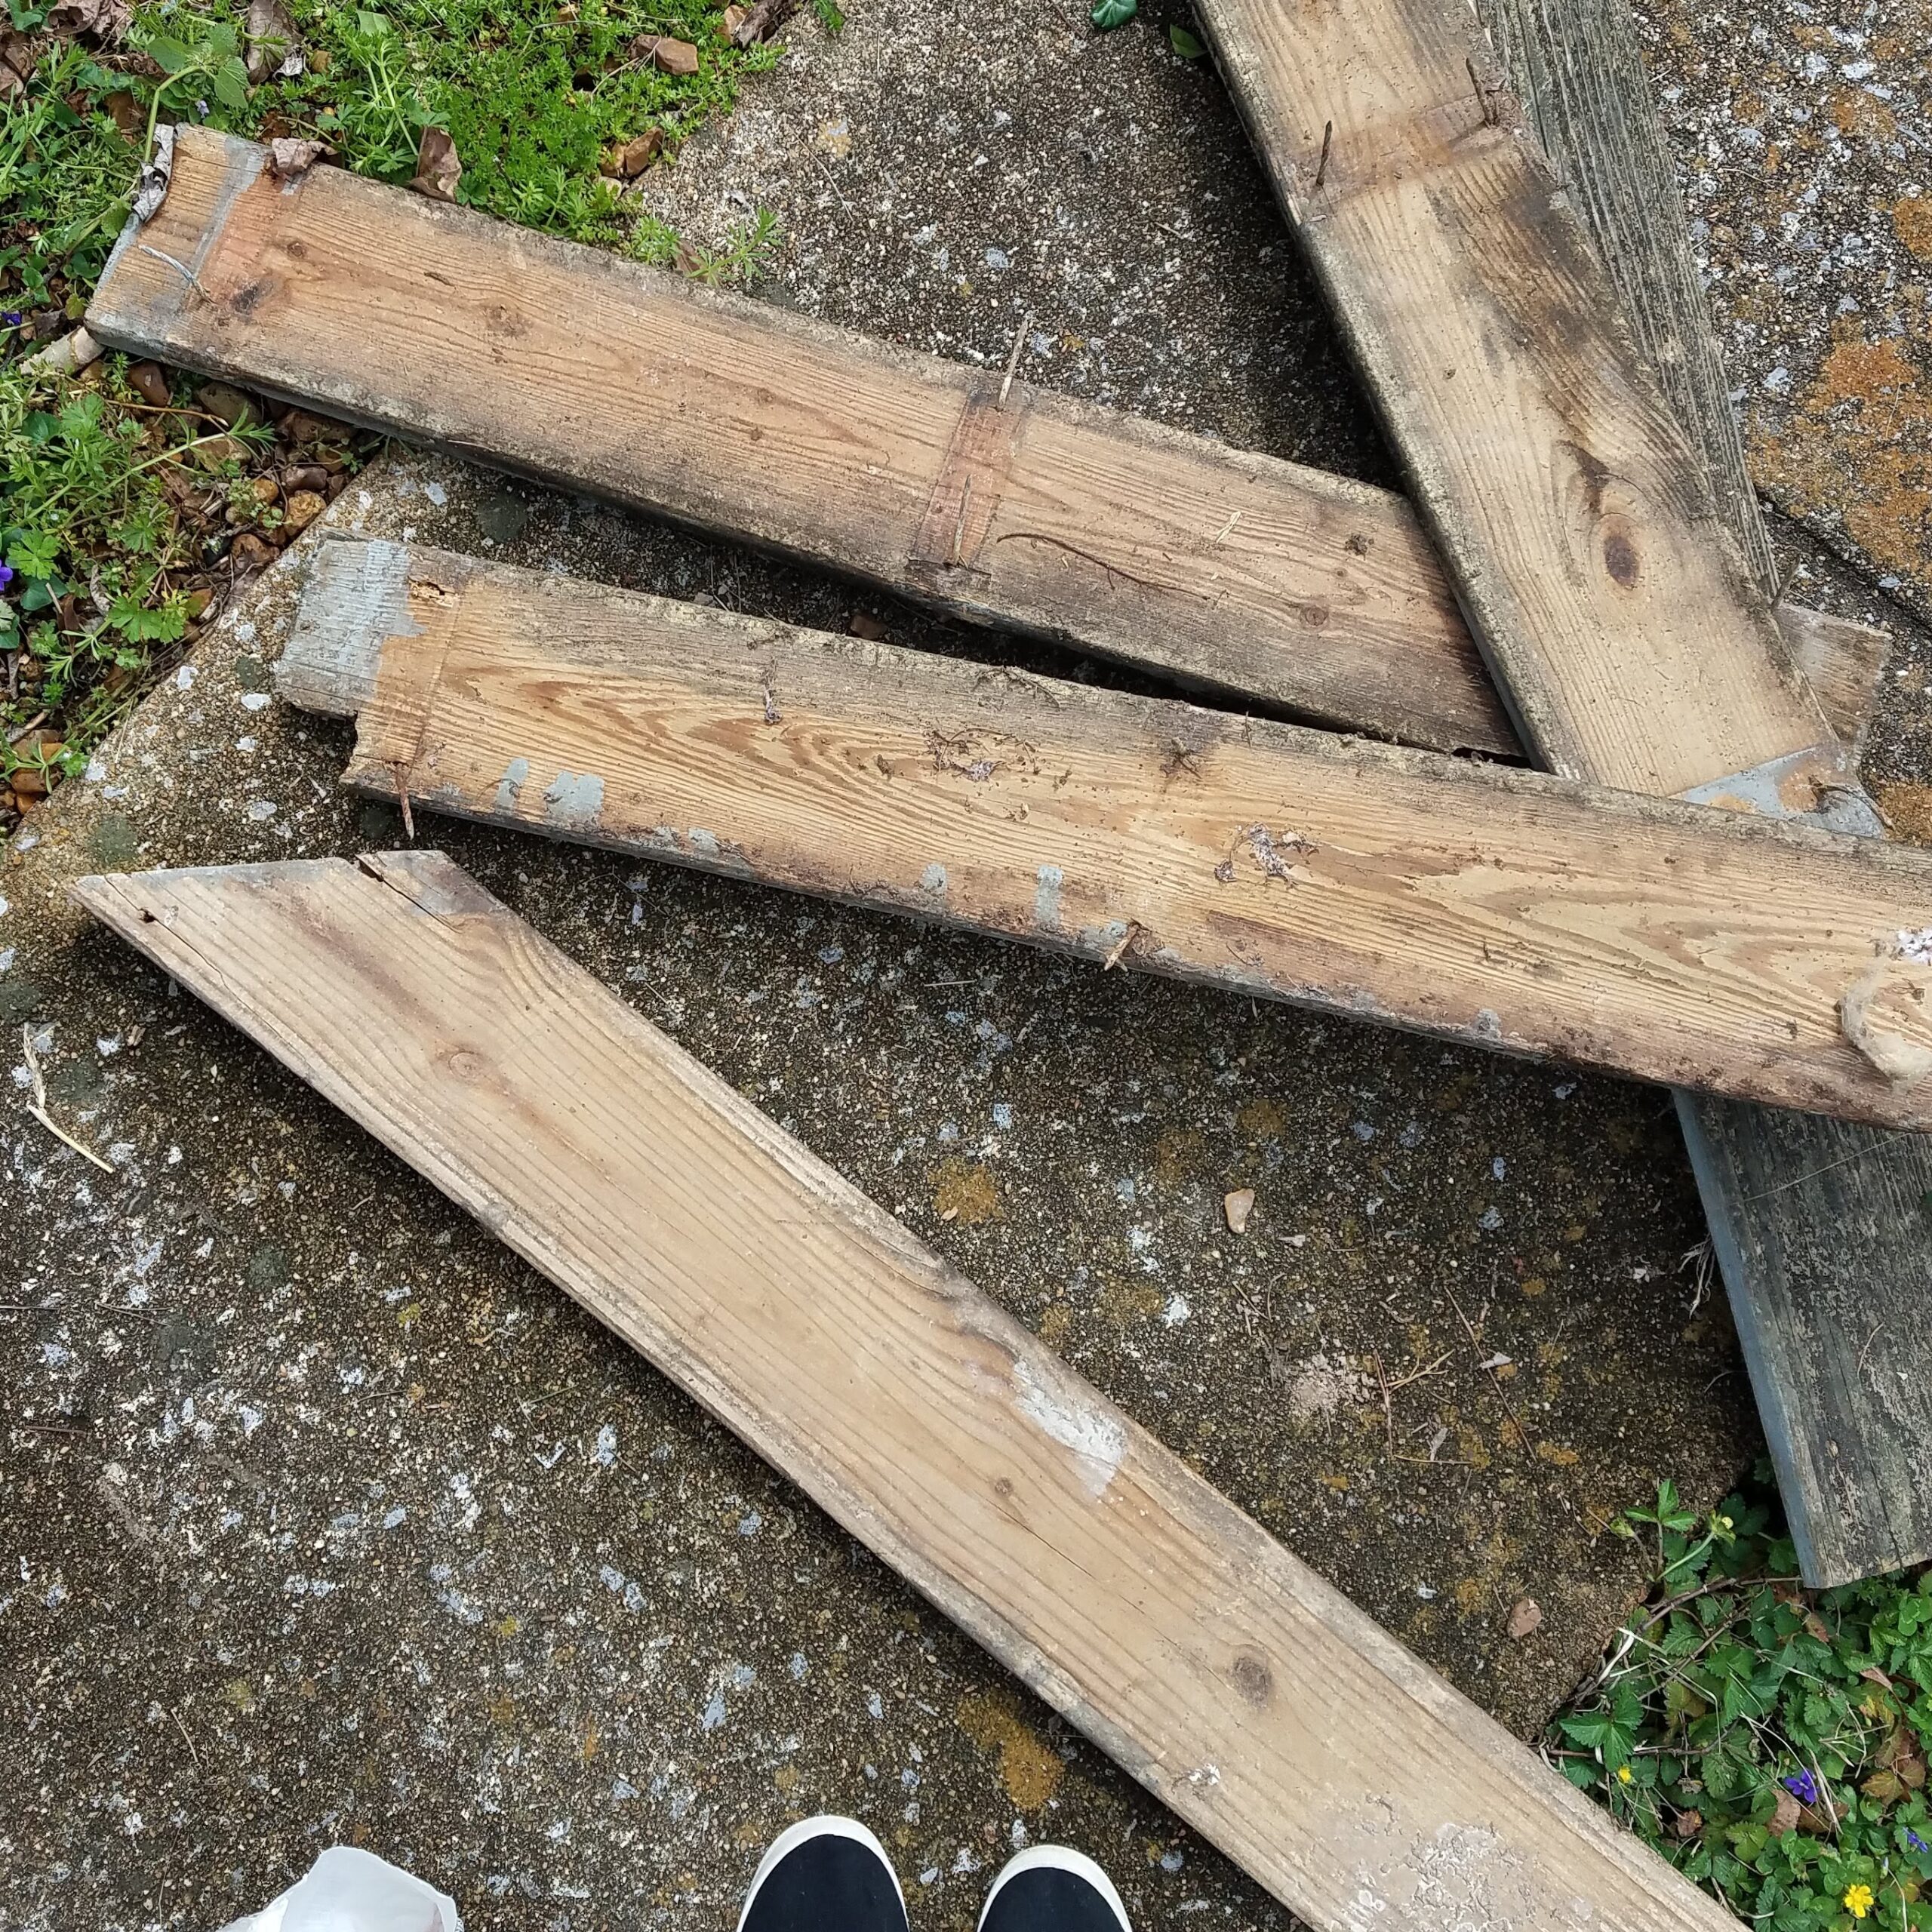
We are the type of people who often collect materials and tools and who occasionally actually do crafts, so we had the basics — nails, a handheld saw, and a hammer — on hand. After our neighbor said his former deck was ours for the taking, the plan suddenly became very easy. Sorting through the wood was only mildly dangerous — there were plenty of nails still attached — but it was easy enough to find the pieces that would work.
2. Plot it out.
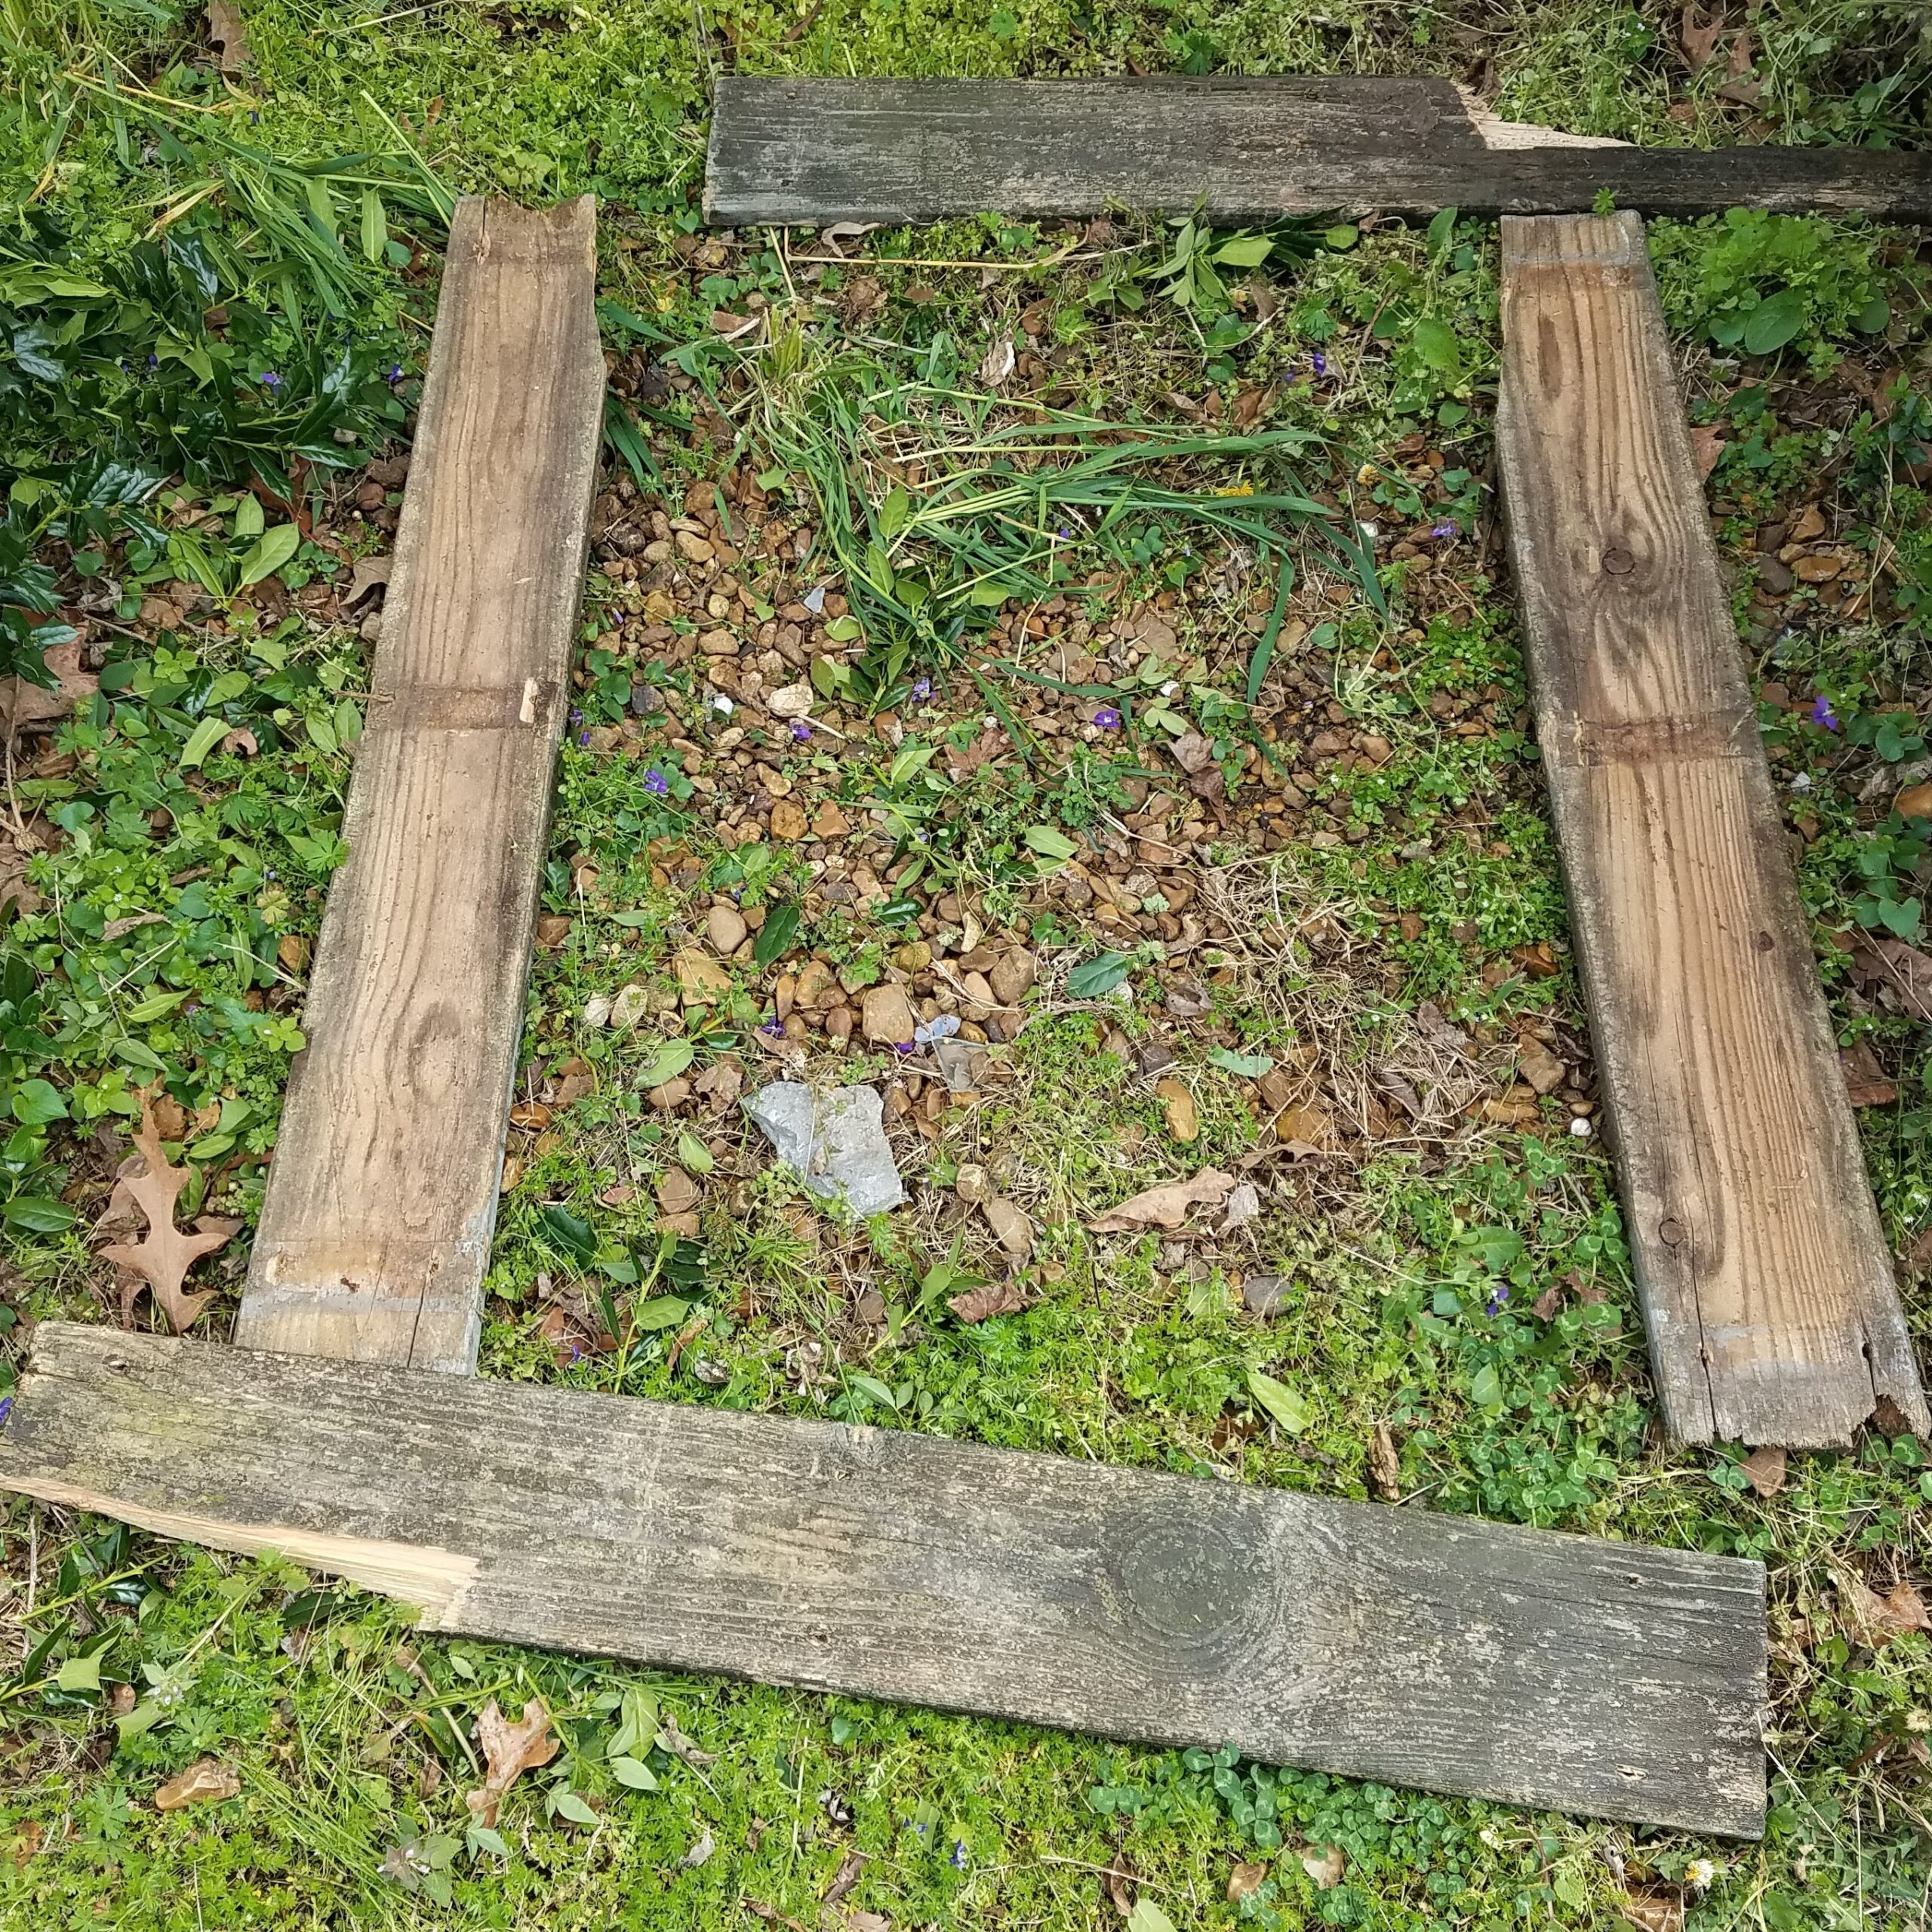
Before hammering or nailing anything, it made sense to lay out the pieces of wood and see what we liked, aesthetically and practically. We decided on four planters. Two of them are squares, and two are rectangles. There is literally no reason why this is the case except that it just made sense with the area.
3. Get to work!
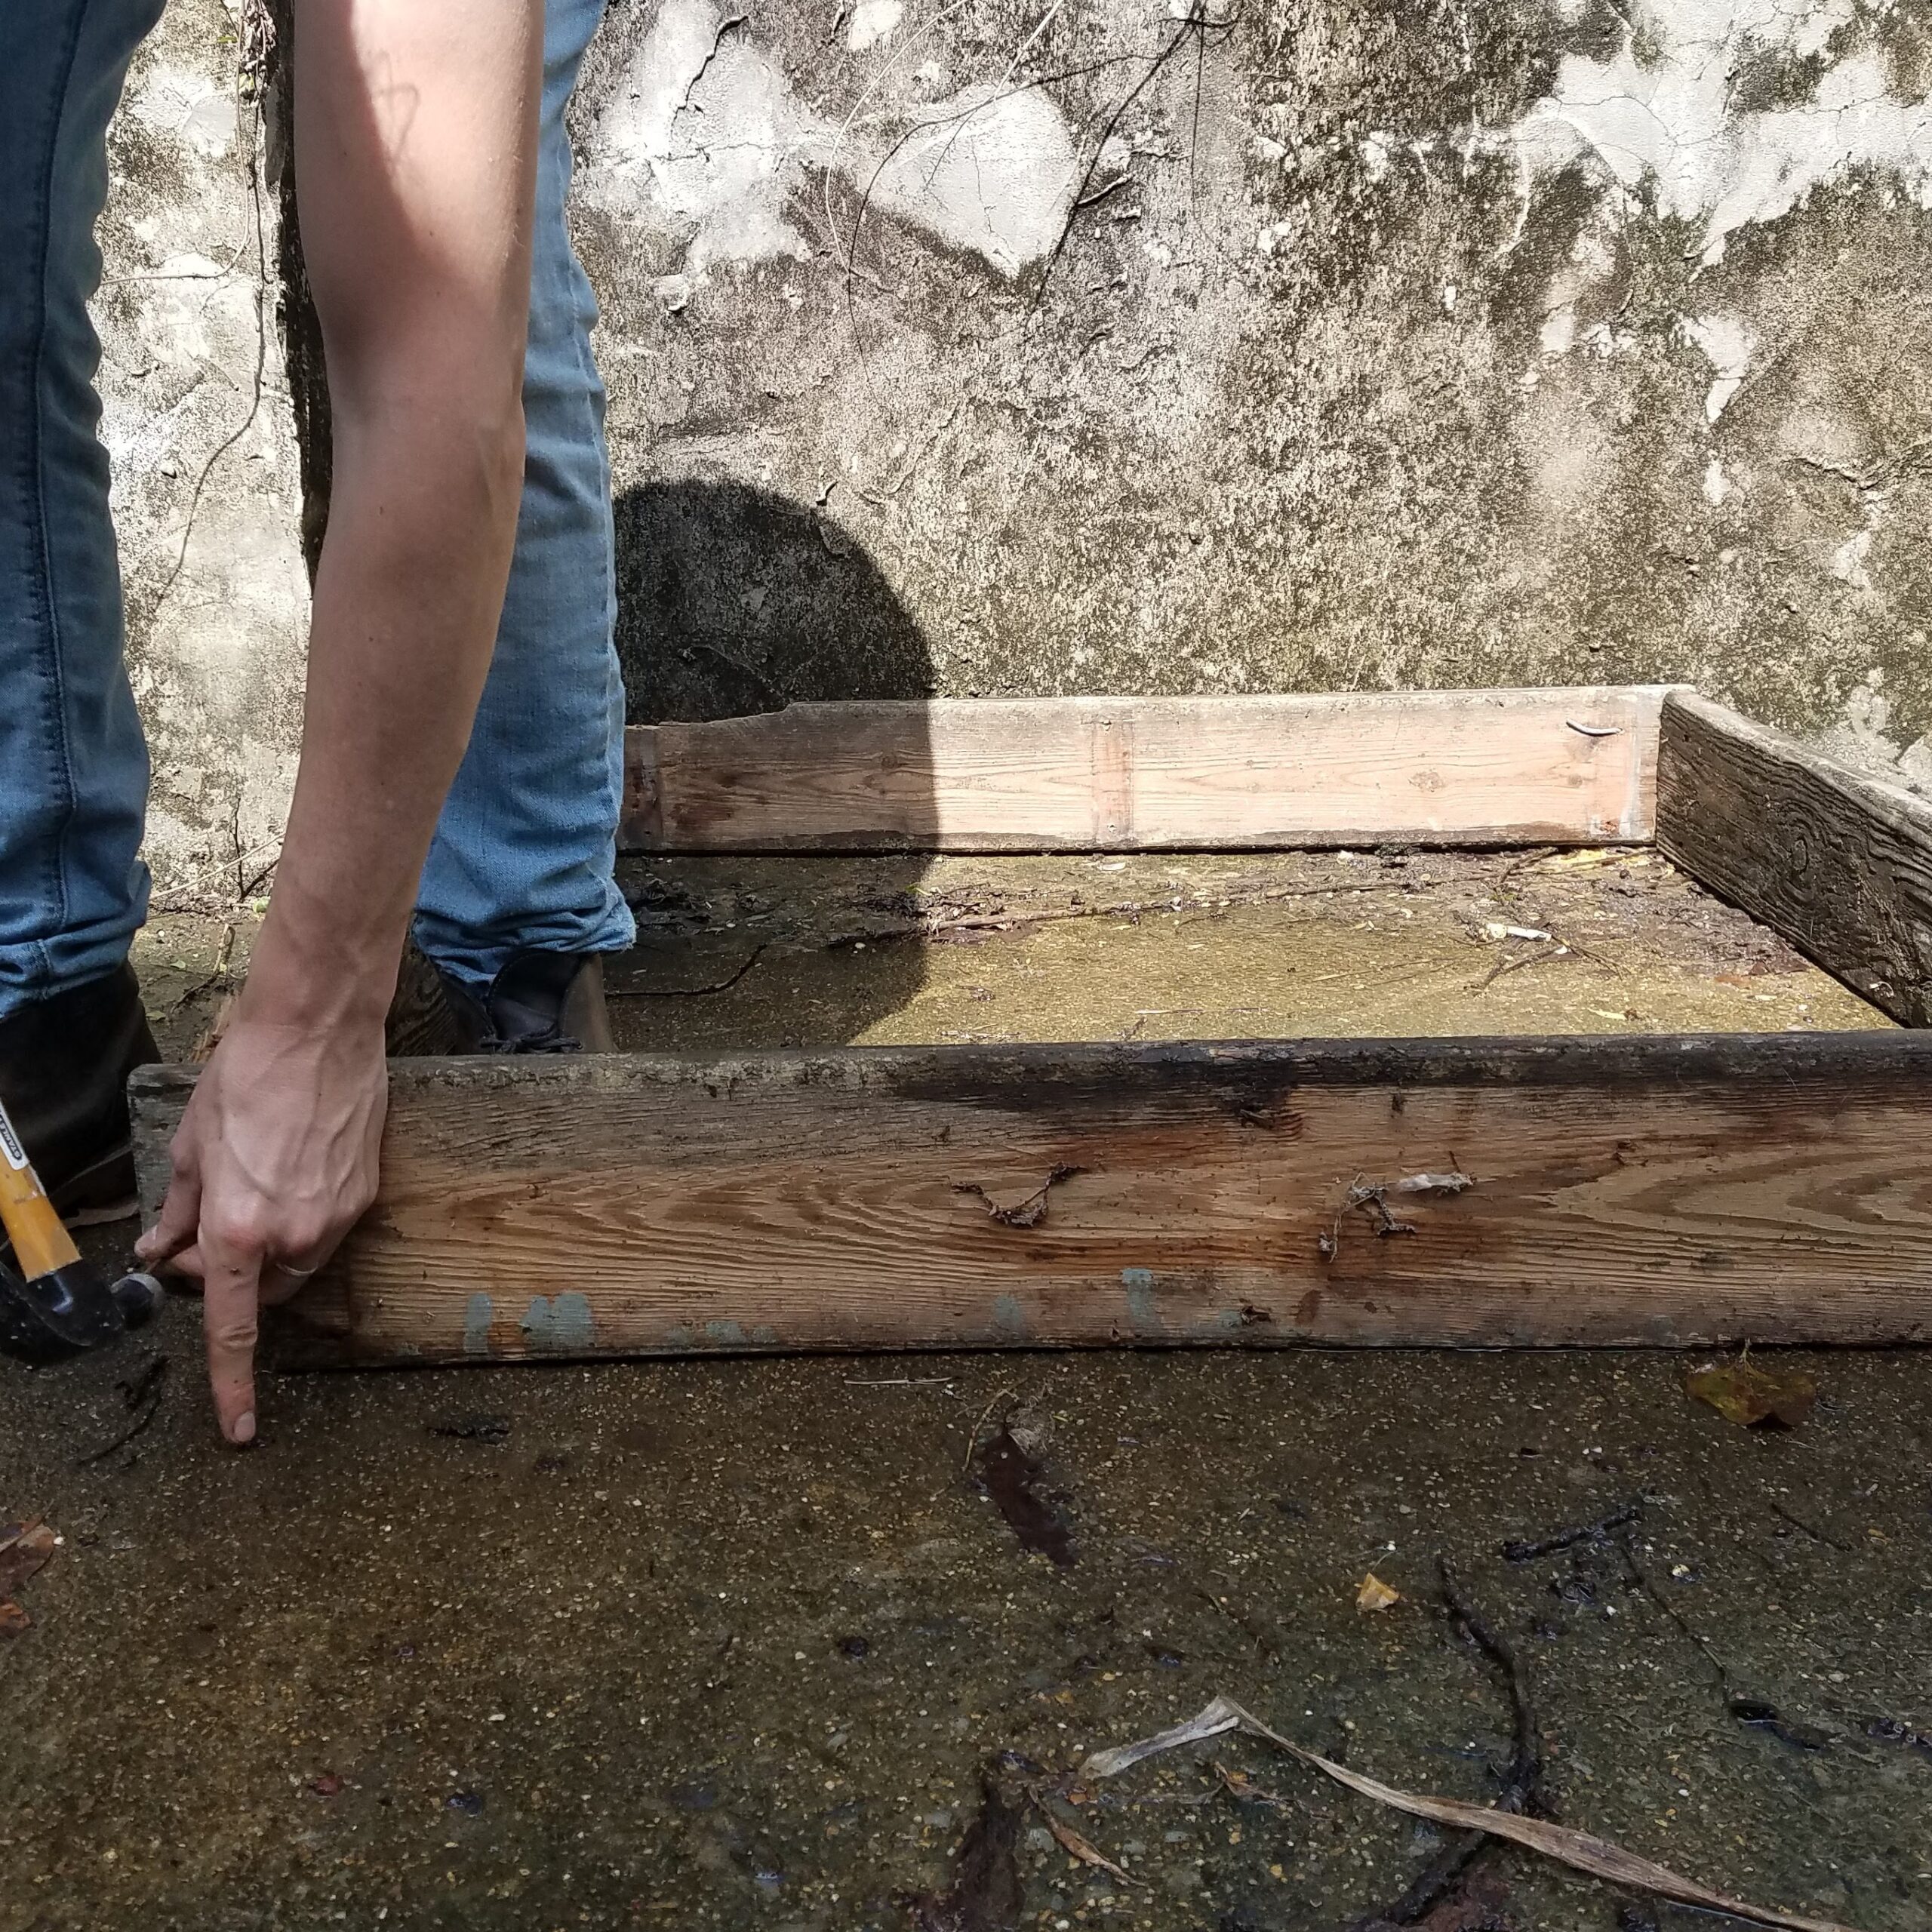
Listen, I take my role as a documentarian of everything our family does very seriously. So while my husband hammered the pieces of wood together to form the boxes, I took many photos! And truthfully, I could have handled hammering, too: It's not too challenging, and it even seemed kind of fun. It took him around 20 minutes, tops, to get the boxes ready.
4. Set it up.
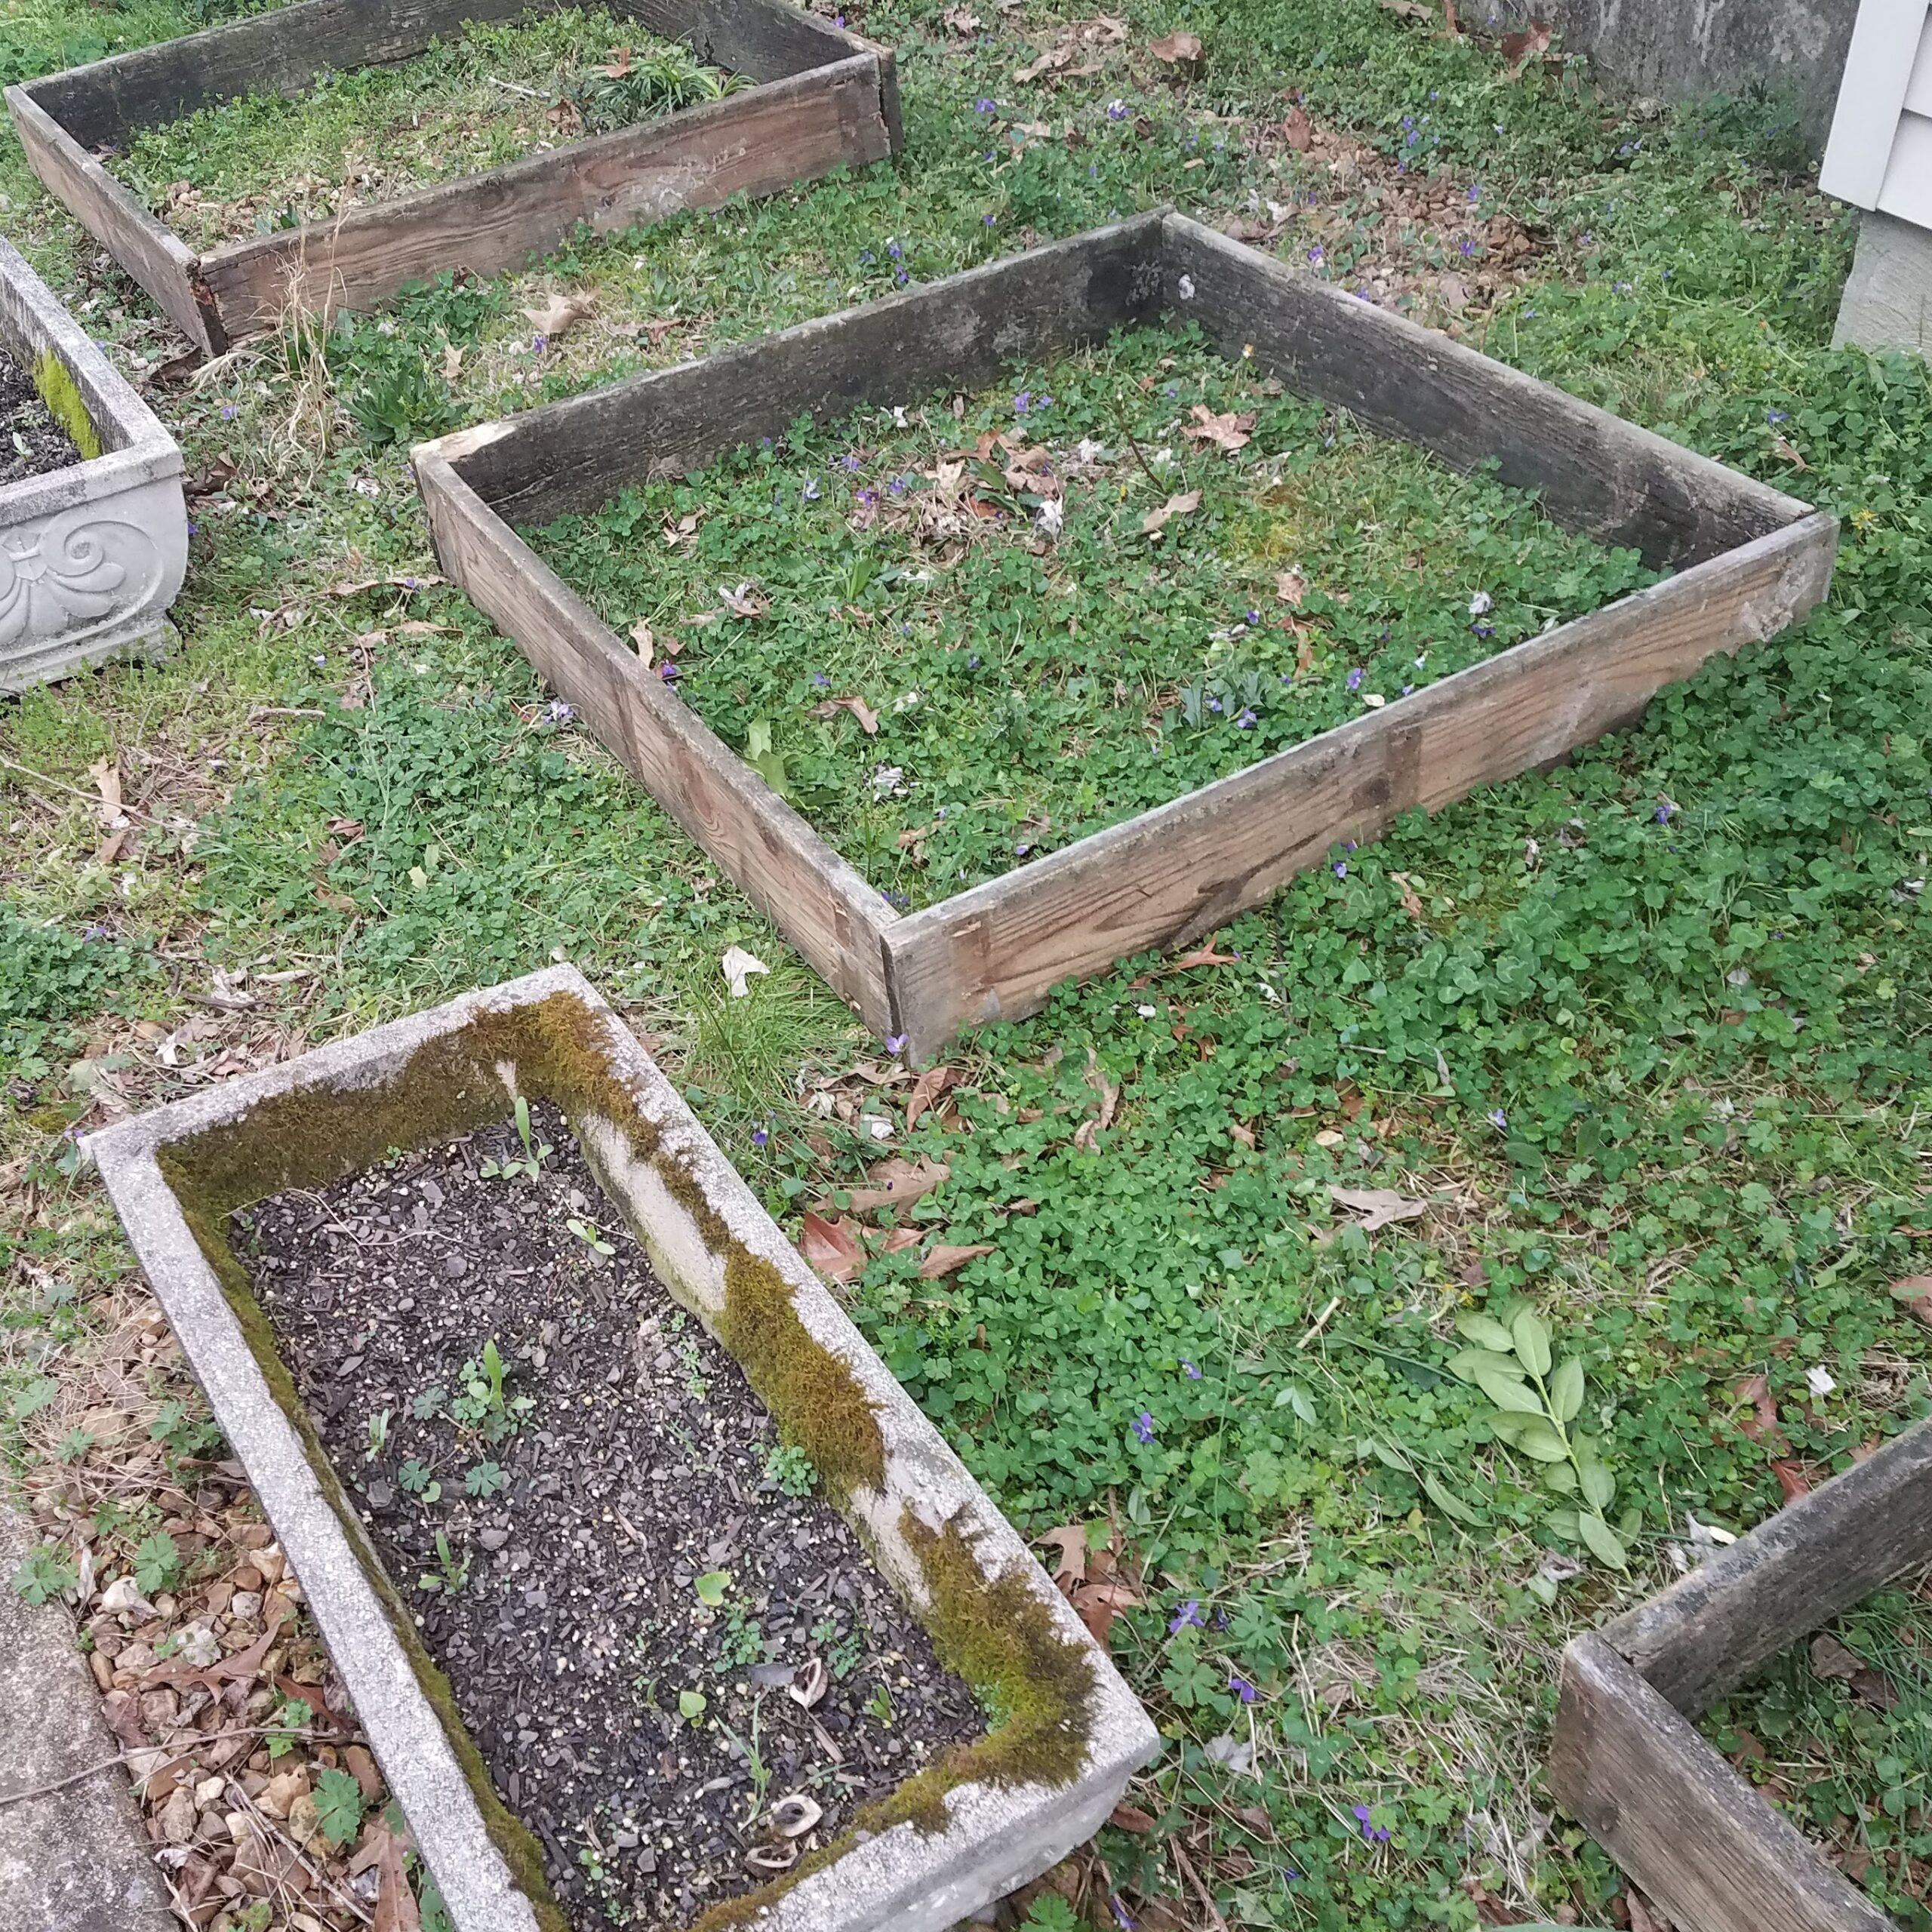
The next step was to carry the boxes over and find the best spots in the area we had chosen. This was exactly as straightforward as it sounds. Since we had plotted it all out ahead of time, we knew everything would fit; we just had to find the best spots because the whole front yard is basically a giant slope.
5. Fill your boxes with soil.
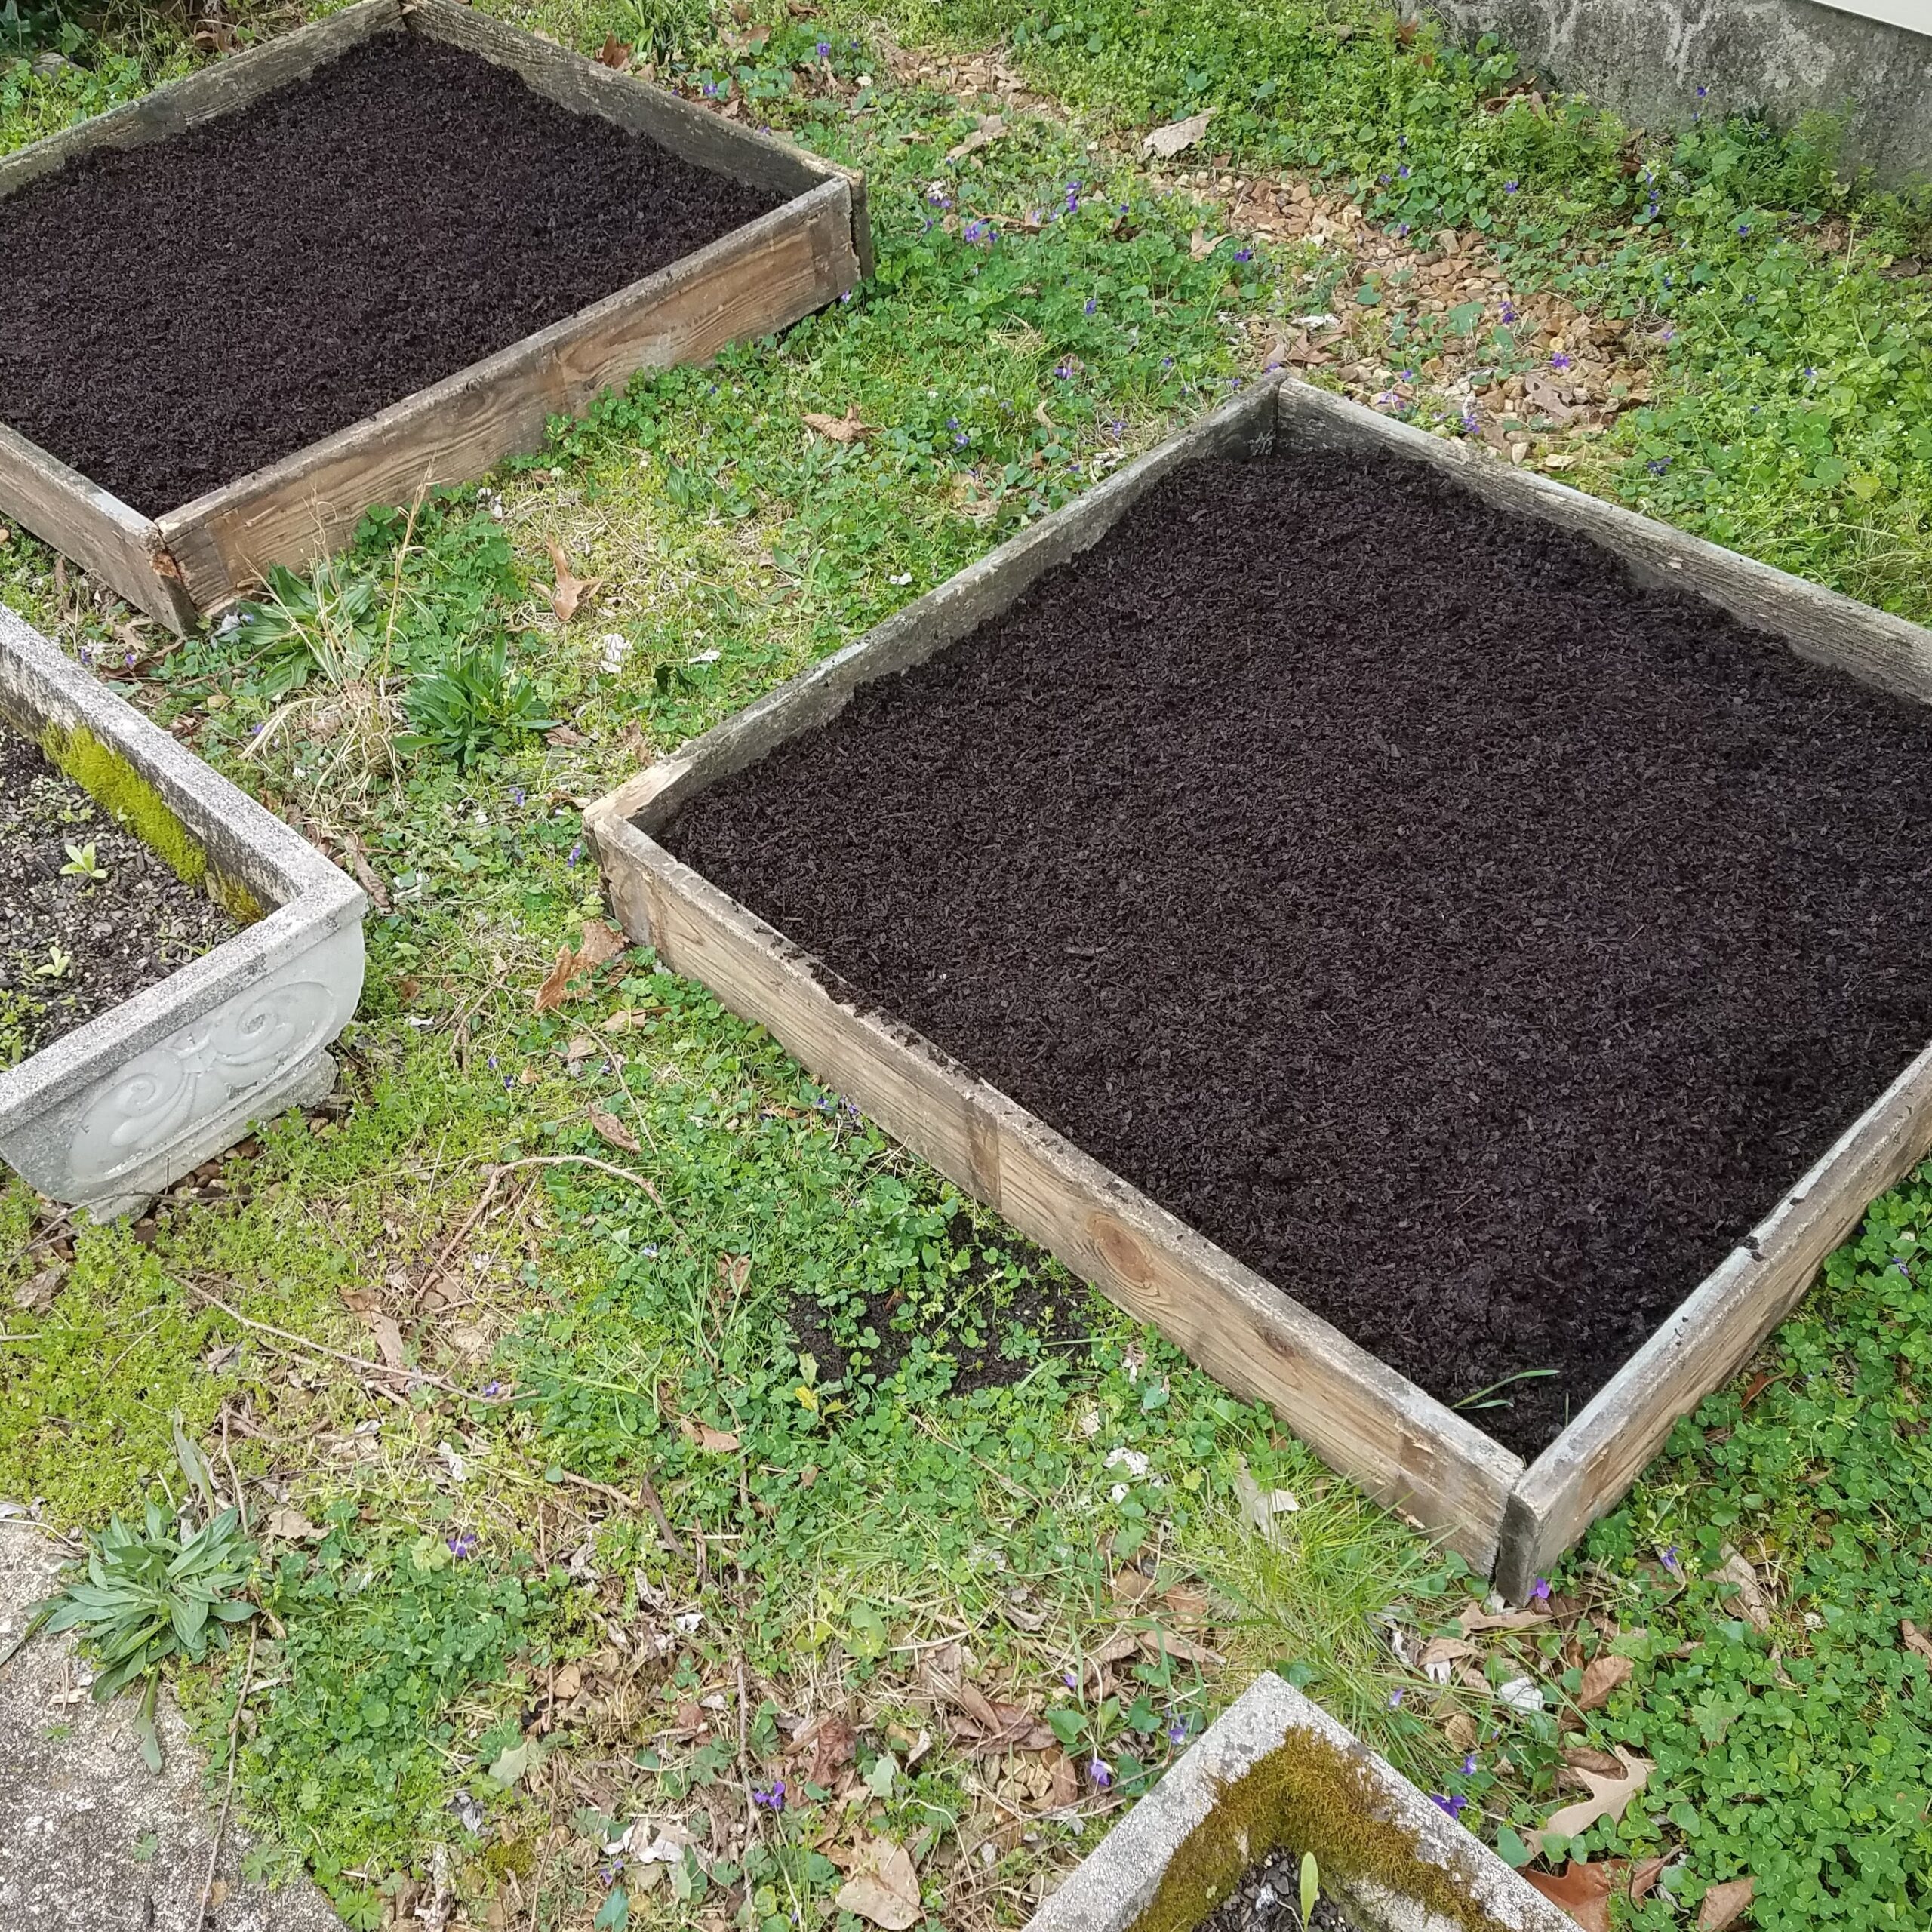
Our square planters required three and a half bags of soil, and the smaller ones needed two to two and a half bags. We totally just kind of eyeballed it. One day we might become more serious about planting food, but this is our first time, and we just want to see how it goes (and fully understand we are probably doing more learning than anything this cycle).
6. Add plant food.
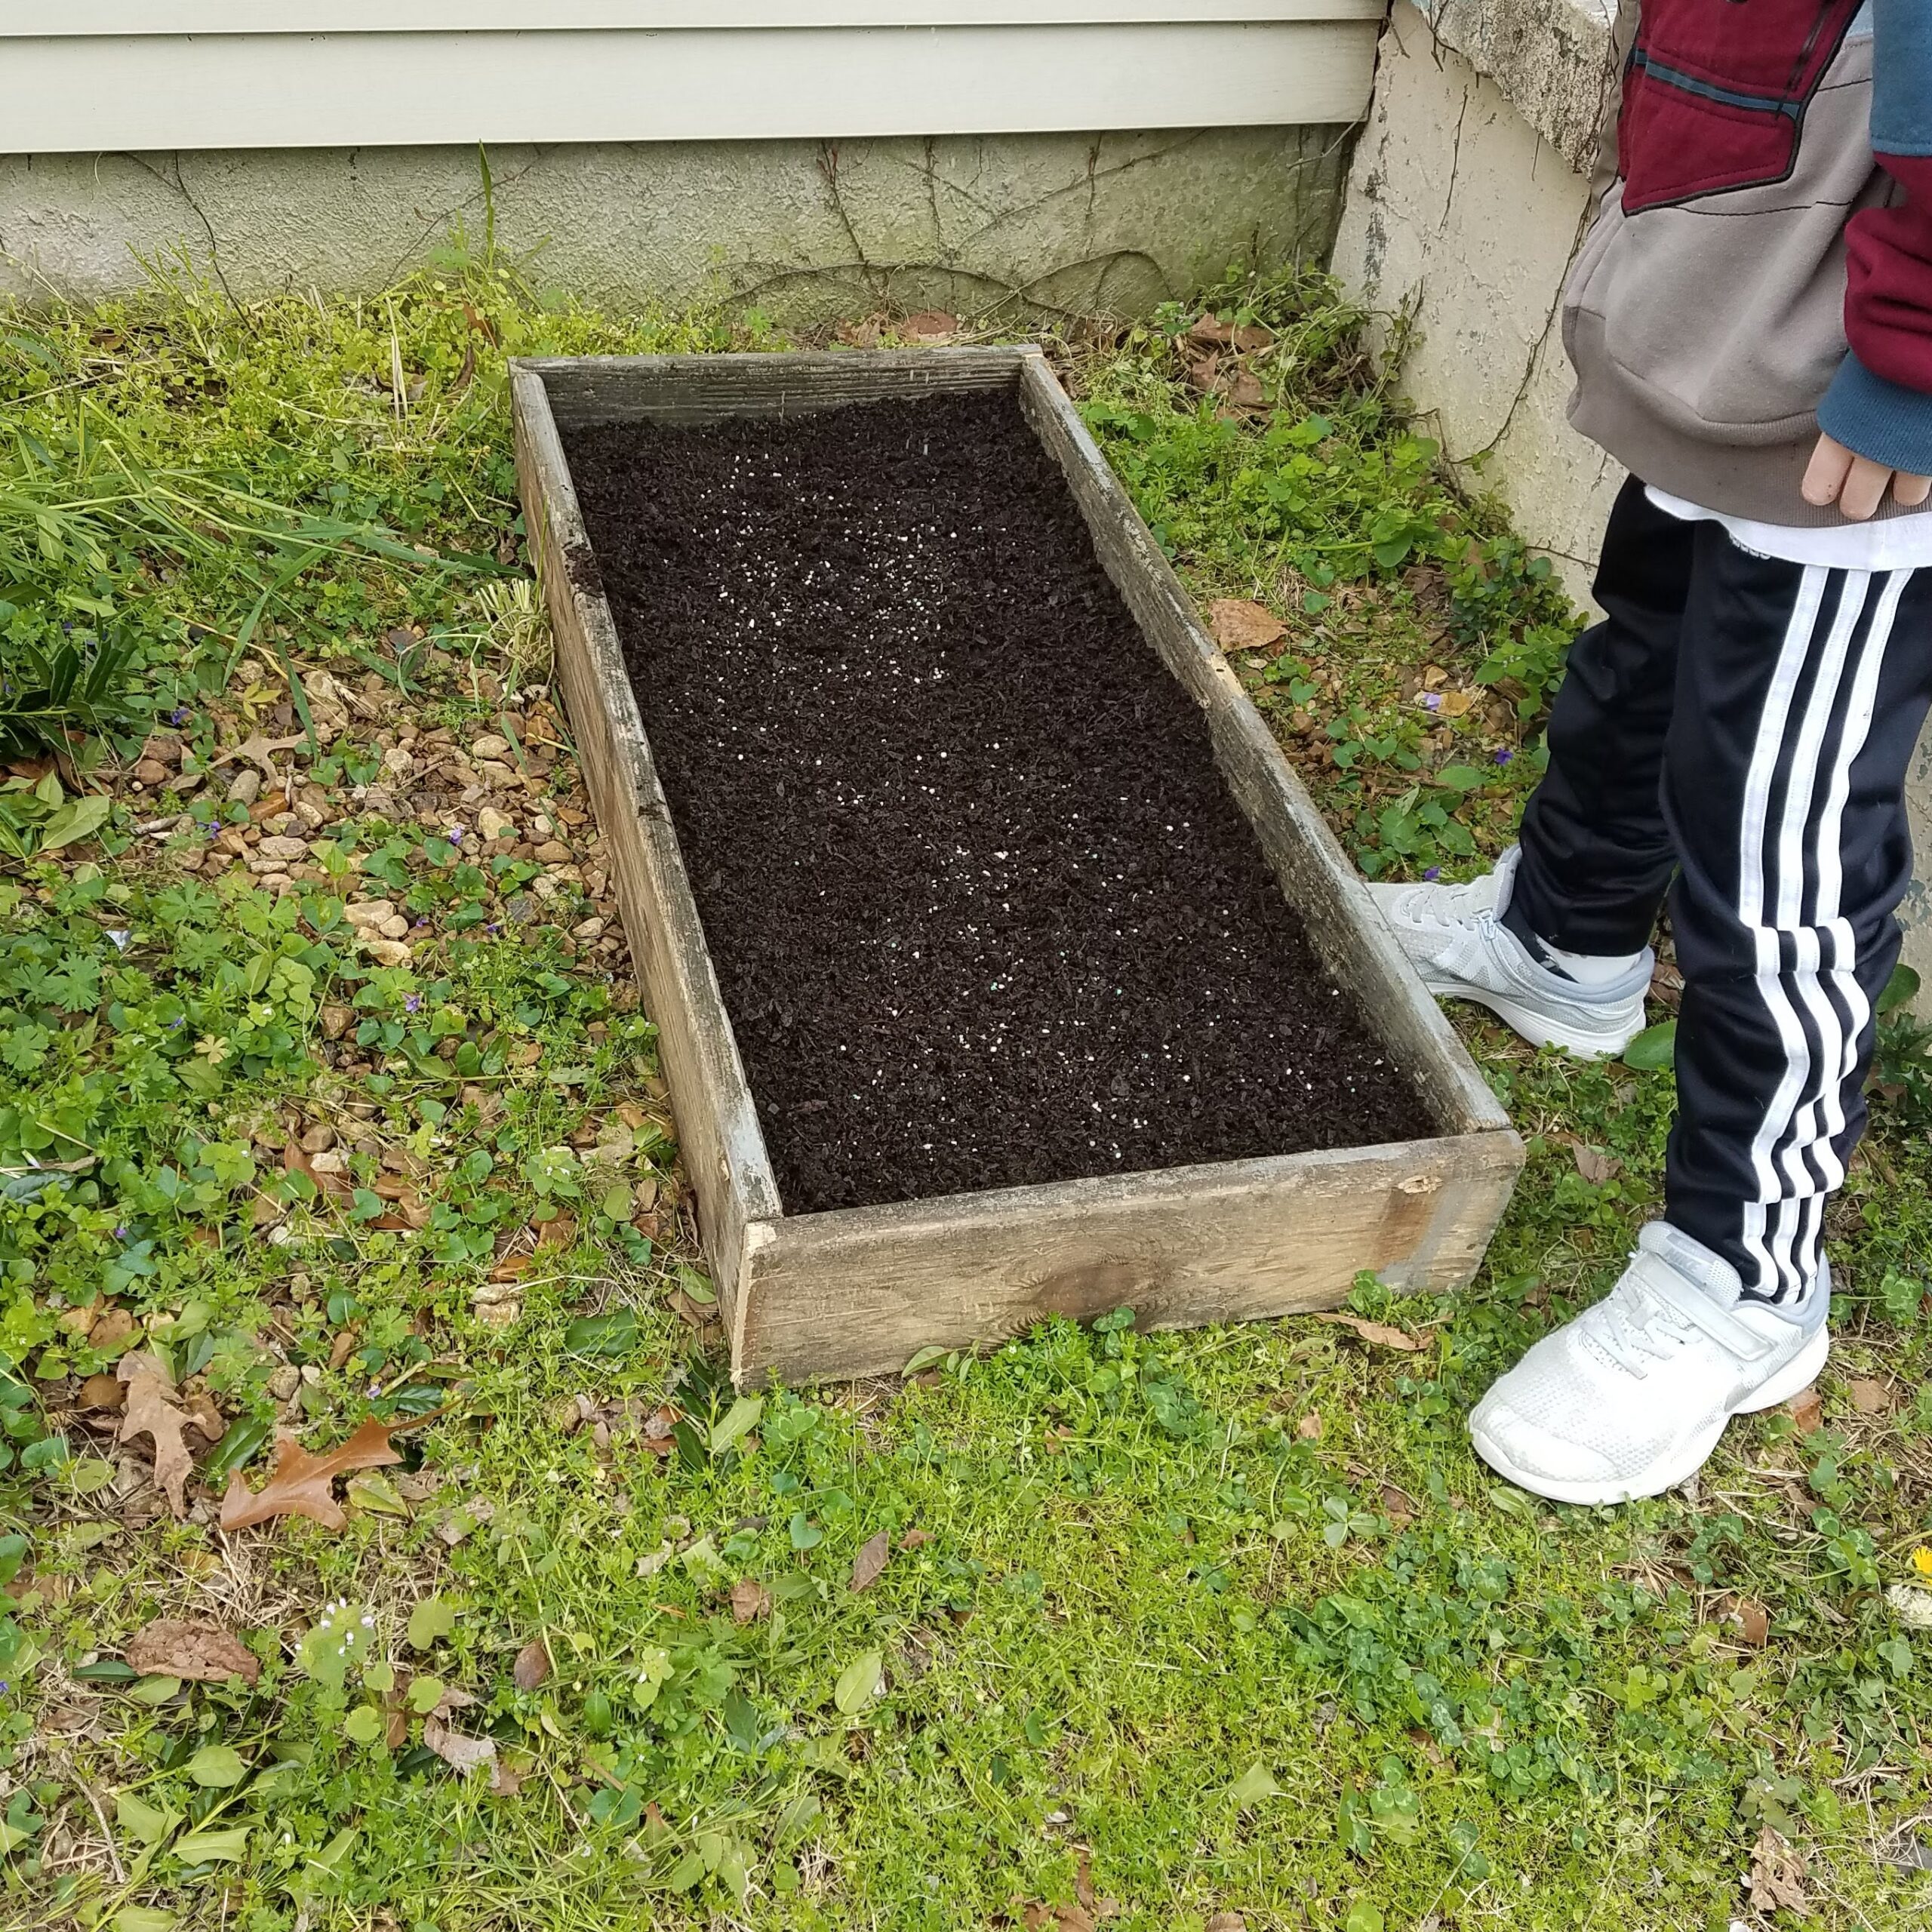
We added plant food to each box and put our 10-year-old in charge of dispersing the food adequately. We already had the plant food on hand because we have been repotting our indoor houseplants as well, and it's a great little tool that encourages everyone and everything to grow a little more nicely.
7. Plant your seeds.
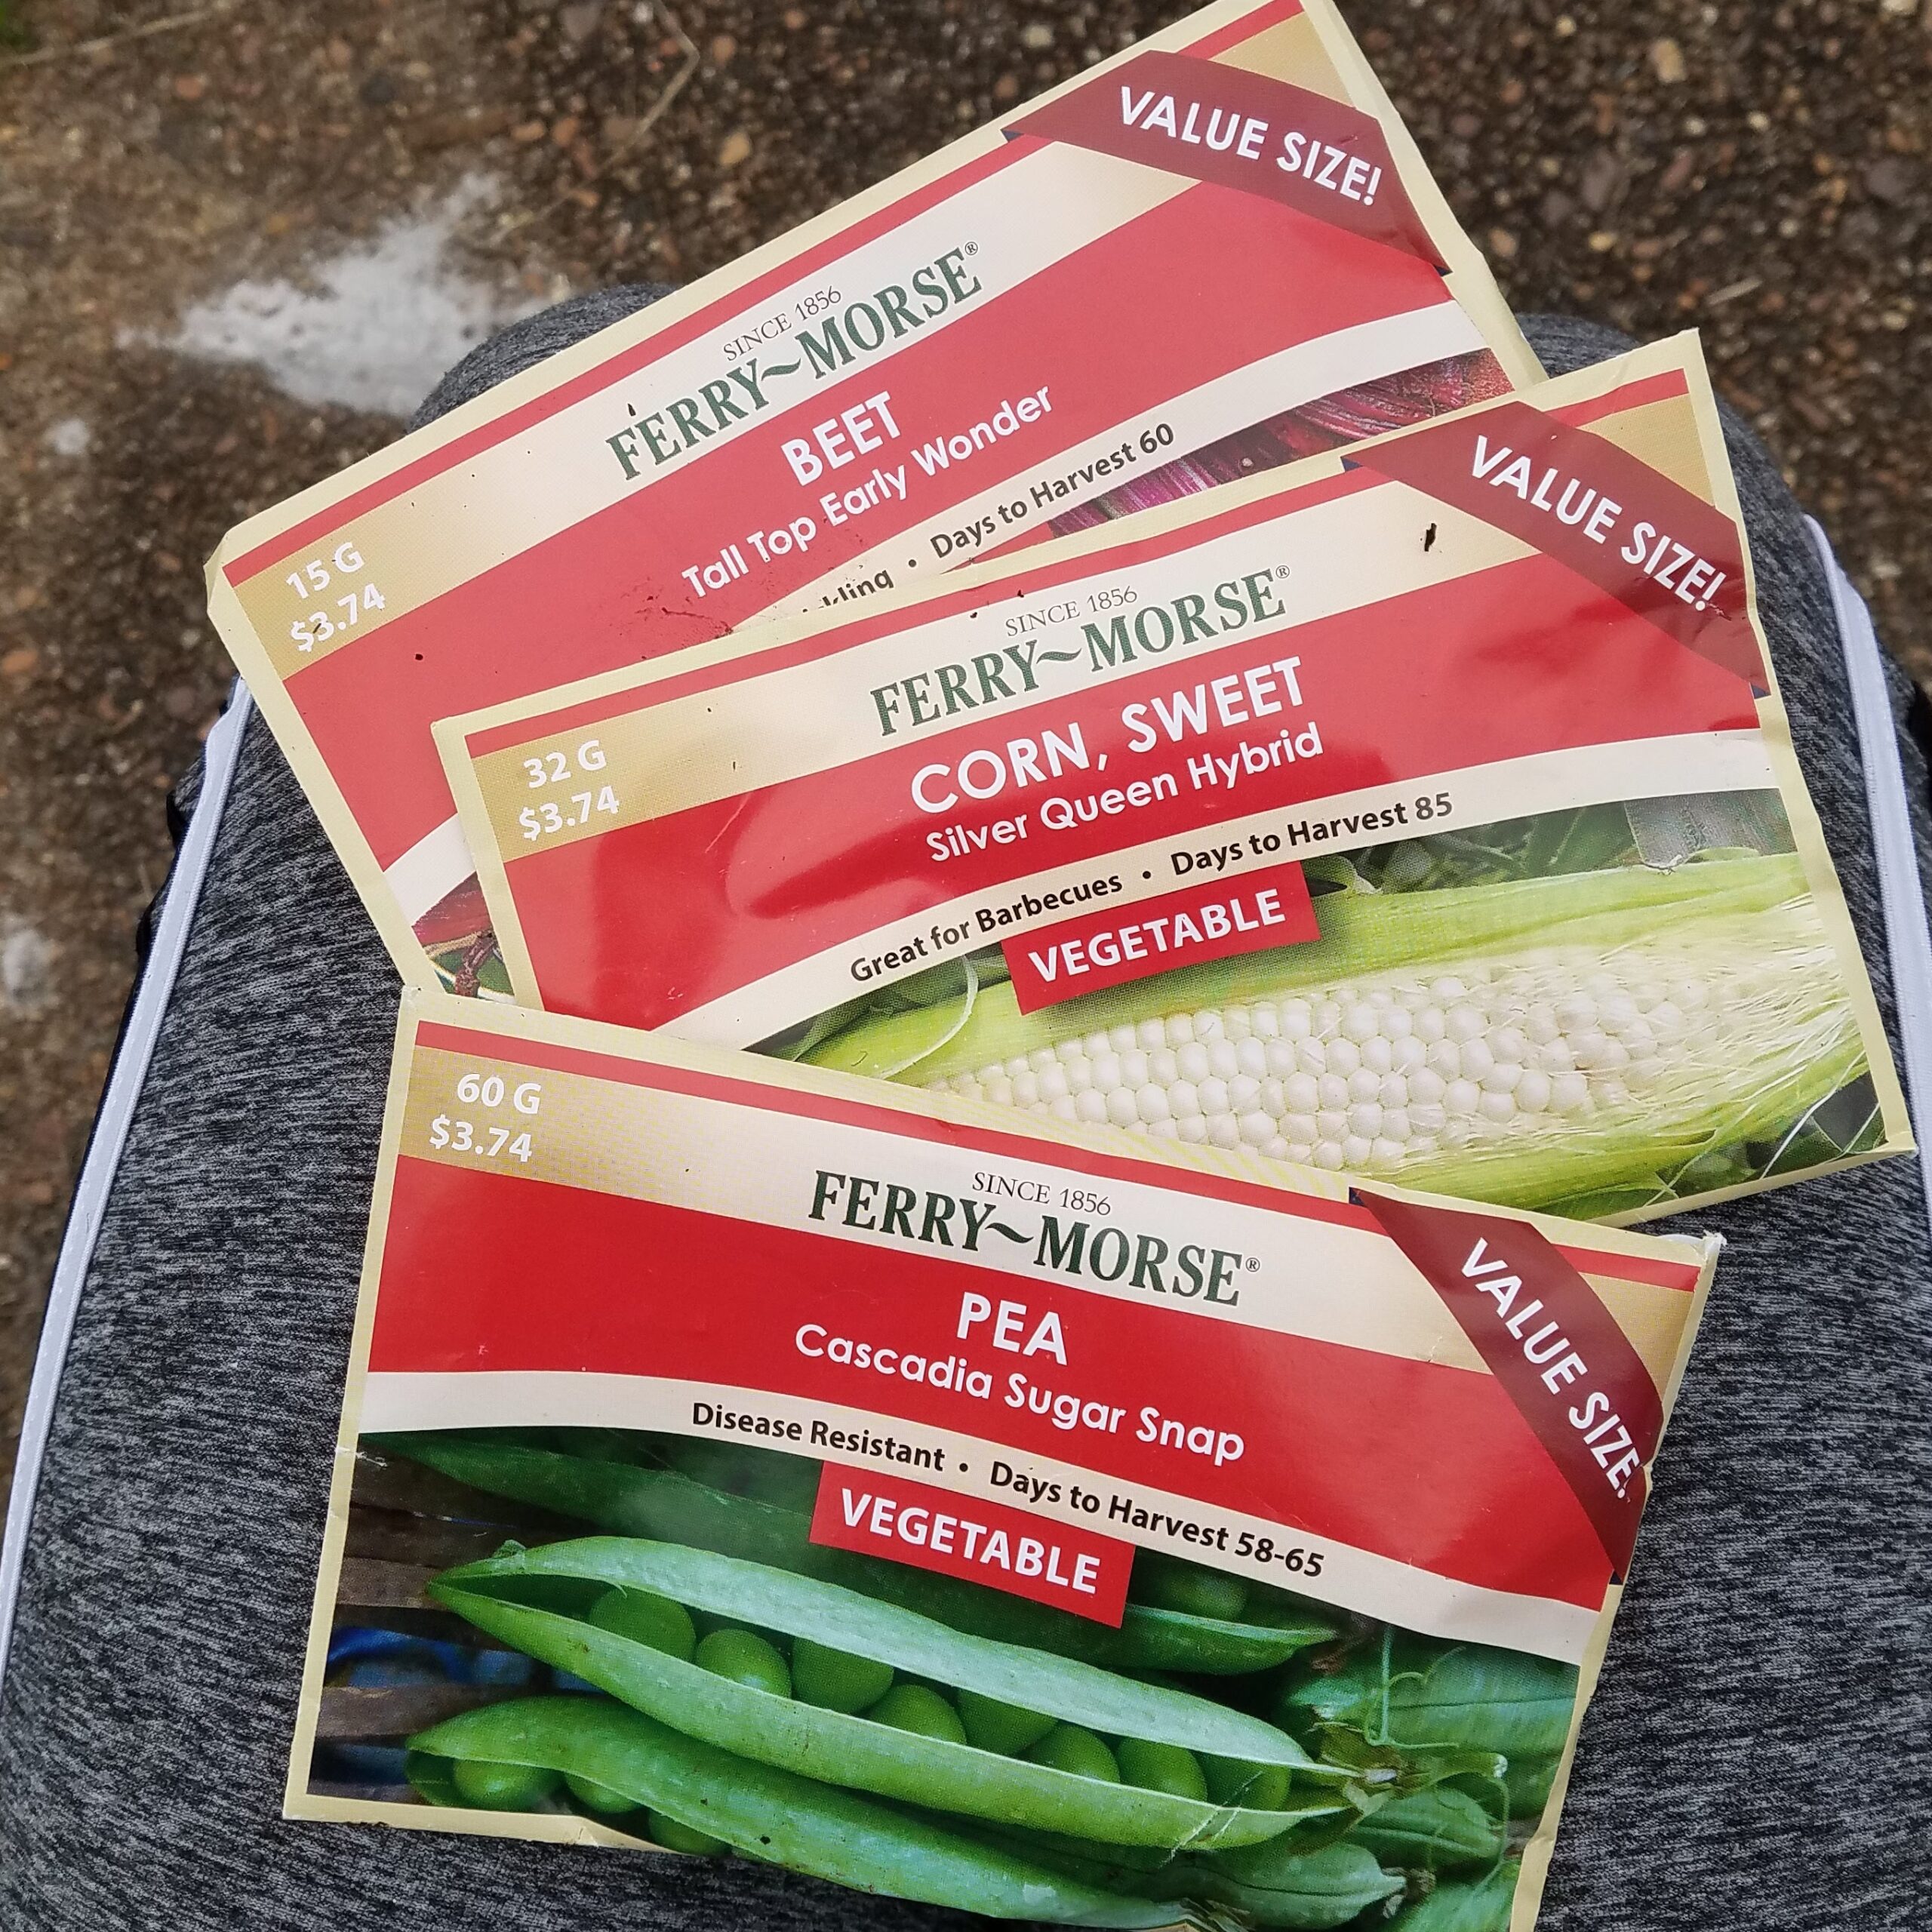
We chose beets, peas, and corn because we all like them and we thought it made sense to start with the food we like. Of these, I think the peas will be the most successful, and the corn will probably struggle heartily because our planter boxes aren't very deep. But we made sure that the seeds have access to the soil beneath the plant soil we filled the boxes with, so it's possible that the corn's roots will make their way down deep enough. We really have no idea! And I think that's OK.
8. OK, now we're actually planting the seeds.
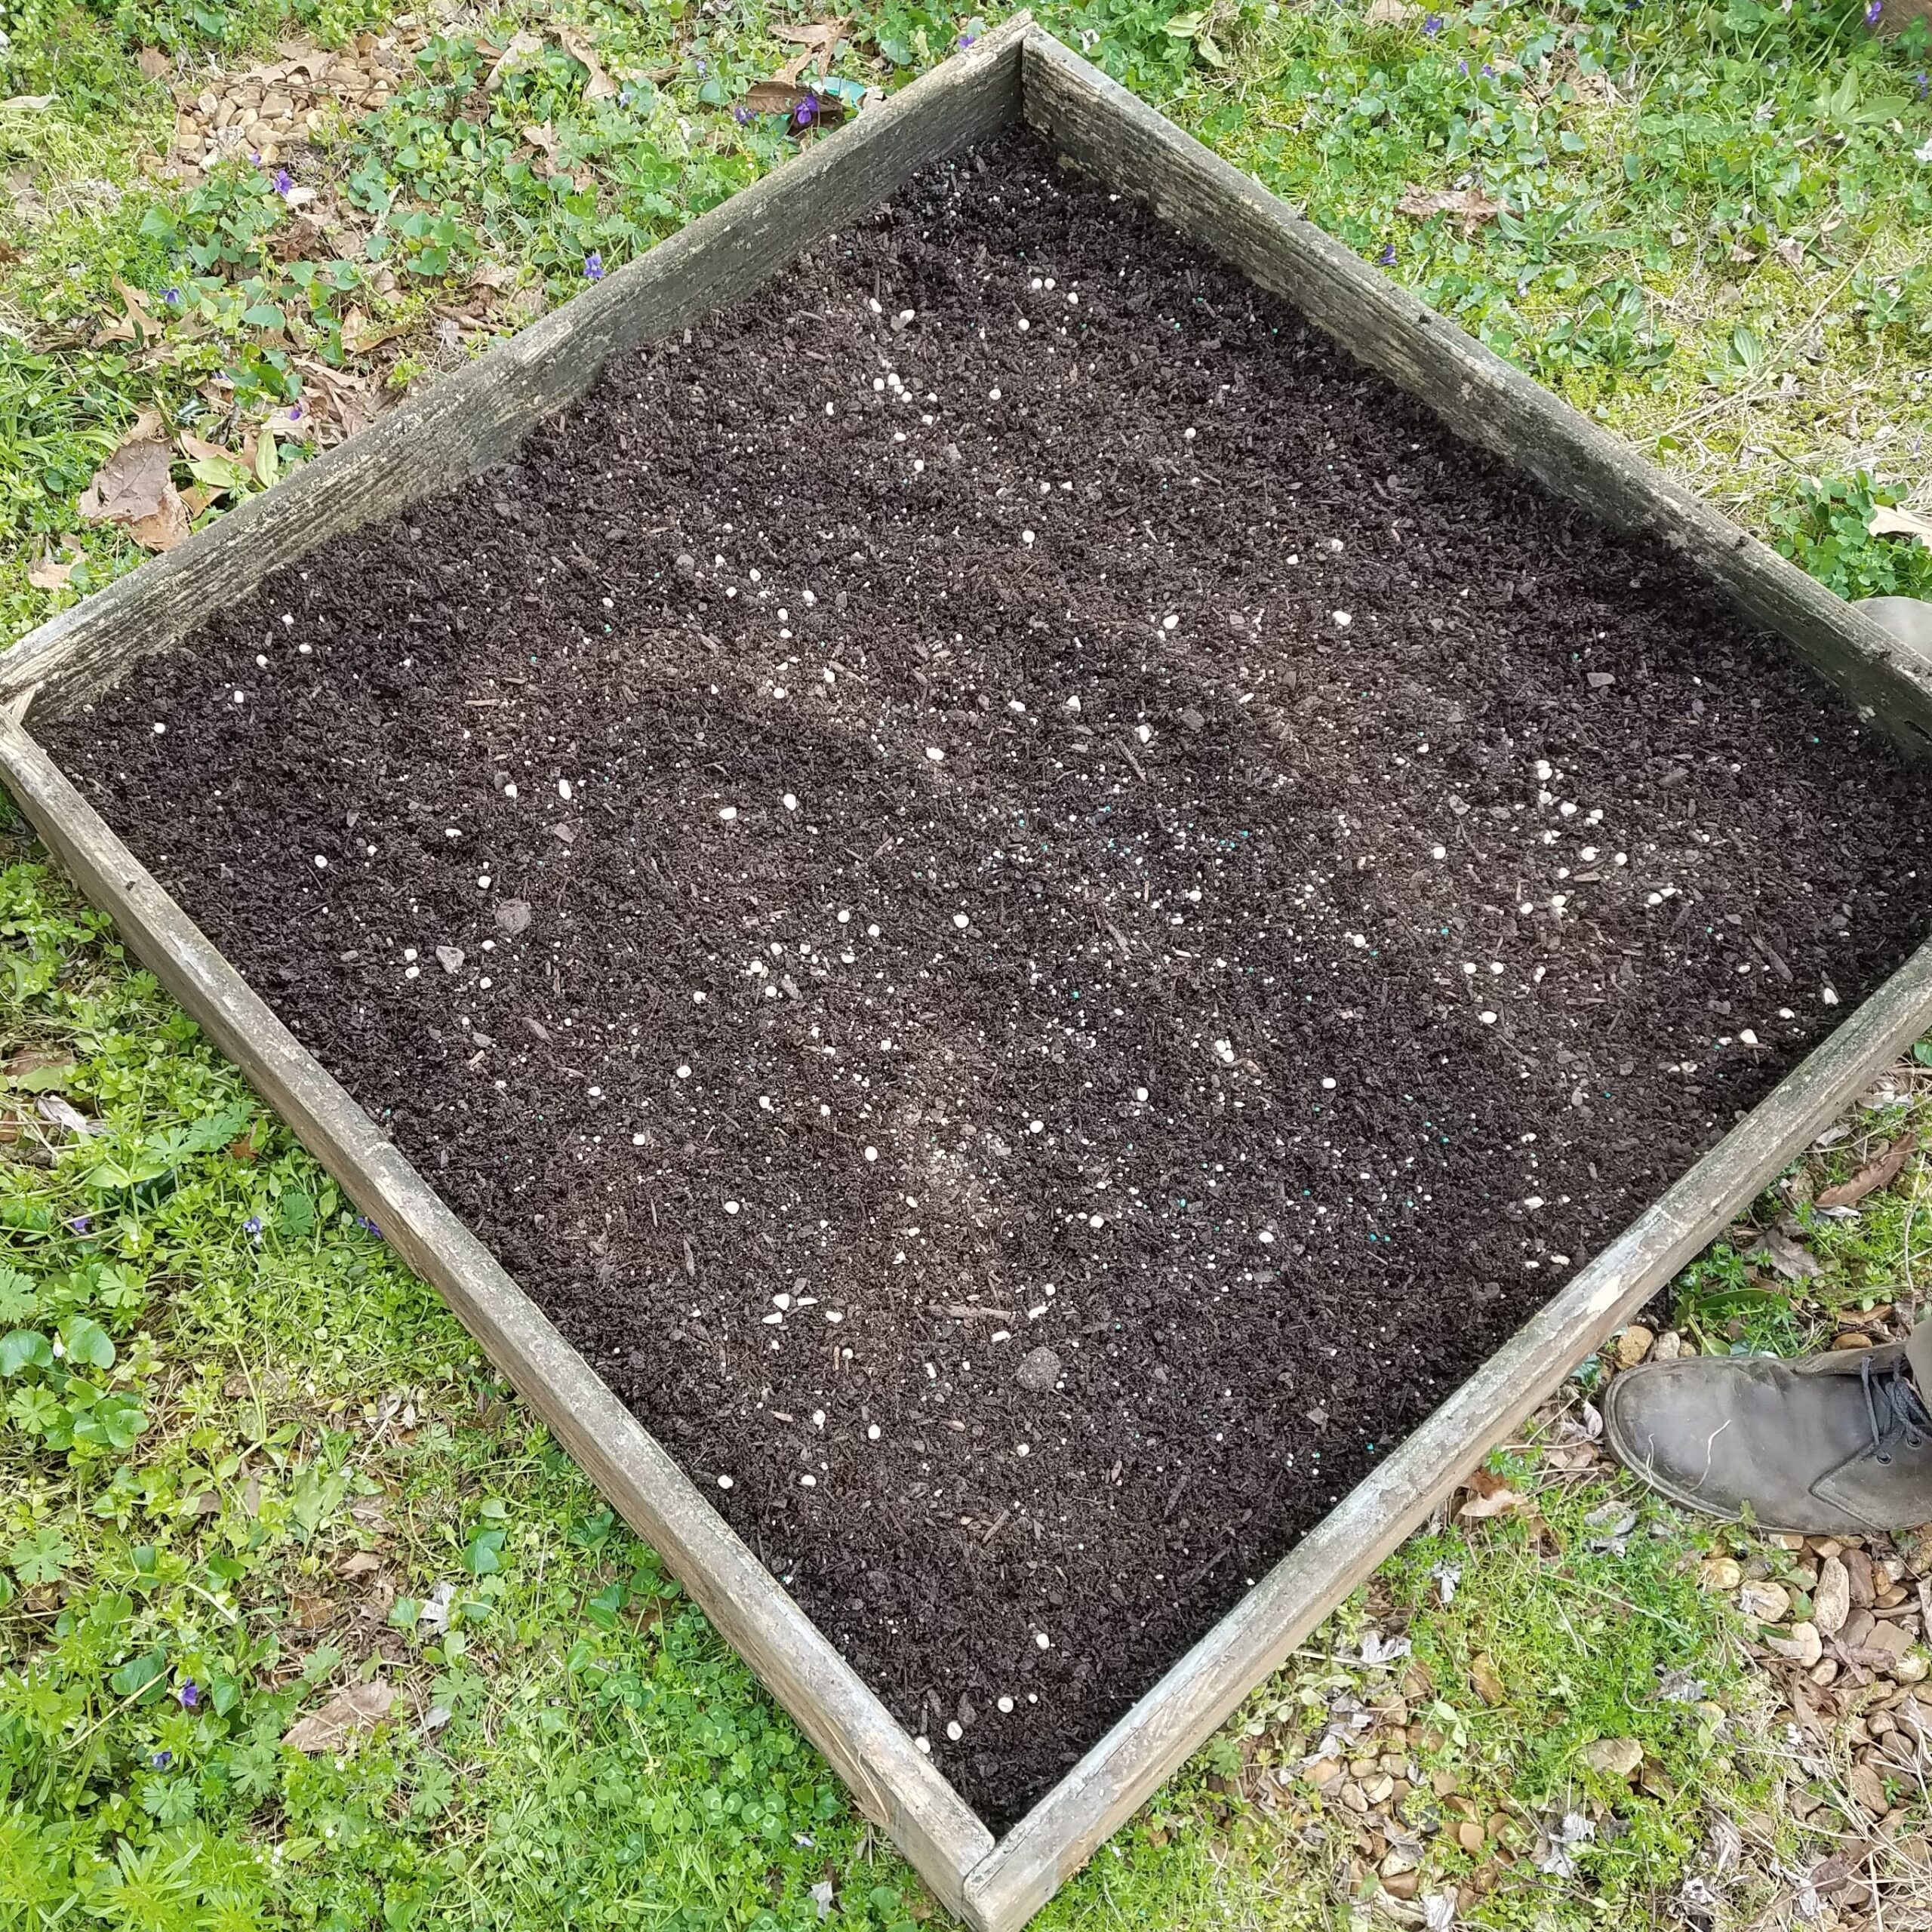
Another reason we chose these three vegetables is that they can grow together pretty harmoniously. In theory, as the corn grows taller, the peas can grow up the corn. The beets should have their own space to work with. Right? We're hoping so.
I am the type of person who will methodically plot out rows of seeds and make sure they are all pushed down exactly the distance they need to be. My husband just throws them in there. So we'll see how this goes.
9. Rake and water.
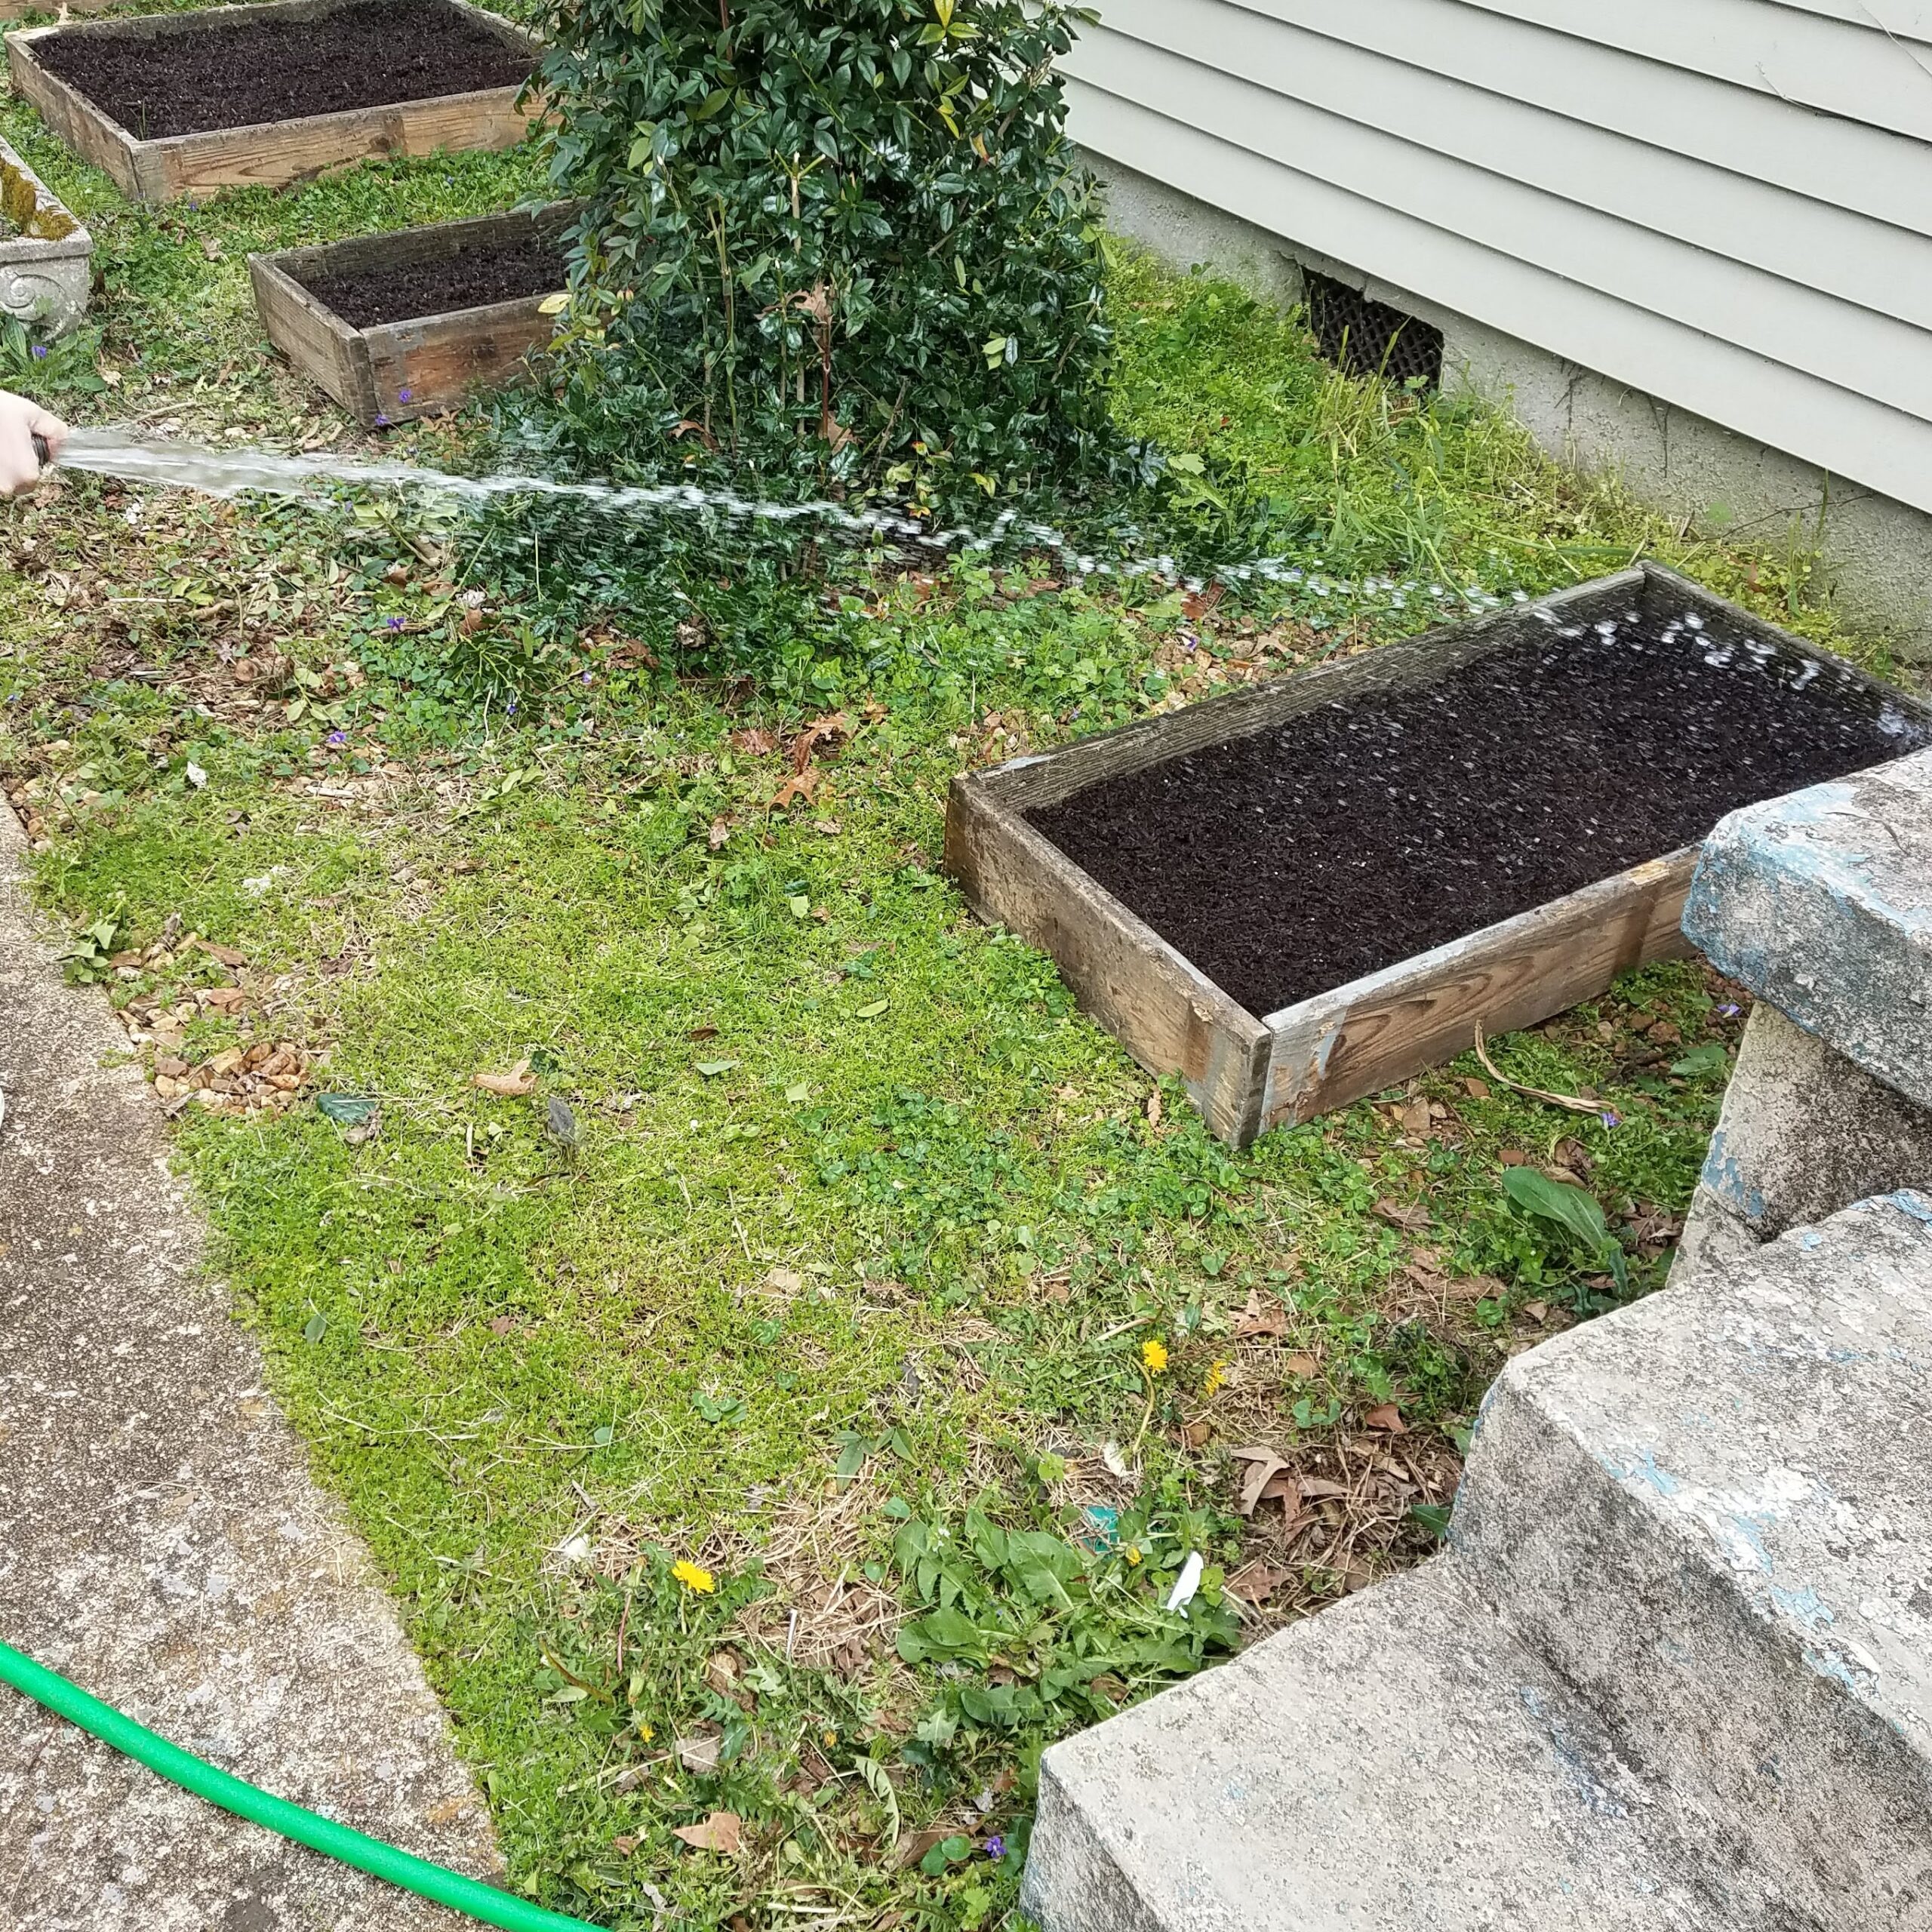
We raked over the seeds to really get them in there and then let our 10-year-old take over watering everything. We only watered the seeds a little bit because we have a lot of rain coming up over the next week or so, but it seemed like it did the job. And now, we're just waiting: Hopefully, we will have tiny little vegetables growing in a few weeks!
It's time for an update!
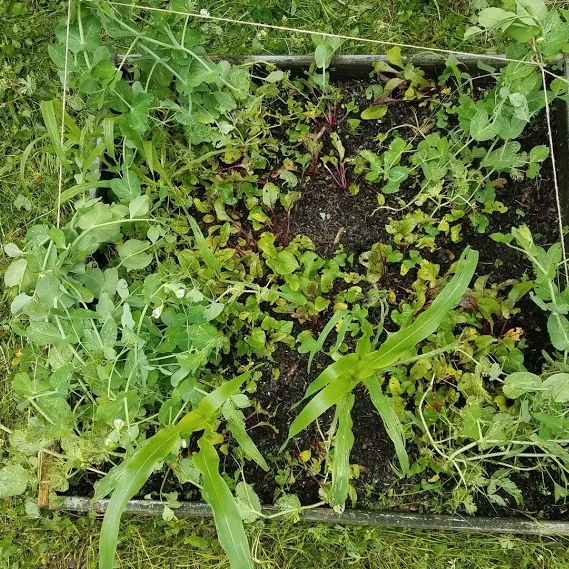
It's been a few months since this was originally published, and we all thought it would be fun to follow up. First of all, let me go ahead and admit something right off the bat that will probably make you laugh forever: While I understood that we were growing actual food that we could actually eat, I was still pleasantly surprised (and even startled) that … we grew actual food that we could eat!
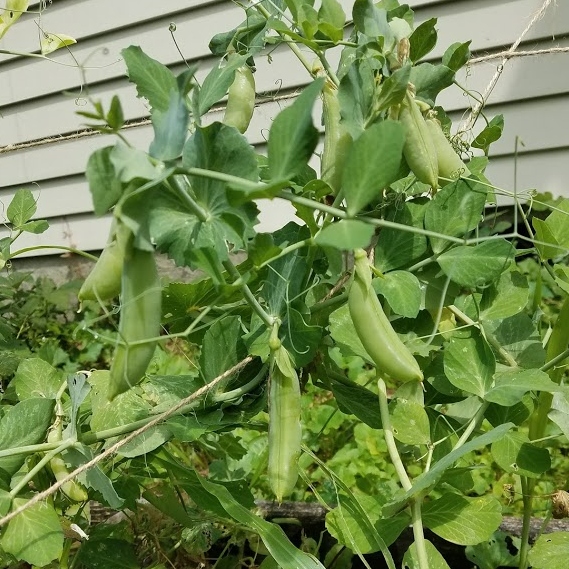
I mean, nothing is quite ready to be eaten … yet. But look at those peas! We have so many peas just growing right in our front yard. In fact, they are growing so enthusiastically that we put up twine to help them find new paths. We are cautiously hopeful that they'll even cover part of a front-facing window and potentially even cool the house a little bit that way.
A friend advised that we wait to pick these until they're about 6 inches long, so for now we are enjoying just marveling at their existence.
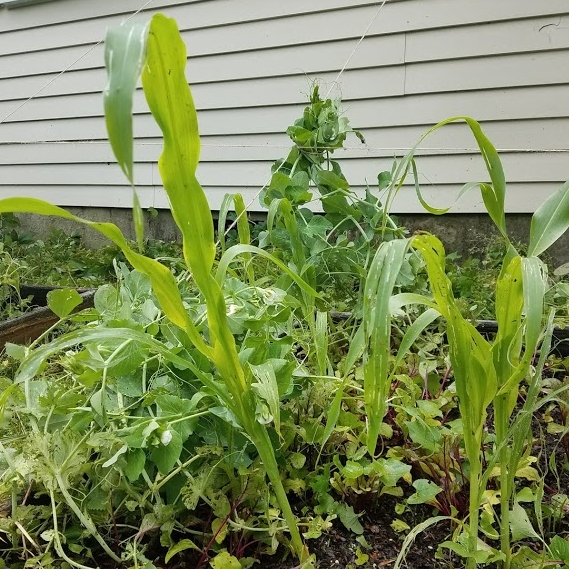
The corn and beets are also doing well! The corn even has little flowers growing inside, which I think is really the most exciting part of all because one day there will be actual corn. Who knew? I'm sure that for those of you who grow your own food all the time this is no big deal, but I am so happy and a little in awe of this robust little plot of land.

