I love YouTube nail tutorials. I can happily spend an afternoon watching polish masters create Harry Potter designs on their fingertips before clicking on a video about newspaper nail art, then fawning over water marble nail art. But here’s my confession: I’ve never actually attempted one of the nail tutorials. I was merely a voyeur. Recently, I decided it was time for me to sit down and give it a go.
CutePolish is my favorite nail art YouTube channel, and considering it has over 3 million subscribers, I’m certainly not alone in my fandom. “Sandi Crystal Ball keeps her fans on top of the hottest nail art designs, DIY nail techniques, and latest nail polish styles that are currently trending,” the channel’s bio explains. “She has been teaching them easy ways to pull-off impressive nail art looks since the beginning of 2010. CutePolish has recently expanded to include 4 more of the internet's top nail artists. Hannah, Juli, April, and Becca have all joined Sandi to help bring new DIY nail art design videos every Saturday.”
I was thrilled to find that along with playlists like Nail Art for Spring, Character Nail Art, and Fun With Animal Prints, CutePolish also has an Easy Nail Art for Beginners playlist. I decided to start with the first video in the series, “10 Easy Nail Art Designs for Beginners: The Ultimate Guide!”
Although I was feeling ambitious enough to try more than one design, due to the fact that I’m very right-handed — I'm pretty much completely useless with my left hand — I decided to choose five different styles and focus on re-creating them all on my left hand, using my right.
Before I started, I was determined to nail each design (heh), but I was also fully aware of the fact that my nonexistent experience meant that this could end up being a big ol’ mess. Either way, it was going to be fun!

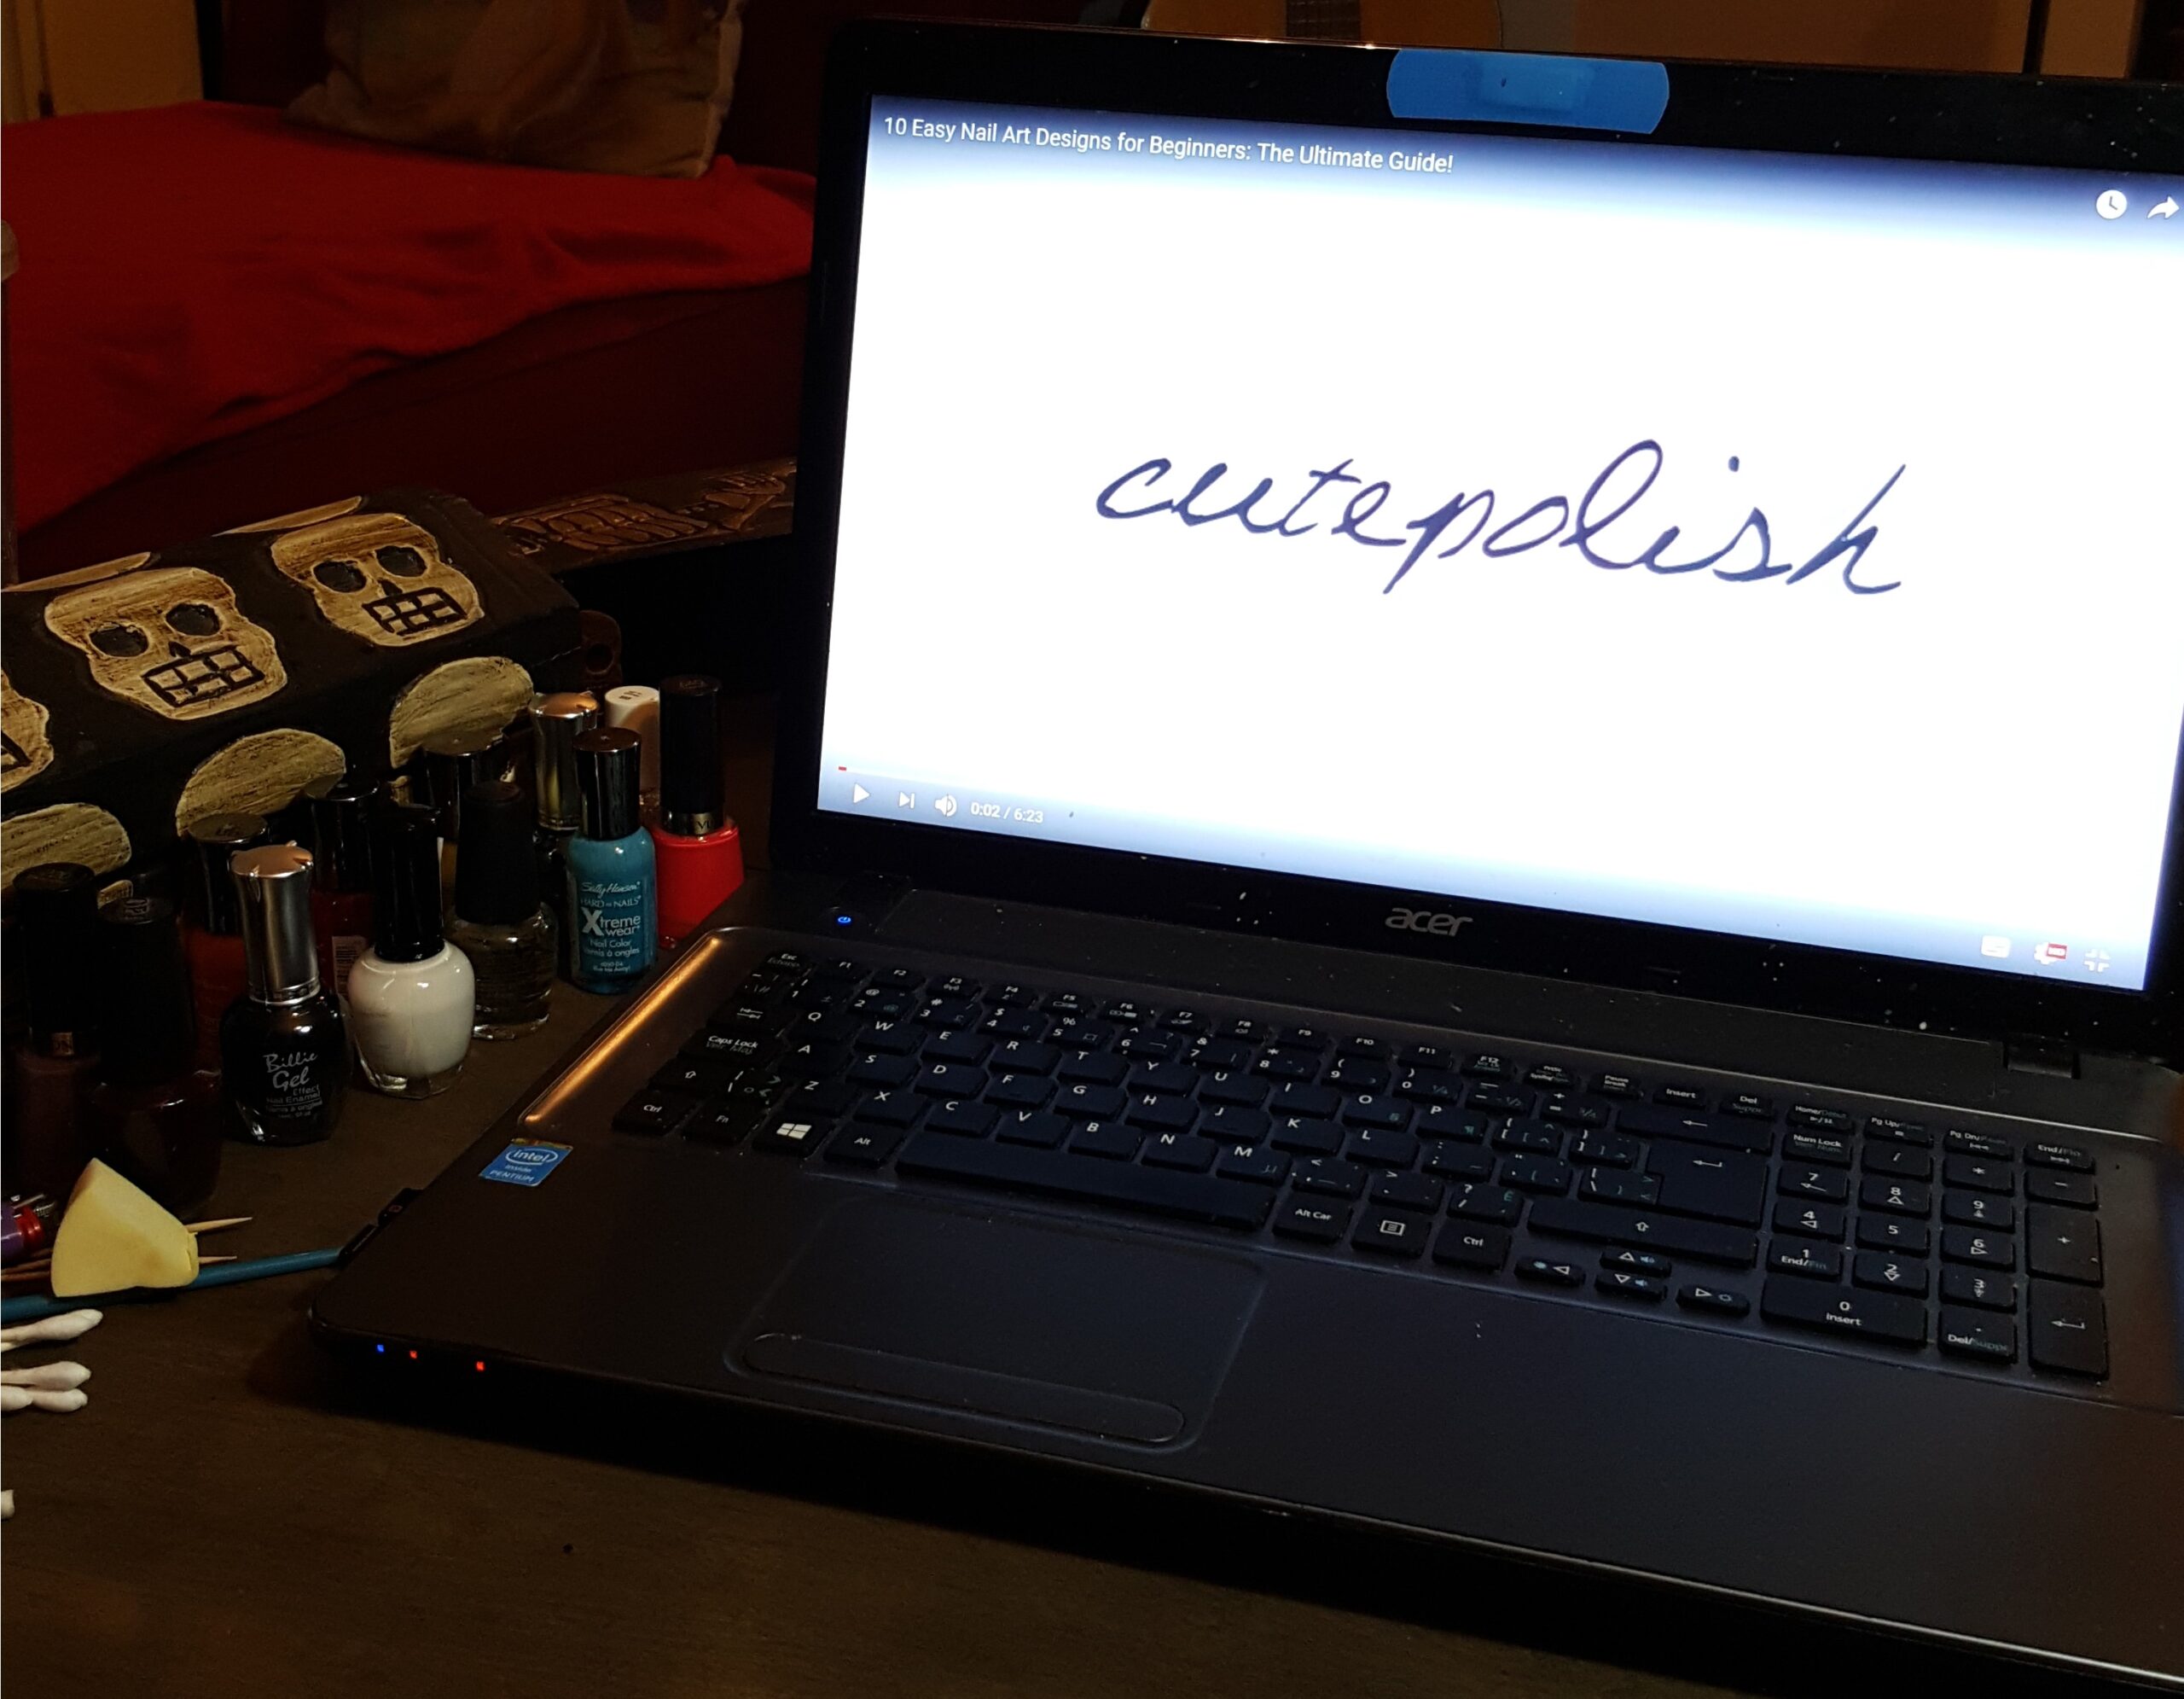
I decided to try out the tutorials in the evening when I had plenty of undisturbed time to work on the designs — and to let the nail polish dry. I then settled myself into a comfy chair and made sure that the table I was using was at a height where I could easily work on my nails without straining my back, neck, or shoulders. Now that I was all set, I clicked my way to the CutePolish YouTube channel and eagerly began my nail art experiment.
The Supplies
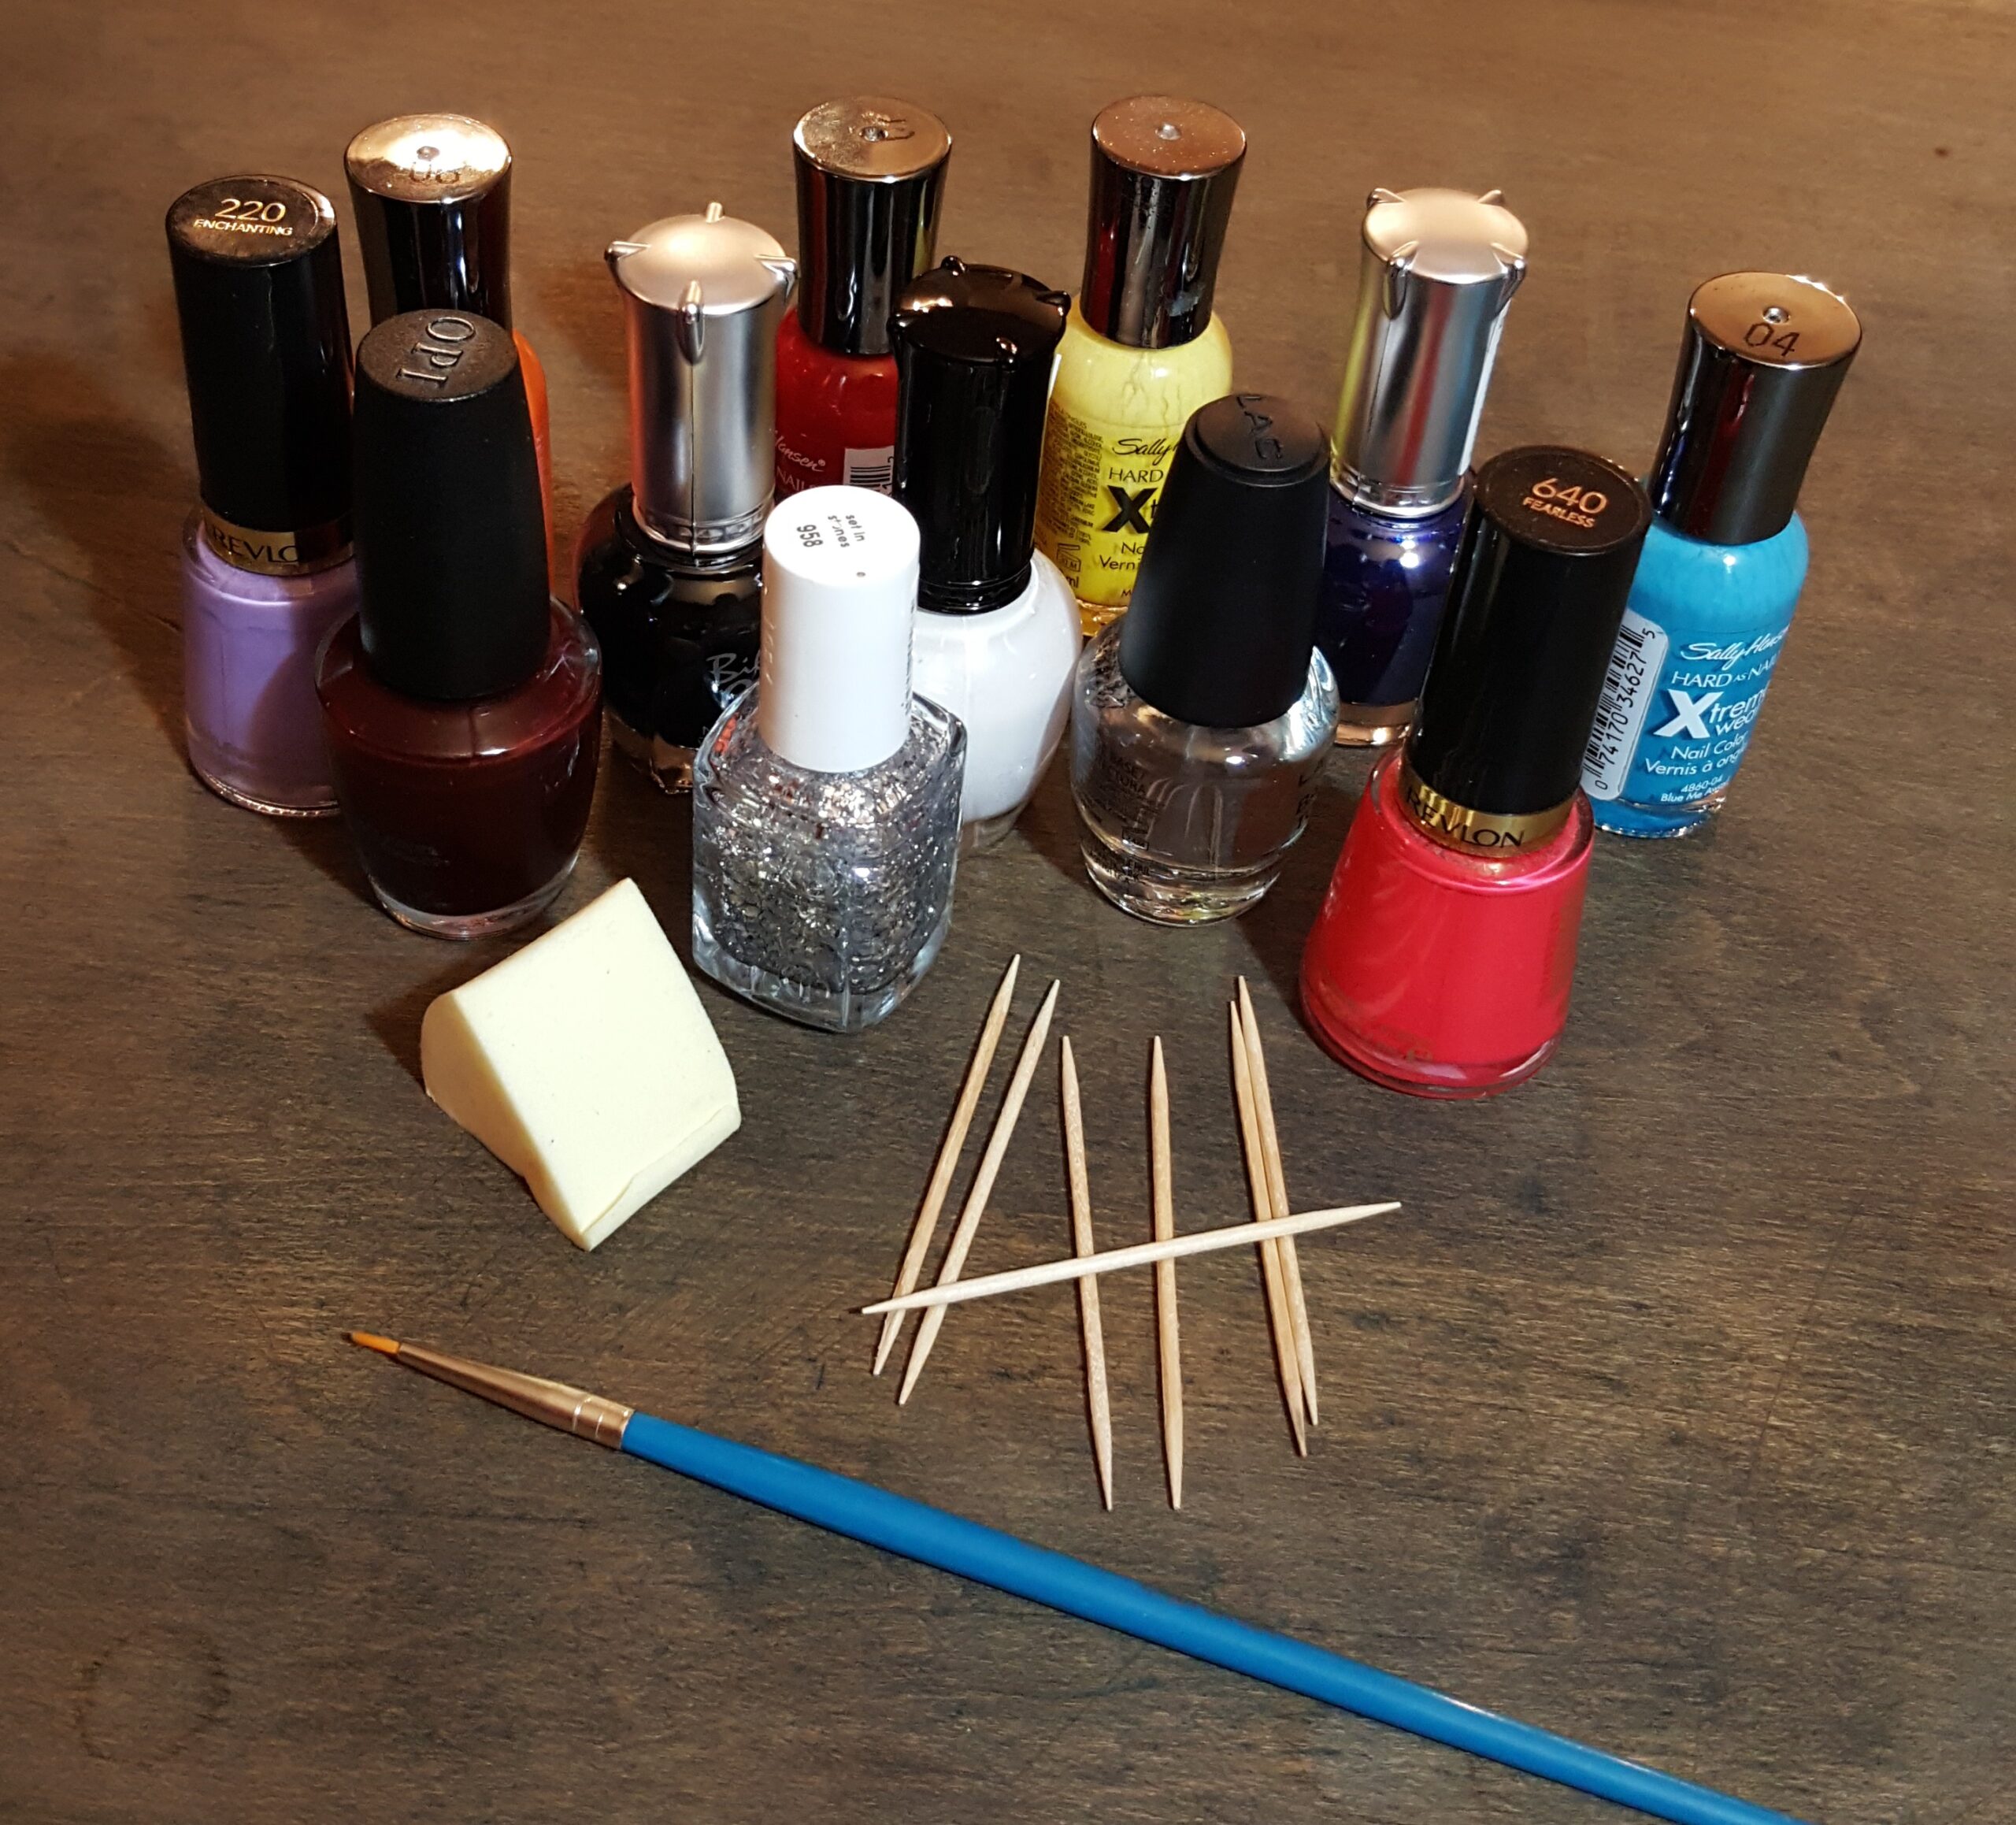
To create the five different designs I had picked out, I needed nail polish in various colors, including light purple, maroon, orange, black, white, red, yellow, dark blue, light blue, a peachy shade, and a glittery silver. I already had most of the colors in my collection (yep, the yellow, orange, and light blue are a little older than I’d like to admit) and picked up a few others that I was missing. We all need black and white nail polish, don’t we? I also needed a makeup sponge, toothpicks, and a thin paintbrush.
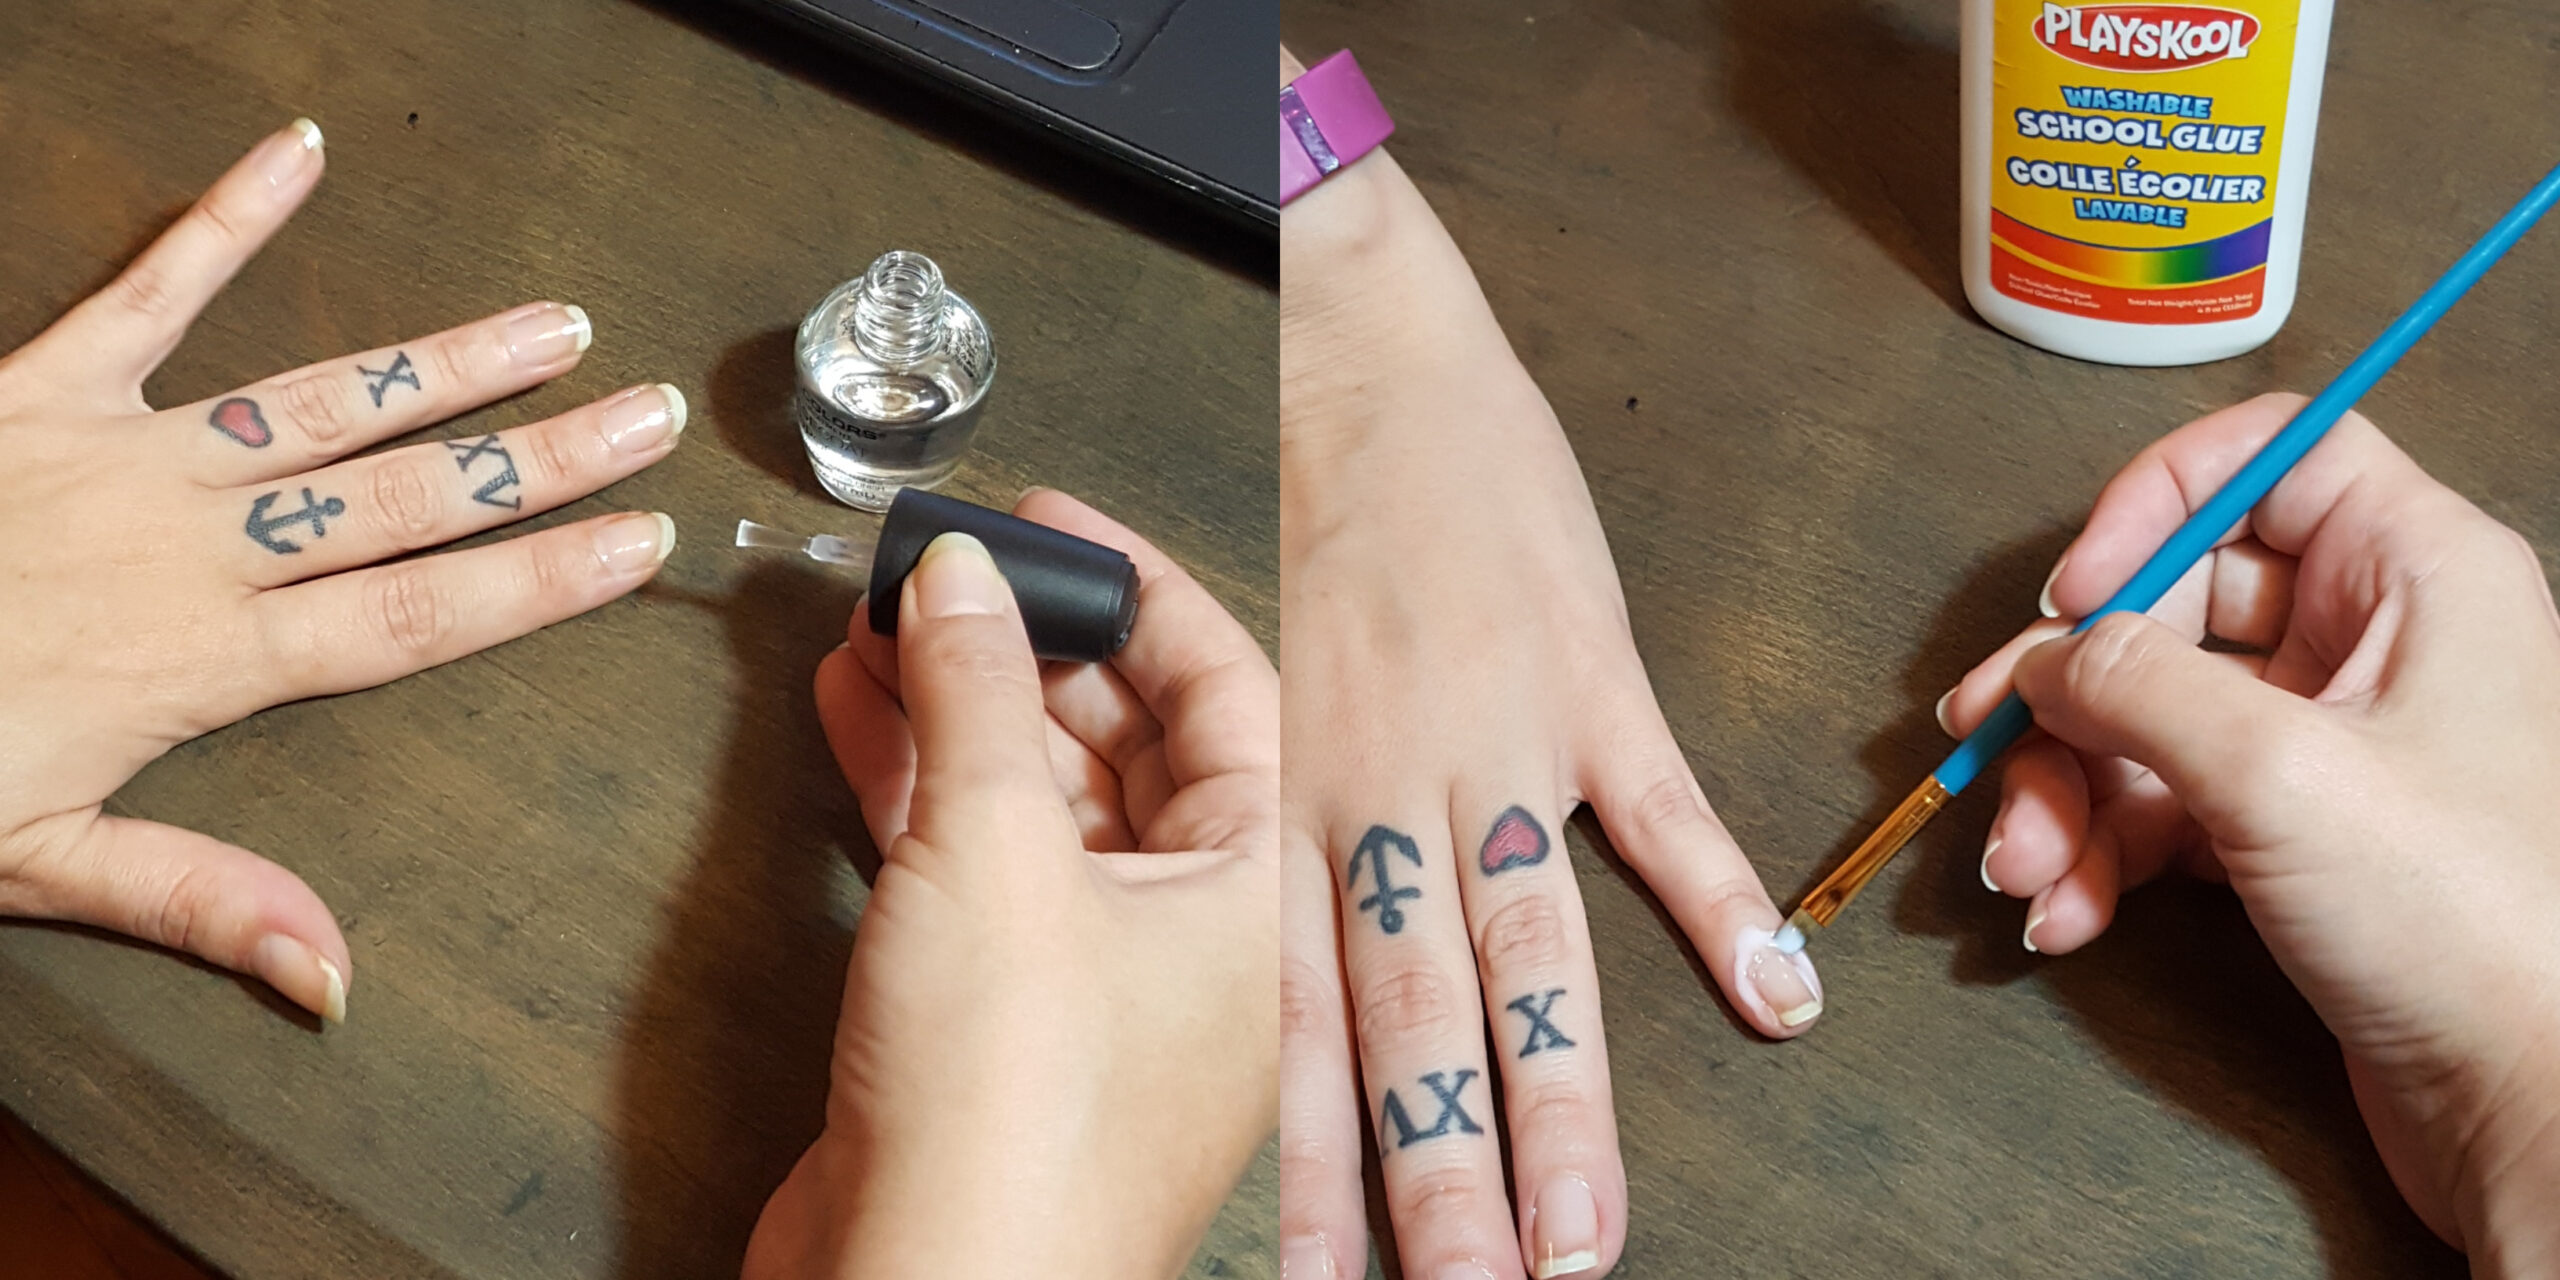
Before attempting any of the colors, I applied a layer of top coat to my nails. I find it hard enough to keep the polish off my skin when I’m doing one color alone, so I was a little worried about coloring inside the lines, so to speak. Thankfully, I remembered that in a past video, the ladies from CutePolish had mentioned that white glue comes in handy for those who are a little sloppy. I grabbed a flat-head paintbrush and spread a layer of white glue around each nail to create a protective layer that I could peel away later (note: the glue did not peel away cleanly and left my nails with rough edges).
Design 1: 3D Lines
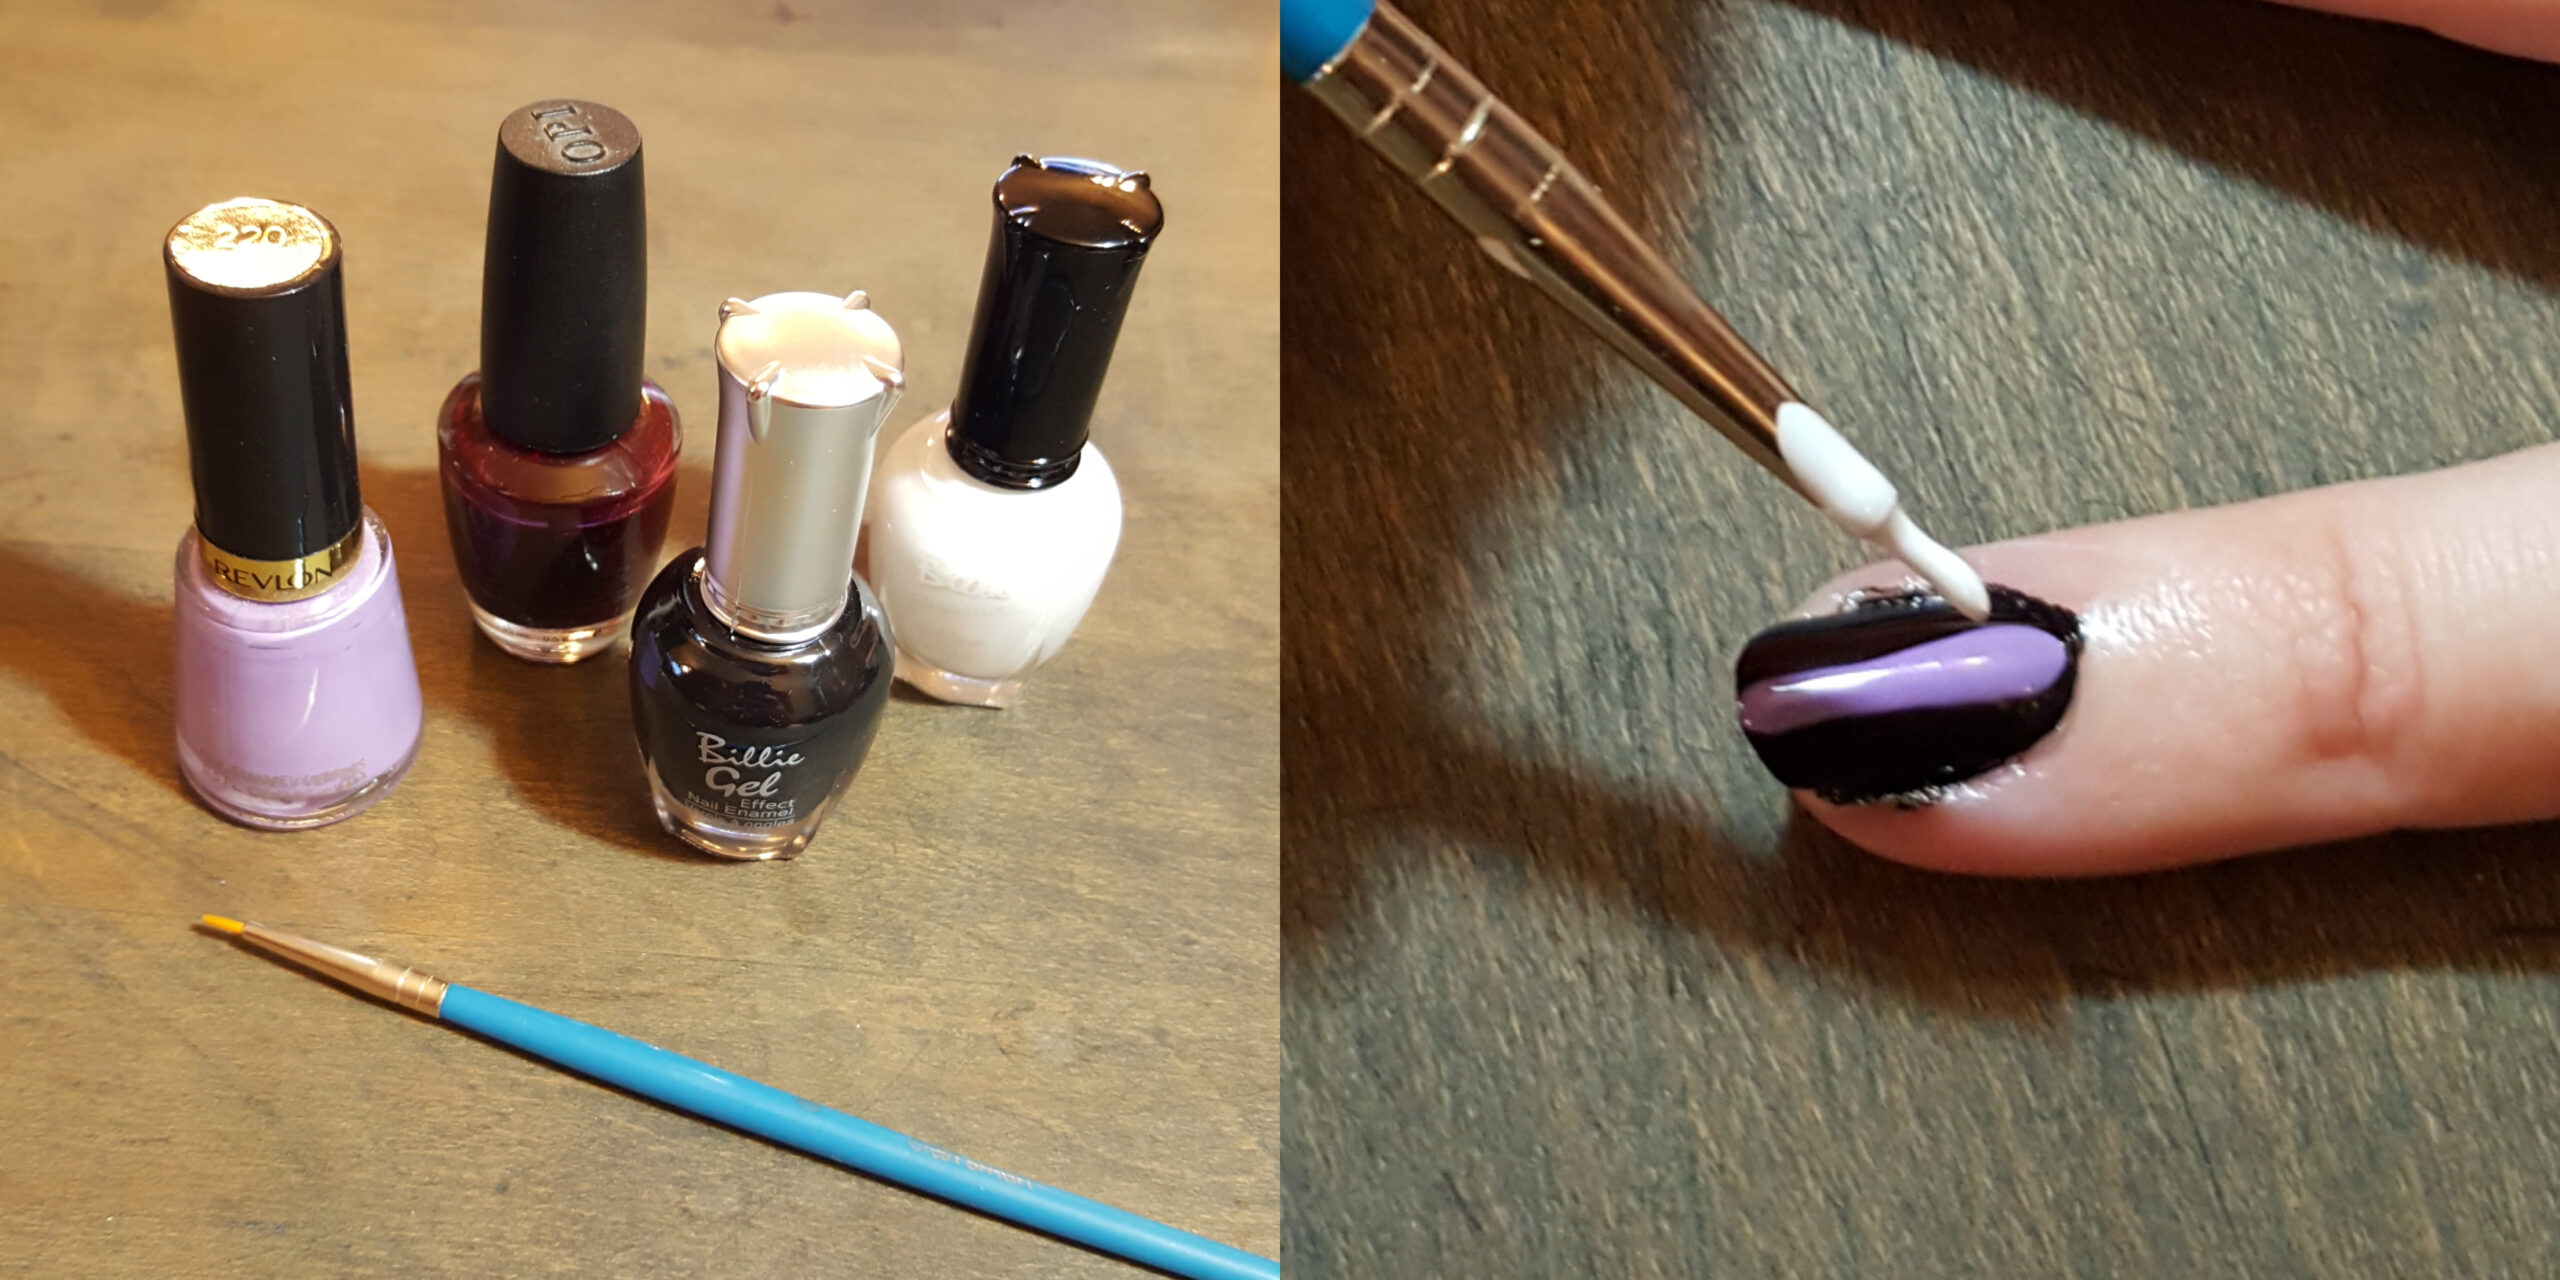
The first style I attempted was a 3D line design using black, dark purple, light purple, and white polishes. I chose a maroon instead of a dark purple.
After applying the black polish to my entire nail and letting it dry, I brushed on a wide line of maroon, a thin line of light purple, and a super-thin white line using a tiny paintbrush, letting the polish dry between each layer.
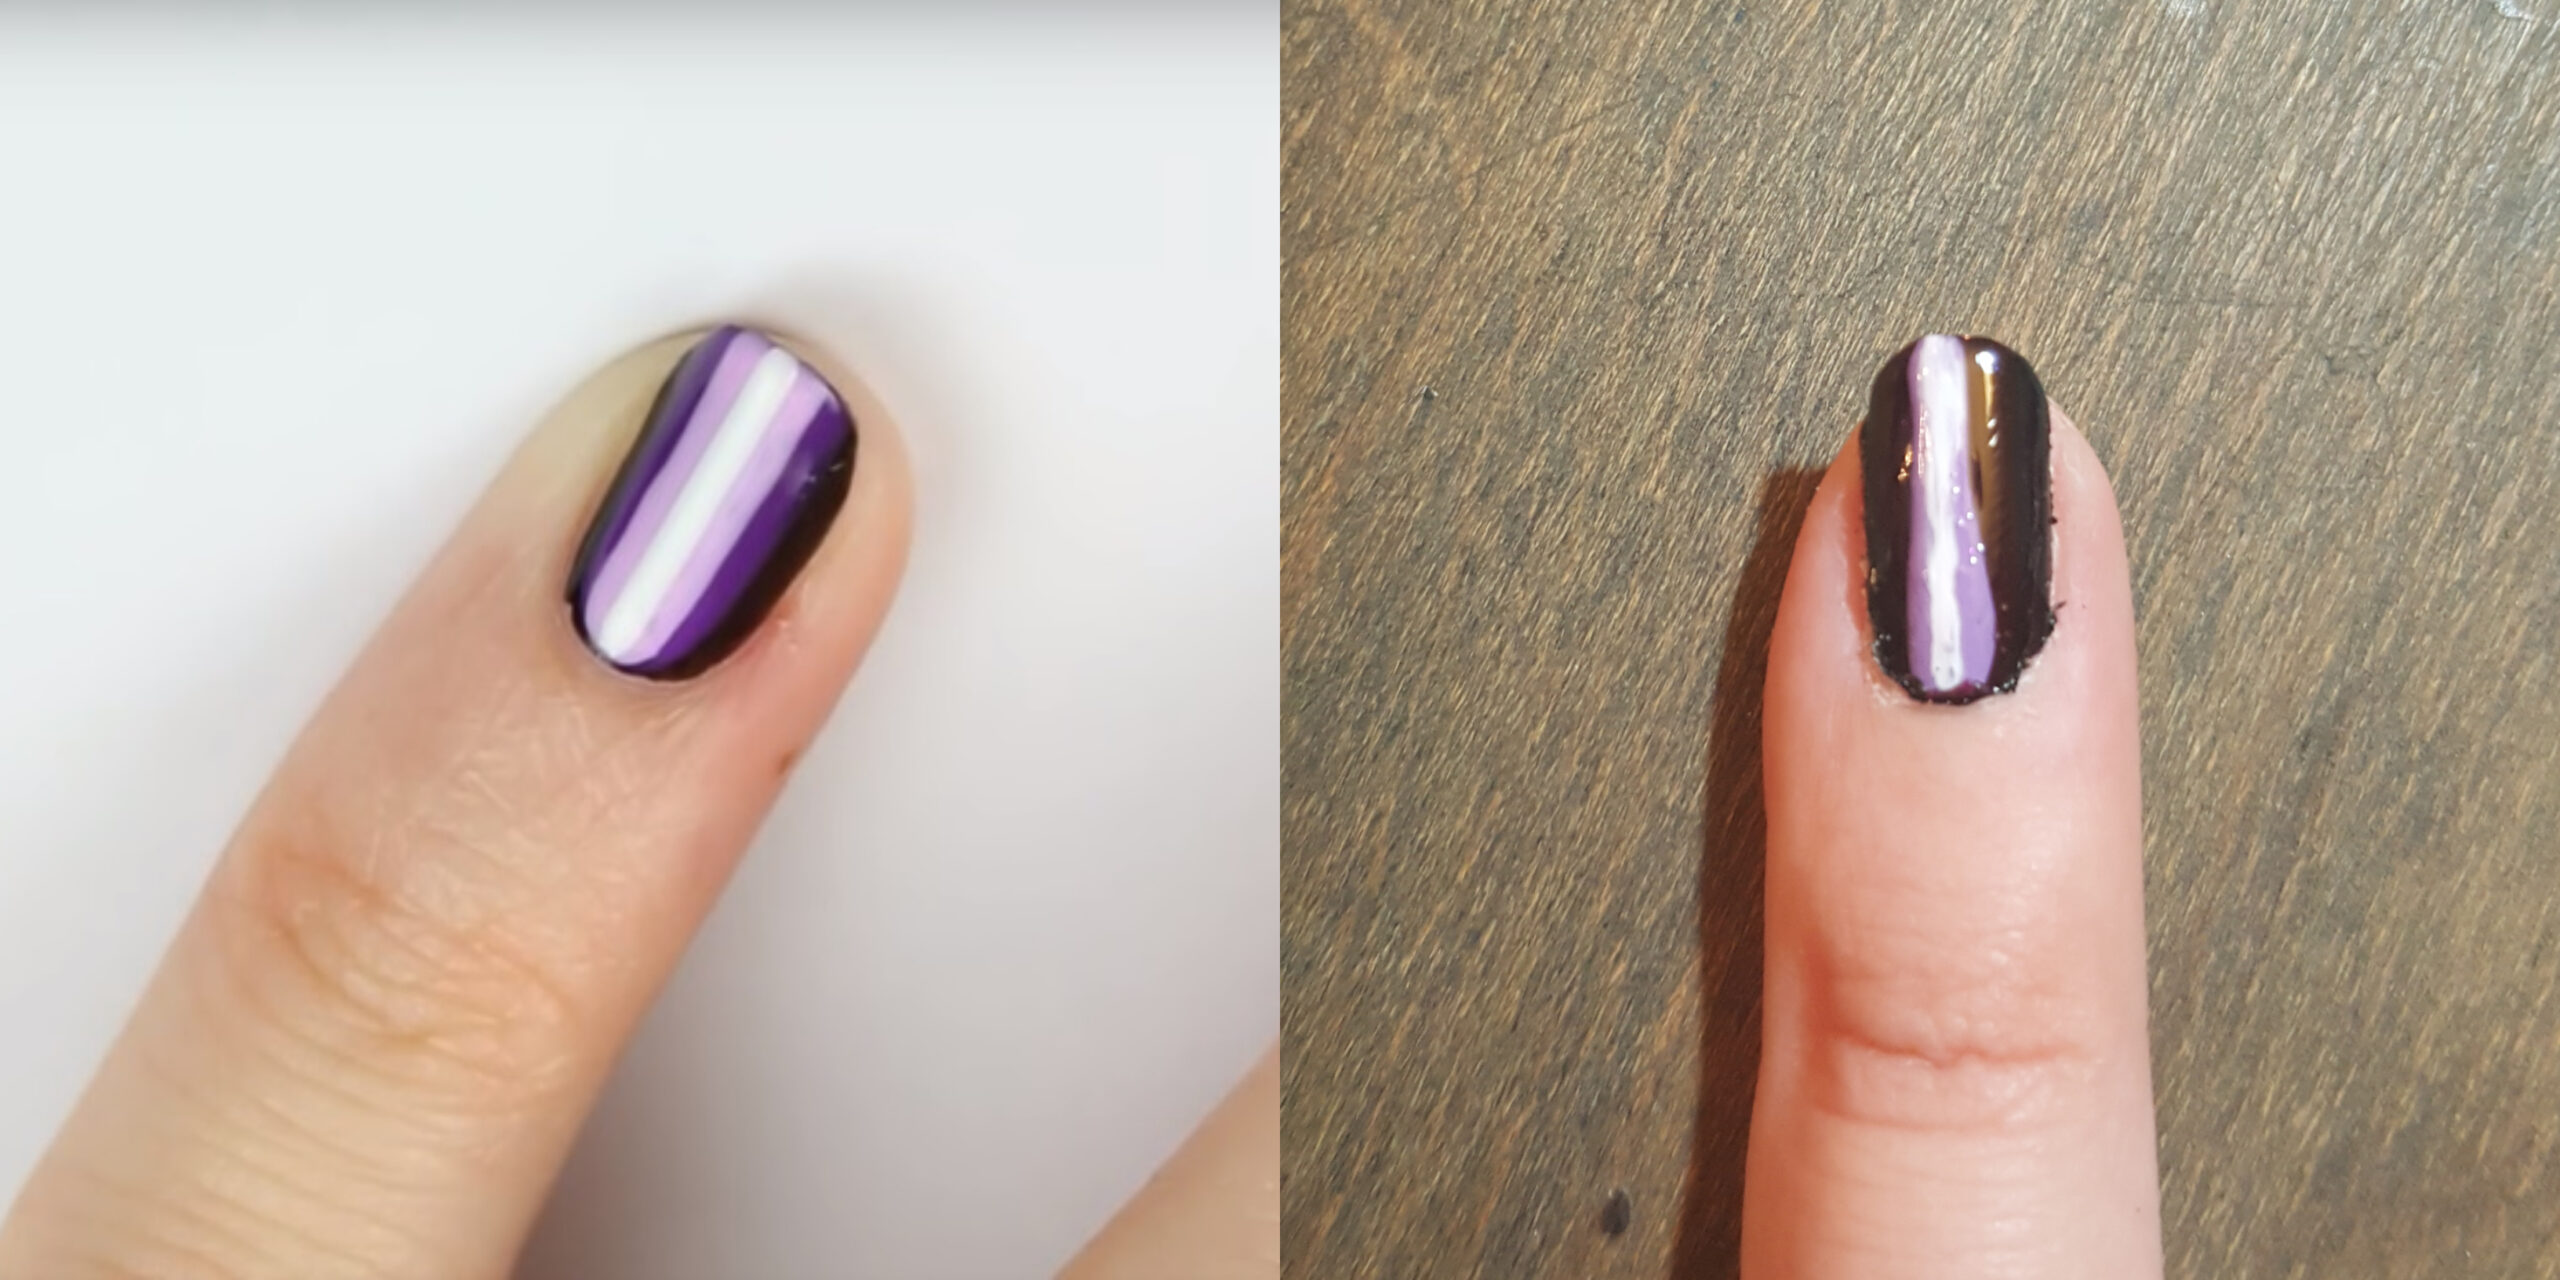
CutePolish ended up with a design that was simple yet precise and pretty adorable. My attempt was simple, yet sloppy — and pretty meh. The maroon was far too dark and blended right in with the black. My light purple line needed to be thicker, and my white line was hilariously wonky. I definitely need to work on executing straight lines.
Design 2: Watercolor Flowers
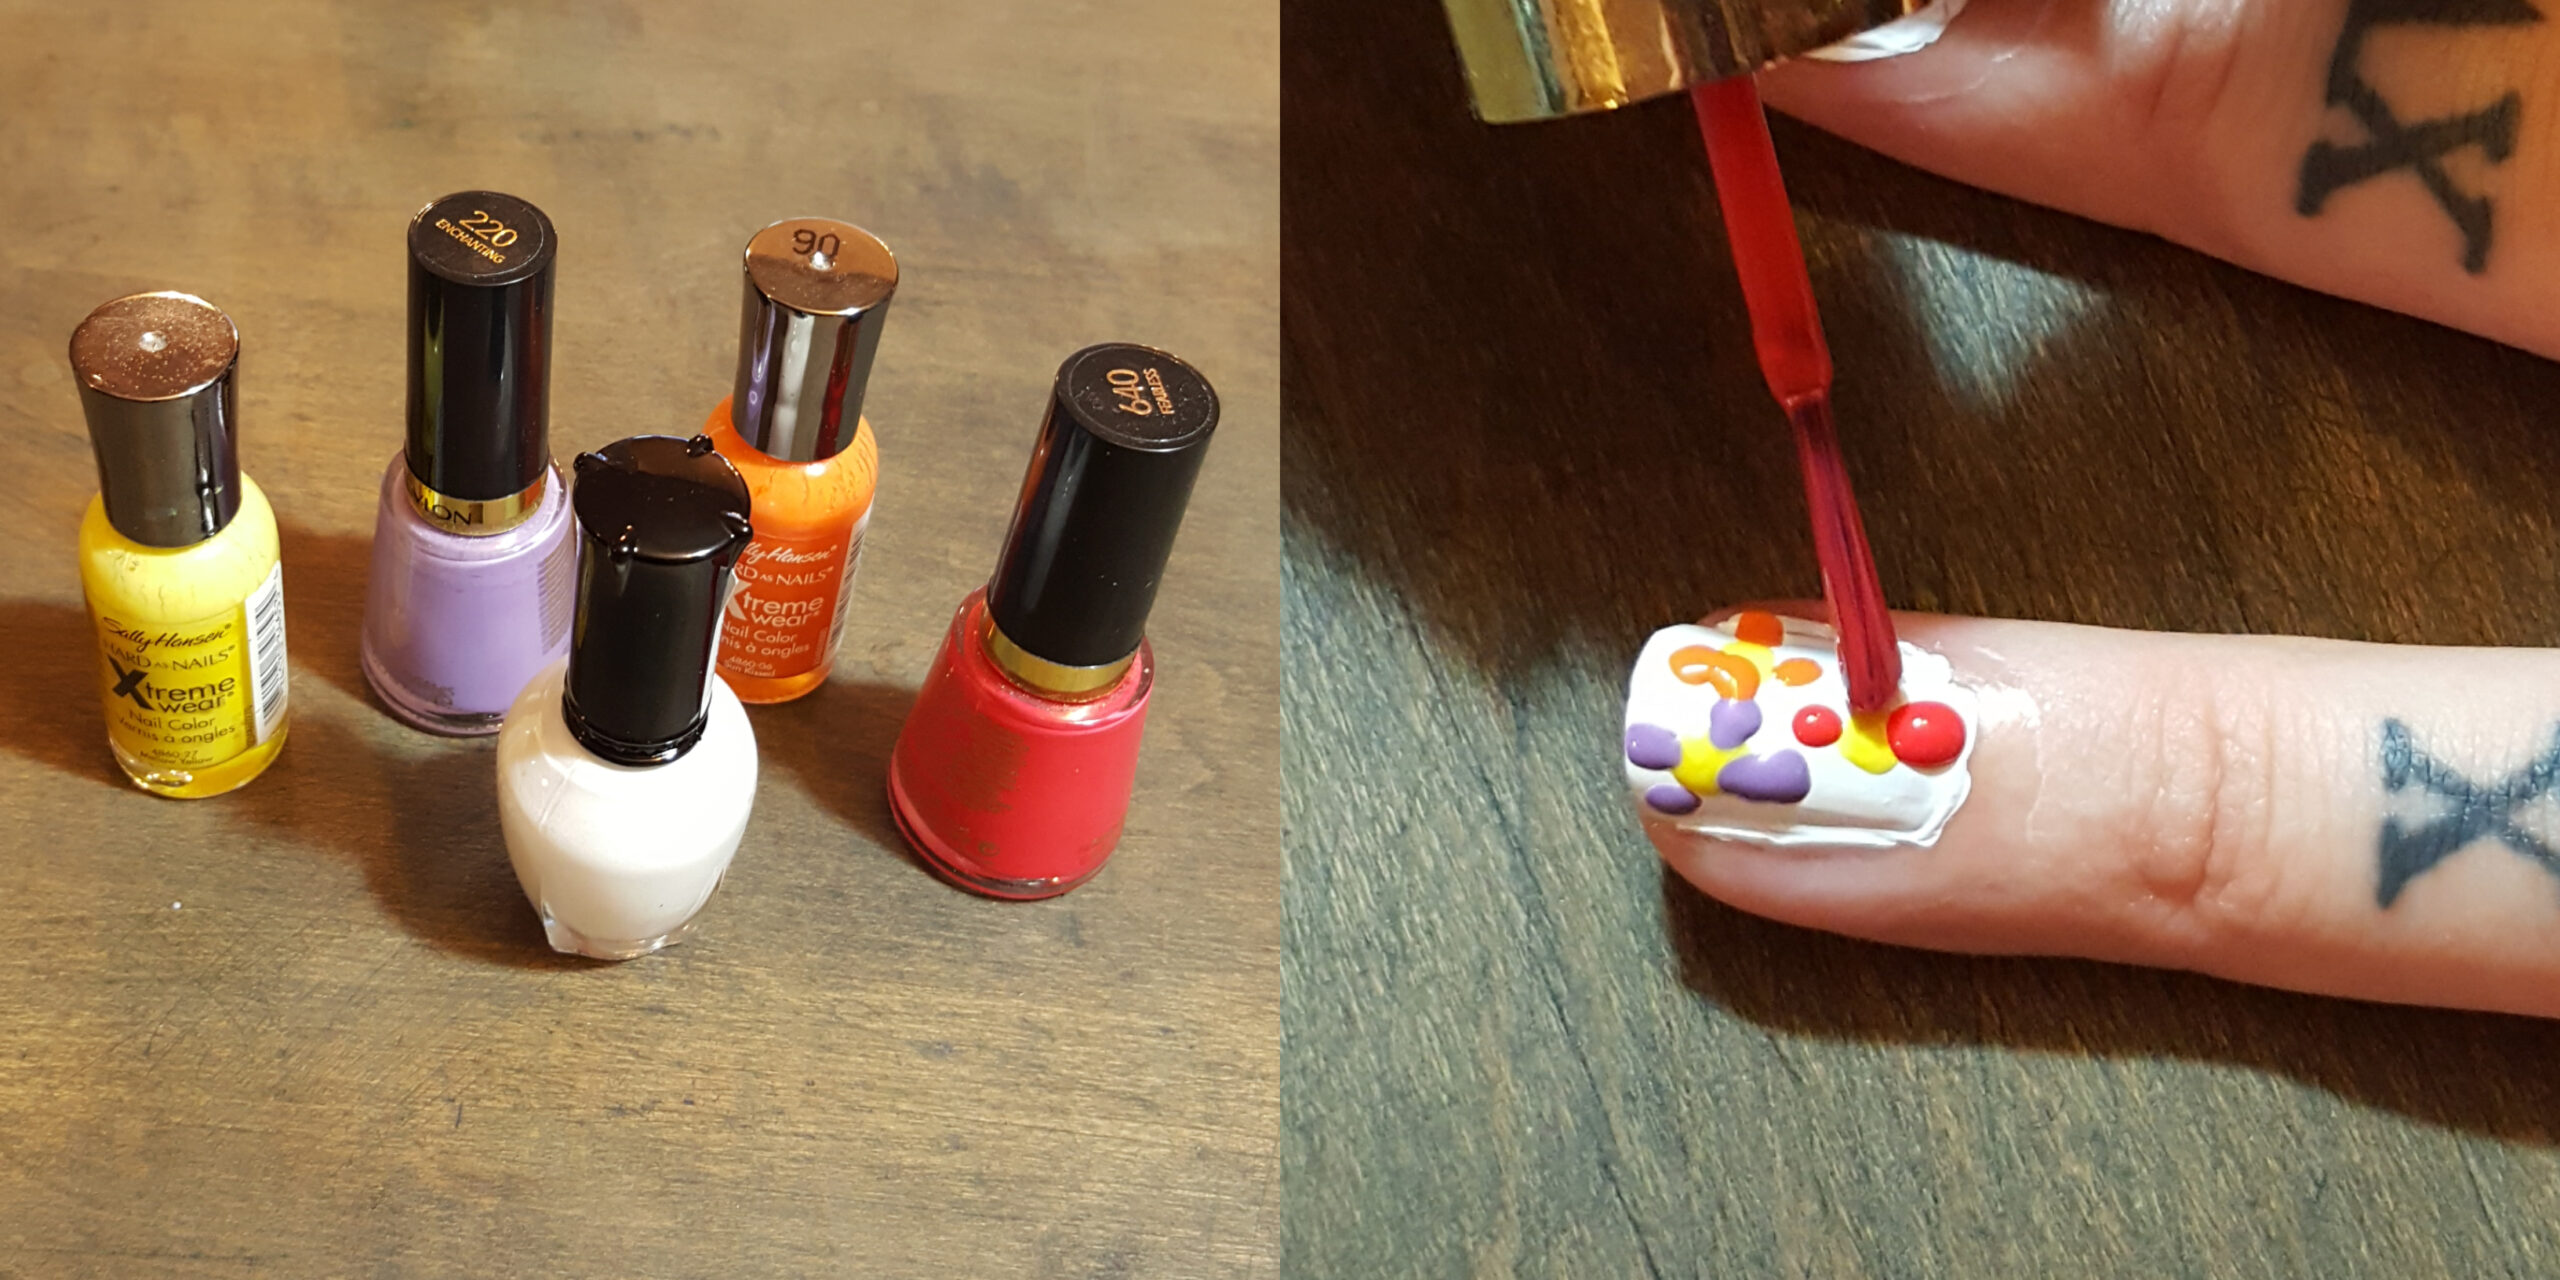
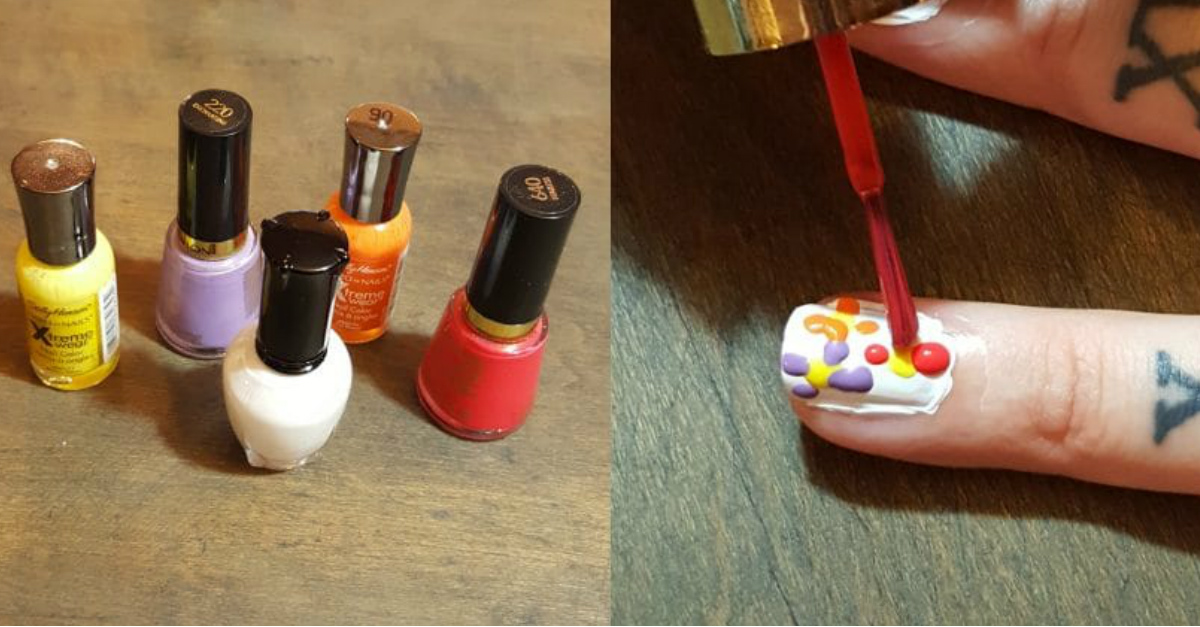
The second design I tackled was watercolor flowers, which would be perfect for spring or summertime. Frankly, you can create whatever color flowers strike your fancy, but I stuck with the video’s suggestion of yellow, pink, and purple, and since I had a peachy shade, I thought I’d add that in as well.
After applying a base of white polish, the video instructed me to start with yellow dots and then add the colors around each. It was simple enough to do, but a few of my dots were bigger than I wanted, and I was slightly worried about accidentally mixing the colors.
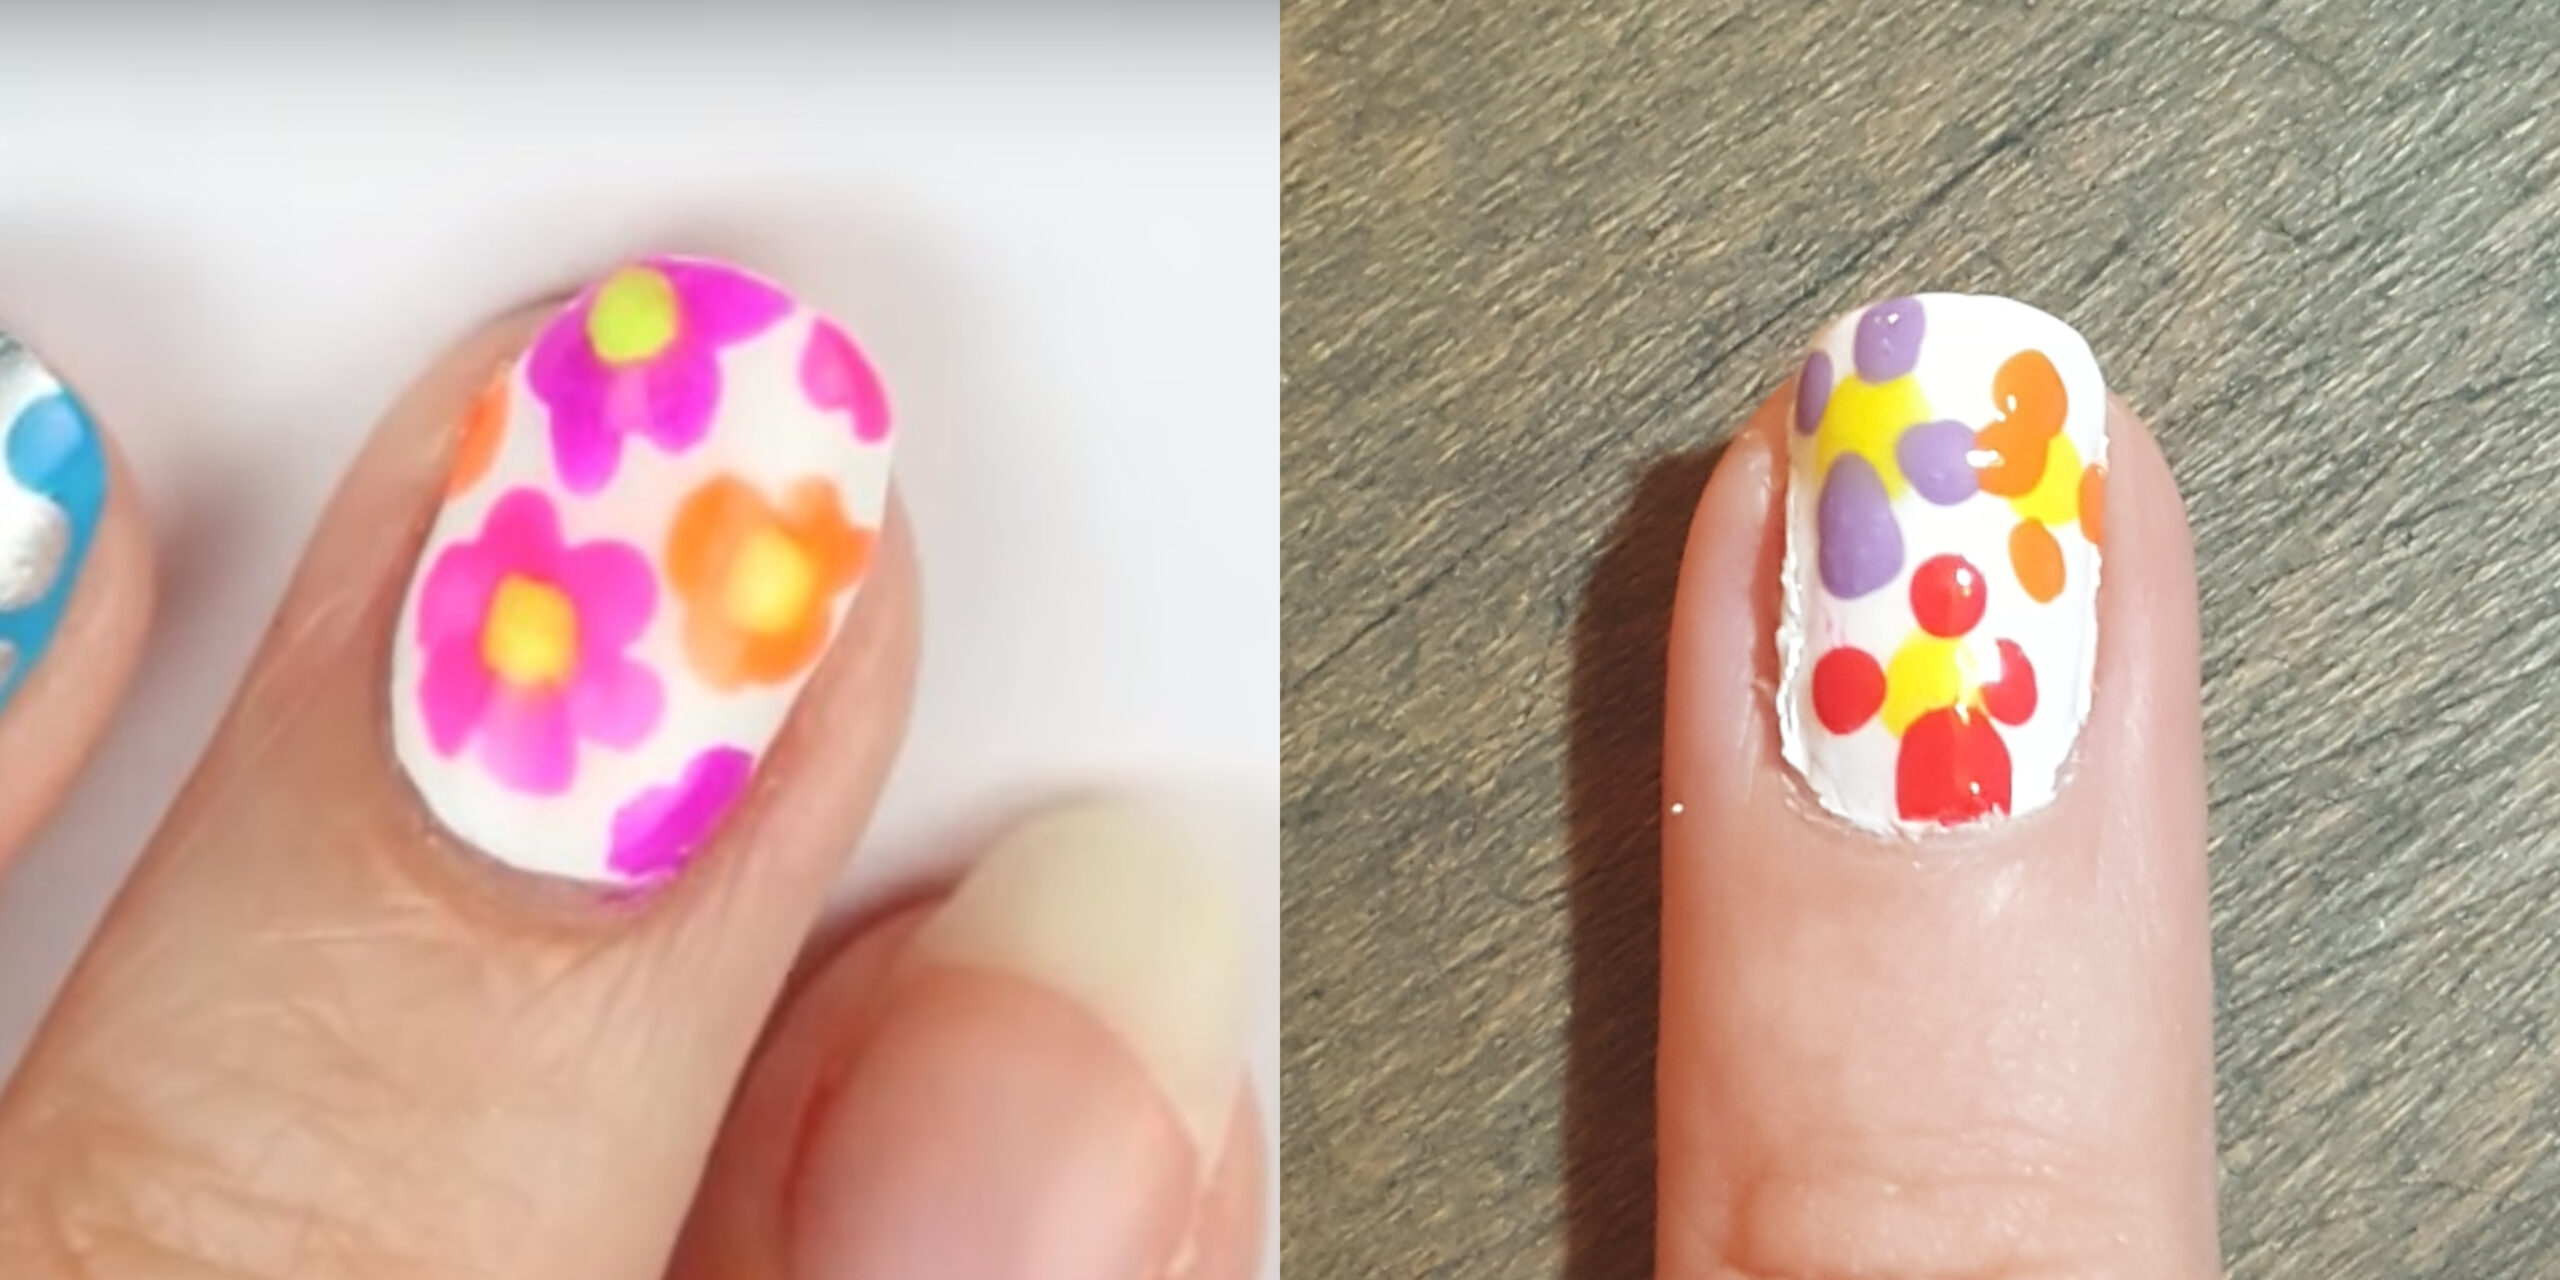
CutePolish's finished design definitely had a watercolor flower vibe. Mine, on the other hand, was a bit more… abstract? My petals were crisper, but I also didn’t add enough. Two or three more dots on each flower would have made it look more like a lovely floral design and less like a failed art school project.
Design 3: Leopard Spots
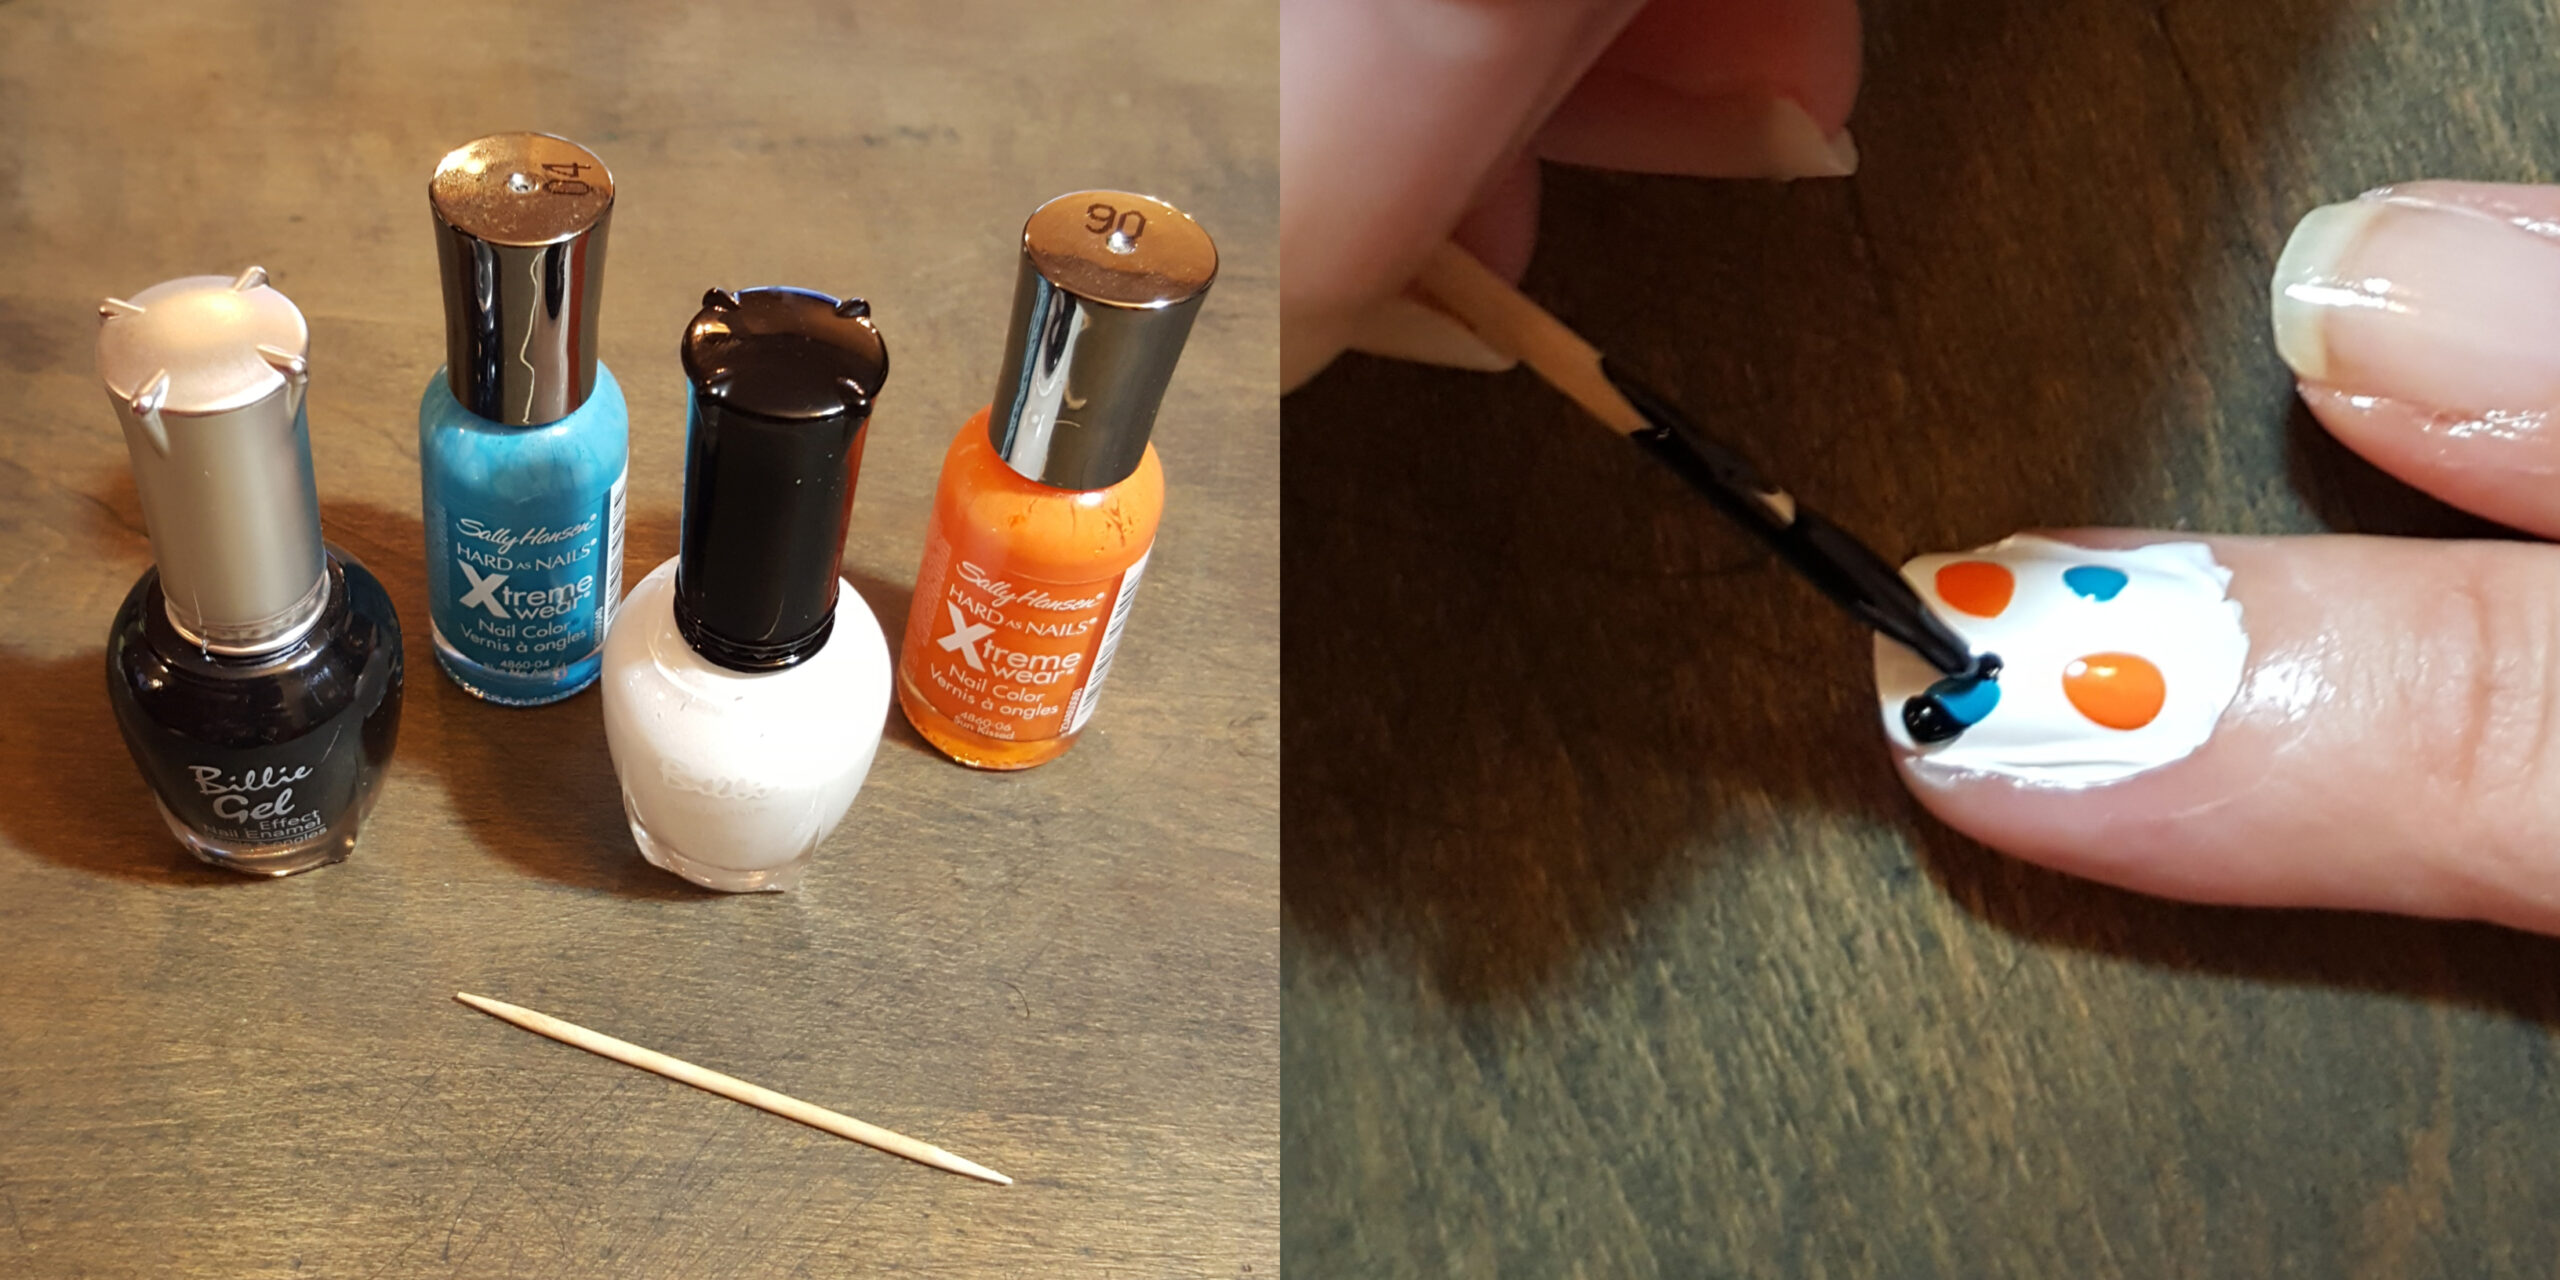
The third design I opted to try was funky leopard spots. I say funky because the tutorial suggested both orange and blue spots. I’ve never seen a leopard with orange and blue spots, but I suspect that would be a snazzy-looking animal. I gathered up my orange and light blue nail polish colors as well as white and black, and I grabbed a toothpick.
I once again started with a white base before adding a couple of orange dots and a couple of blue dots. I then took the toothpick and applied a black C around either side of each dot. I was also instructed to add a few tiny black spots on their own.
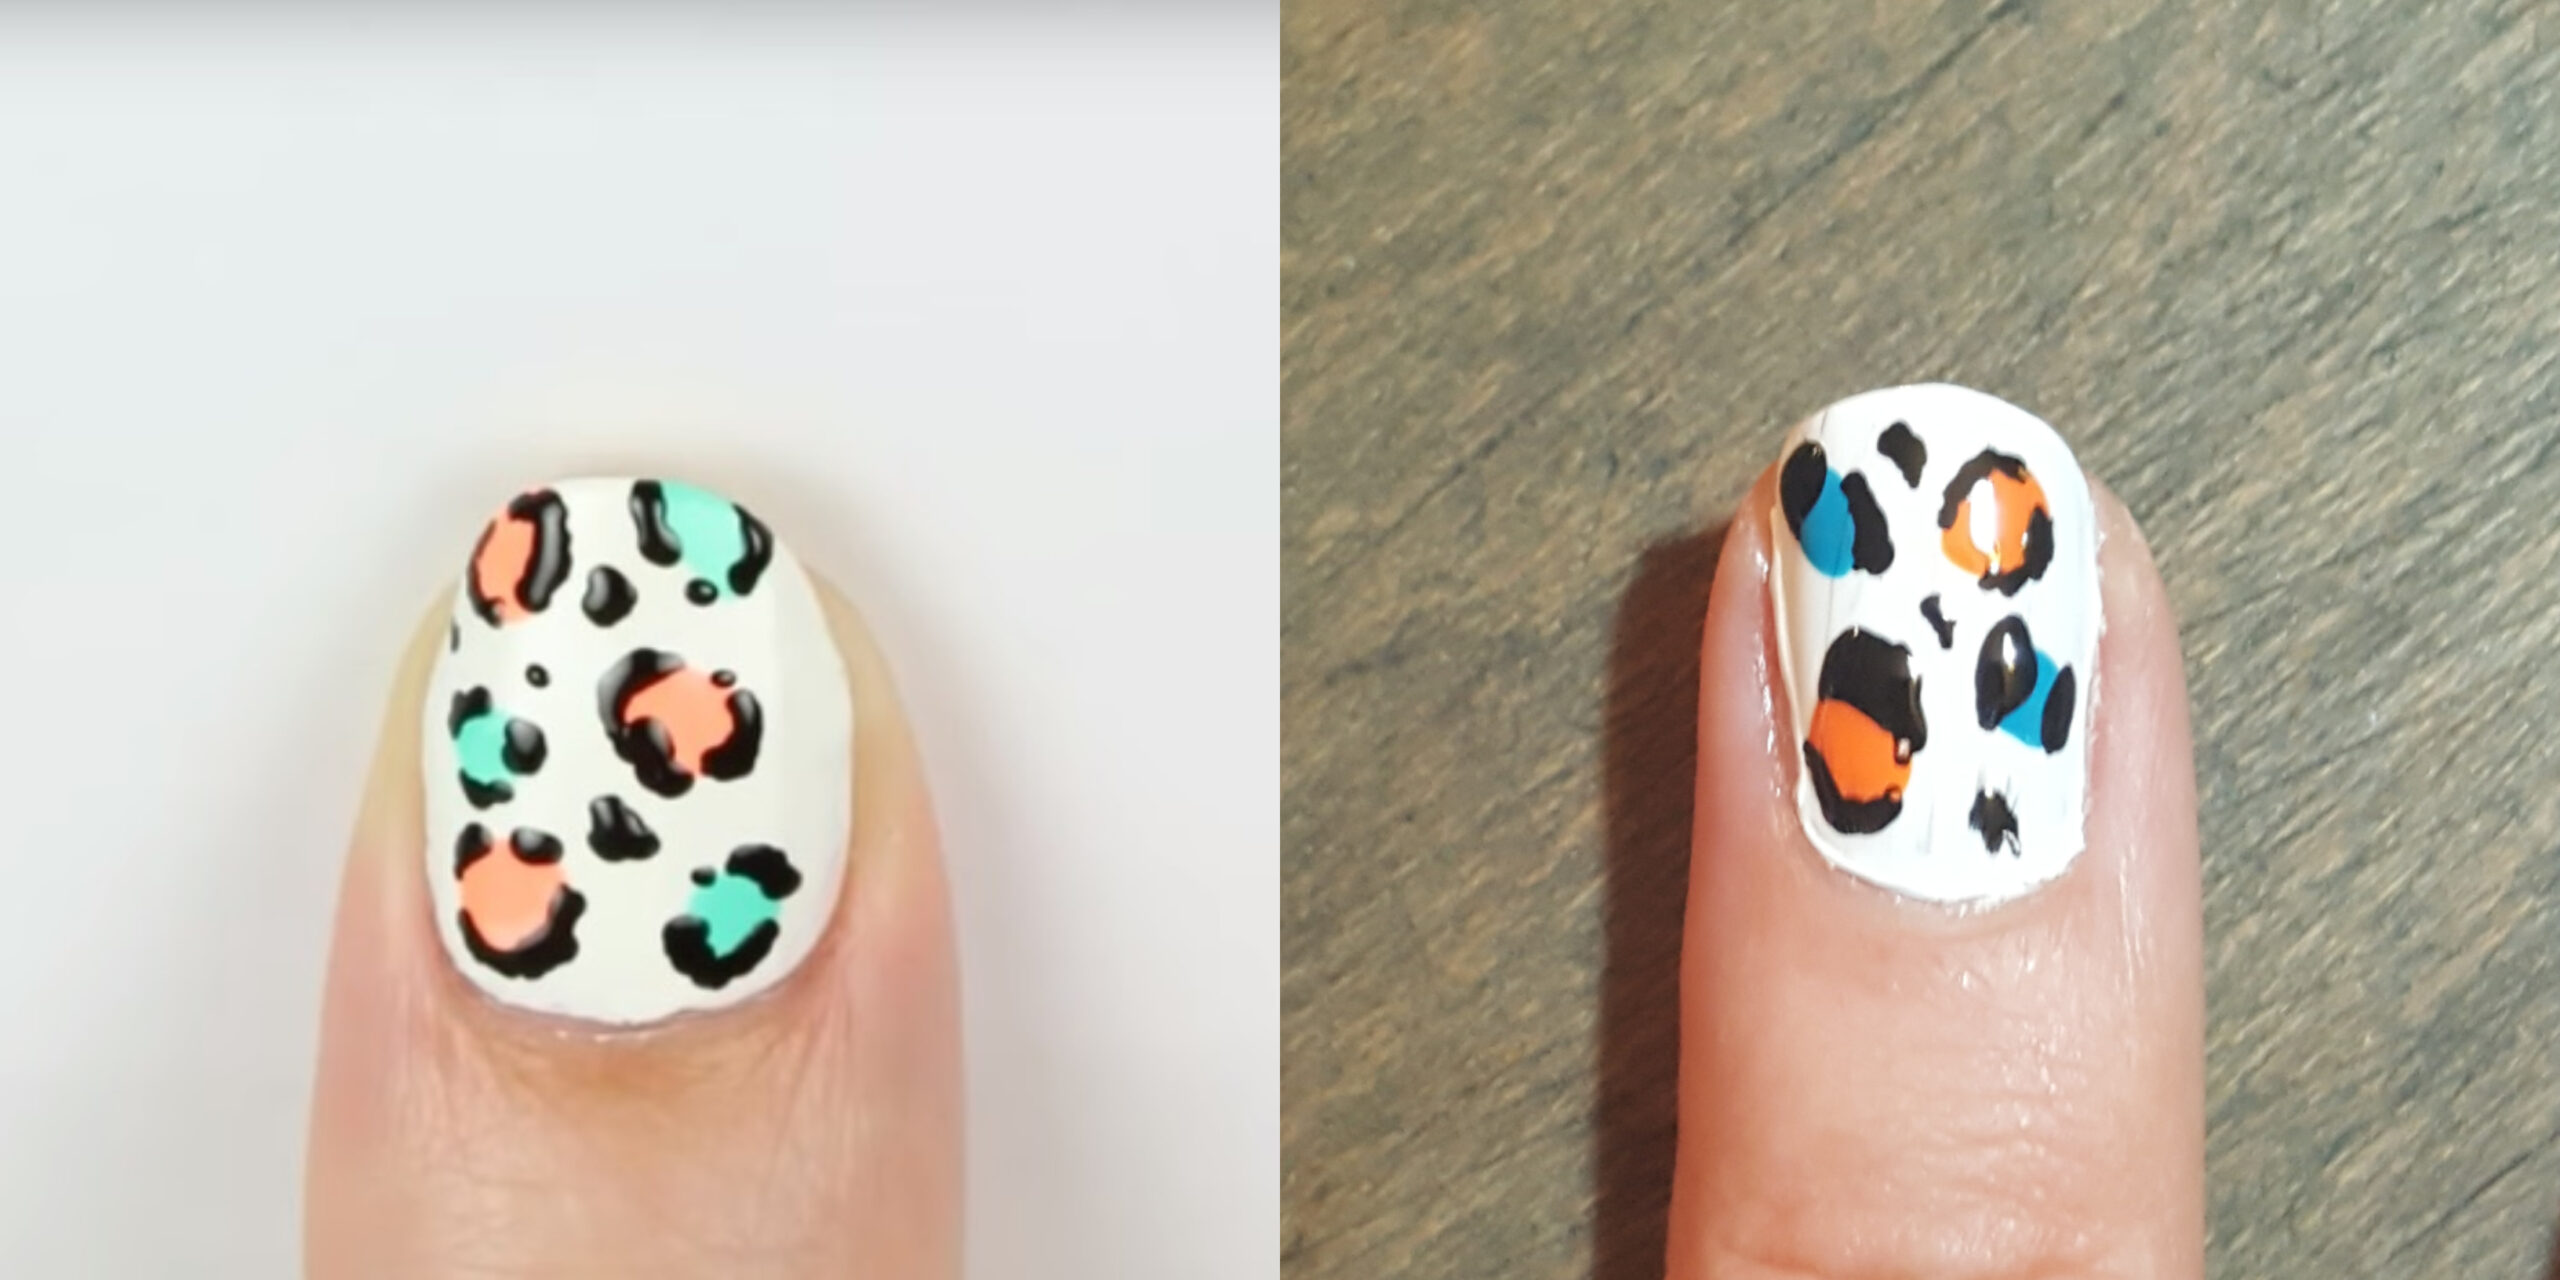
CutePolish's design ended up looking cool, if not 100% like a pattern you might see on a wild animal. I ended up with another abstract style. If I asked a group of people what they saw when they looked at my nail design, it would be like asking them to take a tiny Rorschach test.
Design 4: Scallops
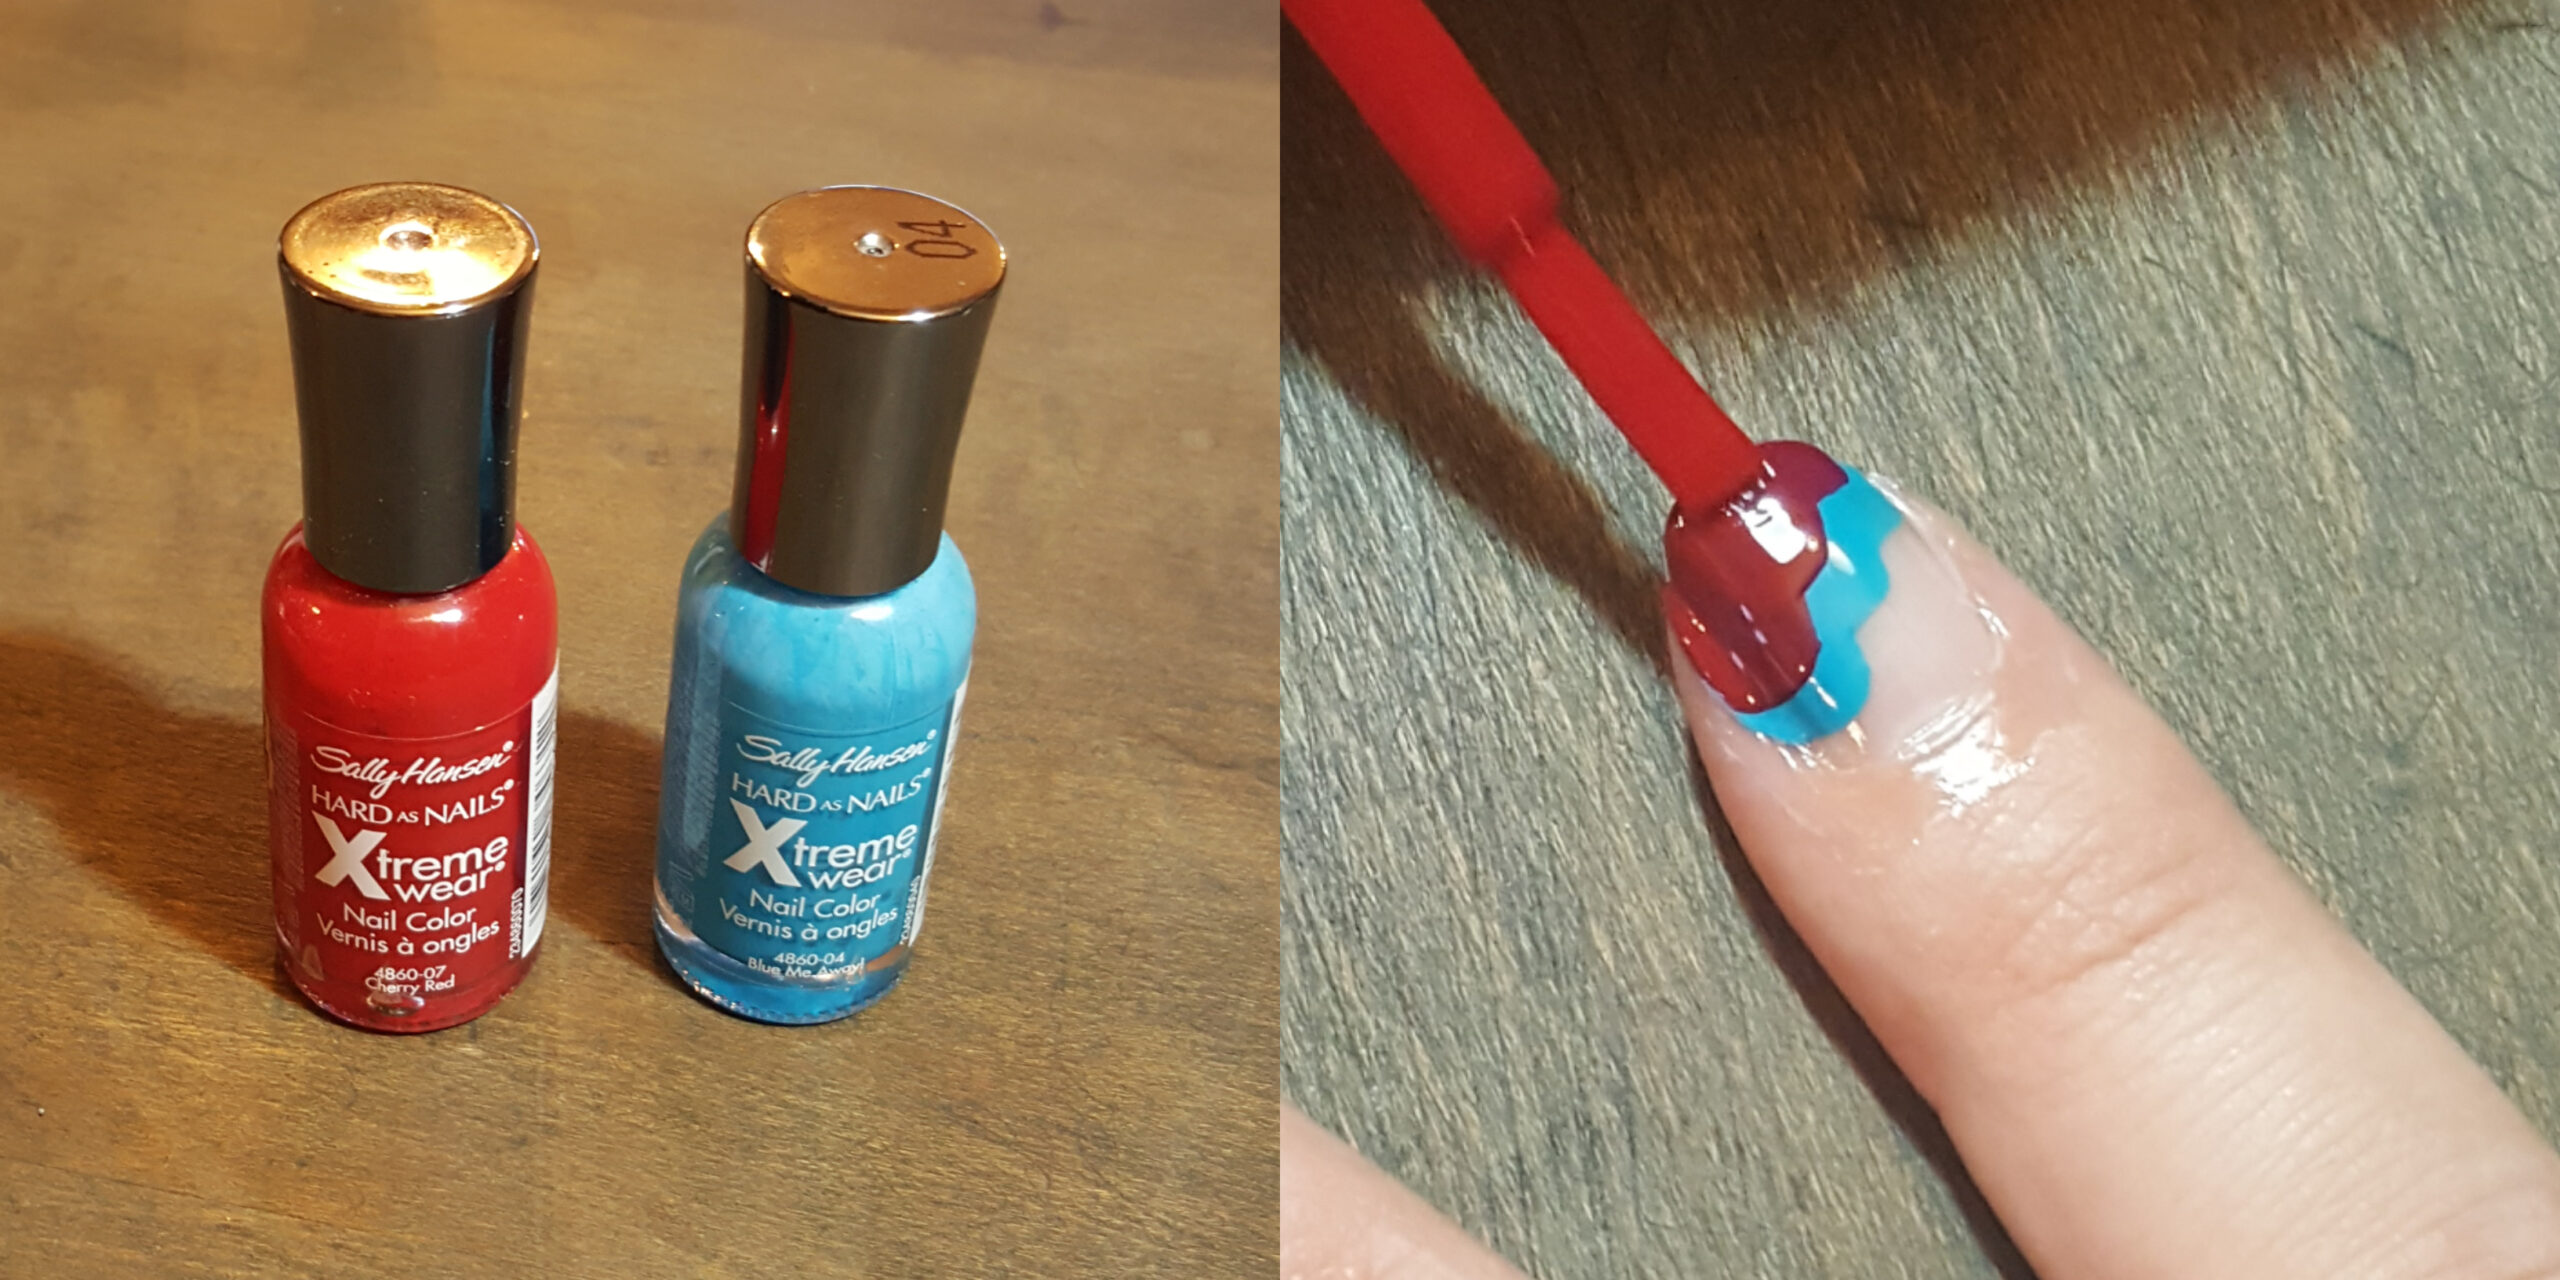
My fourth nail received a scalloped design using red and blue polish colors. Leaving a portion of nail at the top with nothing but base coat, I started by adding three staggered swipes of blue polish from one side of my nail to the other. Once that was dry, I did the same with red polish, but kept it slightly lower than the blue. This design was super-fast and easy to do.
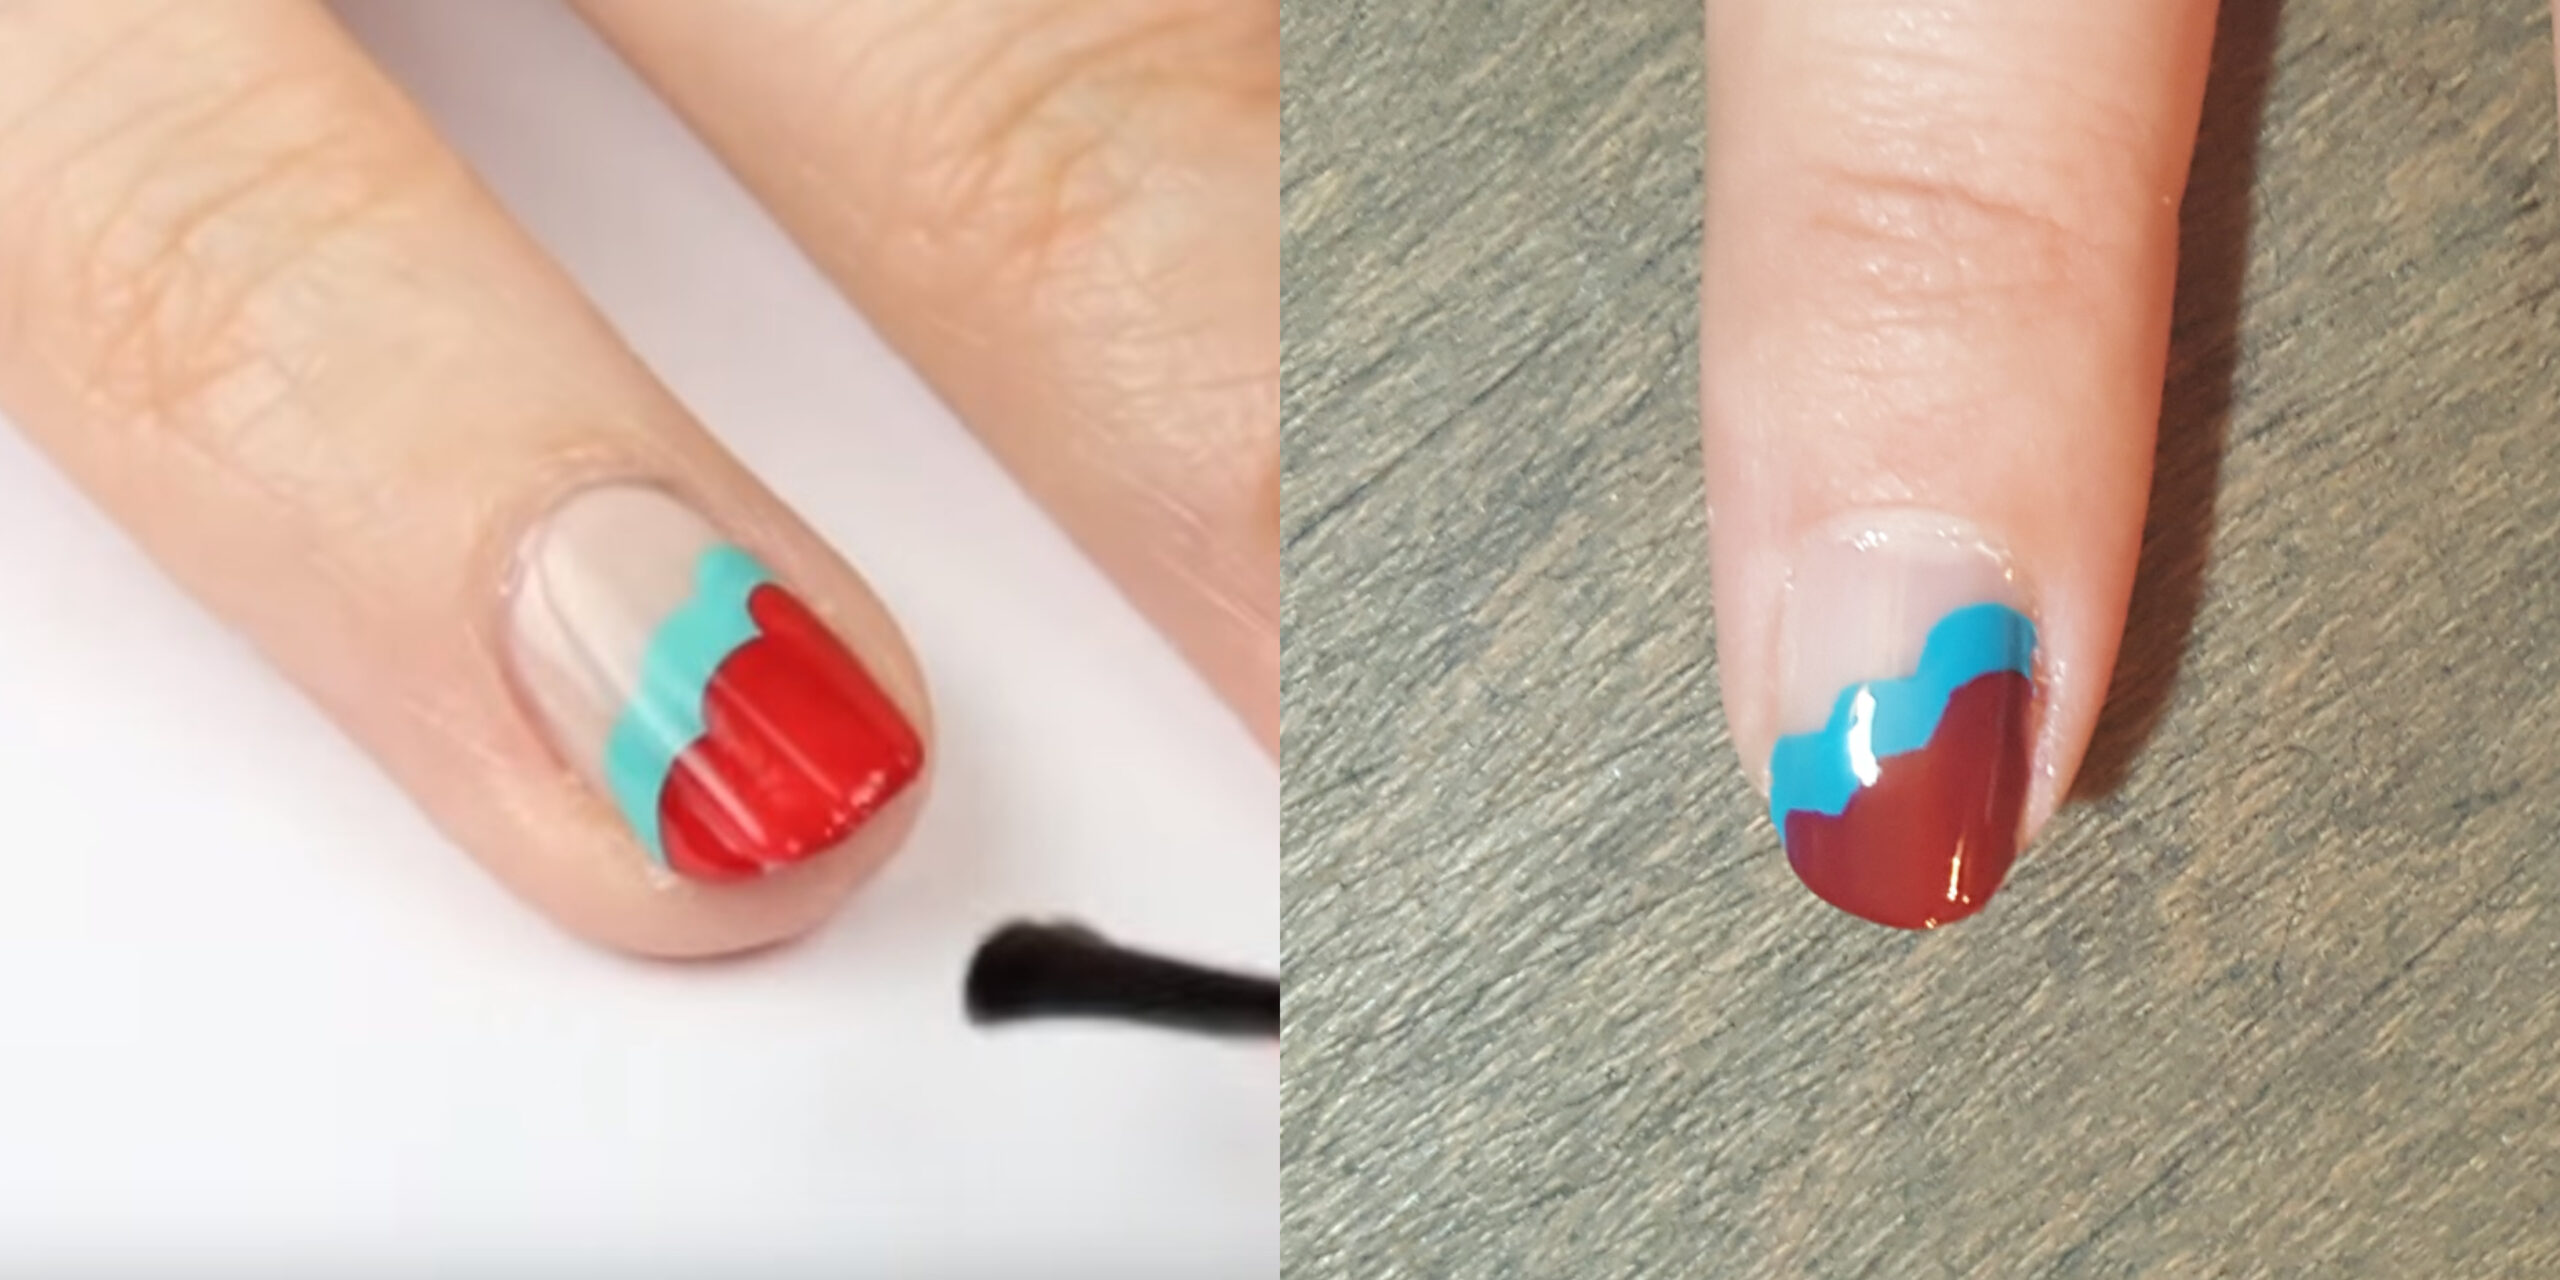
CutePolish's end result was incredibly sleek. Each of the tiers was nicely rounded, and the colors stayed true. Perhaps my nail polish brush wasn’t as rounded as necessary, because my tiers were more like square steps as opposed to arched scallops. My red polish also darkened when I put it over the blue, and while I could have added another layer or two to try to correct that, I was worried about messing up the design. Still, I actually loved what I ended up with!
Design 5: Galaxy
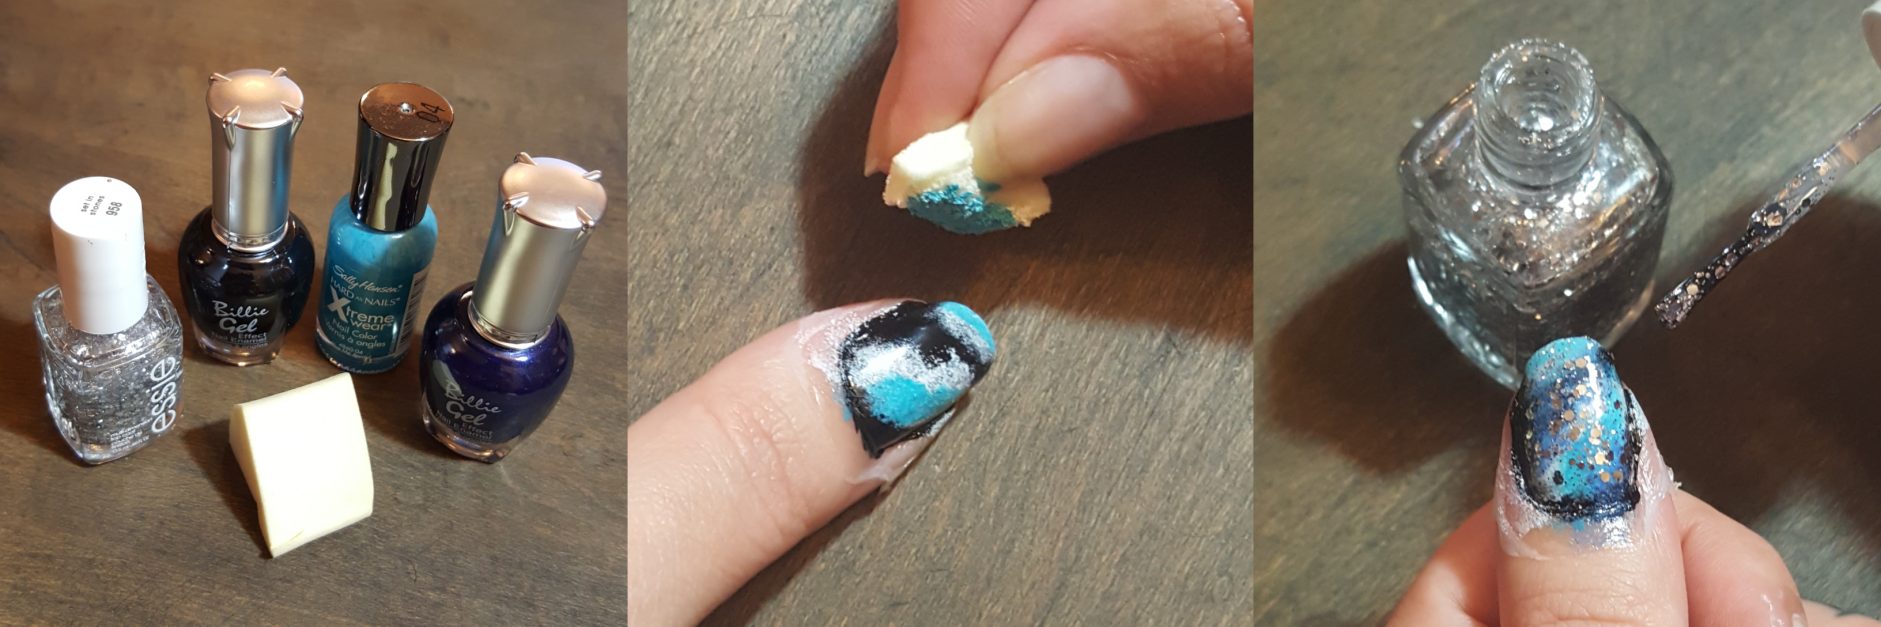
Finally, I decided to reach for the stars with a galaxy design. Along with black, light blue, dark blue, and silver glitter nail polish colors, I also needed a ripped-up makeup sponge to create this look. After starting with a black base, I brushed white polish onto the sponge and dabbed it onto my nail. I then did the same with light blue and dark blue, attempting to blend each. Once those colors were dry, I added a layer of the silver glittery polish on top to create a starry effect.
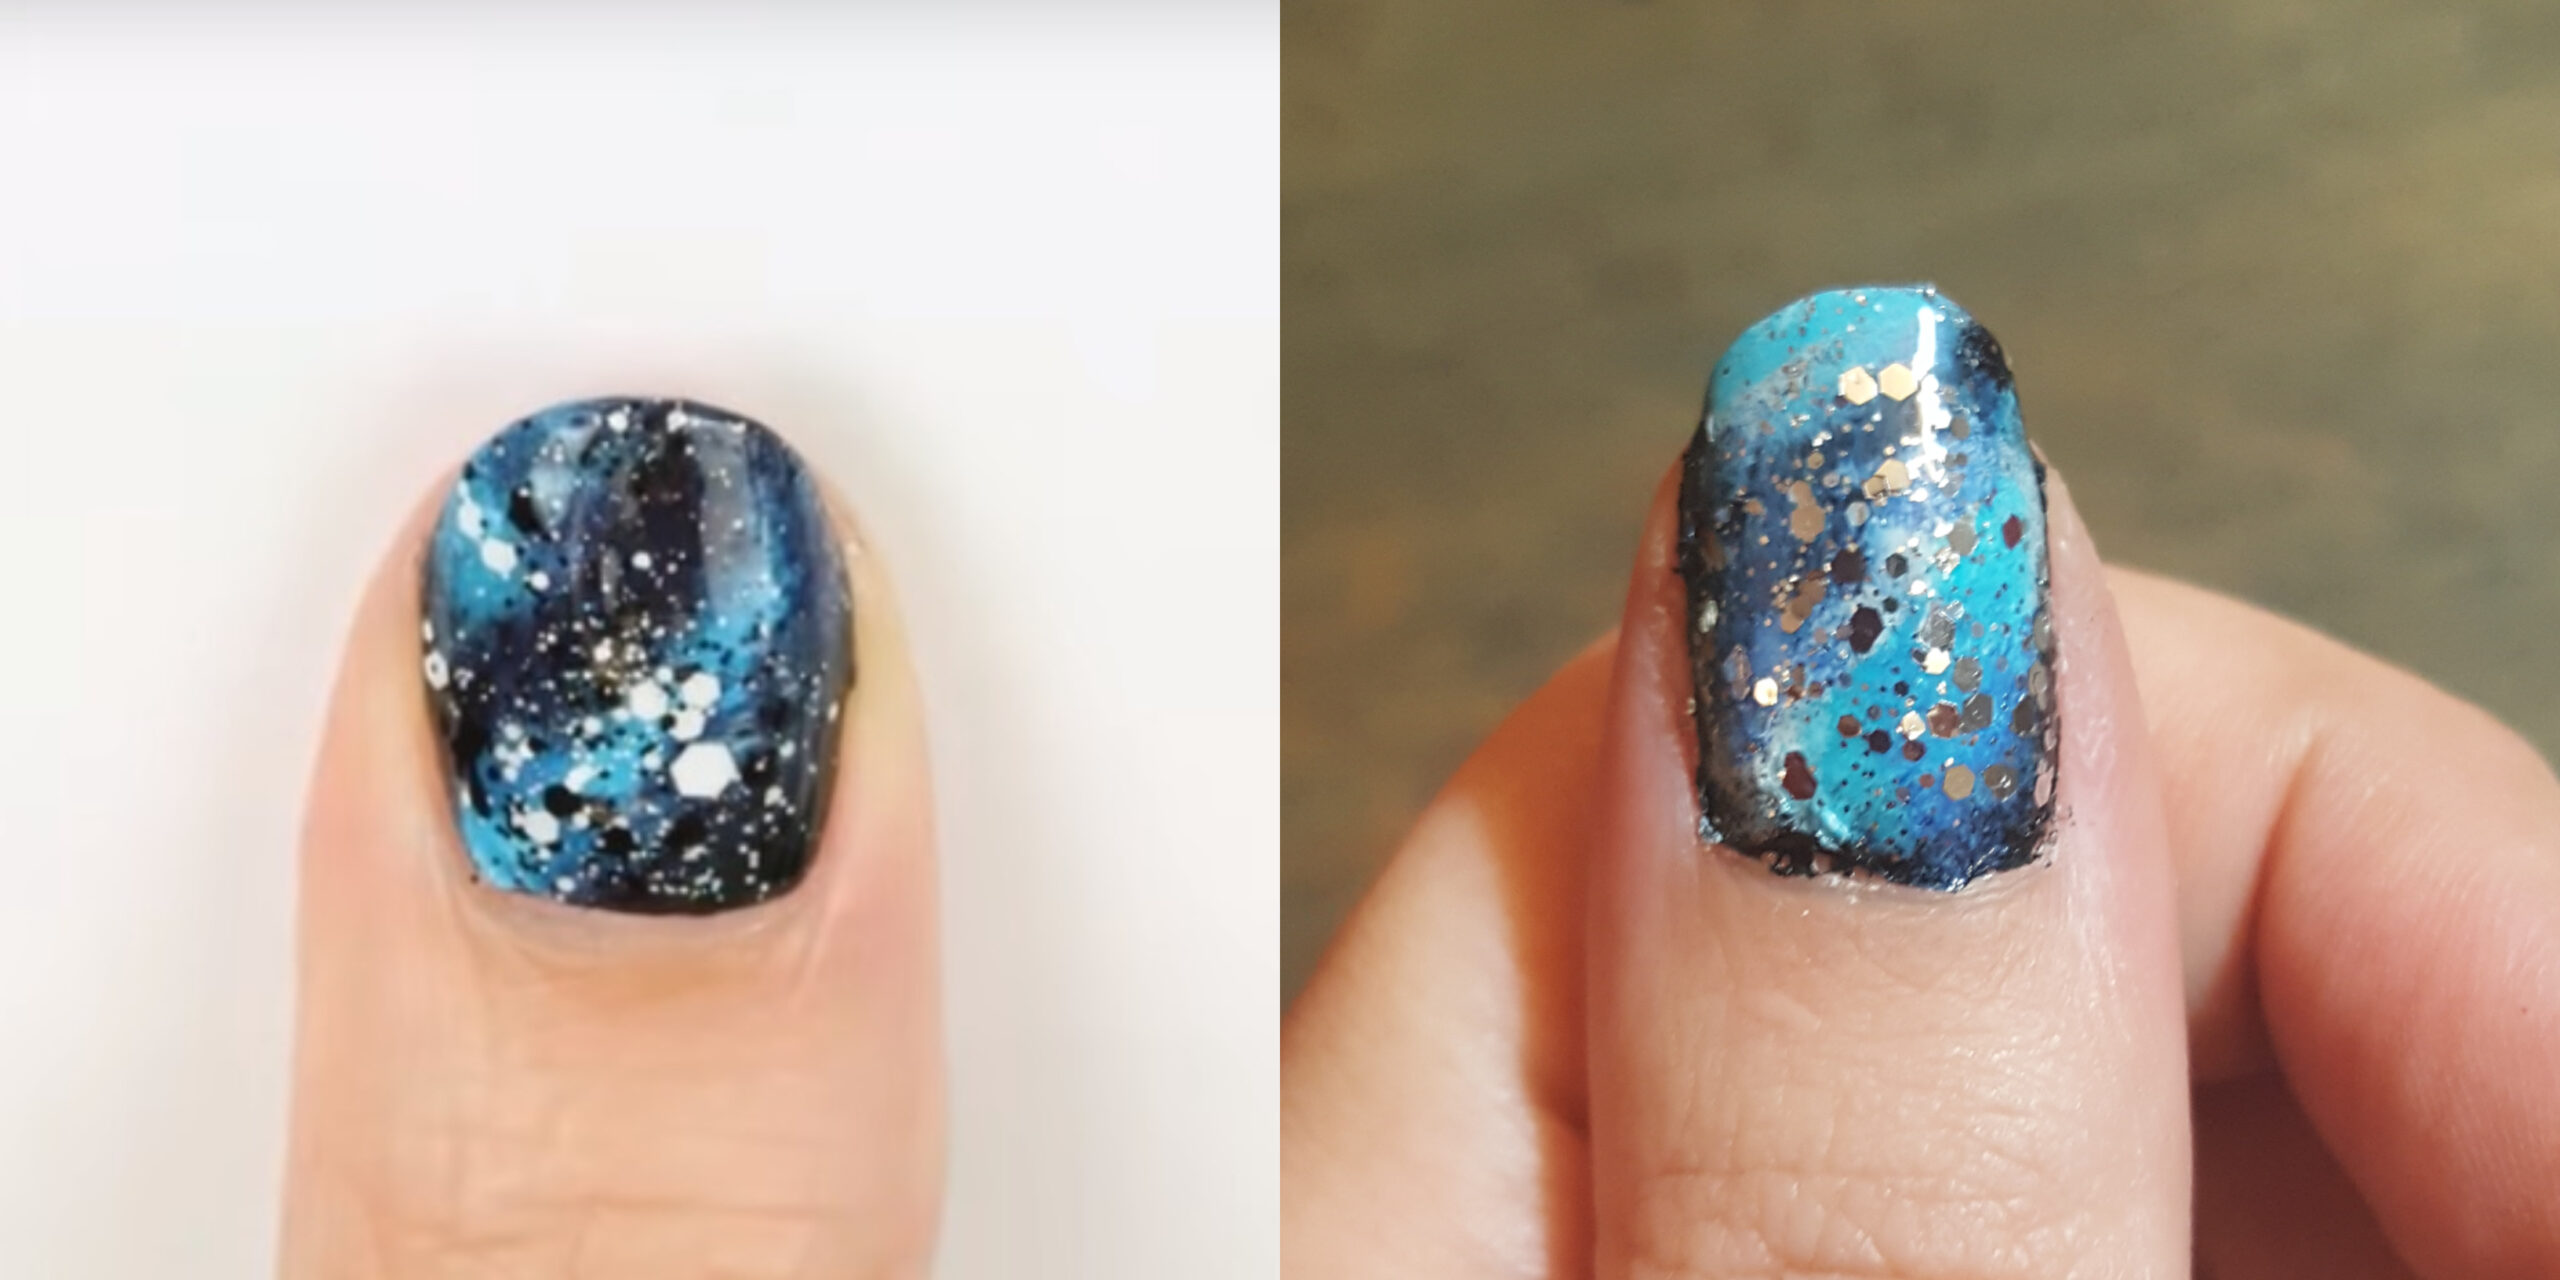
CutePolish's finished design definitely had a galaxy feel and would please any sci-fi fan. I was happy with the fun look of my result, despite the fact that it didn’t resemble outer space as much as I had hoped. Next time, I’ll leave more black showing through to ensure that the space theme translates.
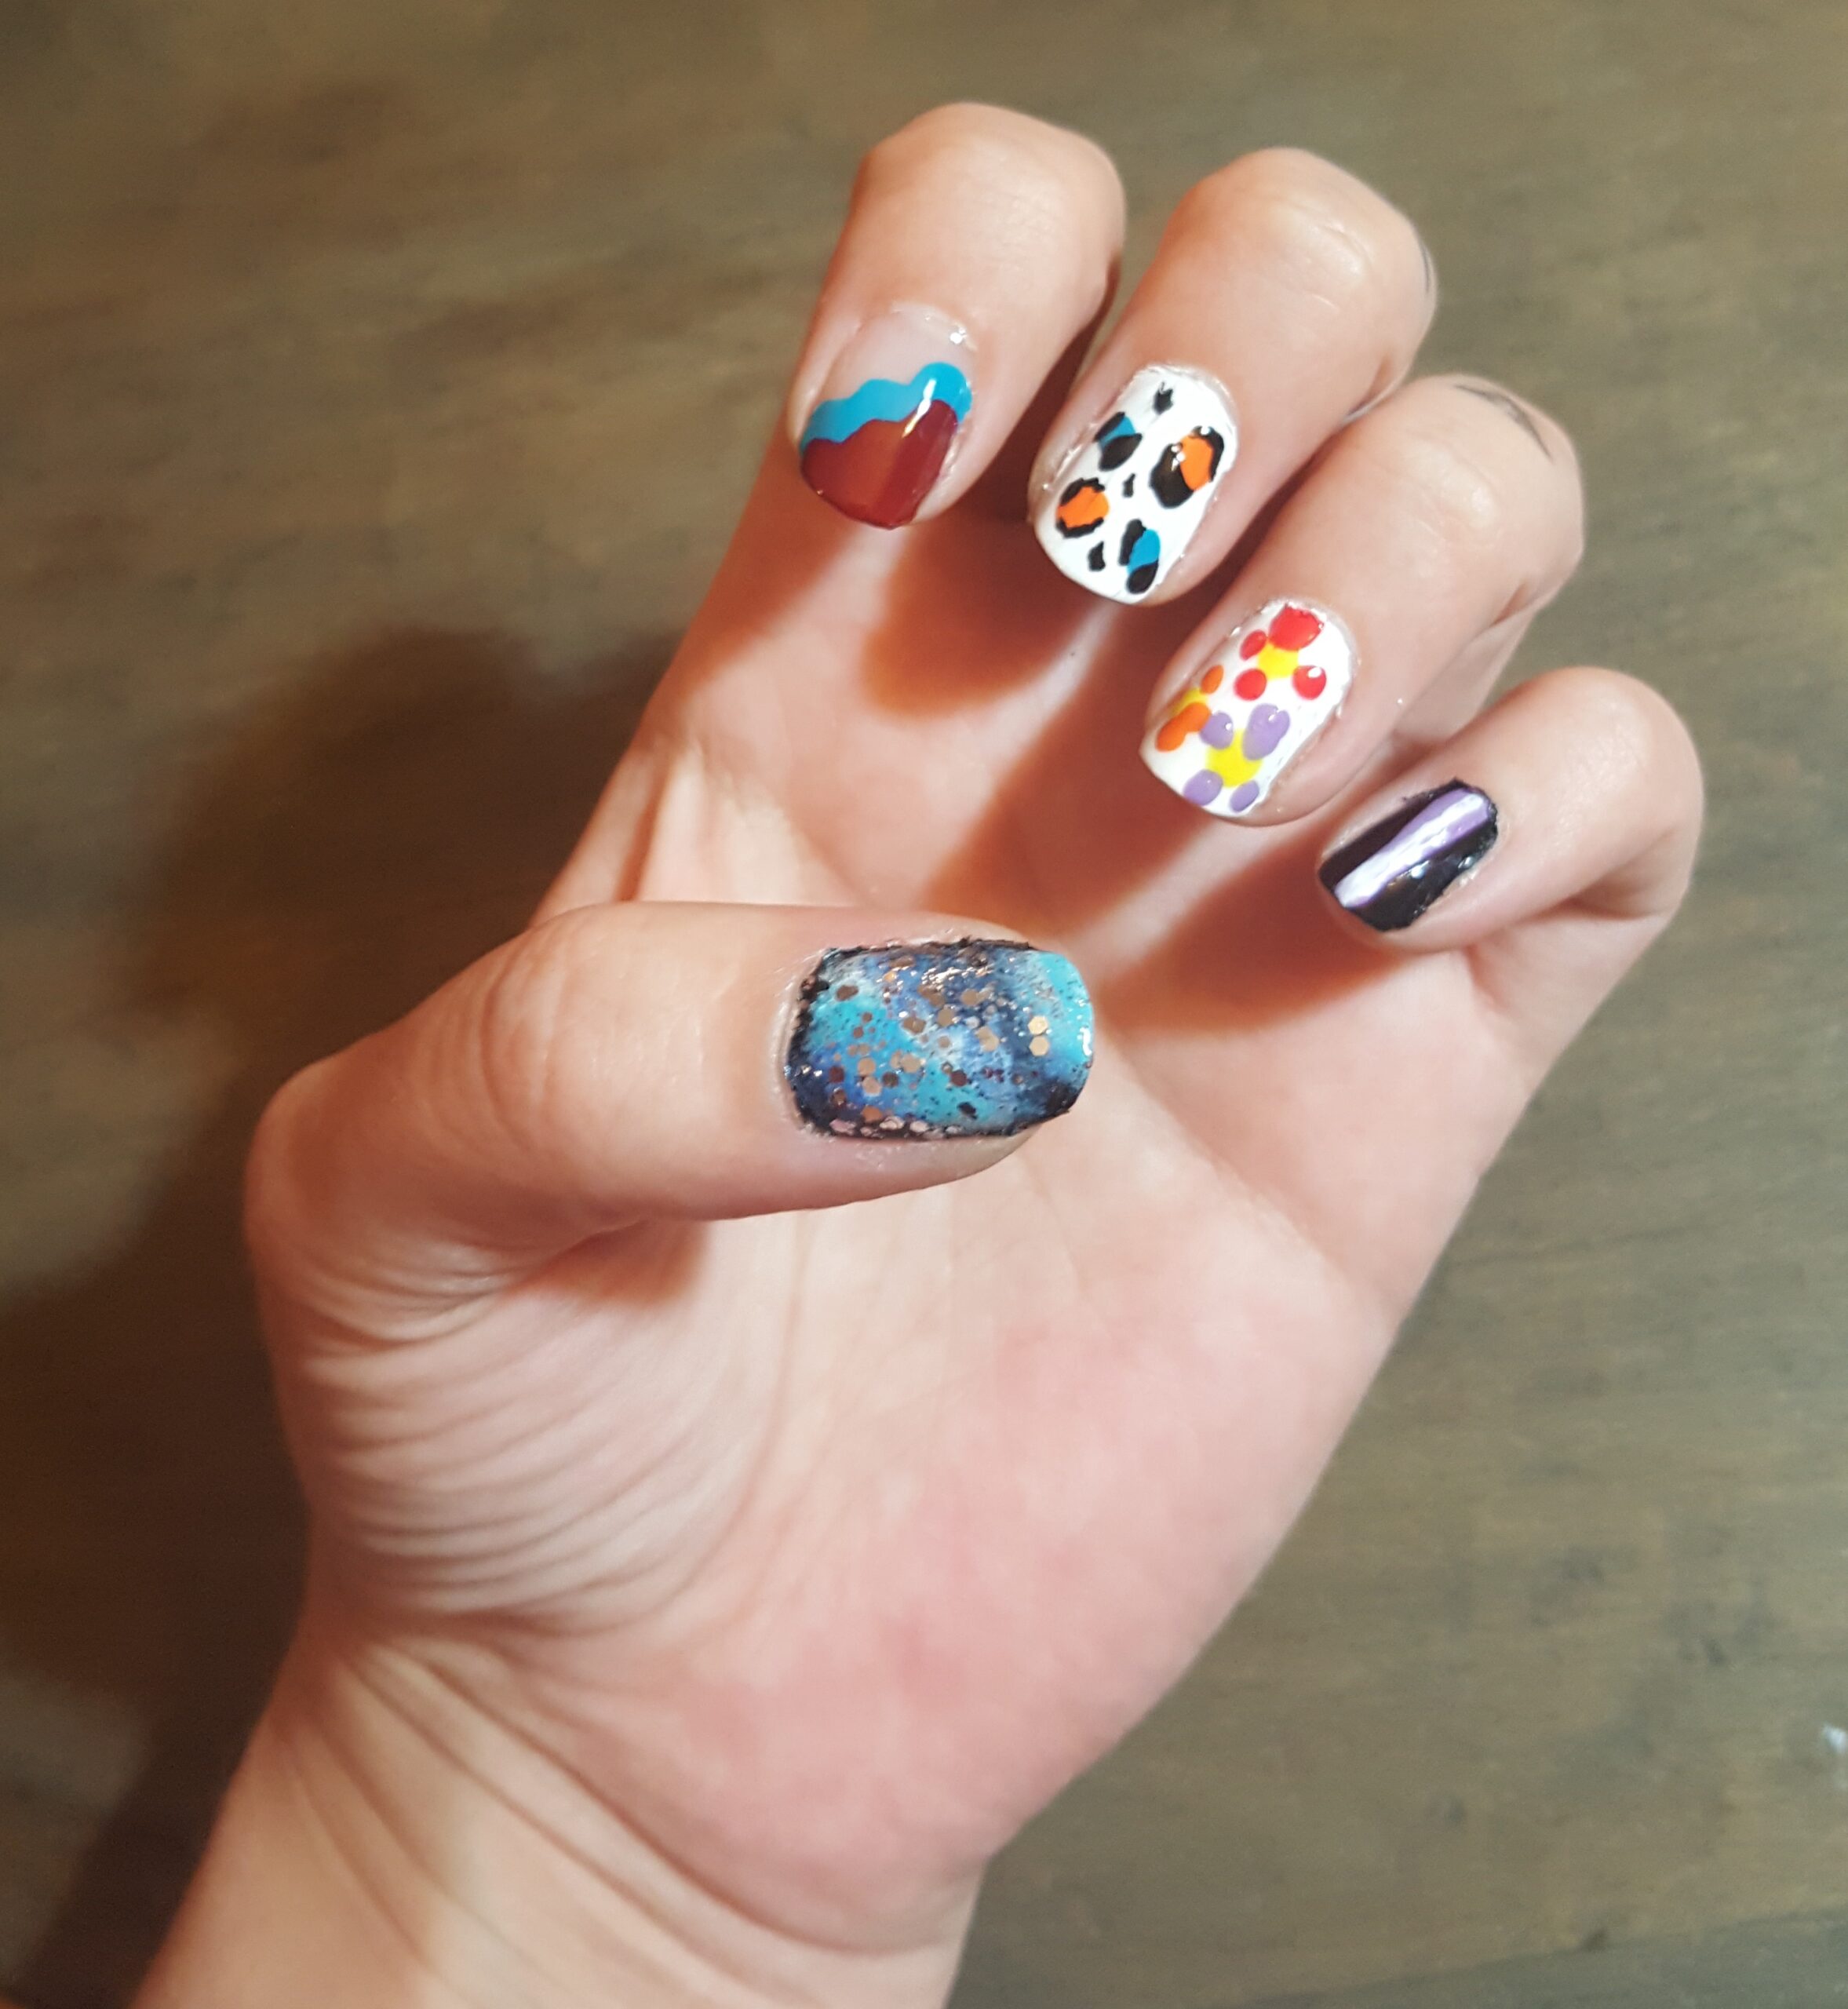
After giving my nails time to dry, I applied a top coat and sat back to enjoy my assortment of nail designs. Some were obviously more successful than others, but in the end, I’d give a big, galactic thumbs up to CutePolish and its nail tutorials. I definitely had fun trying something new, and I plan to give these designs (and others!) another attempt in the future.


