It's family game night. You've got your players ready. You've got a playlist rolling in the background.
Blankets on the sofa? Check. Blankets on the floor? Check. Sweet summer snackin' treats to go around the house? Double check.
The most superbly daunting part of the whole affair, to be honest, is game selection. What will it be, Monopoly or Battleship? Connect Four or Risk? Whichever board game you and your family end up choosing, whether it aligns with the more traditional collection or has sprung from a more new-age classification (space-opera-themed strategy game "Quantum," anyone?), it will be a night full of great memories.
One crafter has taken board game-playing to a completely brilliant, new level. We found this DIY project by Reddit user pphilly, who has recreated the components of a game of Scrabble with a few simple, key materials, making for a splendidly original and stunning revamped board game. This amazing crafter has surely wowed many with the introduction of this new "super-powered" Scrabble set. We can truly make wonderful, playful things with just our hands!
Look through the photos below to see how this fantastic board game was made.
Please SHARE if you love DIY projects like this!
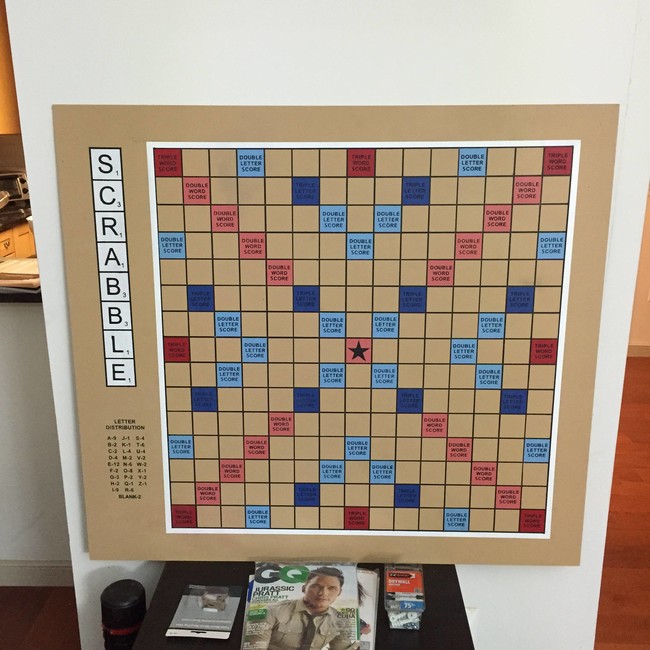
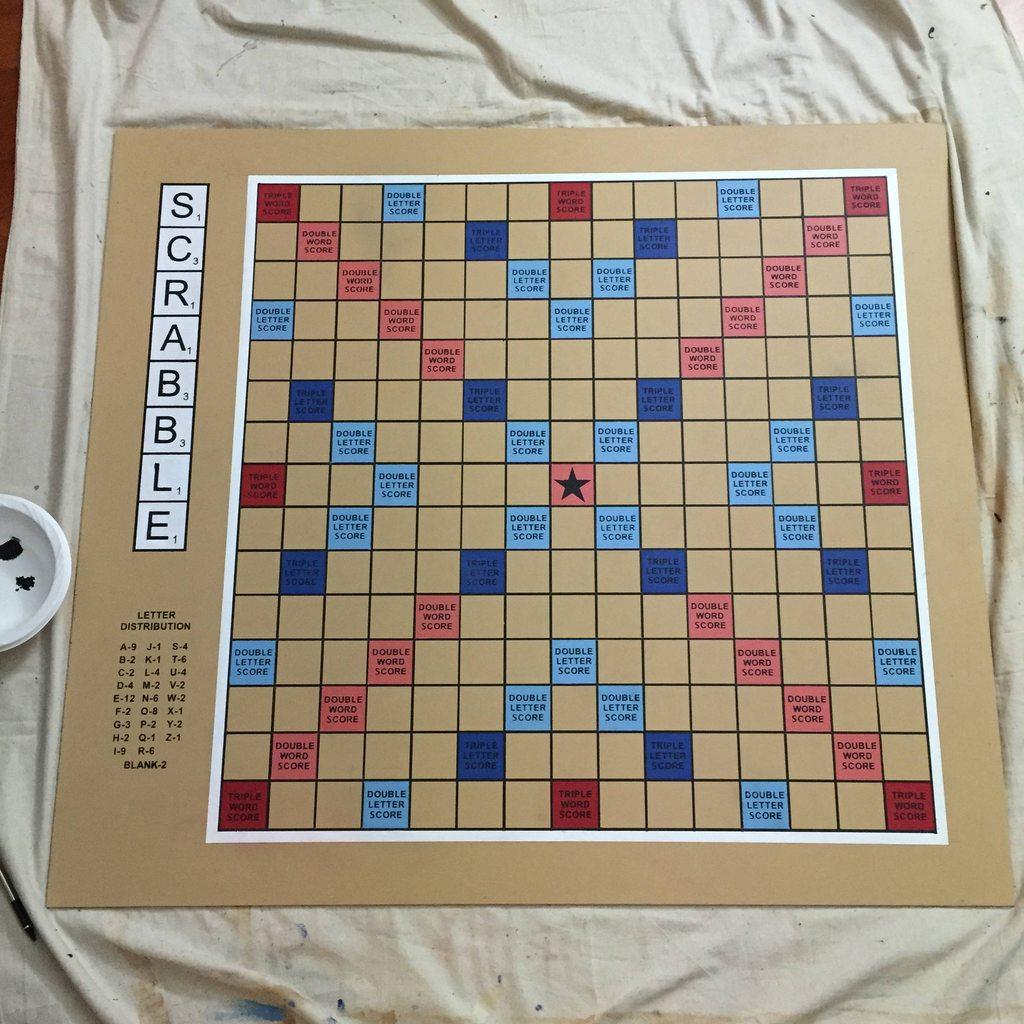
Reddit user pphilly has gone to extremely creative lengths to construct a revamped version of the classic Scrabble board. Here it is in its entirety. The board measures 36" x 40" and comes complete with 2" tiles.
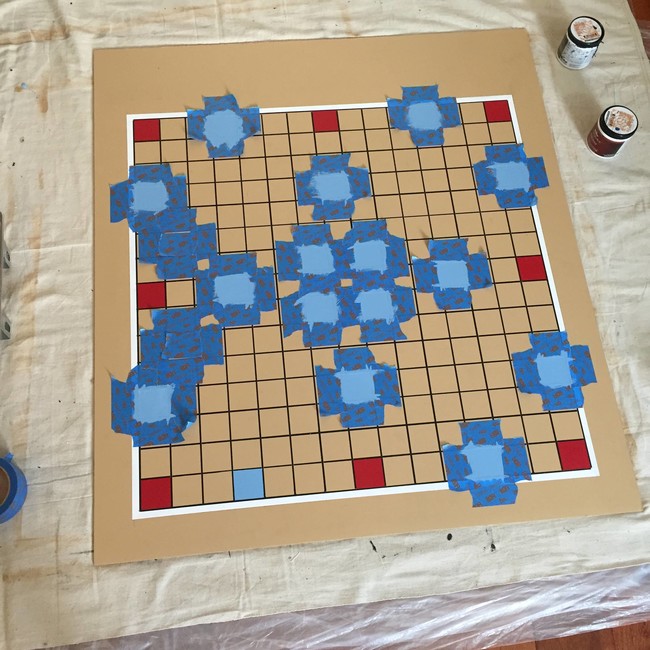
This revamp was set up for success from the beginning. The idea was to build tiles and a board that had magnetic forces ...
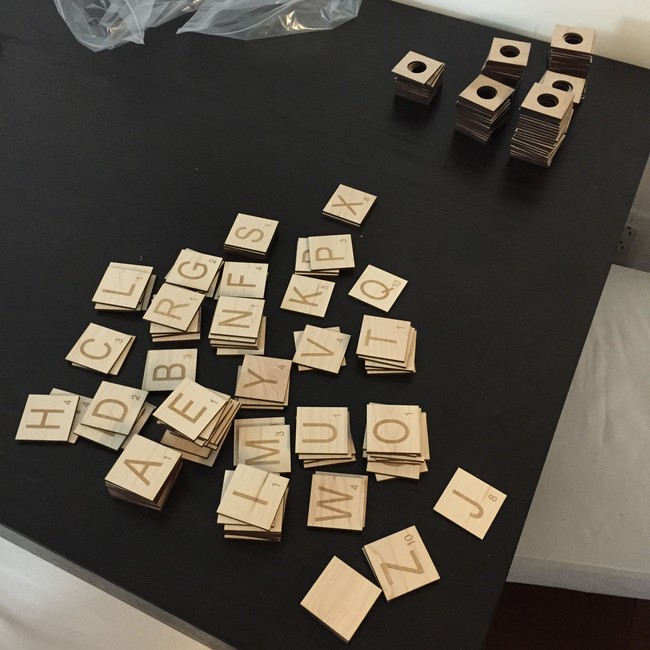
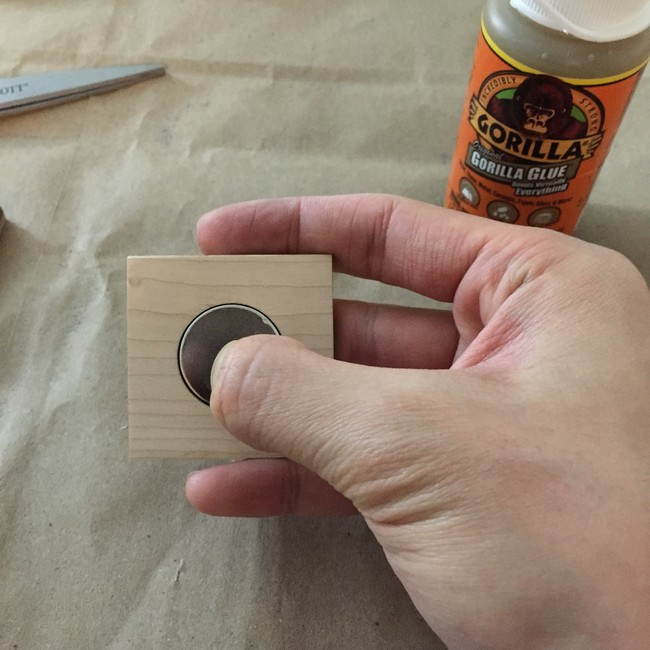
The maple tiles were sourced from a local cutter and engraver, and each measures a quarter of an inch. First, tiny magnets were placed inside each individual tile with Gorilla Glue.
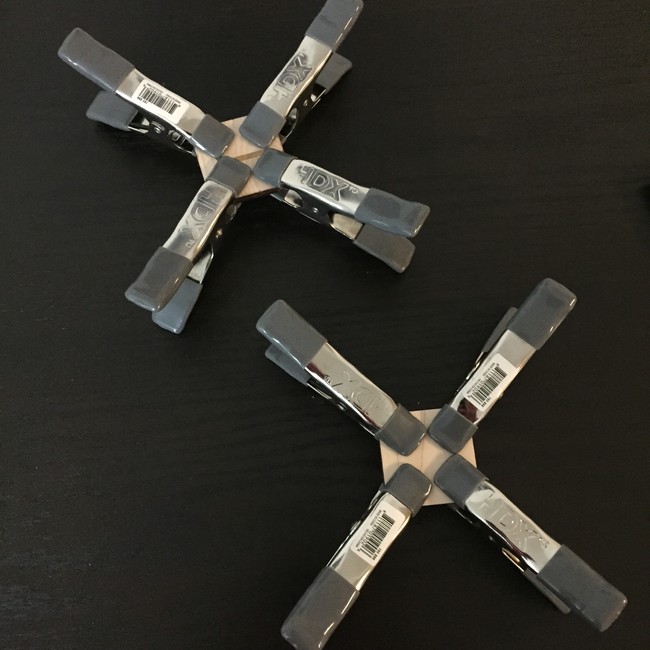
Then, they were pressed together tightly with clamps. These particular clamps cost $1 each at Home Depot.
The contact surface on the wood must have some level of moisture, as the Gorilla Glue is activated by water. Be careful, though — when wiping down sawdust, moisture can touch the surface, and make it bend when it dries!
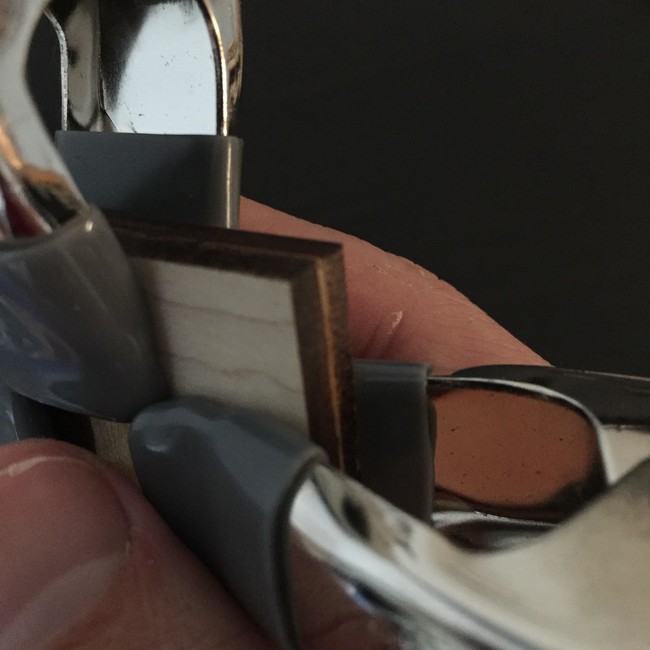
Here's what it looked like right after clamping, in its pre-sanding mode.
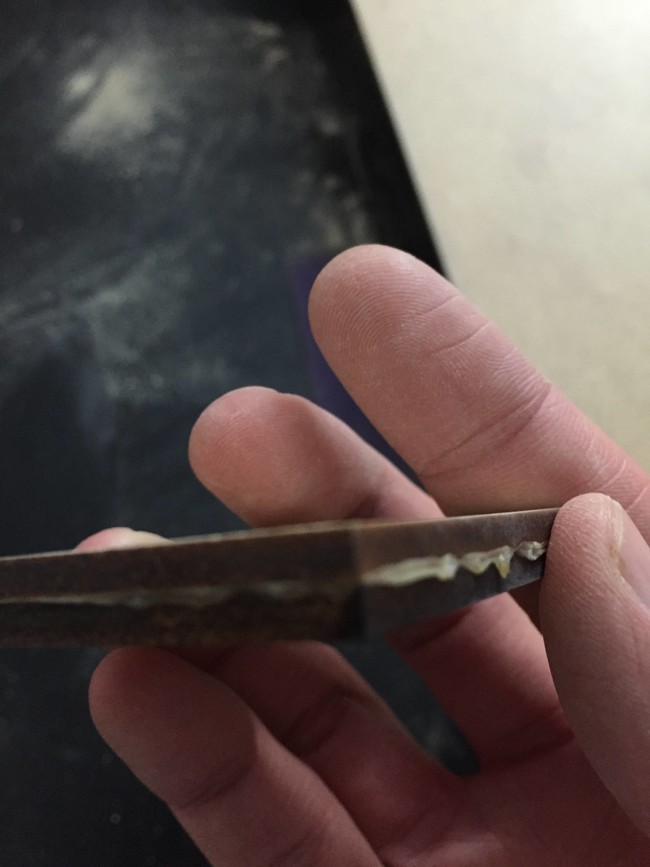
Here it is, after its sanding treatment, looking all clean and sharp.
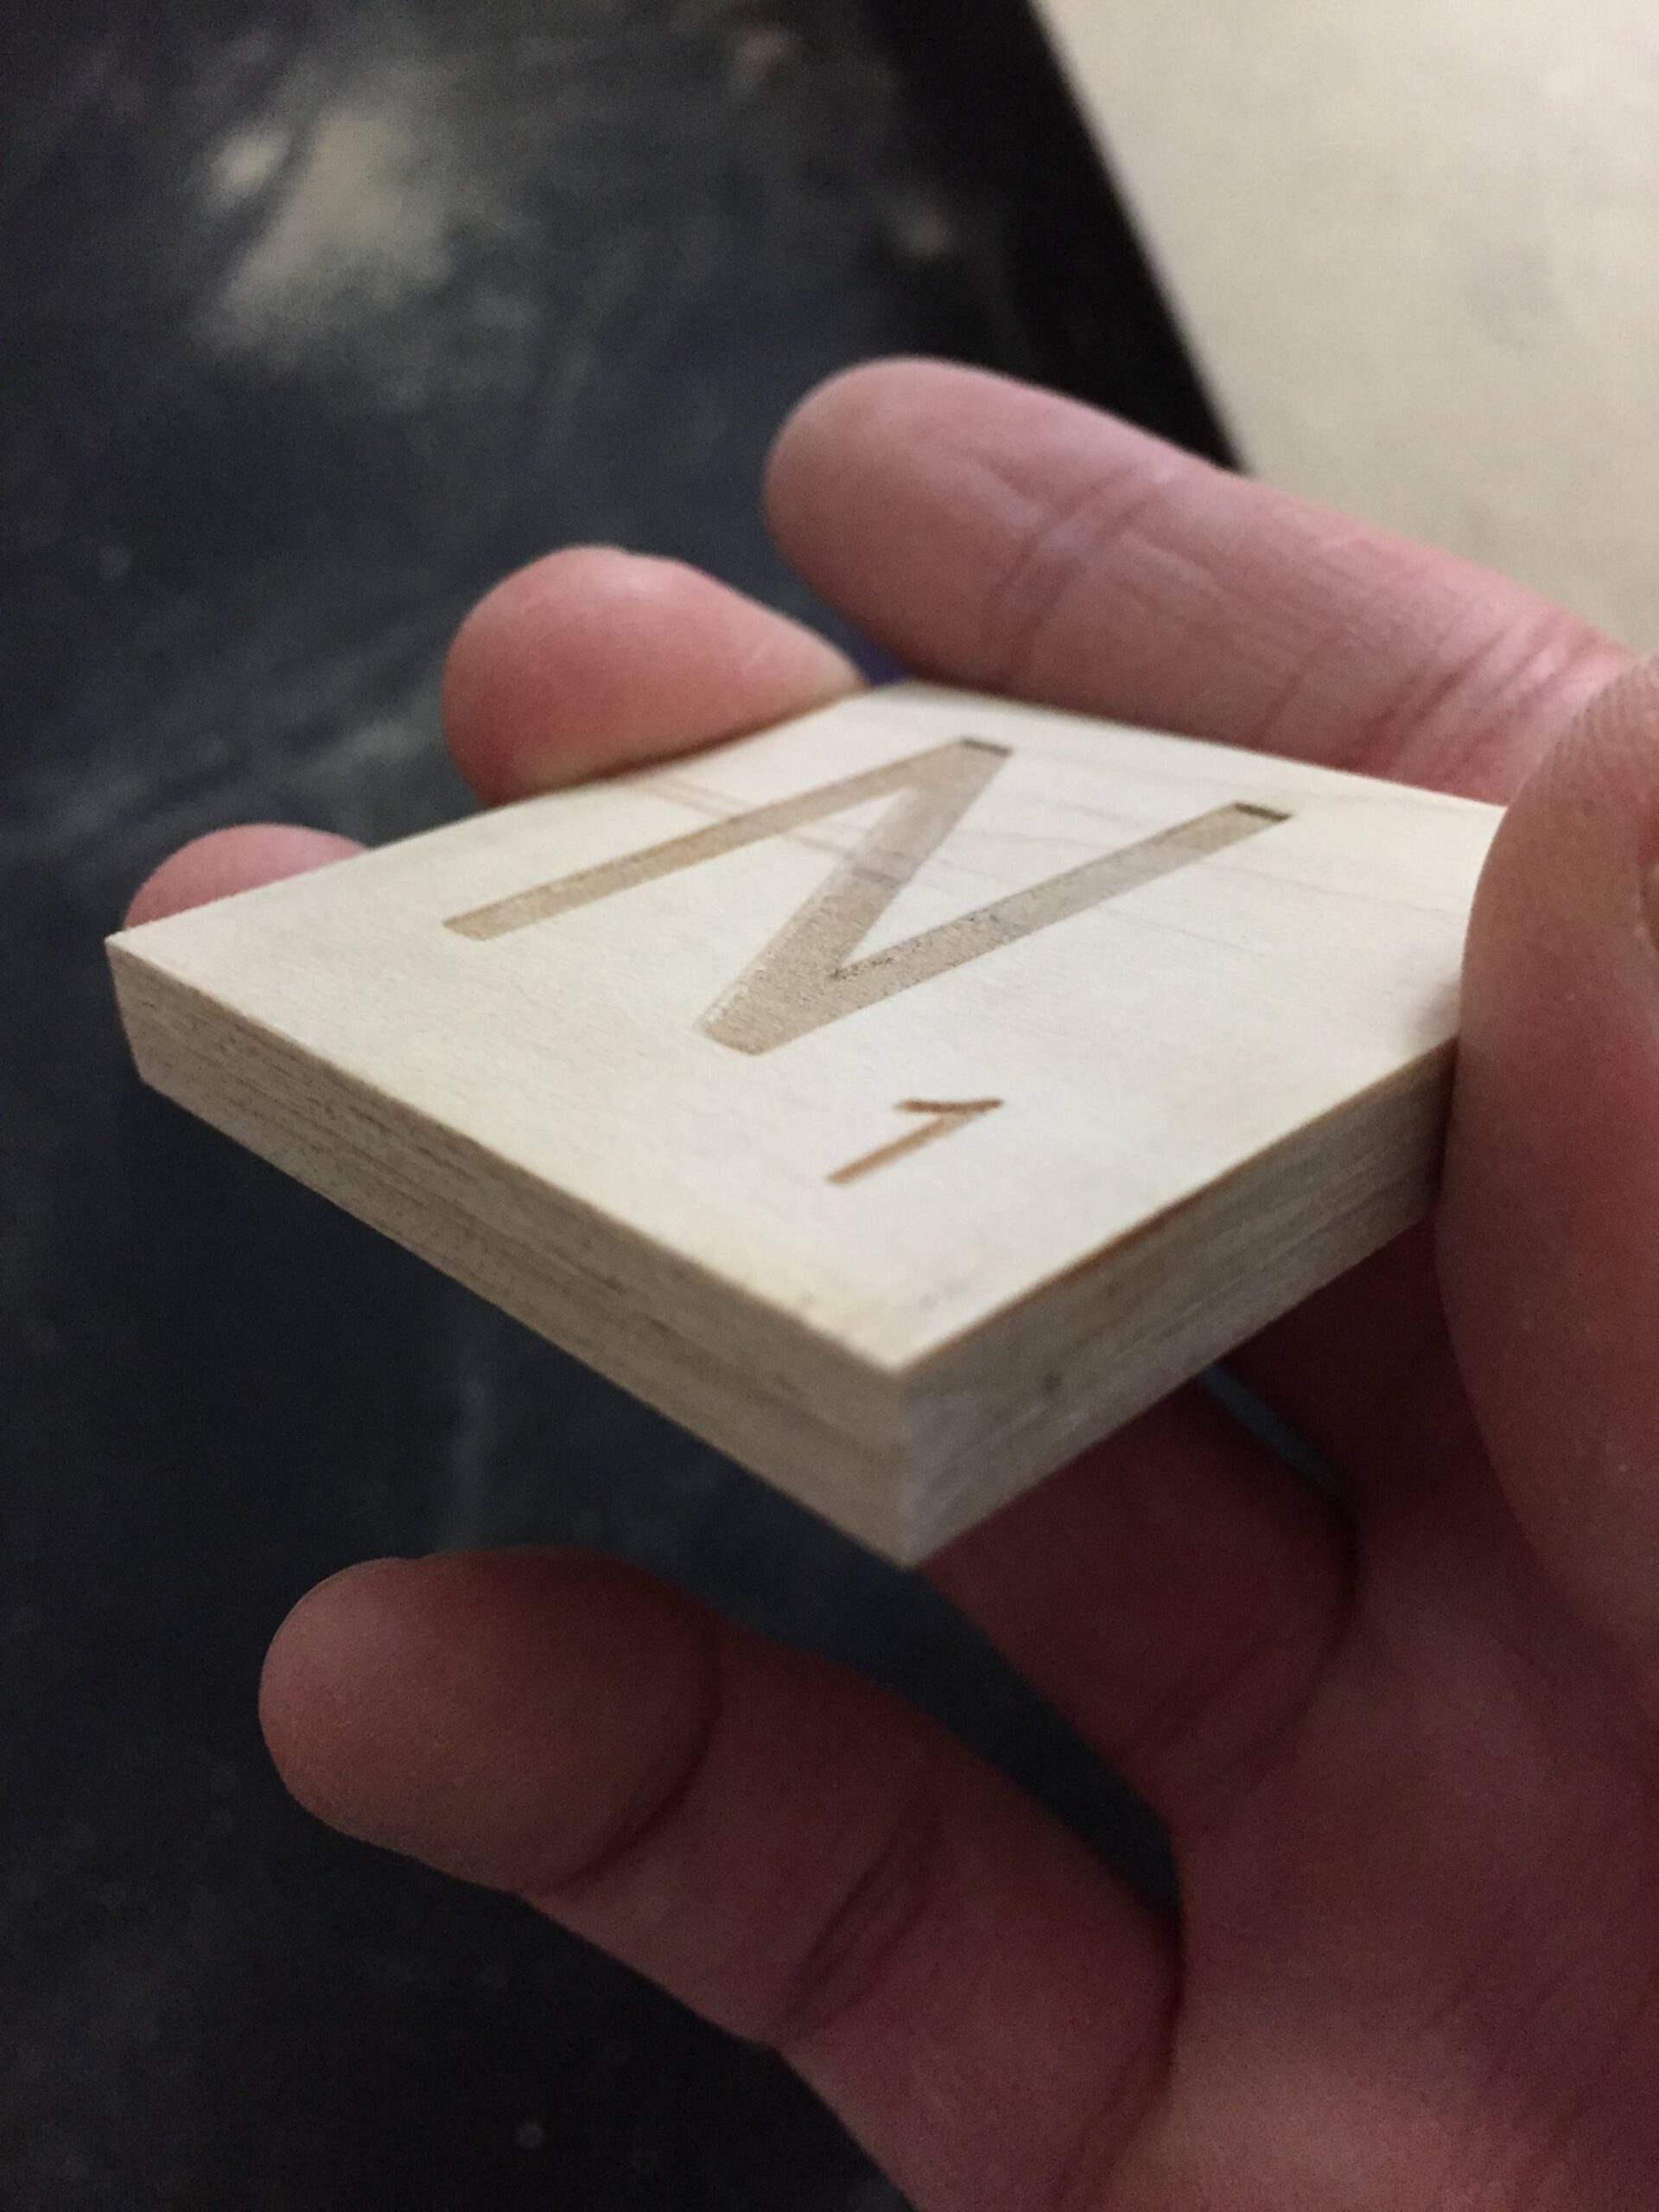
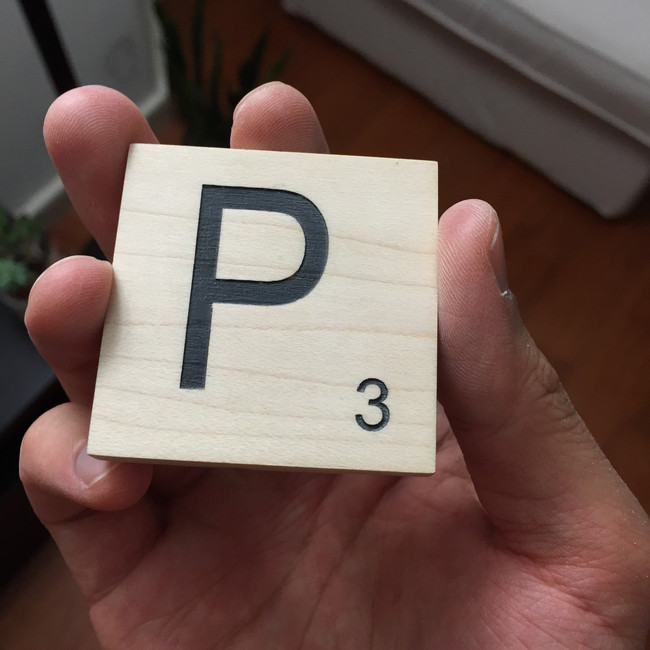
The grooves on the tiles were filed in with black paint. Even if the painting didn't come out super clean, the surface can be sanded down again for a more polished look. The leftover sawdust that collected on the surface can be cleaned with the bristles of a stiff toothbrush.
Now, on to making the board. Originally, this crafter thought of coating the plywood board with primer as the board base.
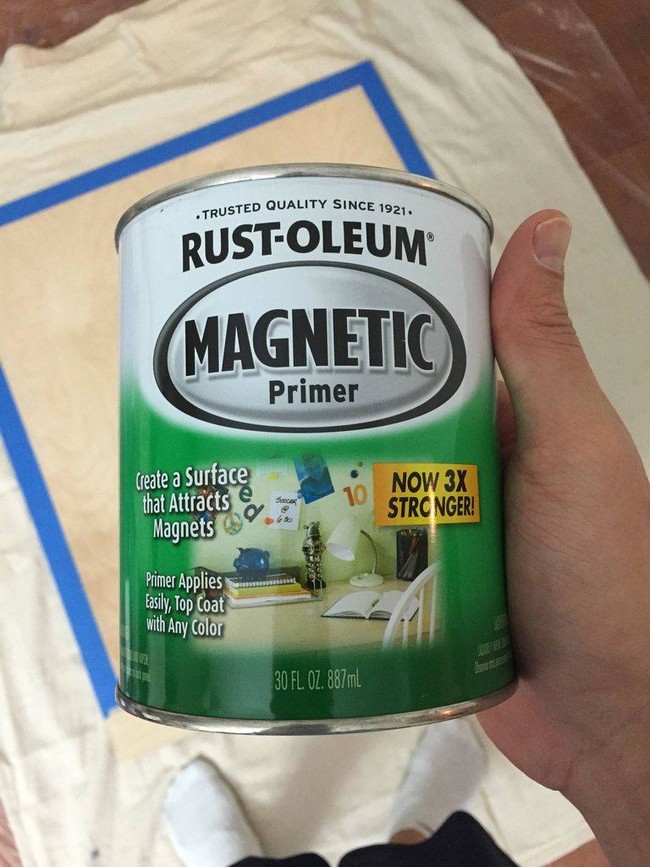
This turned out to be a bad decision. The board had an uneven texture, and the paint just wasn't strong enough to allow the magnets to hold the paper.
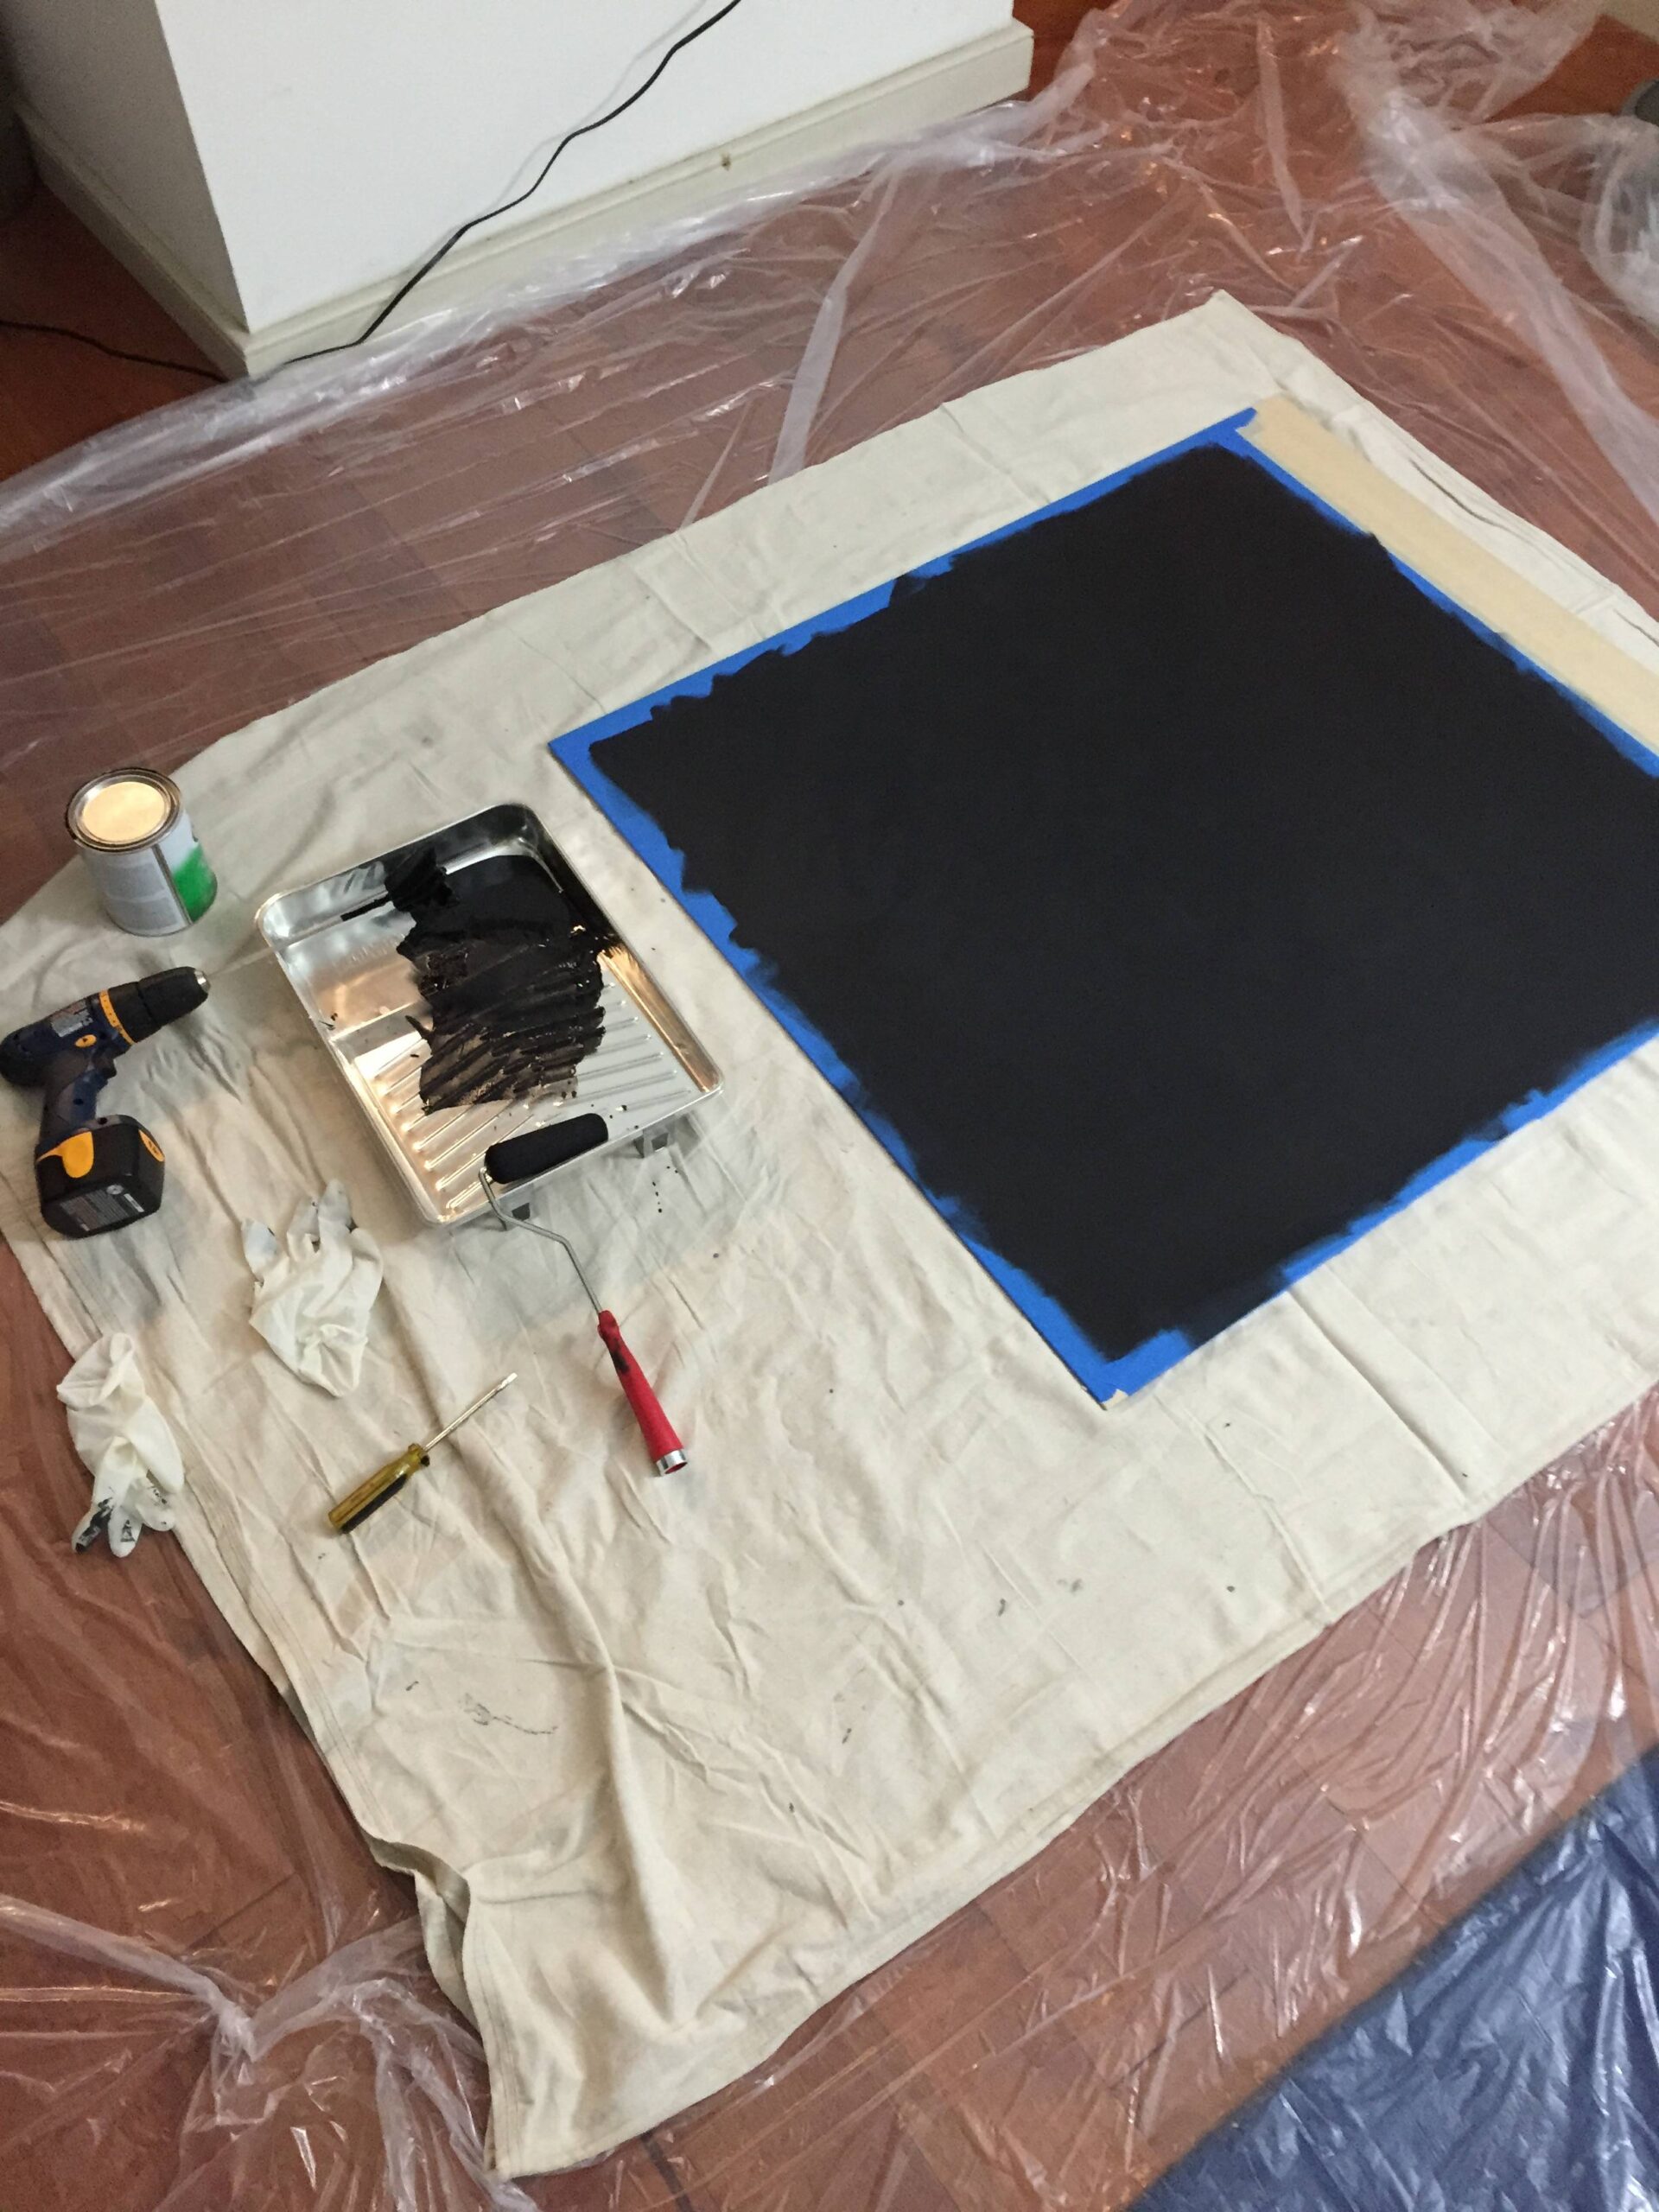
Ultimately, a magnetized stainless steel sheet was glued on to the back of the plywood board. Lines were applied with the help of painter's tape. First, the base coat color was applied over the lines, after which black plaint was applied for refined lines.
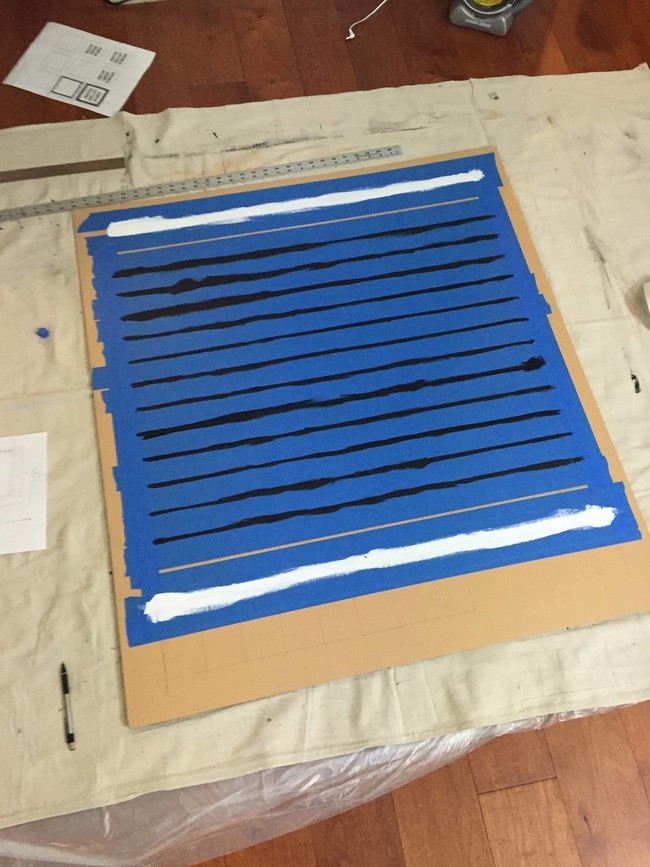
All the lines and special-colored squares were diligently painted on.
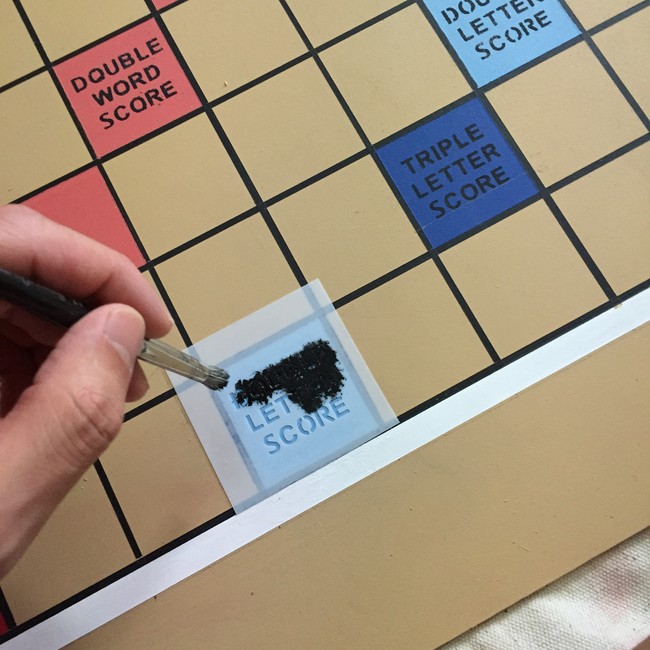
Special mylar stencils were used to form the board lettering.
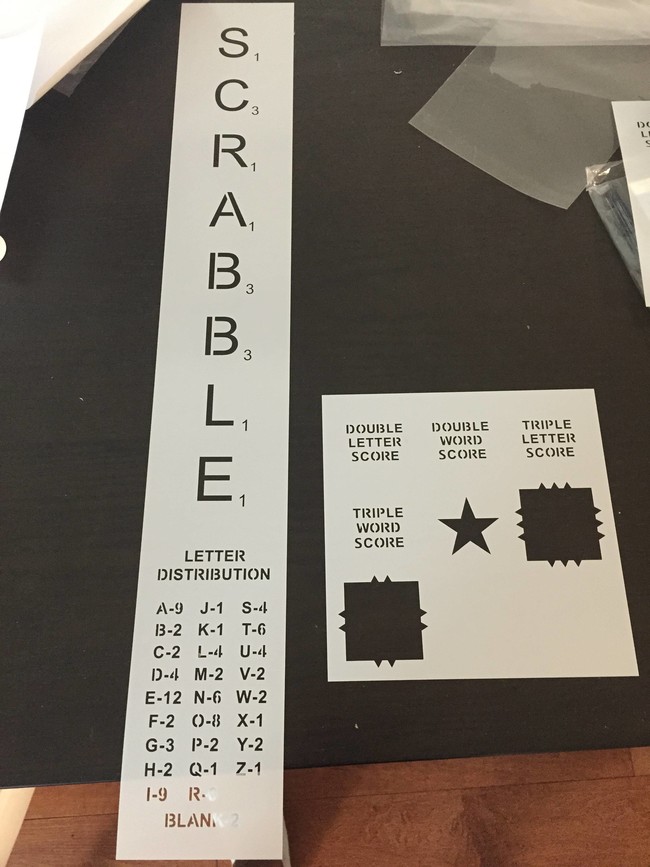
It was very helpful to use a spray adhesive to stencil in the letters! Also, using extremely fine brushes for touch-ups didn't hurt.
In the end, the results were stunning. Here is the completed product in all its glory. All in all, it took around eight months to finish, but hey, nothing looks more fantastic or game-ready than this magnetic, wall-hanging homemade scrabble board!
Please SHARE if you love this amazing project!


