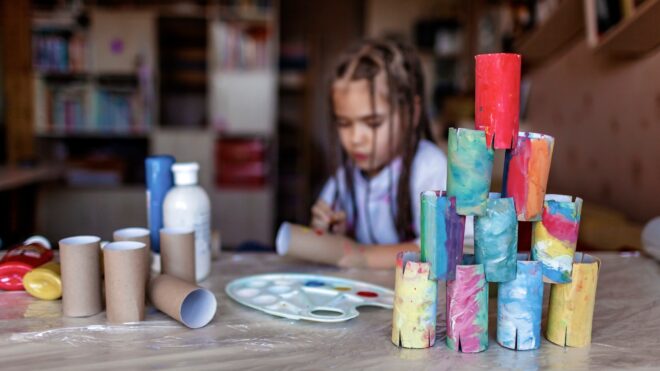
The grade-school years are filled with a lot of curiosity from little ones. As they get older, they understand more and they want to know more. I decided to take advantage of that natural curiosity in our 8-year-old. The long, unplanned days of summer don't include camp this year, so I was looking for a way to fill some time. We came up with the idea of doing one science experiment every single day.
The first few days of doing this were guided by an activity book we had lying around. Once we made our way through those experiments, the challenge was on. Finding things that were age-appropriate and engaging was surprisingly easy. All I had to do was dedicate a good half hour to Pinteresting and I had ideas in the works. I picked projects with varying degrees of involvement, so if we needed a shorter activity one day, we had options that didn't require too much time. I worried that some of those felt too simple, but they worked surprisingly well because they were still new.
What was important about choosing science experiments was a good explanation of the science behind them. These experiments are meant to be both fun and an opportunity for learning. The experiments make for great memories, and hopefully, the lessons that go with them will be just as memorable. There's nothing wrong with getting some STEM/STEAM time in this summer!
Pepper Soap Experiement

This is a super-relevant experiment that you may have seen on your social media feeds in recent months. It's a great way of illustrating to kiddos the importance of doing a good job washing their hands. All you need is water (with food coloring if you want to make the contrast even greater), pepper, dish soap, and two containers.
Fill one container with water. Add your food coloring to the water if you're using it. Then generously sprinkle pepper throughout the water. In the other container, squirt out a bit of dish soap.

First, have your child dip a finger in the pepper bowl. Note how much sticks to their finger. Clean and dry off that finger (or use another finger). Dip the clean finger in the soap. Then, instruct your child to dip it into the pepper bowl again. Watch what happens!
So what's the science behind it? According to Coffee Cups and Crayons, "When the soap is added to the plate the surface tension changes and the pepper no longer floats on top. The molecules pull back from the soap and are able to break down the surface tension of water. As the soap moves into the water, and the surface tension changes, the pepper no longer floats on top. The water molecules want to keep the surface tension intact so they pull away from the soap carrying the pepper flakes with them."
Leakproof Bag

All you need is a resealable plastic bag, water, and some sharpened pencils for this experiment. Amaze kids by being able to pierce a plastic bag full of water without losing a drop!
Fill the bag about two-thirds of the way with water. Squeeze out the air, and then make sure it's zipped shut all the way.

I'd be lying if I told you this kid didn't look at me like I had 10 heads when I told him to stab the pencil through the bag, indoors. (To be fair, I did a secret test run beforehand to make sure this would actually go the way it was supposed to.) We were so impressed by the first pencil, we added just about every other one we could find around the house. Not a drop was spilled!
So how? The STEM Laboratory explains, "Plastic bags are made of a polymer called low-density polyethylene. Polymers are long chains of molecules. The tip of the pencil squeezes between the chains without breaking them but the chains' flexible property helps to form a temporary seal against the edge of the pencil."
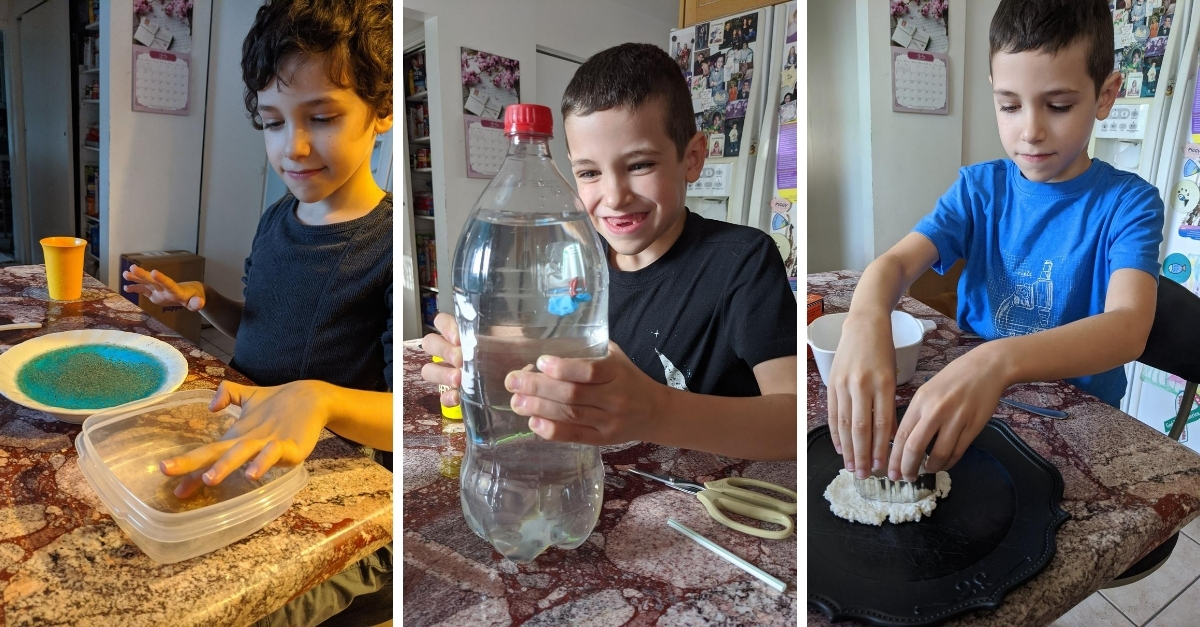
Cartesian Diver

This was probably one of our coolest experiments. You'll need a 2-liter plastic bottle, a bendable plastic drinking straw, a small paper clip, thick tin foil or a disposable foil pan you don't mind cutting up, play dough, scissors, and water.
Start by tracing and cutting out your little diver on the foil. Next, cut the straw so that the bendy part makes a small U. We initially made ours a little too long, so attaching it to the paper clip at the ends was hard. Once we trimmed it back down and tried again, it worked great. Then we attached it to our diver so it looked like he had a little scuba tank on his back.

Next, use the play dough to give the diver some little boots! Make sure the dough covers the foil completely. Fill a glass with water and test your diver to make sure he floats. If he does, you're ready to fill the 2-liter bottle with water. Fill it as close to the top as you can.
Insert your diver and close the cap. At first, he'll just float. Make sure the cap is tight and secure. Squeeze the bottle as hard as you can. Watch the diver head to the bottom then come back up to the top!
Awesome, right? Here's how it happens: "When you first put the diver into the bottle, the combined density of the diver, straw, paperclip, and playdough is slightly less than the density of water, so it floats. A small bubble of air gets trapped in the straw when you put the diver in the bottle. When you squeeze the bottle, you increase the pressure of the water in the bottle, so water is forced up into the straw compressing the air bubble in the straw," Cool Science Experiments HQ explains.
"As the air bubble gets smaller, the density of the diver increases and the diver begins to sink. When you release the bottle, the pressure lessens and the water moves back out of the straw. The air bubble in the straw returns to its original size causing the diver to become less dense and float back to the top of the bottle."
Floating Ink Experiment

This one's quick and easy! You'll need dry erase markers, a ceramic dish, a straw, and water. Let your kids get creative and draw all over the ceramic dish. Make sure any shapes or figures they draw are totally connected by the dry erase ink (such as a closed circle or square). Give the designs a minute to dry, then add water.

Use the straw to blow near any of the doodles. Watch as they unstick from the plate, then float along the top of the water. Some of the designs may flip onto themselves, but it's still cool to watch the ink float.
This one has a pretty easy explanation. "The ink in dry erase markers is insoluble," Active Littles explains. "The definition of insoluble is, 'impossible to dissolve.' Therefore, when water is poured onto dry erase marker that is written on a glass plate, a heavy upthrust prevails a part of the dry erase markers ink, pulling it upwards and in turn causing it to float."
Making Plastic out of Milk

All you need for this one is milk, vinegar, and some patience! Start by warming 1½ cups of milk by microwave or stovetop. Next, stir in 4 tablespoons of vinegar. You'll see the milk start curdling as you stir it together.

Run the mixture through a strainer. Use a spoon to press out all the moisture you can. Knead and add food coloring, then use cookie cutters to get creative. You'll have to leave your finished products to dry for about 48 hours before they are as hard as plastic.
So how? A commenter on How We Learn shared the science behind the adorable activity: "Milk is already slightly acidic, but the quality of milk as an emulsion enables a characteristic curdling reaction when the pH drops further. Usually fat and water don't mix, but the casein protein chain binds them together.
"The protein has both water-loving and fat-loving particles; presented with both water and fat in milk it grabs the fat and clusters together forming globules with fat on the inside and the water-loving particles on the outside. Each globule has a negative charge, repelling each other and distributing each other throughout the water content, forming the emulsion. When these globules are broken, curdling takes place. Lowering the pH level of milk by adding vinegar or lemon juice causes the casein protein to unwind. These proteins are able to interact and, over time, clump together creating the characteristic lumps of curdled milk."
DIY Bounce Balls

This is another great experiment that features items you probably already have lying around. You need Borax, white school glue, cornstarch, food coloring, warm water, and two containers. Start by mixing 2/3 cup warm water and 1 tablespoon borax in one container until the borax dissolves.
In the other container, mix 1 tablespoon cornstarch, 2 tablespoons glue, and however much food coloring your heart desires. Once that's well mixed, begin scooping the glue mix into the borax mix until you have it all in there. You'll see it quickly solidify into a dough you can work with your hands.

The consistency felt more like silly putty than a bouncy ball, but we still shaped them into balls to try out. If your ball still feels wet while you're kneading it, feel free to use a paper towel to dab out some of the excess moisture. We did a bounce test, and all things considered, it was pretty good.
"This activity demonstrates an interesting chemical reaction, primarily between the borax and the glue," Science Bob explains.
"The borax acts as a 'cross-linker' to the polymer molecules in the glue — basically it creates chains of molecules that stay together when you pick them up. The cornstarch helps to bind the molecules together so that they hold their shape better."
Make-Your-Own Ice Cream

I saved the best one for last, and in the middle of our New York City heat wave, it was much appreciated. You can use whole milk, heavy cream, or half-and-half to make the ice cream. You'll also need sugar, vanilla extract, kosher or ice cream salt, a plastic freezer bag, a large food storage container, and a whole bunch of ice.
Start by filling the storage container with ice and sprinkling 6 tablespoons of the salt over it. Then grab your plastic bag. Add 1 cup milk, 2 tablespoons sugar, and a teaspoon of vanilla extract to the bag and mix together. Squeeze all the air out of the bag and seal it shut.

Put the bag in the container with ice. You can top it off with some extra ice if you don't want to keep the bag at the top of the container. Put the lid on the container.
Here comes the fun (and, disclaimer, incredible noisy) part. For 15 minutes, you have to shake that container as much as you can. We ran around the house with it, played three-way air hockey on the table with it, and let this little maniac jump around with it as much as he wanted.

We checked on the bag throughout, and sure enough, it looked like it was thickening up just right. When the 15 minutes were up, we stuck the bag in the freezer to wait until our after-dinner taste test.
I was seriously impressed with the taste test. I'm admittedly not a huge ice cream person, but we all agreed that it tastes just like the store-bought stuff. As a bonus, we shared it with my dog, who has never tasted ice cream, and it blew her entire mind.
For the science behind it, courtesy of Pre-K Pages: "When we add salt to ice we lower the freezing point. This is the same reason we ice sidewalks and roads in the winter. The melting ice absorbs heat from the bag of ice cream allowing us to quickly freeze our delicious treat!"