Carpeted stairways can lead to a lot of problems for a lot of people. Too many of my family members have called me to tell of a fall they've had down the stairs, or warned me of how slippery their carpets can be.
While slippery carpets definitely pose a danger, this video of a puppy coming up with a creative way to get down the stairs proves that isn't all negative, much like the baby in this fantastic video, who uses the slippery carpet to his advantage.
Recently, I've really been rethinking the whole idea of keeping carpets in my home. Unfortunately, though, wooden staircases just don't always look the best when compared to the carpeted version. Luckily, the creative woman in this helpful photo set has presented the world with an option that I hadn't really considered.
In the photos below, she decided to rip up her carpets and replace her wooden stairs with something much more original and unique! Sometimes the most obvious solution has been sitting in front of you the whole time. I can't believe I didn't come up with this simple discovery myself!
While everyone paints their walls, not a lot of people realize you can liven your home up by making your stairways a work of art as well! A lot of people have stairs, but not a lot of people do this!
I know when I have a bit of free time, I'm definitely going to complete this amazing weekend project! What about you? Would you do this, too?
To start off this project, you'll need to come up with some of your all-time favorite books. Take special note of what color each book's cover is — in fact, you should make a list of all the colors, since it'll be an essential step in the process. Once you've done that, you're ready to begin!
Check out the steps below, and please SHARE if you think this is a great little idea!
Step One: Rip out your carpet
Don't forget your gloves! Using pliers, a hammer, and a screwdriver, remove the carpet strips and all the attached staples and nails.
Step Two: Get all of your paint supplies

Acrylic paints in 4-oz tubes should be more than enough. You'll also need two tubes of off-white. You can get these at any local craft shop in your area.
Step Three: Get some sealant
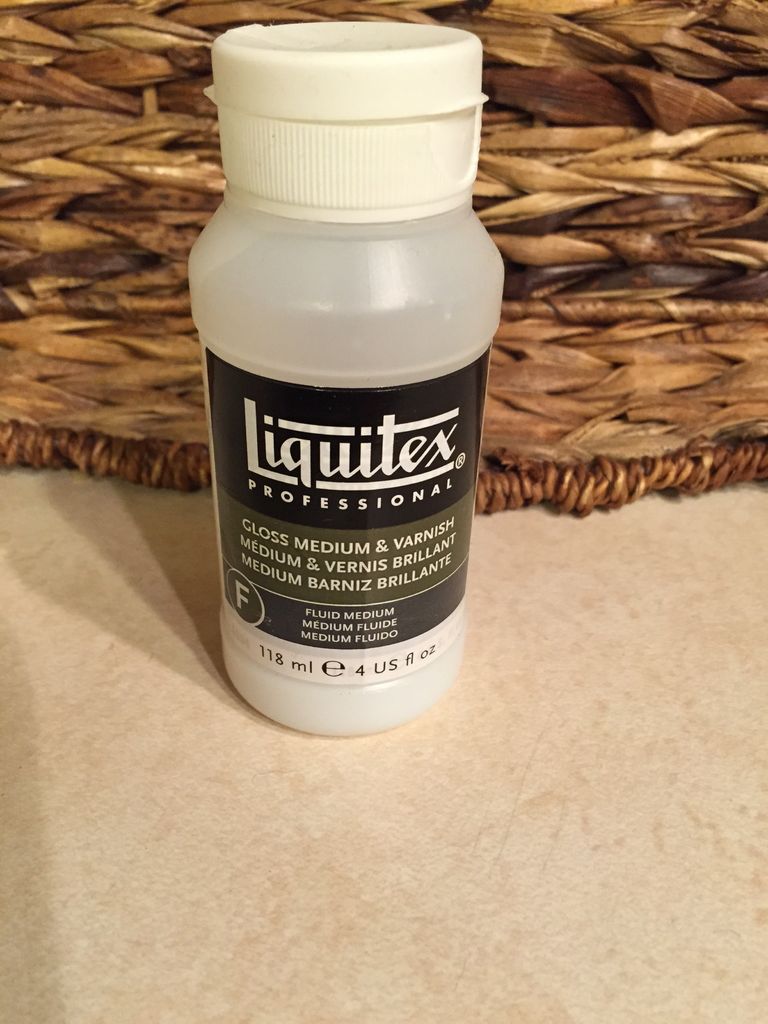
You'll also need acrylic sealant to paint over each step when you're finished. This is to prevent any wear and tear and allow you to wash off any scuff marks.
Step Four: Come up with your gameplan
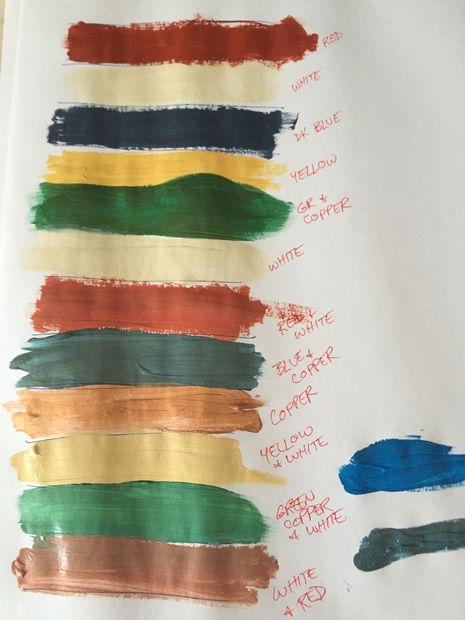
Which stair step is going to be what color? Which books are you going to paint for each step?
Keep reading through to the NEXT page for helpful tips and tricks to make your staircase beautiful!
Step Five: Start painting
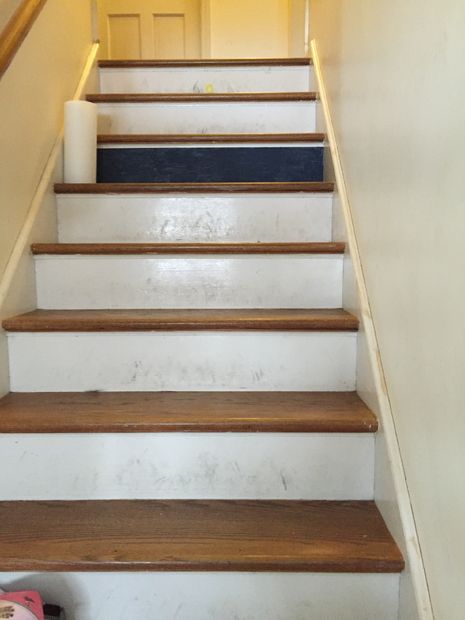
Once you've figured out which step goes with which book, all you have to do is start painting that base coat!
Step Six: Let it sit
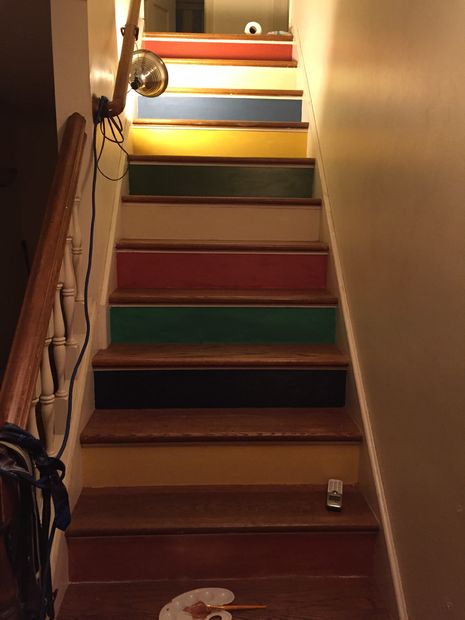
Remember, two coats for the risers! Then let it sit overnight to dry out.
Step Seven: Lettering
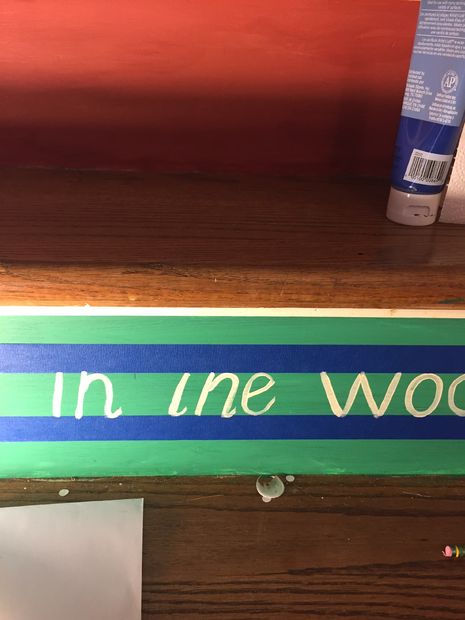
Measure the width of your steps to find the center and spot it with a tiny pencil mark. If your steps are 36 inches wide, for example, your dot should be at the 18-inch mark. Using your smaller brush, begin to carefully paint in the titles.
Step Eight: Be careful!
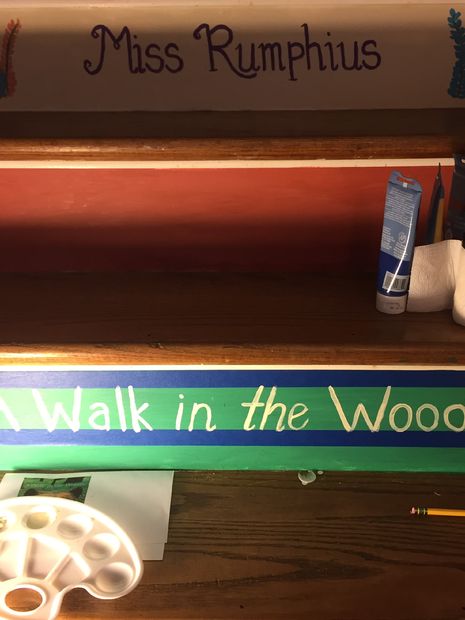
Count out the number of letters and spaces in your book title. Then find the center letter in that title. If the book's font has extra-large capital letters, you should count those as two spaces. This is so every book title will look even as you're going up the stairs!
Keep reading through to the NEXT page for the final tips!
Step Nine: Adorable extras!

Depending on your book, the spines might have little extras or flourishes. If you're confident in your painting abilities, you should do your best to add your own interpretations!
Step Ten: Play around with it
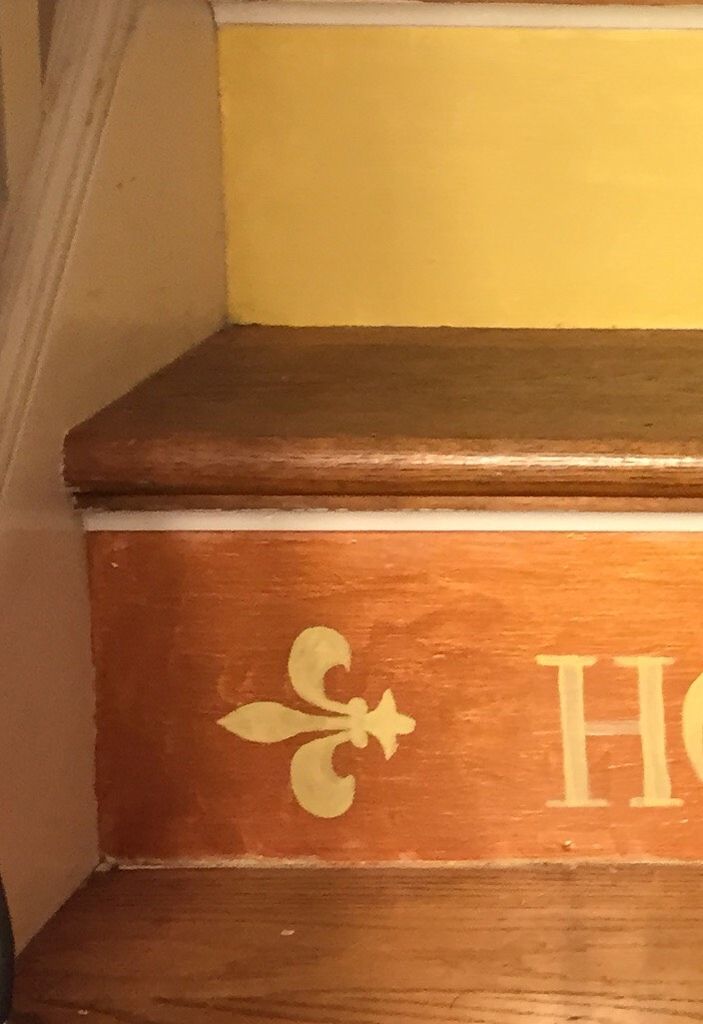
This step will really make your project shine!
Step Eleven: Add your personality!
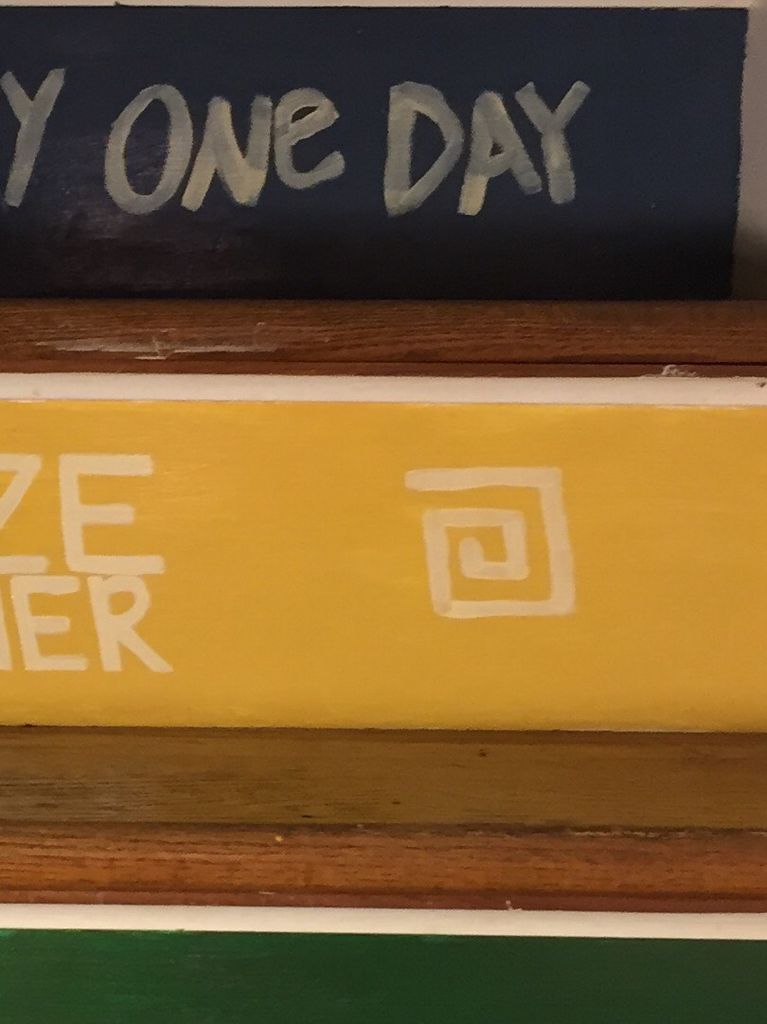
The devil's in the details!
Step Twelve: Use it and love it!
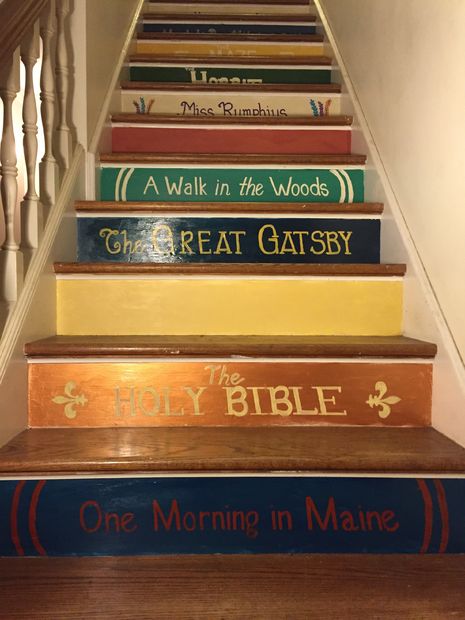
After you've let it all dry out, you've got yourself a beautiful new staircase. Not only will it show your guests how well-read you are, it will show them how handy you are, too!
Please SHARE this adorable library staircase with your friends!


